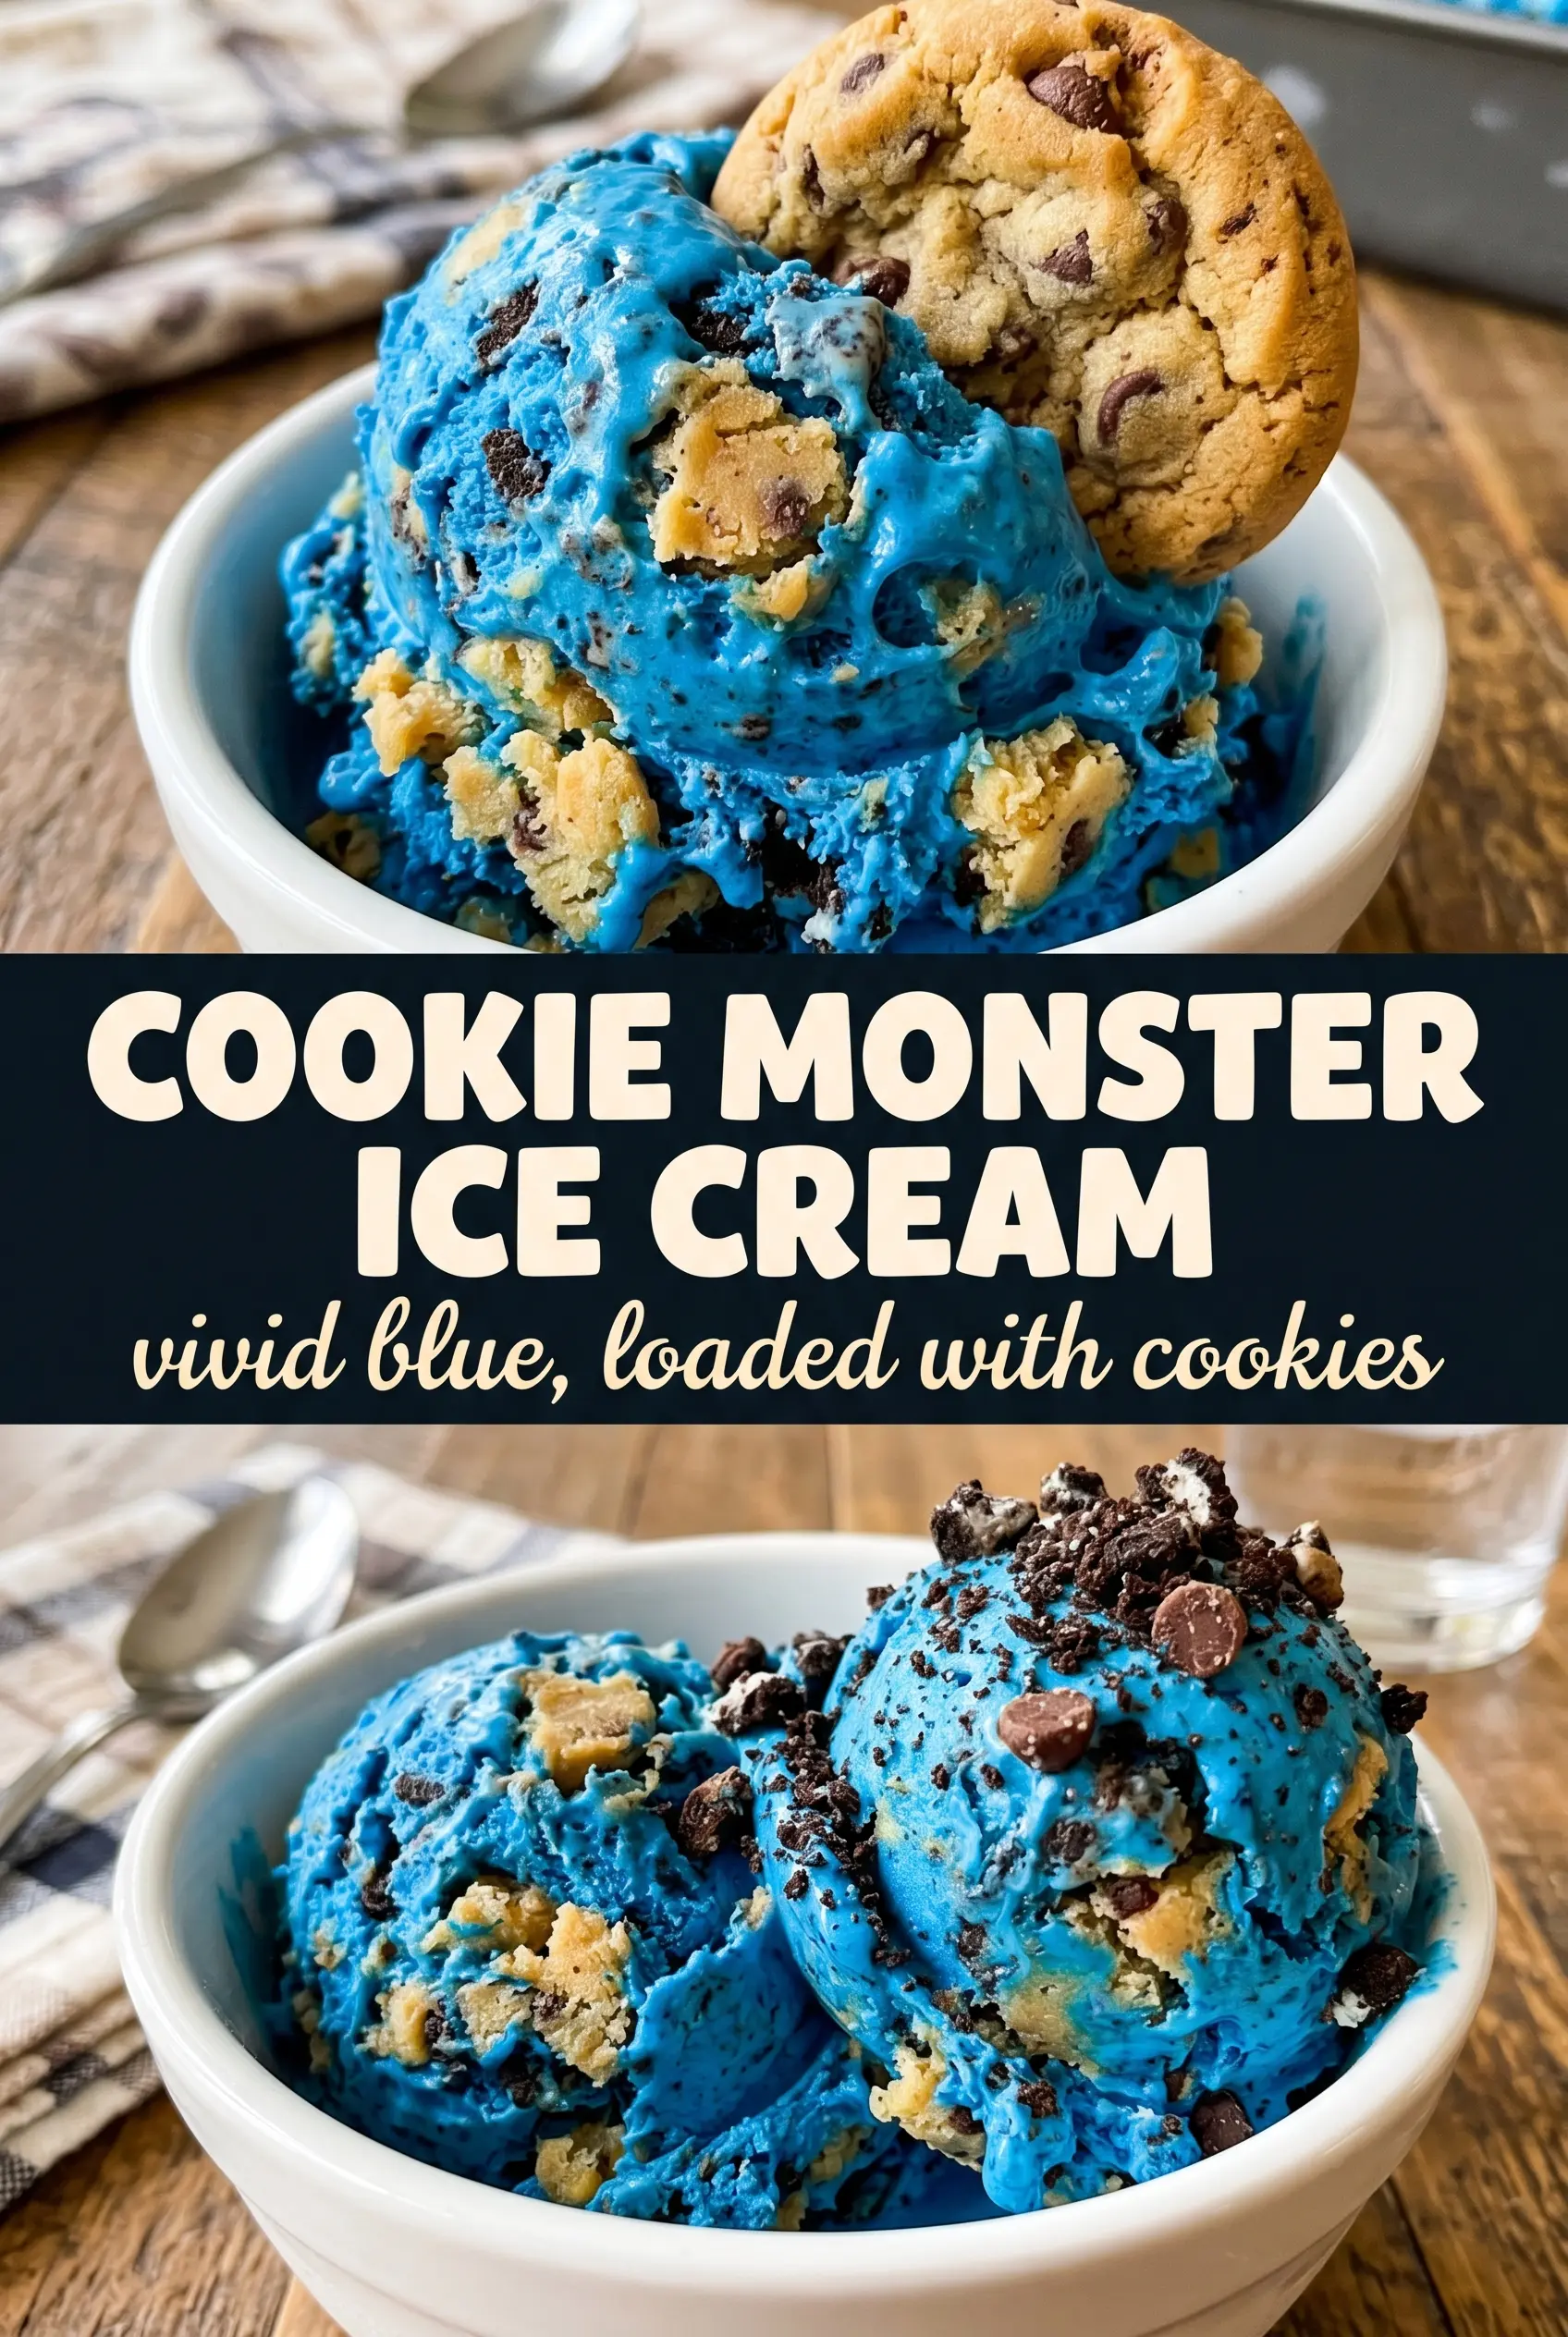
Electric blue Cookie Monster ice cream gets its charm from the contrast: a sweet vanilla base that freezes creamy, plus Oreo pieces and chocolate chip cookie chunks that stay chewy enough to feel like actual cookies in every bite. The color is playful, but the texture is what keeps people going back for another scoop.
The trick with no-churn ice cream is keeping the base light before it goes into the freezer. Whipped cream gives you that airy scoopable texture, while sweetened condensed milk brings body and sweetness without needing an ice cream maker. The blue coloring goes in before the cream is folded together, so the color stays even instead of streaking through the mixture.
Below, I’ve included the little details that matter most here: how much to whip the cream, when to stop folding, and how to keep the cookie pieces from disappearing into the base. There’s also a quick storage note so the ice cream stays creamy instead of turning icy.
The ice cream froze up smooth and scoopable, and the cookie chunks stayed nice and distinct instead of getting soggy. My kids were obsessed with the blue color and asked for it again the next night.
Like this Cookie Monster Ice Cream? Save it to Pinterest for the nights when you want a fun blue no-churn dessert with Oreo and cookie chunks in every scoop.
The Part That Keeps No-Churn Ice Cream Creamy Instead of Icy
The difference between smooth no-churn ice cream and a frozen brick comes down to air and fat. Heavy cream needs to reach stiff peaks so it can hold the structure of the ice cream, and the condensed milk brings enough sugar and dairy solids to keep the base soft after freezing. If you underwhip the cream, the mixture turns dense. If you overmix after combining, you knock out the air that gives it that scoopable texture.
Blue food coloring is another place where people usually miss the mark. Add more than you think you need, because the color softens once it’s folded into the cream and frozen overnight. The cookie pieces go in at the very end so they stay visible and don’t break down into crumbs.
What Each Ingredient Is Doing in This Blue Cookie Dough-Style Base

- Heavy cream — This is what makes the ice cream light and scoopable. Whip it to stiff peaks and stop there; if it looks grainy or starts turning buttery, you’ve gone too far.
- Sweetened condensed milk — This gives the base sweetness and keeps it from freezing rock hard. There isn’t a true substitute for it in a no-churn recipe, because regular milk won’t give the same body.
- Vanilla extract — It rounds out the flavor so the ice cream tastes like a rich vanilla base instead of just sugar and cream. Use the good stuff if you have it.
- Almond extract — This is the small detail that makes the base taste a little more like classic bakery cookie dough or birthday cake ice cream. Don’t overdo it or it will take over.
- Blue food coloring — Gel coloring gives the boldest color without thinning the mixture. Liquid coloring works in a pinch, but you’ll need more of it and the shade may be softer.
- Oreos and chocolate chip cookies — These give the ice cream its signature mix of crunch and chew. Crumble them into uneven pieces so you get some bigger cookie bites instead of only fine crumbs.
Whipping, Folding, and Freezing Without Losing the Air
Build the Base Color First
Stir the sweetened condensed milk, vanilla, almond extract, blue food coloring, and salt together until the mixture looks evenly bright blue. This step matters because once the whipped cream goes in, you want to fold, not whisk. If the color isn’t strong enough here, it will look pale after freezing. The salt won’t make it salty; it sharpens the vanilla and keeps the sweetness from tasting flat.
Whip the Cream to Stiff Peaks
Use cold heavy cream and whip it until the peaks stand straight up when you lift the beaters. Soft peaks won’t hold enough structure, and overwhipped cream starts looking clumpy and dry. You want a cloud-like texture that still looks smooth and glossy. If the cream is even slightly warm, it takes longer to whip and can collapse faster once folded.
Fold Gently and Stop Early
Pour the blue condensed milk mixture into the whipped cream and fold with a spatula using broad, slow strokes. Stop as soon as the streaks disappear. A few tiny swirls are better than overmixing, because aggressive stirring knocks out the air that keeps the ice cream fluffy. Fold in the crushed Oreos and crumbled chocolate chip cookies at the end so they stay distributed instead of sinking.
Freeze Until Firm Around the Edges and Center
Transfer the mixture to a loaf pan and smooth the top. Press a piece of parchment or plastic wrap directly on the surface if you want to reduce ice crystals, then freeze until firm, at least 6 hours. If you rush it, the center will still scoop like soft serve and the cookie pieces can slide around. Overnight gives the cleanest slices and the firmest scoops.
How to Adapt This for Different Freezers and Diets
Dairy-Free Version
Use a full-fat coconut whipping cream in place of the heavy cream and a dairy-free sweetened condensed milk alternative. The texture will still be creamy, but it picks up a light coconut note, so pair it with chocolate sandwich cookies or a dairy-free cookie you like.
Extra Cookie-Stuffed Version
Add another handful of cookies if you want it packed with pieces. The tradeoff is that the base gets a little less smooth and a little harder to scoop straight from the freezer, so let it sit on the counter for 5 to 10 minutes before serving.
Cleaner Blue, Less Sweet
If you want the color without pushing the sweetness even further, use gel food coloring and keep the cookie mix-ins the same. Gel gives a stronger blue with only a small amount, so the ice cream stays bold without needing extra liquid.
Storage and Freezing
- Refrigerator: This ice cream isn’t meant for the fridge; it melts fast and turns soupy.
- Freezer: Store covered for up to 2 weeks. After that, it starts to pick up ice crystals and loses that fresh, creamy texture.
- Serving: Let it sit at room temperature for 5 to 10 minutes before scooping. If it’s rock hard, don’t microwave it; that softens the edges unevenly and ruins the texture.
Answers to the Questions Worth Asking
Cookie Monster Ice Cream
Ingredients
Equipment
Method
- Whip the heavy cream using a stand mixer until stiff peaks form, about 5–8 minutes, and the mixture holds a peak when lifted.
- Whisk the sweetened condensed milk, vanilla extract, almond extract, a generous amount of blue food coloring, and salt together until smooth and vibrantly blue.
- Fold the condensed milk mixture into the whipped cream gently until just combined, keeping the texture light and avoiding deflating.
- Fold in the crushed Oreo cookies and crumbled chocolate chip cookies so the blue base is speckled with cookie chunks throughout.
- Transfer the mixture to a 9x5 loaf pan and smooth the top, then freeze at least 6 hours or overnight until firm and scoopable.