Golden seared chicken with a molten mushroom, garlic butter, and cheese center is the kind of dinner that looks restaurant-worthy the second you slice into it. The exterior stays deeply browned and savory, while the filling turns creamy and rich instead of watery or greasy. That contrast is what makes stuffed chicken worth the little bit of extra effort.
The difference here comes down to two things: cooking the mushrooms until every bit of moisture is gone, and letting the filling cool just enough before it goes into the chicken. If the mushrooms stay wet, the cheese loosens into a puddle instead of staying thick and melty inside the pocket. A quick sear in an oven-safe skillet builds color first, then the oven finishes the chicken gently so the crust doesn’t burn before the center cooks through.
Below, I’ve included the little details that keep the filling inside the chicken, plus a few smart swaps and storage notes for the nights when you want to prep ahead.
The mushrooms cooked down perfectly and the filling stayed thick instead of leaking out. I sliced into it after resting and the cheese was still gooey with that garlic butter right on top.
Save this cheesy garlic butter mushroom stuffed chicken for the night you want a crisp sear, a gooey center, and dinner that slices like a showpiece.
The Mushroom Filling Needs to Be Dry Before It Becomes Creamy
The biggest mistake with stuffed chicken is rushing the mushroom filling. Mushrooms throw off a lot of liquid, and if that moisture is still in the pan when the cheese goes in, the filling turns loose and leaks out as soon as the chicken starts cooking. Cook the mushrooms until the pan looks nearly dry and the edges start to sizzle in butter again before adding the garlic and thyme.
That dry base matters because mozzarella melts beautifully, but it won’t rescue a watery filling. Parmesan adds salt and a little structure, while the mozzarella gives you that stretchy center you want when the chicken is sliced. Let the mixture cool for a few minutes before stuffing so it stays thick enough to pack into the pocket instead of sliding back out.
What the Filling Ingredients Are Doing Here
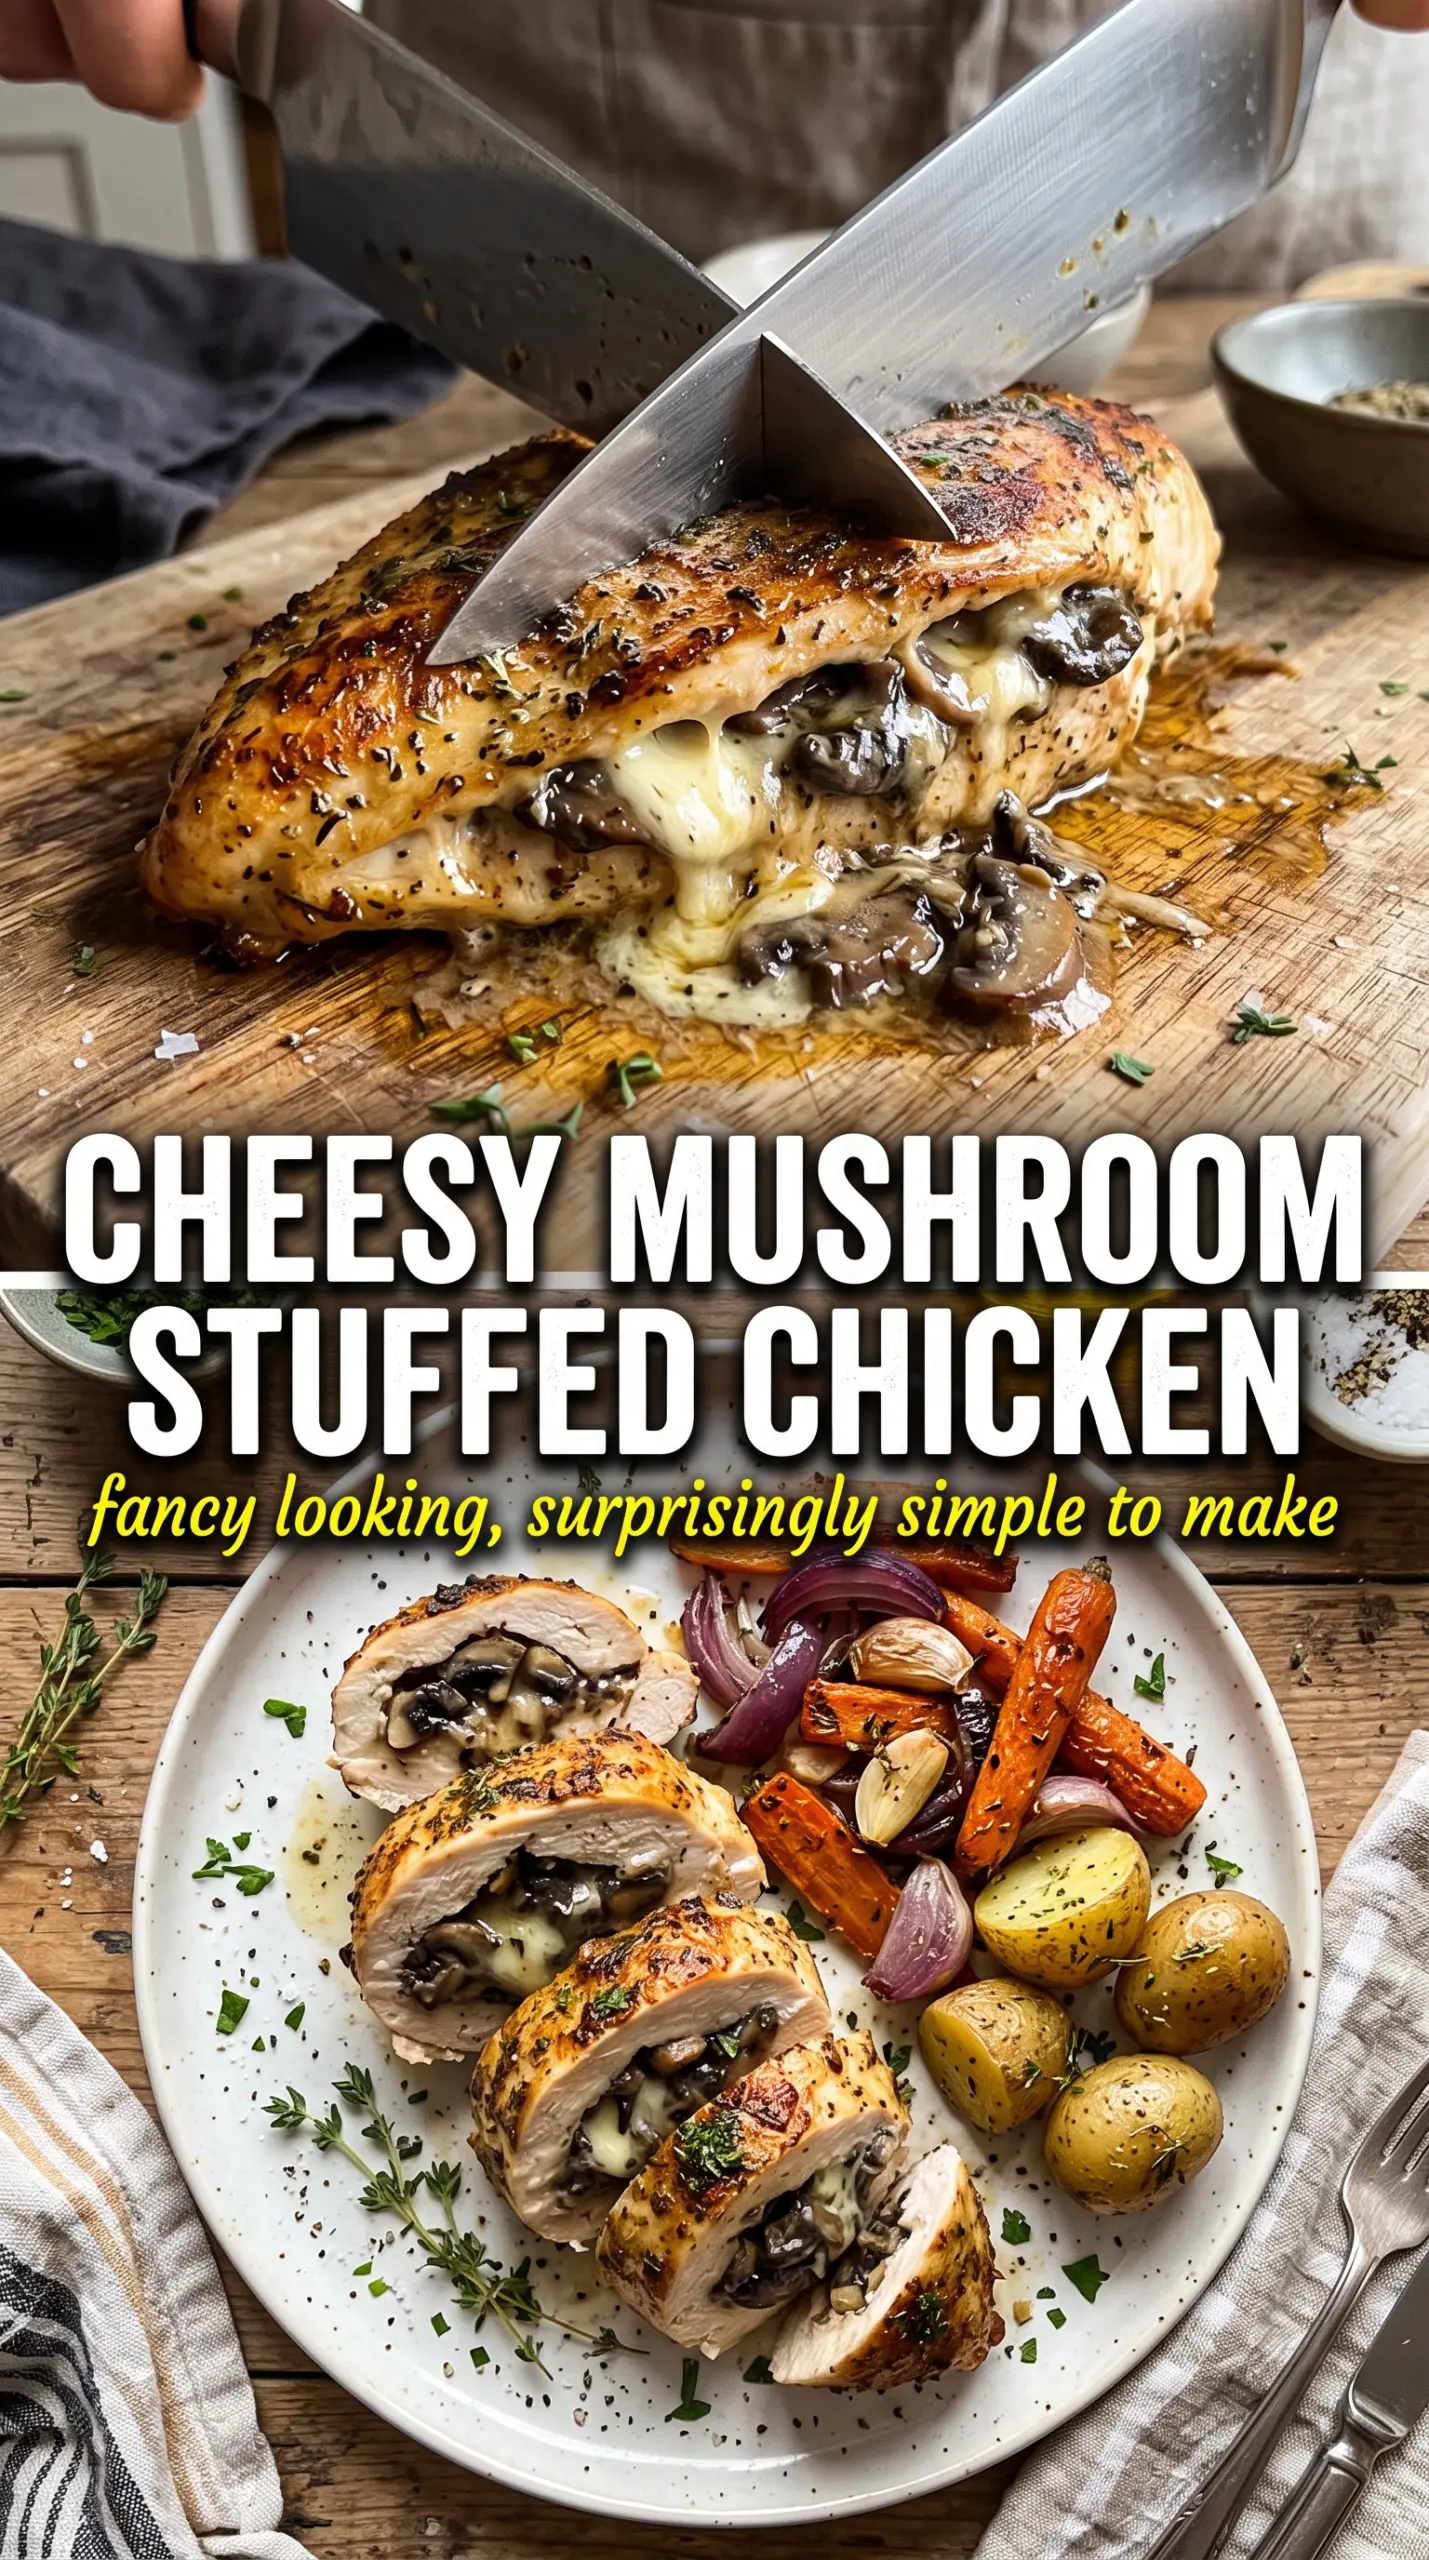
- Cremini mushrooms — These bring the earthy, savory backbone of the filling. White mushrooms will work, but cremini have a deeper flavor and hold up better once chopped fine and cooked down.
- Butter — This carries the garlic and thyme and gives the filling its rich mouthfeel. Don’t swap in oil here unless you have to; oil won’t give the same round, glossy finish.
- Garlic — Fresh garlic is worth using because it perfumes the butter fast and gives the filling its sharp edge. Mince it finely so it cooks in a minute without leaving raw bites in the finished chicken.
- Mozzarella and Parmesan — Mozzarella gives the melt, Parmesan gives the salty depth and helps the filling hold together. Pre-shredded mozzarella can work, but freshly grated Parmesan makes a noticeable difference because it melts cleaner and tastes sharper.
- Chicken breasts — Use evenly sized breasts if you can. Large, thick ones are easier to pocket without tearing, and they cook more evenly after the sear.
From Pocket to Pan: Keeping the Filling Inside and the Chicken Juicy
Cooking the Mushroom Base
Melt the butter in a skillet over medium-high heat and add the finely diced mushrooms. They should first release liquid, then slowly go from wet and glossy to browned and concentrated. Stir occasionally, but let them sit long enough to take on color; if you keep them moving nonstop, they steam instead of cook down. Once the pan looks dry, add the garlic and thyme and cook just until fragrant so the garlic doesn’t turn bitter.
Building and Sealing the Chicken
Cut a deep pocket into each chicken breast, but stop before slicing all the way through. Season inside the pocket and all over the outside so every bite tastes seasoned, not just the surface. Pack the filling in firmly, then secure the opening with toothpicks so the cheese doesn’t escape as it softens. If the breasts are very small, don’t overfill them; a little less filling is better than losing half of it in the skillet.
Searing Before the Oven Finish
Heat the olive oil in an oven-safe skillet until it shimmers, then add the stuffed chicken and let it sear undisturbed. You’re looking for a deep golden crust, not pale spots that need more time. Turn carefully and brown the second side, then move the pan to the oven so the center can come up to temperature without burning the outside. If the chicken sticks, it usually isn’t ready to turn yet.
Resting and Drizzling
Pull the chicken when it reaches 165°F in the thickest part and let it rest for five minutes before removing the toothpicks. That short rest keeps the juices in the meat and gives the filling a chance to settle so it slices cleanly. Finish with extra garlic butter right before serving. This is the moment that makes the whole dish taste like you cooked it on purpose, not by accident.
How to Adapt This for Low-Carb, Dairy-Free, or a Different Filling Mood
Low-Carb and Keto-Friendly
This recipe already leans low-carb, so the main job is keeping the filling rich without adding starch. Stick with the mushrooms, cheeses, and butter as written, and serve it with roasted vegetables or salad instead of a starchy side. The texture stays the same, and you won’t lose any of the molten center.
Dairy-Free Version
Use a good dairy-free butter and a meltable plant-based mozzarella-style cheese. You’ll lose some of the salty sharpness from Parmesan, so add a little extra salt to the filling and a pinch of nutritional yeast if you want a deeper savory note. The texture will be slightly softer, but the pockets still hold well if the mushroom mixture is cooked dry first.
Use Spinach Instead of More Mushrooms
If you want a greener filling, add a handful of chopped spinach after the mushrooms have cooked down and squeeze out any excess moisture before mixing in the cheese. Spinach adds color and freshness, but it can make the filling watery if you skip the squeeze step. This variation tastes a little lighter and works especially well with extra garlic butter on top.
Storage and Reheating
- Refrigerator: Store leftovers in an airtight container for up to 3 days. The cheese filling firms up in the fridge, but the chicken stays tender if it was cooked to temperature and rested properly.
- Freezer: Freeze after cooling completely, wrapped tightly, for up to 2 months. The filling won’t be quite as creamy after thawing, but it still reheats well if you thaw it overnight in the fridge first.
- Reheating: Warm covered in a 325°F oven until heated through, about 15 to 20 minutes depending on size. The mistake people make is blasting stuffed chicken in the microwave, which makes the edges rubbery before the center is hot.
Answers to the Questions Worth Asking
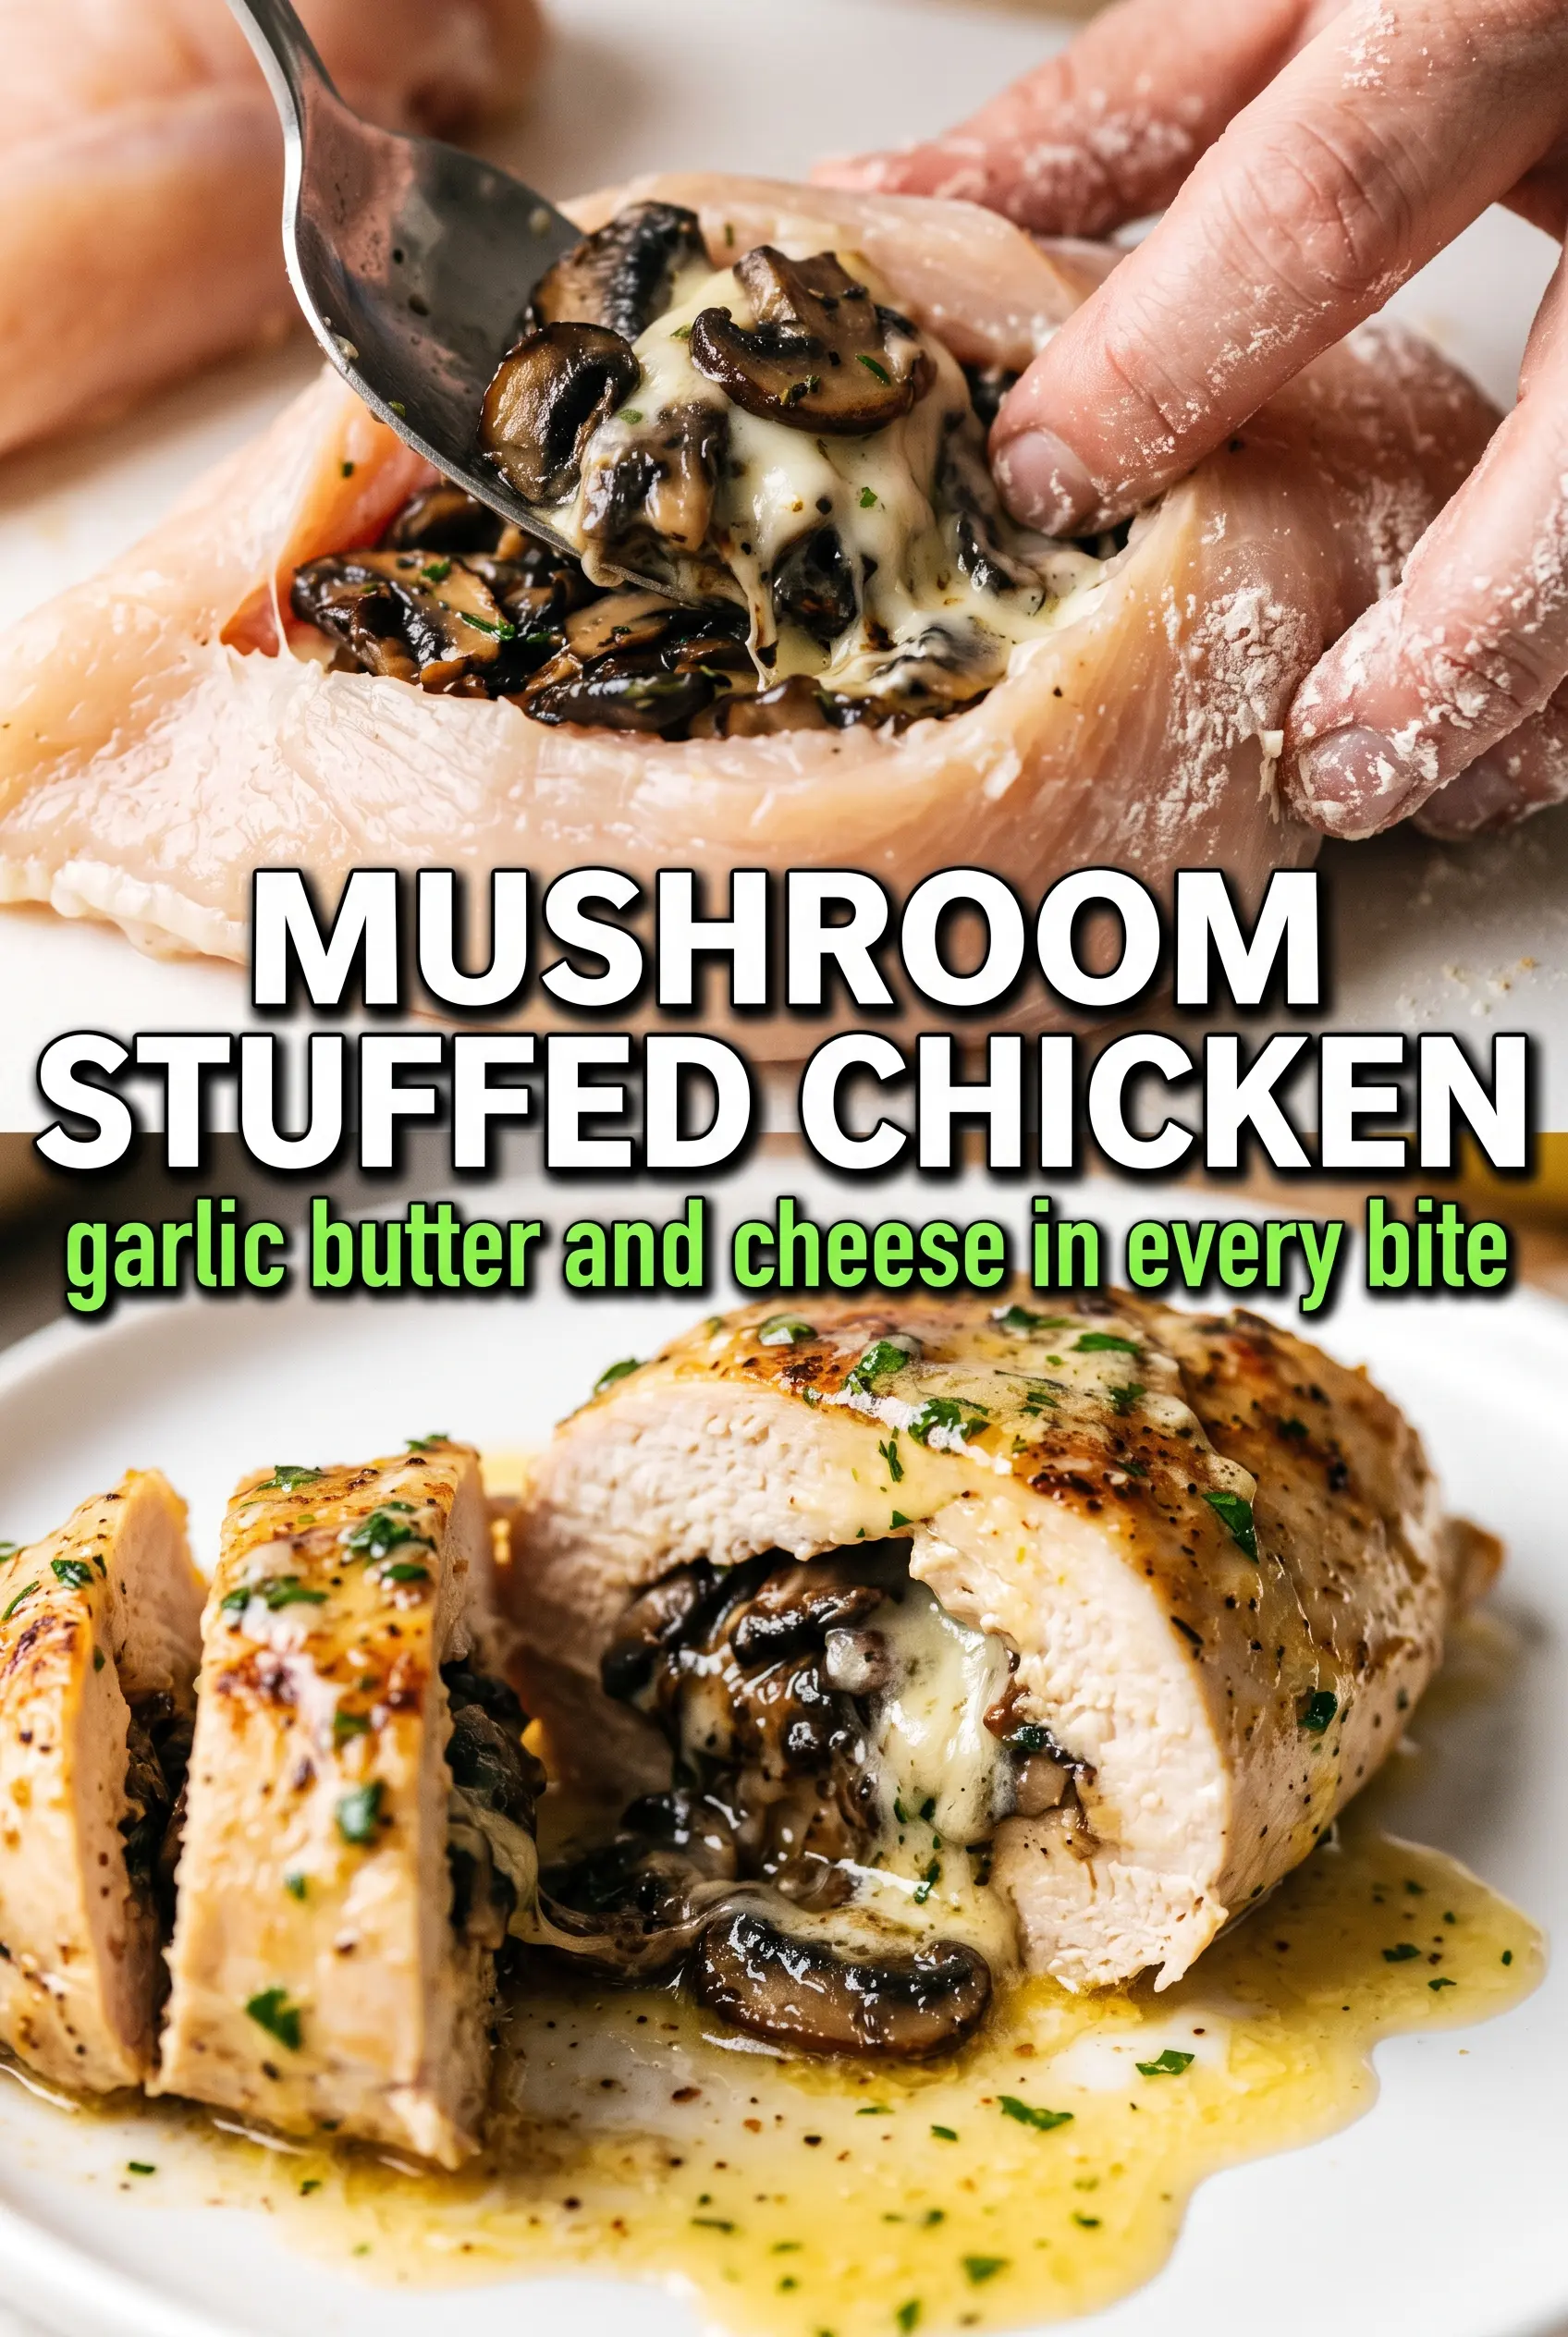
Cheesy Garlic Butter Mushroom Stuffed Chicken
Ingredients
Equipment
Method
- Melt 3 tablespoons butter in an oven-safe skillet over medium-high heat, then add the finely diced cremini mushrooms. Cook 5-6 minutes until all moisture has evaporated, stirring occasionally so the mushrooms dry and turn lightly golden.
- Add the minced garlic and fresh thyme leaves, then cook for 1 minute until fragrant. Stir constantly to prevent burning and keep the mixture aromatic.
- Cool the mushroom mixture slightly so it doesn’t melt the cheese on contact. Let it rest briefly until warm rather than hot.
- Stir in the shredded mozzarella cheese and grated Parmesan until evenly combined and glossy. Transfer to a bowl to use for stuffing once spreadable and thick.
- Cut a deep pocket into each boneless skinless chicken breast. Slice carefully without cutting through so the pocket holds the filling.
- Season the chicken inside the pockets and on the outside with salt, pepper, garlic powder, and smoked paprika. Apply generously so the flavor penetrates as it bakes.
- Spoon the mushroom-cheese mixture into each pocket and press gently to pack it. Secure the opening with toothpicks so the filling stays contained during cooking.
- Heat 2 tablespoons olive oil in the oven-safe skillet over medium-high heat. Sear the stuffed chicken 3-4 minutes per side until deeply golden with caramelized edges.
- Transfer the skillet to a 400°F oven and bake for 18-22 minutes. Cook until the internal temperature reaches 165°F at the thickest part.
- Remove the toothpicks from the chicken and drizzle with extra garlic butter. Let the garlic butter glisten on top for a rich finish.
- Rest the chicken for 5 minutes before slicing. This helps the molten filling set slightly so it stays inside while still steaming when cut.