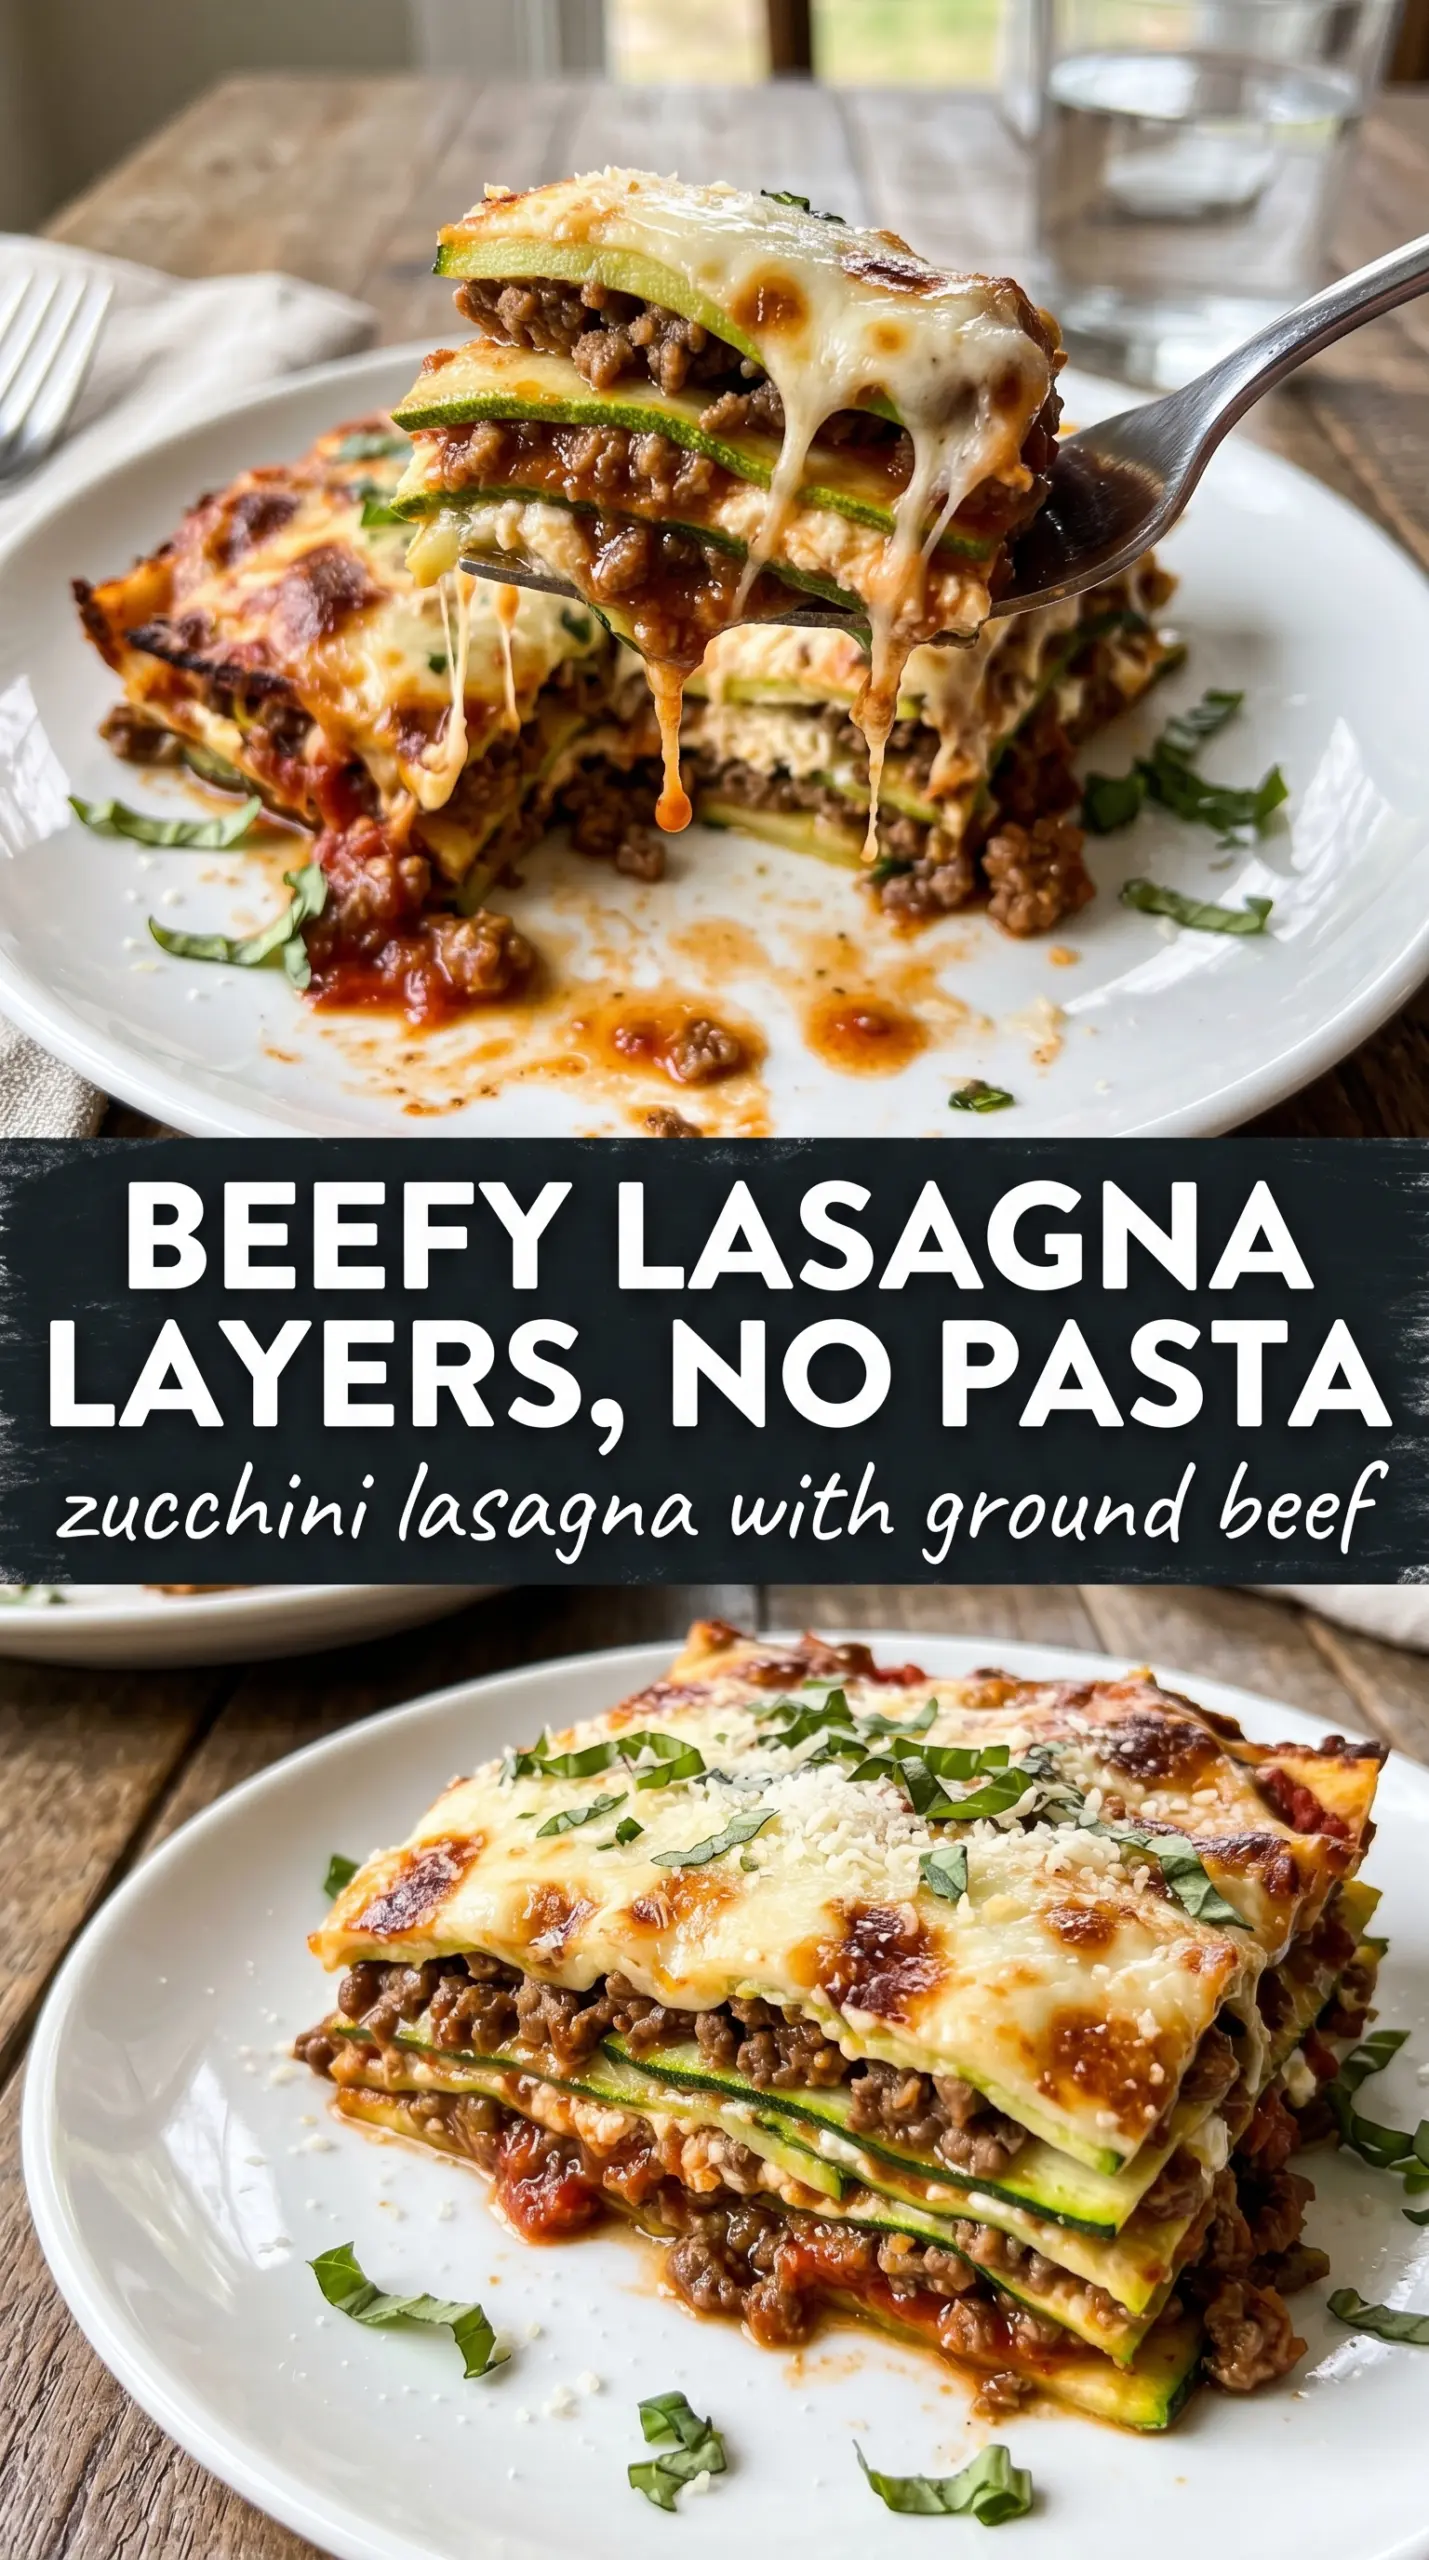
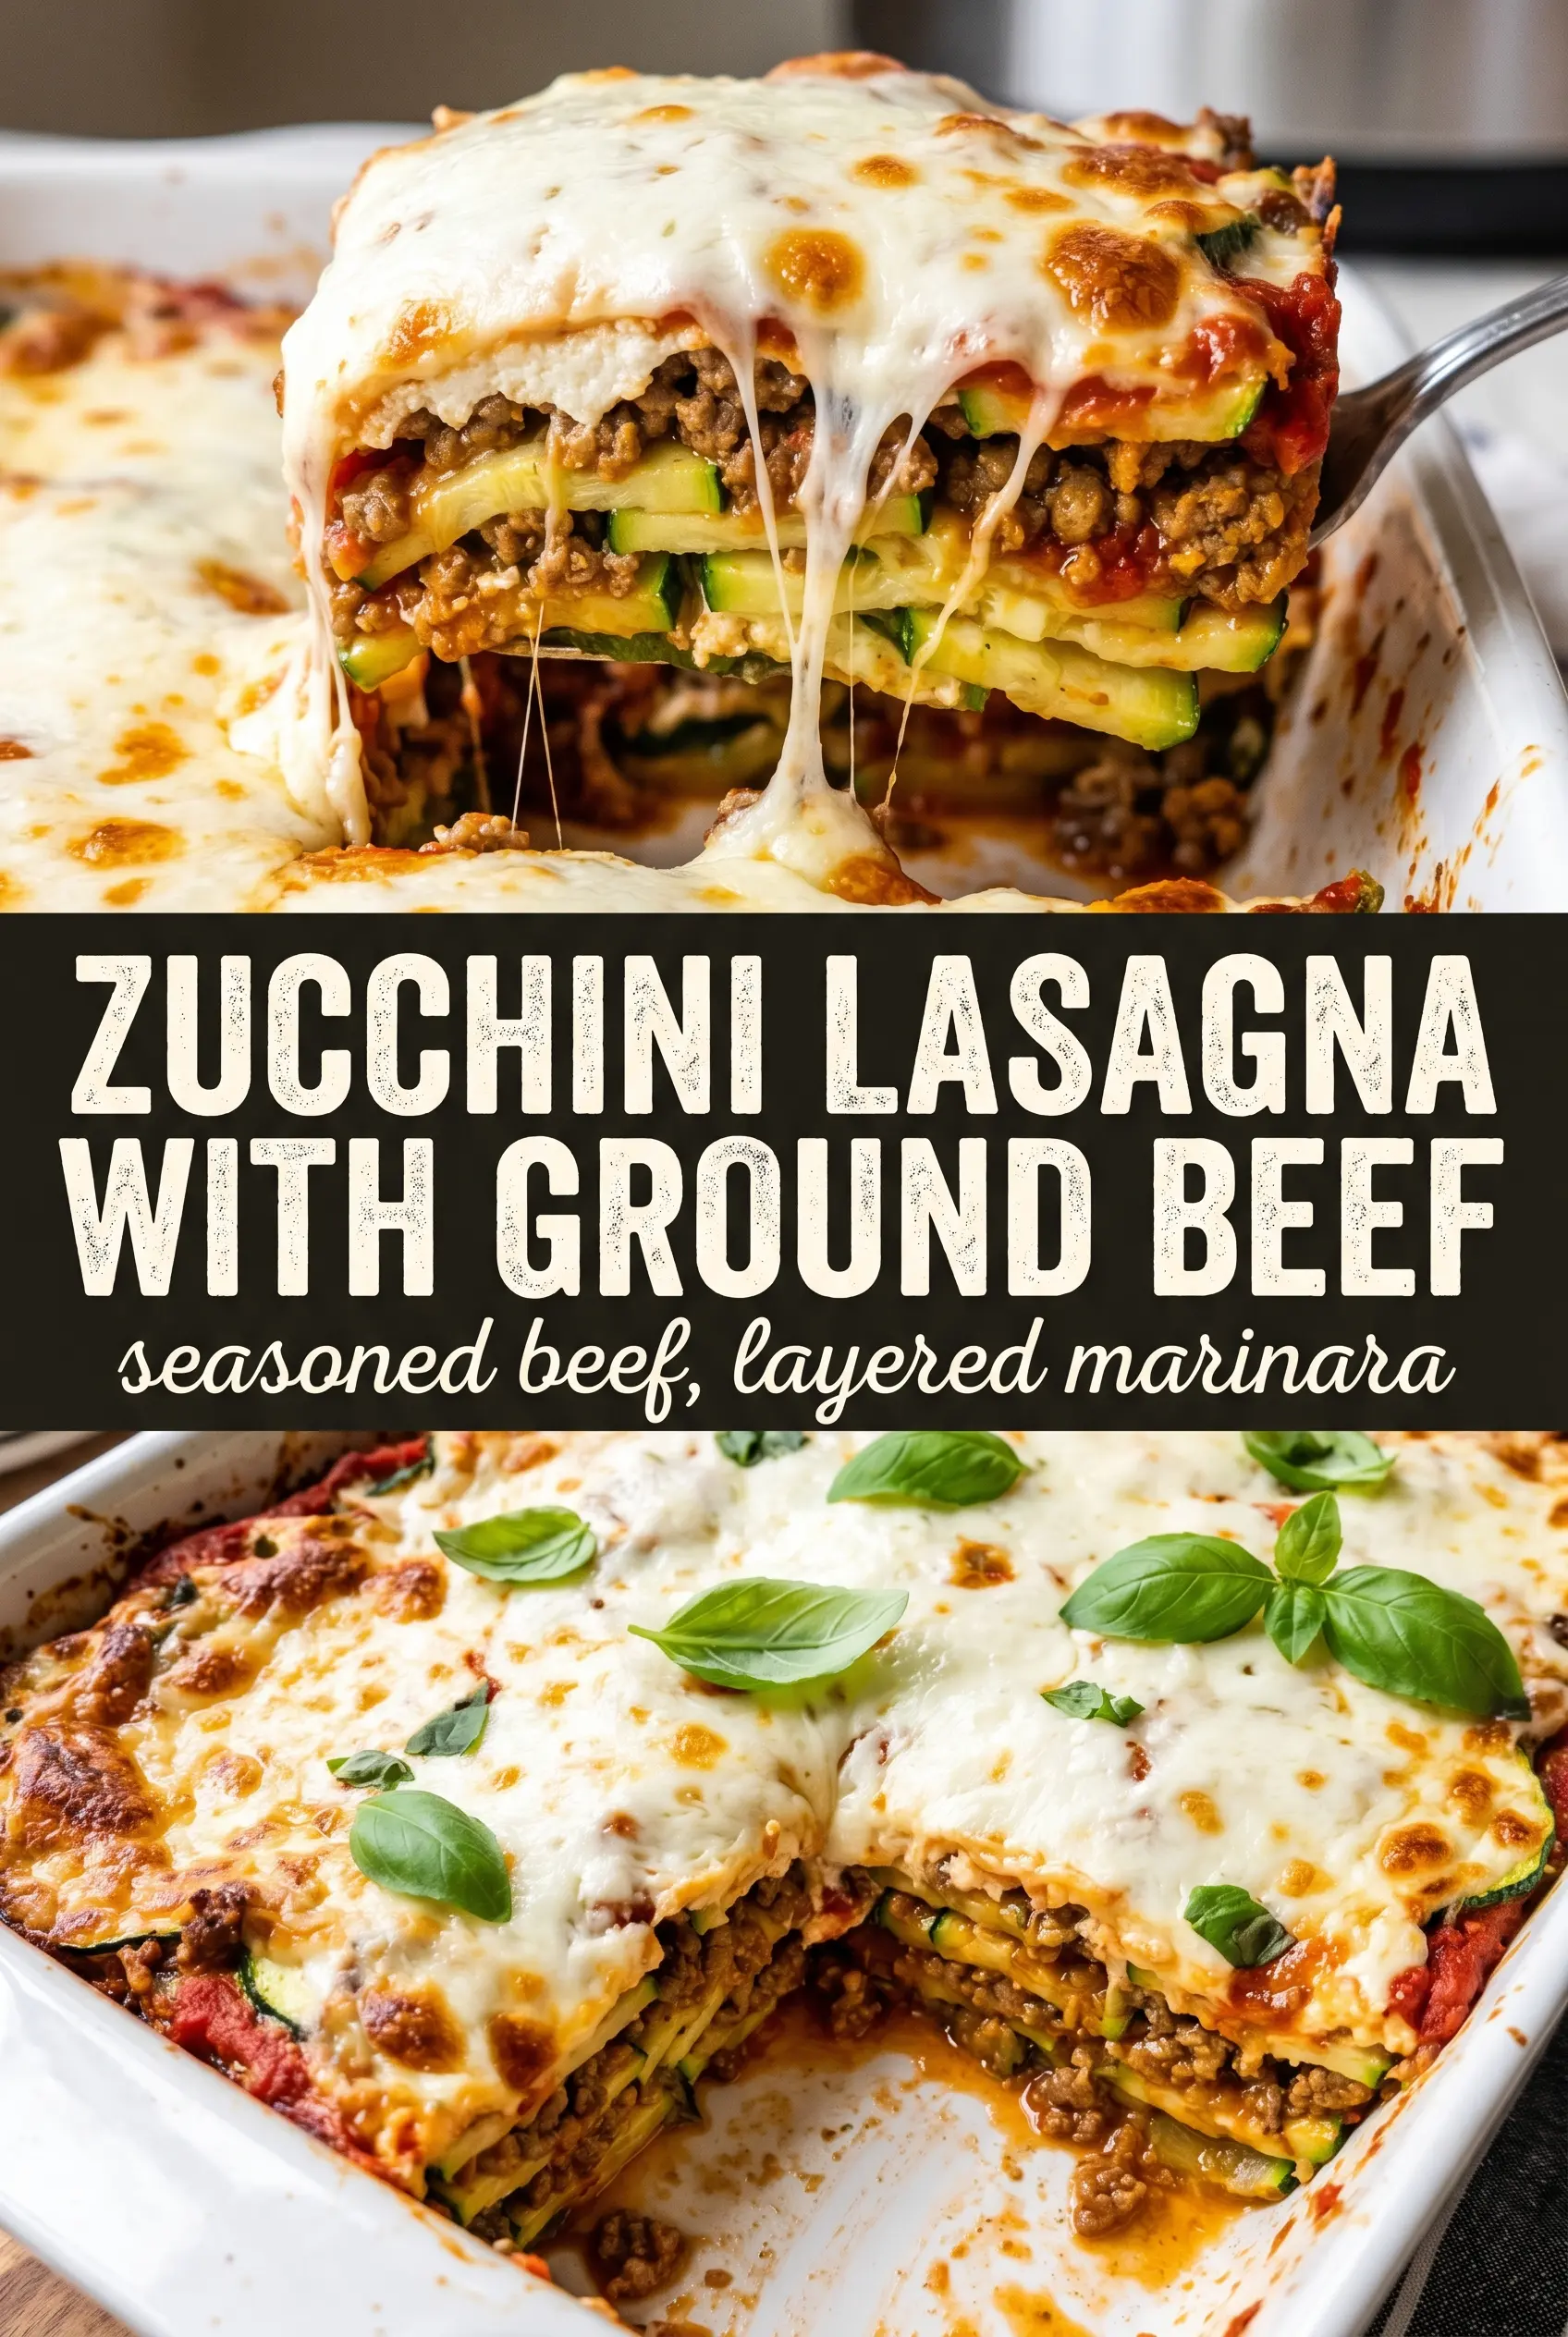
Zucchini lasagna with ground beef has the kind of deep, savory comfort that makes you forget there are no noodles in the dish at all. The zucchini turns tender without going mushy, the meat sauce cooks down thick and rich, and the mozzarella on top melts into a browned, bubbling lid that slices cleanly after a short rest. When it’s done right, each piece holds its shape and still tastes hearty enough to stand in for classic lasagna.
The trick is treating the zucchini like an ingredient that needs its own prep, not something you can layer in raw and hope for the best. Salting and roasting the planks pulls out extra water before they ever hit the pan, which keeps the whole casserole from turning soupy. The beef sauce also needs to simmer long enough to tighten up; a loose sauce will slide around between the layers and soften everything underneath.
Below, I’ll walk through the one step that keeps zucchini lasagna from collapsing, the ingredient choices that matter most, and a few smart ways to adapt it if you want it a little lighter, lower-carb, or easier to make ahead.
The zucchini layers stayed firm and the sauce thickened up beautifully. I was worried it would be watery, but after the rest time it sliced into clean squares and held together perfectly.
Pin this zucchini lasagna with ground beef for a no-noodle dinner with a browned mozzarella top and clean, sturdy layers.
Why the Zucchini Has to Give Up Its Water First
Zucchini is the ingredient that makes or breaks this dish. If it goes in raw, it leaks moisture into the pan as it bakes and the whole lasagna turns loose at the bottom. Salting the planks first draws out a surprising amount of liquid, and roasting them after patting them dry gives you a firmer texture that behaves more like pasta.
The other place people go wrong is assuming the sauce can handle the extra moisture. It can’t. This version works because the meat sauce is simmered until it’s thick enough to mound on a spoon, so it stays put between the layers instead of running into the zucchini and thinning everything out.
- Zucchini planks — Slice them thin enough to bend, but not so thin that they disappear after baking. A mandoline helps keep the layers even, but a sharp knife works if you keep the thickness consistent.
- Ground beef — An 80/20 blend gives you enough flavor without becoming greasy. If you use leaner beef, the sauce may taste a little cleaner, but you’ll want to watch the pan closely so it doesn’t dry out.
- Ricotta — Full-fat ricotta gives the filling a creamy, rich middle layer. Part-skim works, but it can be looser, so drain it briefly if it looks wet in the tub.
- Mozzarella — Use low-moisture shredded mozzarella for the top. Fresh mozzarella releases too much liquid here and can leave the lasagna soft instead of browned and stretchy.
What Each Ingredient Is Actually Doing in This Recipe
- Primary ingredient (the star) — Quality matters most. Choose the best you can find.
- Cooking medium (oil, butter, or broth) — This carries flavors and prevents dryness.
- Seasonings (salt, pepper, spices, herbs) — Layer flavors so nothing overpowers. Build depth gradually.
- Aromatics (garlic, onion, herbs) — Cook with fat to bloom flavors. Become the foundation.
- Supporting ingredients — Complement the main ingredient without overpowering it.
- Sauce or liquid (if applicable) — Brings flavors together. Balance richness with acid.
- Acid (lemon, vinegar, wine, or other) — Brightens and prevents flat-tasting results.
- Final finish (garnish, glaze, or sauce) — Prevents one-dimensional taste and adds visual appeal.
Building the Layers So the Pan Stays Firm
Drying the Zucchini Properly
Salt the zucchini planks and let them sit for 20 minutes until beads of moisture form on the surface. Pat them dry with a towel, then roast them until they look softened at the edges and a little flexible. If you skip the roasting step, they’ll still release water later in the oven, and that extra liquid is what gives zucchini lasagna a soggy bottom.
Cooking Down the Beef Sauce
Brown the beef with the onion first, and don’t rush this part. You want some caramelization in the pan before the tomatoes go in, because that gives the sauce depth that zucchini alone can’t provide. After you add the crushed tomatoes, tomato paste, and seasonings, simmer until the sauce looks thick and glossy, not spoonable like soup.
Layering for Clean Slices
Start with sauce on the bottom so the zucchini doesn’t stick, then build in even layers of zucchini, ricotta, beef sauce, and mozzarella. Keep the layers thin and repeat them rather than piling everything in one heavy middle section. The finished dish needs that 15-minute rest after baking; cut too soon and the cheese will slide, the filling will spread, and the slices won’t hold.
Finishing Under the Broiler
Uncover the lasagna at the end and bake until the top is deeply golden with a few browned spots. That last bit of heat dries the surface just enough to give you the kind of mozzarella top that cracks lightly under a spoon. If the top is browning too fast before the center is hot, cover it again and finish baking a little longer.
What to Swap When You Need a Different Version
Make it lighter with turkey instead of beef
Ground turkey works well here if you want a leaner pan, but it needs the onion, garlic, and tomato paste to carry more of the flavor load. Add a little extra olive oil when browning so the filling doesn’t taste dry, and keep the simmer time long enough for the sauce to thicken.
Go gluten-free without changing the method
This recipe is naturally gluten-free as written, as long as your Italian seasoning blend and crushed tomatoes are certified gluten-free if that matters for your kitchen. The texture stays the same because the structure comes from the zucchini, the reduced sauce, and the cheese layers, not from noodles.
Make it dairy-free with a ricotta substitute
Use a dairy-free ricotta-style substitute and a melting vegan cheese for the top, but expect a softer, less browned finish. The lasagna will still hold together if the zucchini is properly dried and the sauce is thick, though the flavor will lean more savory than creamy.
Storage and Reheating
- Refrigerator: Store covered for up to 4 days. The layers will firm up as it chills, which actually makes leftovers easier to slice.
- Freezer: It freezes well in individual portions or as a whole baked pan. Wrap tightly after cooling, then thaw in the refrigerator before reheating so the zucchini doesn’t turn watery.
- Reheating: Warm covered in a 350°F oven until hot in the center, then uncover for a few minutes to bring back the top texture. The biggest mistake is blasting it in the microwave from cold, which can make the cheese rubbery and the zucchini weep.
Questions I Get Asked About This Recipe
Zucchini Lasagna with Ground Beef
Ingredients
Equipment
Method
- Salt the zucchini planks and let them rest for 20 minutes, then pat them very dry. This draws out moisture for a less watery lasagna.
- Roast the dried zucchini at 425°F for 12 minutes, then set aside to cool slightly. Look for light browning and reduced moisture on the surfaces.
- Brown the ground beef with the diced onion until no pink remains, then drain excess fat. Aim for browned bits for deeper flavor.
- Add the minced garlic, crushed tomatoes, tomato paste, Italian seasoning, fennel seeds (if using), and red pepper flakes. Simmer at a steady bubble for 15 minutes until the sauce thickens.
- In a bowl, mix the ricotta with the egg, parmesan, fresh parsley, and salt and pepper. Stir until smooth and cohesive with no egg streaks.
- Preheat the oven to 375°F and grease a 9x13 baking dish. Spread a thin, even coating so nothing sticks.
- Assemble the lasagna by spreading beef sauce on the bottom, layering zucchini planks, then spooning ricotta, adding beef sauce, and sprinkling mozzarella. Repeat until you run out of layers, ending with beef sauce and mozzarella on top.
- Cover tightly with foil and bake at 375°F for 40 minutes, then uncover and bake for 15 minutes until golden. The top should look deeply browned with bubbly mozzarella at the edges.
- Rest the lasagna for 15 minutes before serving. This helps the layers hold together when sliced.