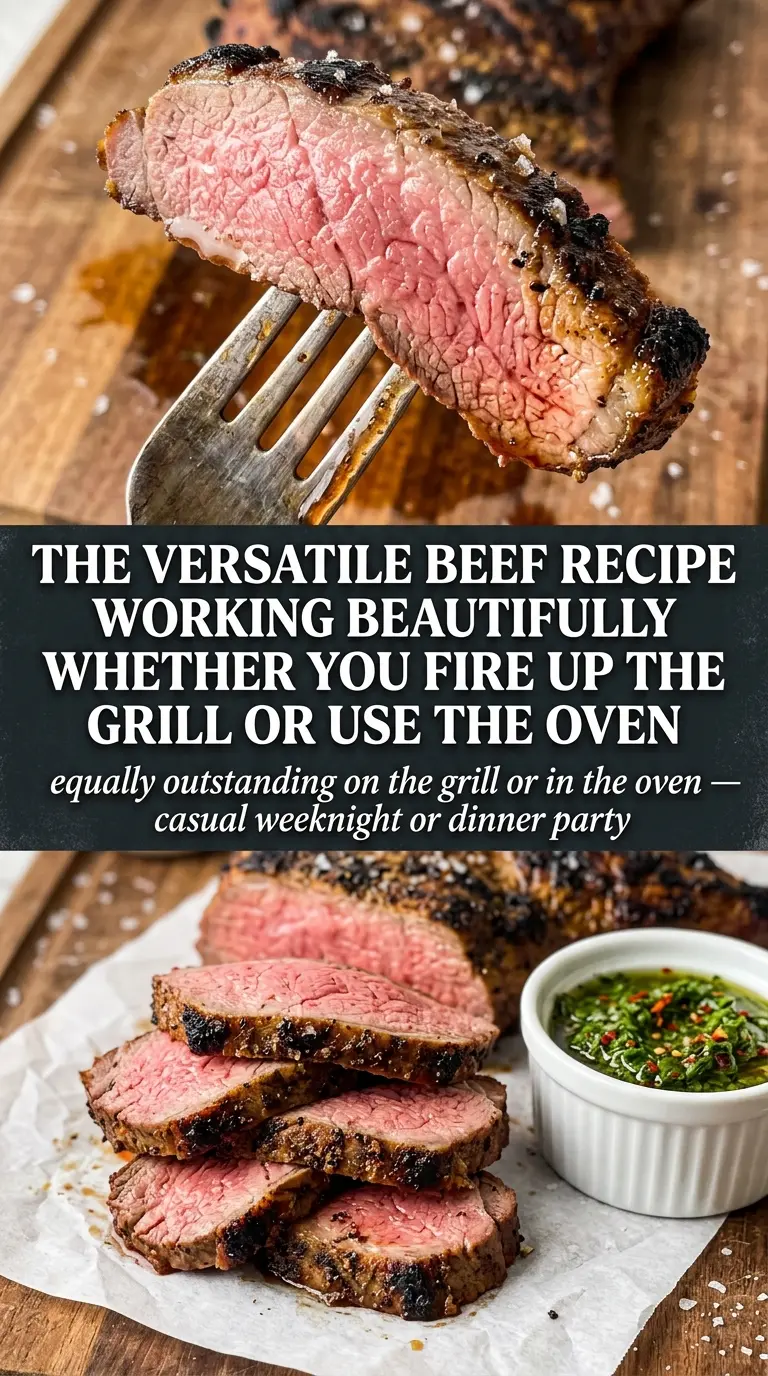
Tri-tip earns its place on the table because it gives you a deep, peppery crust and a rosy center without demanding a whole day of babysitting. When it’s sliced against the grain, the meat stays tender and juicy, with just enough chew to feel like a proper roast. It’s the kind of beef that works for a casual grill night but still looks special enough to set down in the middle of a dinner spread.
The key is keeping the seasoning bold and the cooking fast. Tri-tip has enough beefy flavor to stand up to a simple rub of salt, pepper, garlic, paprika, and oregano, and it benefits from a hard sear before any gentler cooking happens. That gives you the crust first, then protects the interior from drying out before it reaches medium-rare.
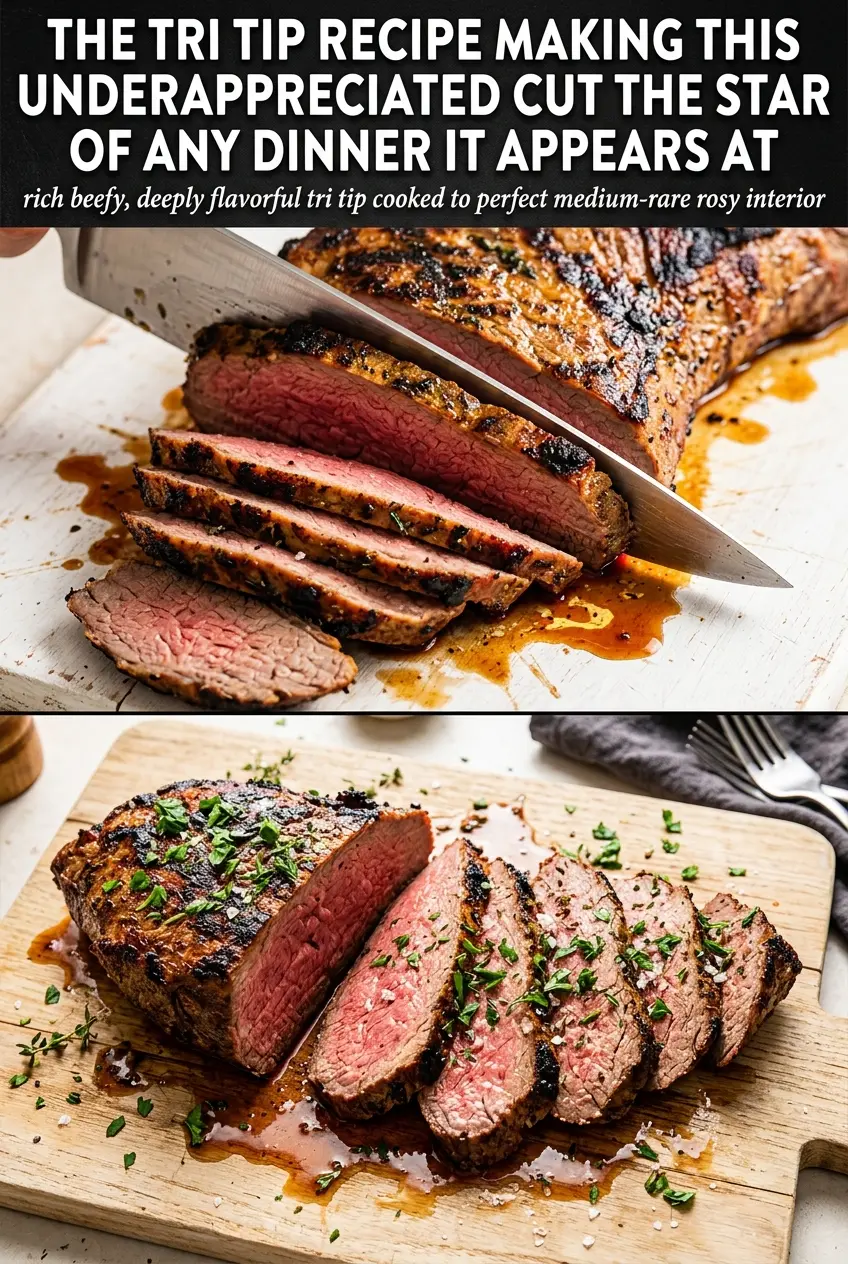
Below, I’ve included the two cooking methods I use most often, plus the one detail that matters more than almost anything else: how to slice it so the meat stays tender. If you’ve had tri-tip that turned chewy before, that usually wasn’t the roast’s fault. It was the cutting.
The crust turned out beautifully and the center stayed pink after the rest. Slicing it against the grain made a huge difference — not a single tough bite.
Pin this tri-tip for the nights when you want a crackly spice crust, a pink medium-rare center, and a roast that works on the grill or in the oven.
The Part Most Tri-Tip Gets Wrong: Slicing It the Hard Way
Tri-tip has a pronounced grain, and it changes direction across the roast. If you slice with the grain, the meat can taste tougher than it cooked. That’s the trap with this cut: people focus on the doneness and forget that the knife matters just as much as the heat.
Let the roast rest before cutting, then look closely at the muscle fibers and turn the roast as needed so each slice crosses those lines. Thin slices are best here. They give you that tender bite and let the crust stay in place instead of crumbling away.
- Tri-tip roast — This cut has enough marbling and beefy flavor to stand up to a bold rub. It cooks quickly for a roast, but it still needs careful slicing at the end.
- Olive oil — Oil helps the seasoning cling and promotes browning. Use a neutral or mild olive oil; expensive finishing oil isn’t needed here.
- Kosher salt — The salt seasons the meat all the way through, not just on the surface. Table salt works in a pinch, but you’ll need less because it’s denser.
- Paprika and garlic powder — These build the savory crust without burning as fast as fresh garlic would. If you want smoke, use smoked paprika, but keep the amount the same.
- Dried oregano — This gives the rub a Santa Maria-style edge and keeps the seasoning from tasting flat. Fresh oregano isn’t a straight swap here because it brings moisture and a sharper flavor that can steam instead of toast.
What Each Ingredient Is Actually Doing in This Recipe
- Primary ingredient (the foundation) — This is the star of the dish and carries most of the flavor. Quality matters here more than anywhere else.
- Salt and pepper (the seasonings that matter most) — These enhance all other flavors without masking them. Apply generously; underseasoned dishes taste flat.
- Fat (butter, oil, or from the meat) — Fat carries flavors and keeps the dish from tasting dry. It’s also what makes food taste delicious and satisfying.
- Acid (lemon, lime, vinegar, or tomato) — Acid brightens the dish and prevents it from tasting one-dimensional or heavy. It also helps balance rich flavors.
- Aromatics (garlic, onion, ginger) — These add depth and complexity. They mellow and become sweet when cooked, different from their raw state.
- Spices or herbs (the personality) — These give the dish its character and make it distinctive. Toast them to bloom their flavors or add fresh ones to finish.
- Supporting ingredients (vegetables, proteins) — These add texture, nutrition, and complementary flavors. They should support the star ingredient, not compete with it.
- Proper cooking technique (heat, time, stirring) — Even with great ingredients, technique determines the final result. Pay attention to temperature and timing.
How to Build a Crusty Tri-Tip Without Drying Out the Center
Mixing the Rub
Stir the salt, pepper, garlic powder, paprika, onion powder, and oregano until the rub looks even in color. That matters because uneven seasoning shows up as patchy crust after cooking. The salt does its best work when it sits directly against the meat, so don’t let clumps of spice stay behind in the bowl.
Coating and Resting the Roast
Rub the tri-tip with olive oil first, then press the spice mix over every side. The oil helps the seasoning stick and gives the surface a better shot at browning instead of drying into loose spice. Letting the roast sit at room temperature for about 30 minutes takes the chill off, which helps the middle cook more evenly. Don’t leave it out longer than that, or the outer layers can warm too much before the center is ready.
Grilling or Roasting to Medium-Rare
For the grill, start with high heat to sear each side for about 5 minutes, then move the roast to indirect heat until the center hits 130-135°F. For the oven, sear the roast in a hot skillet first, then roast at 425°F until it reaches the same temperature. Pull it early and trust the rest time; the temperature climbs a few degrees as it sits. If you cook it all the way to 135°F in the pan or oven, you’ll usually overshoot by the time it’s sliced.
Resting and Slicing
Rest the tri-tip for 15 minutes before cutting into it. That pause keeps the juices in the meat instead of running onto the board. Slice thinly against the grain, and if the grain changes direction, turn the roast before you keep slicing. This is the difference between tender and chewy, even when the roast itself was cooked perfectly.
How to Adapt This Tri-Tip for Different Pans, Grills, and Diets
Smoked Paprika for a Deeper Grill Flavor
Swap the regular paprika for smoked paprika if you want a more barbecue-like crust. The roast will taste a little earthier and less bright, which works especially well on the grill. Keep the amount the same so the rub doesn’t turn bitter.
Garlic-Free Version
Leave out the garlic powder and add an extra 1/2 teaspoon of onion powder plus a little more black pepper. You’ll lose some of the classic roast-house flavor, but the crust will still be savory and balanced. This is the easiest way to adapt it for anyone avoiding garlic.
Oven-Only Cooking
If you don’t have a grill, a hot skillet followed by a 425°F oven gives you almost the same finish. The skillet starts the browning, and the oven cooks the center evenly without scorching the spices. Use a heavy pan so the surface stays hot when the roast goes in.
Leftovers for Sandwiches and Bowls
Tri-tip holds up well in leftovers if you slice it thin and don’t reheat it too hard. Cold slices make excellent sandwiches, and gently warmed pieces work in rice bowls or salads. The one thing that ruins leftovers fast is blasting them in the microwave until the meat turns gray.
Storage and Reheating
- Refrigerator: Store sliced tri-tip in an airtight container for up to 4 days. It stays best if you keep a little of the resting juice with it.
- Freezer: Freeze tightly wrapped slices for up to 2 months. Wrap the meat well to protect it from freezer burn, then thaw overnight in the refrigerator.
- Reheating: Warm slices gently in a covered skillet over low heat with a splash of broth or pan juices. High heat dries tri-tip out fast and pushes it past medium-rare in a hurry.
Questions I Get Asked About This Tri-Tip
Tri Tip - Grilled or Oven-Roasted
Ingredients
Equipment
Method
- Mix kosher salt, black pepper, garlic powder, paprika, onion powder, and dried oregano into a dry rub.
- Rub the tri-tip with olive oil, then coat generously with the spice rub to cover all sides.
- Let the tri-tip sit at room temperature for 30 minutes to help the seasoning adhere.
- Sear the tri-tip over high heat for 5 minutes per side until deeply browned.
- Move to indirect heat and cook until the center reaches 130-135°F for medium-rare.
- Sear the tri-tip in a hot skillet until browned, then transfer to roasting heat.
- Roast at 425°F for 20-25 minutes until the center reaches 130-135°F for medium-rare.
- Let the tri-tip rest for 15 minutes before slicing to keep the juices in the meat.
- Slice tri-tip against the grain for tender bites and show the pink interior under the crusty exterior.