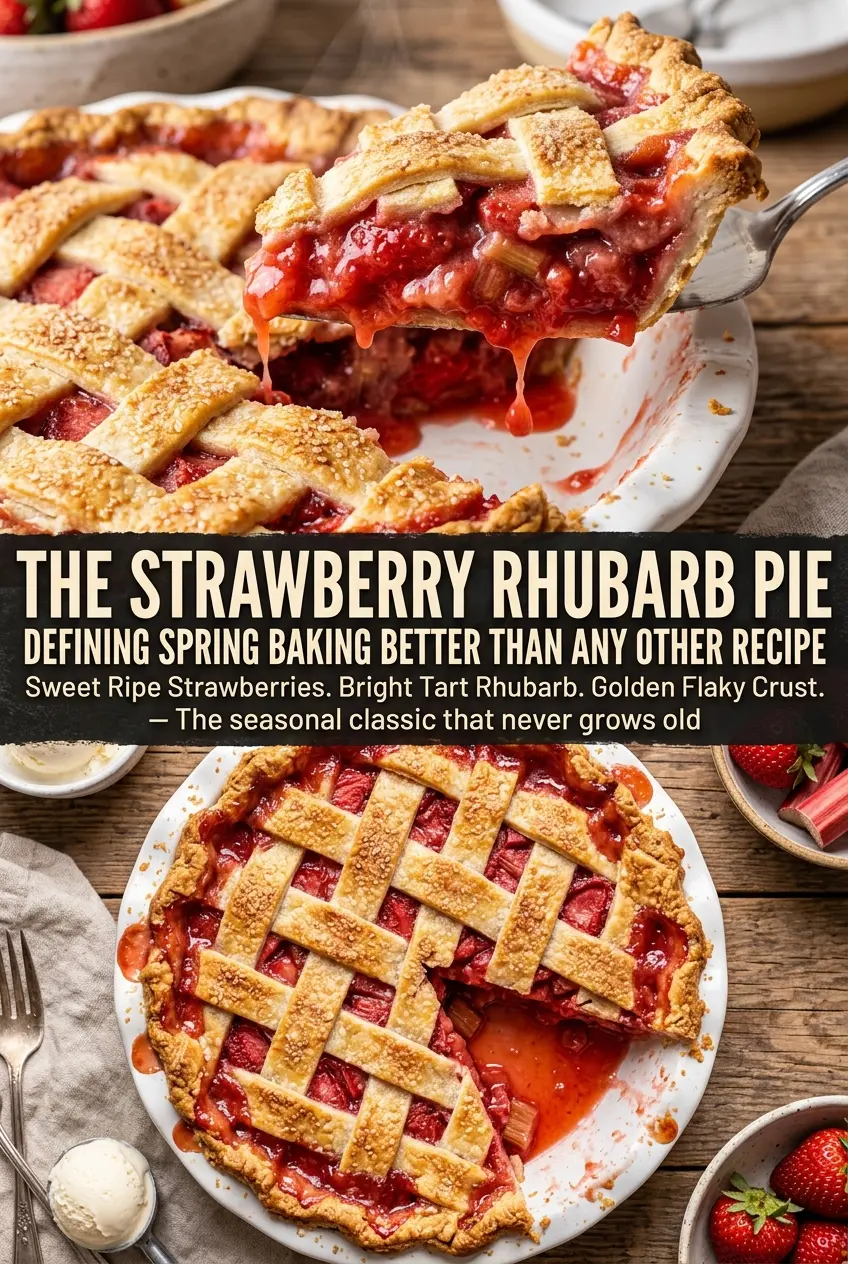
Strawberry rhubarb pie earns its place when the filling lands in that sweet-tart middle ground and the crust stays crisp instead of going soggy. The best versions slice cleanly, but still give you that soft, jammy fruit that clings together just enough under a fork. When the pie cools properly, the strawberries bring sweetness and body while the rhubarb keeps the filling bright and sharp.
This version works because the fruit rests with the sugar and cornstarch before it goes into the shell. That little pause helps draw out juice so the starch can start doing its job before the pie hits the oven. The result is a filling that bubbles thickly instead of running across the plate.
Below, I’ve included the part that matters most: how to keep the bottom crust from turning damp, how to know when the center is actually done, and what to do if your rhubarb leans extra tart. If you’ve ever cut into a fruit pie too soon and watched the filling slide apart, this one will help.
The filling set up beautifully and the crust stayed crisp all the way to the bottom. I followed the cooling time exactly and the slices held together instead of oozing out.
Save this strawberry rhubarb pie for the day you want a bubbling fruit filling, a flaky double crust, and clean slices after a proper cool-down.
The Reason Strawberry Rhubarb Pie Runs Before It Sets
The filling in a fruit pie doesn’t thicken in the oven the way people expect. It thickens as the starch reaches the right temperature and the juices simmer long enough to turn glossy and cohesive. With strawberry rhubarb pie, the problem is usually extra liquid from the strawberries and the natural water in rhubarb, which can flood the filling before the cornstarch has time to catch up.
The solution is part timing, part patience. Letting the fruit sit with the sugar and cornstarch gives you a head start on the thickening, and baking at a higher temperature first helps activate the starch before the crust overbakes. If the pie is pulled too early, the center can still look loose even when the edges are browned, so wait for the filling to bubble through the vents in thick, slow bursts.
What the Fruit, Starch, and Crust Each Need to Do Here

- Rhubarb — Fresh rhubarb gives this pie its sharp edge and soft-set texture. Frozen rhubarb works in a pinch, but it releases more liquid, so don’t thaw it first; toss it straight with the sugar and add the full cornstarch amount.
- Strawberries — Strawberries bring sweetness and help round out rhubarb’s acidity. Smaller berries or berries cut into even halves cook more evenly, which keeps you from getting mushy pockets next to firm ones.
- Cornstarch — This is what turns the fruit juices into a sliceable filling. It needs enough heat to activate, so don’t reduce the baking time early just because the crust looks finished.
- Pie crust — A sturdy double crust matters because the filling is juicy before it sets. Store-bought crust is fine here if it bakes up cold and is handled gently; homemade dough gives you more flake, but the pie still depends more on keeping everything chilled than on a fancy formula.
- Vanilla and butter — Vanilla softens the tart edge, and the butter adds a little richness to the filling. Dotting the butter over the fruit helps carry flavor through the whole pie without making the filling heavy.
Building the Filling So the Bottom Crust Stays Crisp
Mix the fruit just long enough
Combine the rhubarb, strawberries, sugar, cornstarch, salt, and vanilla in a large bowl until the fruit is coated. Let it sit for about 10 minutes so the juices start to come out and mingle with the starch. If you skip that rest, the fruit goes into the pie dry on the outside and wet underneath, which makes the thickening uneven.
Fill the shell before the juice pools too much
Pour the fruit into the lined pie plate and dot the top with butter right away. Don’t let the mixture sit for so long that the bowl fills with liquid at the bottom; that liquid belongs in the pie, not left behind in the bowl. If there’s a lot of juice, scrape all of it in, because that’s where the flavor and the starch are working together.
Bake hot, then finish gently
Start the pie at 400°F for the first 20 minutes, then lower the oven to 350°F and keep baking until the crust is deep golden and the filling is actively bubbling. That first blast helps set the structure, and the lower heat gives the fruit time to finish without scorching the top. If the edges brown too quickly, shield them with foil; the center still needs those bubbles to prove the filling is thickening.
Cool it all the way through
This is the step people rush, and it’s the one that decides whether you get slices or soup. The pie needs at least 4 hours on the counter to finish setting, and even longer is fine if your kitchen is warm. Cut it too soon and the starch hasn’t locked in yet, no matter how perfect the crust looks.
How to Adjust This Pie When You Need a Different Path
Gluten-Free Pie That Still Holds Together
Use a gluten-free pie crust that bakes up firm, not soft and cakey. The filling itself is naturally gluten-free because the thickener here is cornstarch, so the main thing is choosing a crust that can stand up to juicy fruit without turning pasty on the bottom.
Dialing Back the Tartness
If your rhubarb is especially sharp, add 2 to 3 extra tablespoons of sugar. That keeps the pie balanced without muting the fruit, and it’s better than adding more strawberry, which can make the filling softer and wetter.
Using Frozen Fruit Without a Watery Mess
Frozen strawberries and rhubarb can work, but don’t thaw them first. Toss them with the sugar and cornstarch while still frozen, then bake the pie a little longer if needed so the center has time to bubble and thicken fully.
Making the Pie Ahead
You can assemble the pie, cover it well, and refrigerate it for a few hours before baking. The crust stays flakier if you bake from cold, but don’t let an unbaked fruit pie sit overnight or the filling can start to leak into the bottom crust.
Storage and Reheating
- Refrigerator: Keep covered for up to 4 days. The crust softens a little after the first day, but the flavor stays excellent.
- Freezer: Bake and cool the pie completely, then wrap tightly and freeze for up to 2 months. Thaw in the refrigerator overnight before reheating.
- Reheating: Warm slices in a 325°F oven for 10 to 15 minutes. The oven keeps the crust crisp; the microwave makes the filling hot but turns the pastry limp.
Answers to the Questions Worth Asking
Strawberry Rhubarb Pie
Ingredients
Equipment
Method
- Preheat oven to 400°F and line a 9-inch pie plate with the bottom crust.
- Combine rhubarb, strawberries, sugar, cornstarch, salt, and vanilla in a large bowl.
- Let the fruit mixture sit for 10 minutes, then pour into the pie crust.
- Dot the filling with butter.
- Top with the second crust, trim edges, and crimp to seal.
- Cut decorative vents in the top crust so steam can escape.
- Brush the crust with the beaten egg and sprinkle with sugar.
- Bake for 20 minutes at 400°F until the crust starts to set.
- Reduce oven to 350°F and bake for 35-40 minutes more until golden and bubbling.
- Cool completely for at least 4 hours before slicing.