Golden strawberry crumb bars hit that sweet spot between jammy fruit dessert and buttery oat crumble. The bottom bakes into a firm, sandy crust that holds together when you lift a square, while the center stays bright and juicy instead of turning gummy or dry. The top browns into loose, crunchy crumbs that give each bite a little texture before you reach the soft berry layer.
What makes these bars work is the balance between the thickener and the fruit. Cornstarch keeps the strawberry layer from flooding the pan, and a small splash of lemon juice sharpens the berries without making the filling taste sour. The oat mixture does double duty here: half becomes the base, and the rest turns into the crumble topping, so you get the same buttery flavor in every layer.
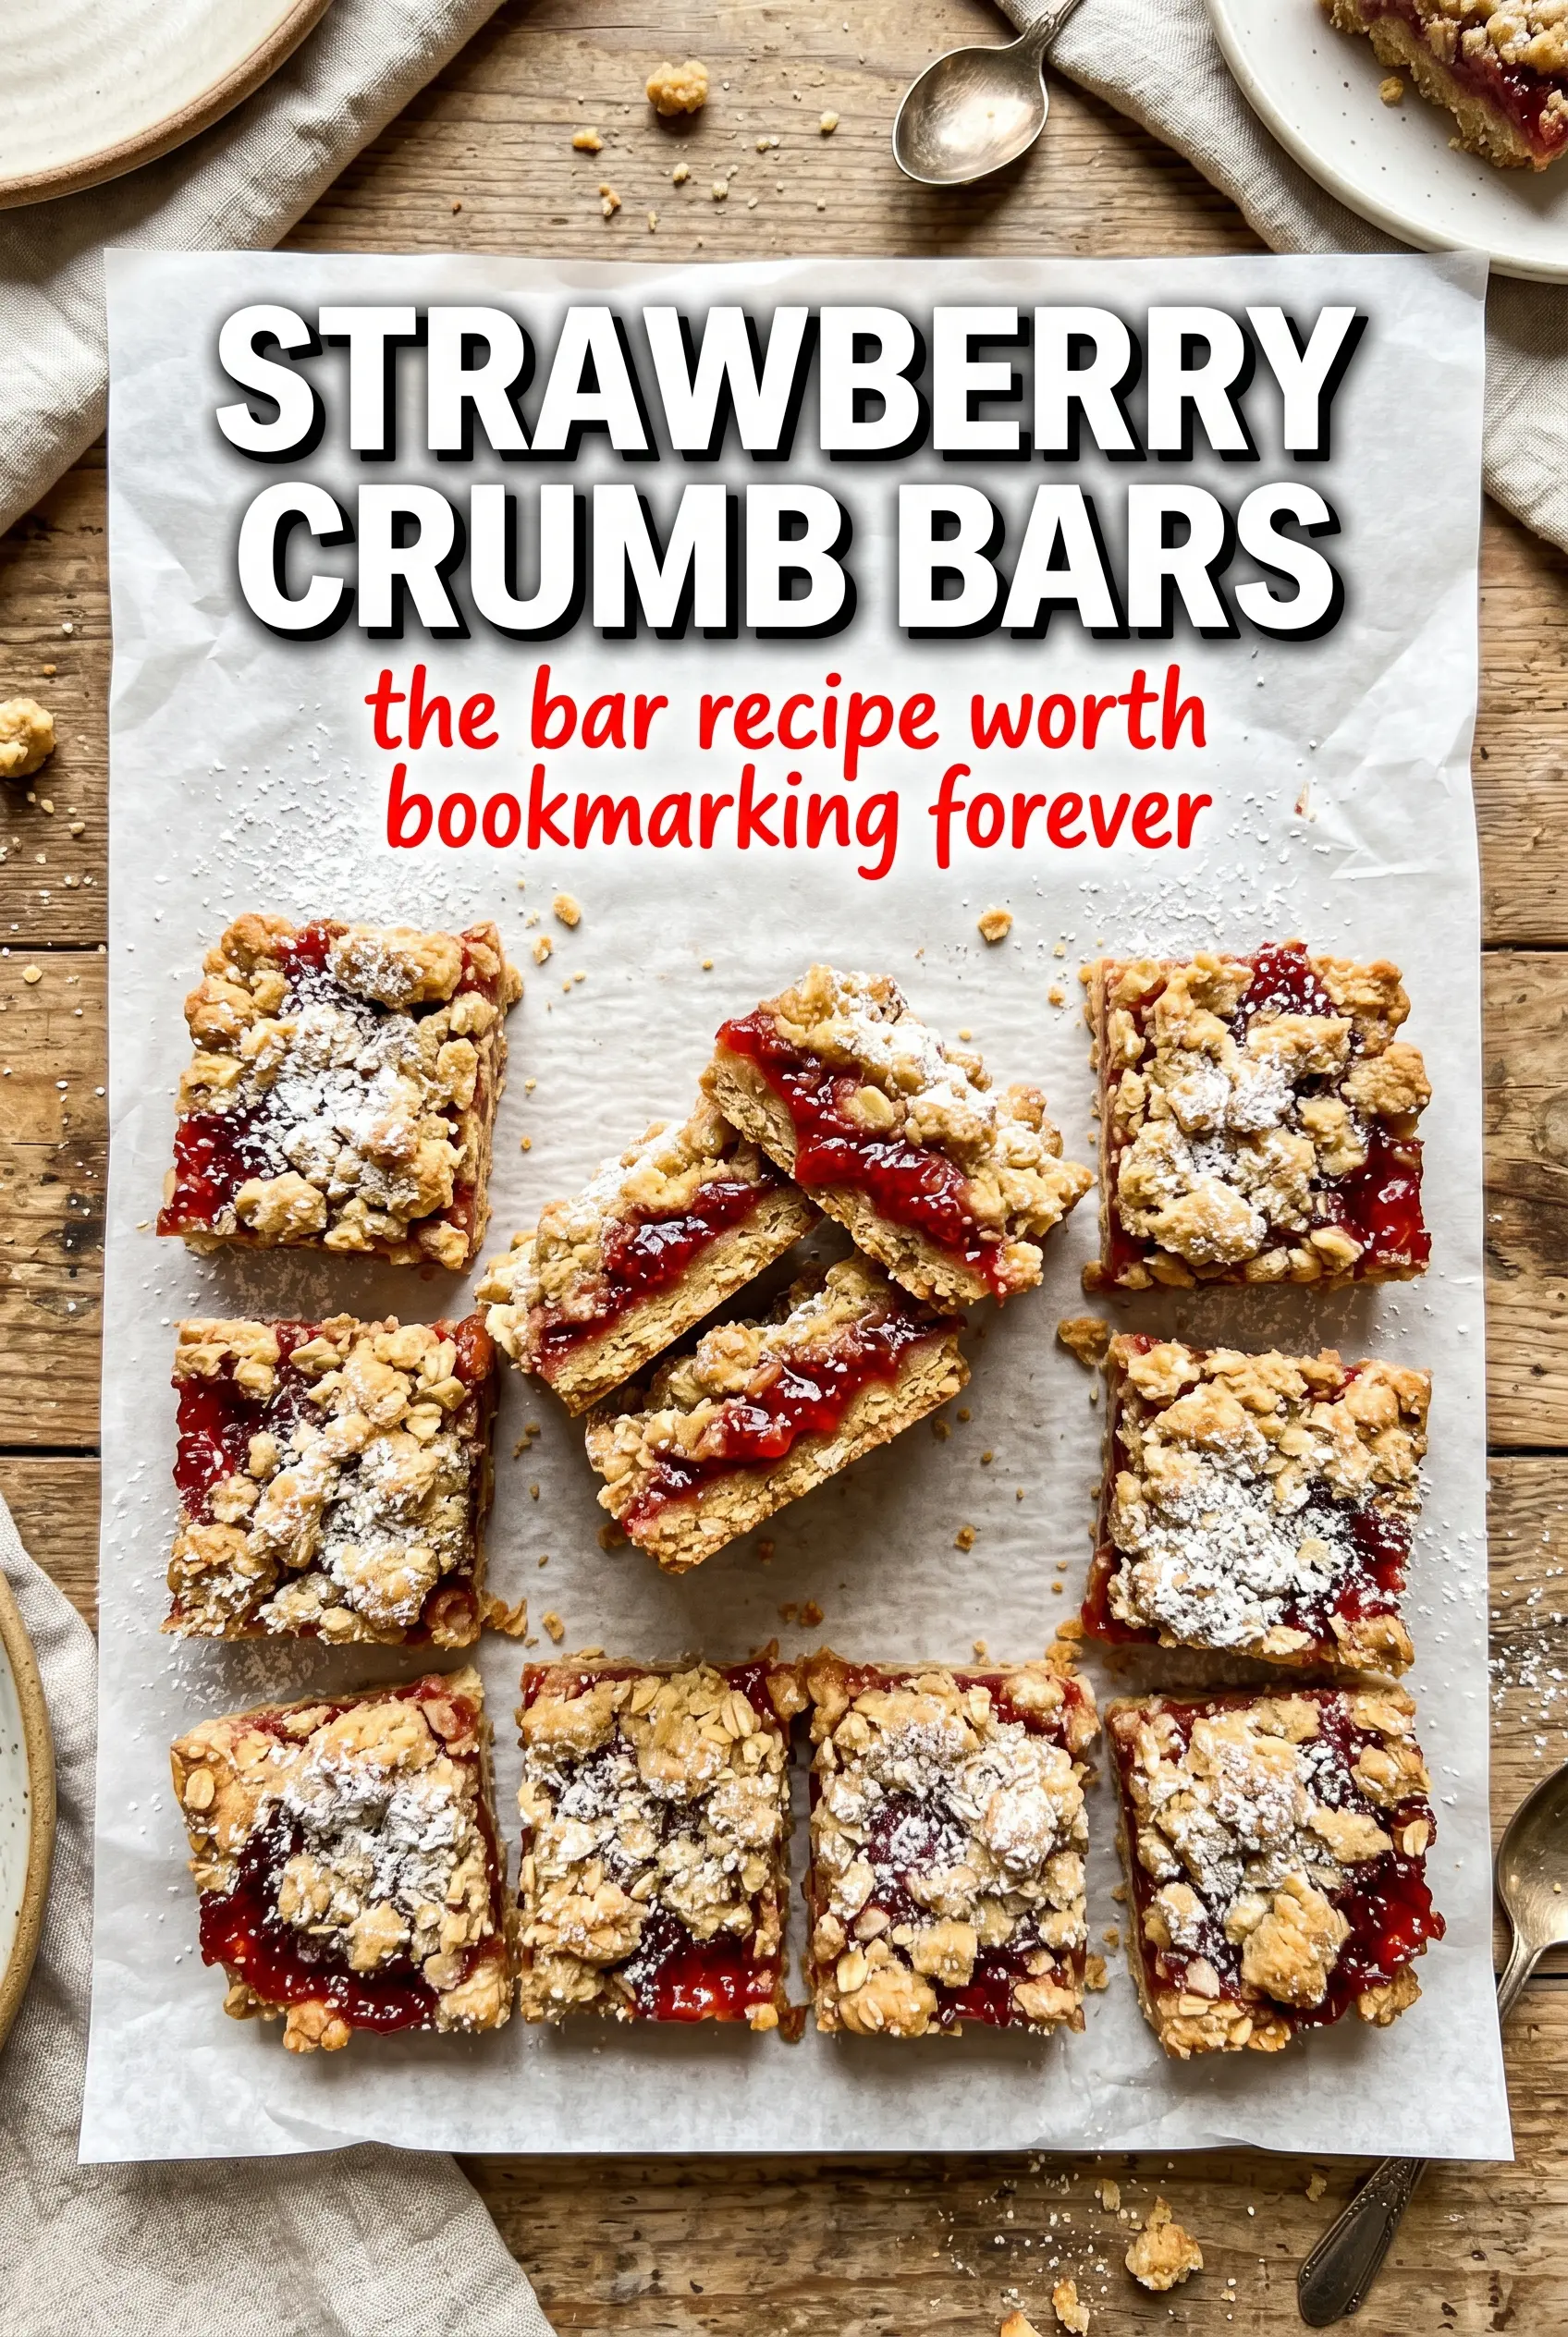
The strawberry layer set up beautifully and didn’t leak all over the pan. I let them cool the full 15 minutes and the squares came out clean with that perfect crumbly top.
Save these strawberry crumb bars for the days when you want a jammy fruit dessert with a buttery oat crumble on top.
The Crumb Layer Needs More Than Just Butter and Flour
The mistake with crumb bars is treating the topping like a loose streusel and then wondering why the base crumbles apart when you cut it. Here, the same mixture does both jobs, which means the texture has to be just right before it ever hits the pan. You want coarse crumbs that clump when squeezed, not a powdery mix that bakes into sand.
Softened butter matters more than melted butter in this recipe. Soft butter coats the oats and flour, creating little pockets that bake into a tender crust instead of a greasy one. If the butter is too cold, the mixture never comes together enough to press into the pan; if it’s melted, the bars can turn dense and oily.
- Pressing half the mixture firmly gives you a crust that supports the fruit layer and slices cleanly after cooling.
- Leaving the top crumbly lets the upper layer brown and crisp instead of turning into a second solid crust.
- Oats add structure and a toasty chew that plain flour can’t match.
What the Strawberries and Thickener Are Doing for You
The filling is short, but every ingredient has a job. Strawberries bring the bright, juicy center, while cornstarch turns that juice into a soft set instead of a puddle. The sugar pulls a little extra liquid from the fruit so the filling turns glossy and jam-like in the oven, and the lemon juice keeps the sweetness from flattening out.
Fresh strawberries are the best choice here because frozen berries release a lot more water and can make the bars soggy. If you only have frozen, use them straight from the freezer, don’t thaw them, and expect a softer set. The cornstarch will still help, but the filling won’t slice as neatly as it does with fresh fruit.
- Fresh strawberries hold their shape better and give you visible fruit pieces instead of a fully broken-down filling.
- Cornstarch is the difference between a bar that cuts cleanly and one that collapses into the pan.
- Lemon juice sharpens the berries and keeps the flavor tasting fresh after baking.
Baking the Bars So the Center Sets Without Drying Out
Mixing the Crumb Properly
Stir the dry ingredients first, then cut in the softened butter until the mixture looks like damp sand with some larger pebbles. Those bigger bits are what give the top its craggy, golden finish. If the mixture seems too dry to press, the butter wasn’t soft enough. Let it sit a few minutes longer, then pinch it together again before moving on.
Building the Fruit Layer
Spread the strawberry mixture evenly over the crust so the filling bakes in a flat layer. If the berries pile up in the center, the middle of the pan takes longer to set and the edges can overbake while you wait. A thin, even layer also keeps the top crumbs from sinking into the fruit.
Knowing When It’s Done
Bake until the top is deep golden and the fruit is bubbling around the edges. The center should look set, not wet, but it doesn’t need to be dry to the touch. Pull the pan when the topping looks finished; the bars continue to firm up as they cool. If you wait until the filling seems completely solid in the oven, the crust usually ends up overbaked.
How to Adapt These Bars for Different Pans and Pantry Swaps
Make Them Gluten-Free
Use a 1:1 gluten-free baking blend in place of the all-purpose flour and make sure your oats are certified gluten-free. The bars will still hold together, but the crumb will be a little more delicate and less chewy than the original.
Swap in Other Berries
Blueberries, raspberries, or a mixed berry blend all work here. Raspberries break down faster and make a softer filling, while blueberries hold their shape and give you a slightly less jammy bar. Keep the cornstarch the same.
Use Frozen Strawberries When Fresh Aren’t Available
Frozen strawberries work, but add them straight from the freezer and don’t drain the juice. Thawing first releases too much liquid and makes the center loose. Even with the same amount of cornstarch, the filling will bake up softer and need a full cool time before slicing.
Storage and Reheating
- Refrigerator: Store in an airtight container for up to 4 days. The crumb softens a little after the first day, but the filling stays pleasantly jammy.
- Freezer: These bars freeze well. Wrap individual squares tightly and freeze for up to 2 months, then thaw in the refrigerator so the fruit layer doesn’t weep.
- Reheating: Warm a bar in a 300°F oven for 6 to 8 minutes if you want the topping to crisp back up. The microwave will soften the crust, so use it only if you don’t mind a softer texture.
Questions I Get Asked About This Recipe
Strawberry Crumb Bars
Ingredients
Equipment
Method
- Preheat oven to 350°F and set a rack to the middle position, then grease a 9x13 inch baking pan so the crust releases cleanly.
- Mix all-purpose flour, old-fashioned oats, granulated sugar, brown sugar, and salt until evenly combined, with no visible sugar lumps.
- Cut in the softened butter until the mixture resembles coarse crumbs, looking sandy and clumpy rather than smooth.
- Press half of the crumb mixture into the greased 9x13 inch baking pan, pressing firmly so the base holds together.
- In a bowl, toss chopped strawberries with cornstarch, granulated sugar, and lemon juice until the berries look glossy and slightly thickened.
- Spread the strawberry mixture evenly over the crust, stopping short of the pan edges for tidy layers.
- Sprinkle the remaining crumb mixture over the strawberries and press down gently so the top stays crumbly but adheres.
- Bake for 33-35 minutes at 350°F until the top is golden brown and you can see the strawberry filling through the gaps.
- Cool for 15 minutes at room temperature before cutting into bars so the filling sets and the layers don’t slide.