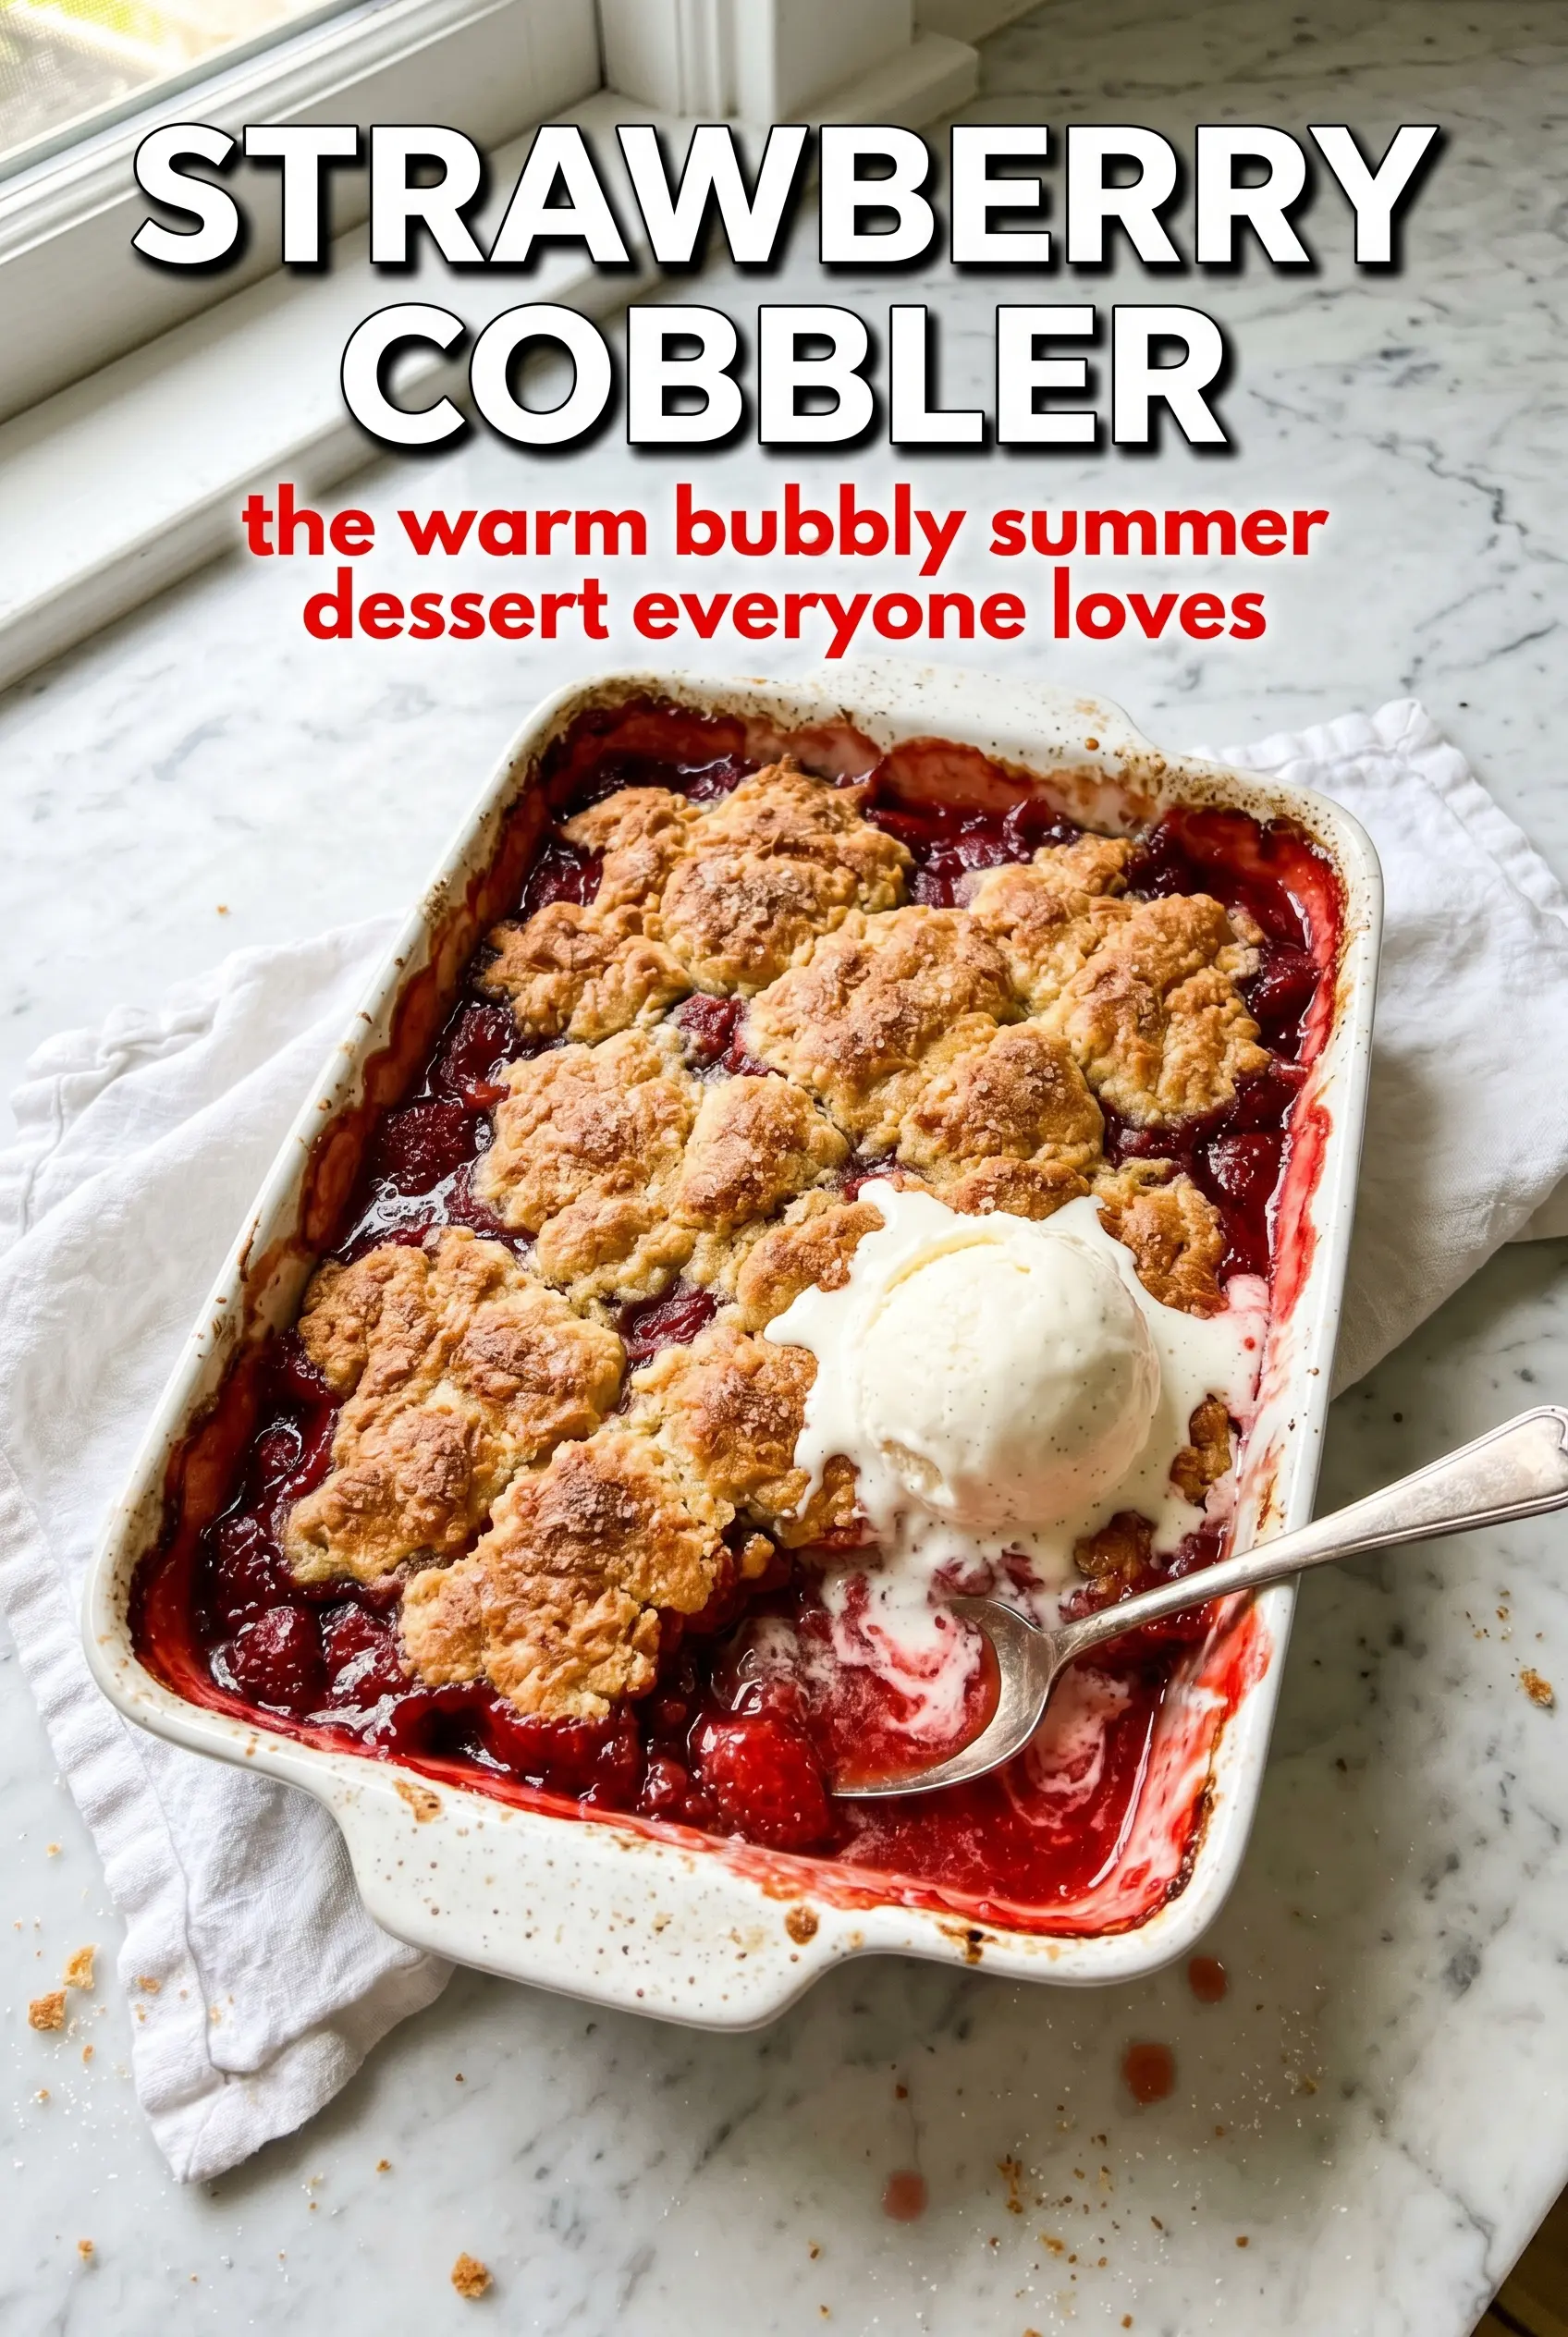
Golden-brown biscuit topping and bubbling strawberry filling make this strawberry cobbler the kind of dessert people drift back to for second helpings. The berries soften into a thick, glossy sauce while the topping stays tender underneath and crisp on top, with just enough contrast to keep each spoonful interesting. It’s the kind of pan dessert that looks rustic in the best way and disappears fast once it hits the table.
The filling works because the strawberries are tossed with cornstarch before baking, which keeps the juices from running all over the dish. A little lemon juice sharpens the berries, vanilla rounds them out, and a pinch of cinnamon gives the fruit a deeper edge without making the dessert taste spiced. The biscuit topping uses cold butter and buttermilk, so it bakes up with a light, soft crumb instead of turning dense.
Below, you’ll find the little timing and texture cues that matter most, plus a few swaps that help if your strawberries are especially sweet, a little tart, or not at peak season.
The filling set up beautifully and the biscuits stayed fluffy on top instead of getting soggy. I served it after the 10-minute rest and the spoonfuls held together just enough without losing that juicy strawberry center.
Like a cobbler with jammy strawberries and a golden biscuit crown? Save this strawberry cobbler for the nights when you want a warm fruit dessert that feels homemade from the first spoonful.
The Trick to Keeping the Biscuit Topping Tender Instead of Dense
The biggest mistake in cobbler is overworking the topping. Once the butter is cut in, the dough should still look a little rough before the buttermilk goes in, and it should only just come together after a few stirs. If you beat it smooth, the topping bakes up tight instead of lifting into soft, biscuit-like peaks.
Leaving gaps between the spoonfuls matters too. The filling needs places to bubble up through the dough, which helps the topping cook evenly and gives you those glossy strawberry patches on top. If you blanket the fruit completely, the center can steam instead of bake.
- Cold butter — This is what creates the flaky, tender bits in the biscuit topping. Soft butter blends in too quickly and gives you a heavier crust.
- Buttermilk — It adds tang and keeps the topping soft. Plain milk works in a pinch, but the texture won’t be quite as plush or layered.
- Coarse sugar — The sugar on top gives the biscuits a crisp, sparkling finish. Skip it only if you’re out; it’s not structural, but it adds a nice crunch.
- Cornstarch — It thickens the strawberry juices into a spoonable filling. Flour can work in a pinch, but the sauce won’t turn as clear or glossy.
What Each Ingredient Is Doing in the Strawberry Filling
The berries do most of the work here, so quality matters. Fresh strawberries give the brightest flavor and the best texture, especially when they’re ripe but still firm enough to hold shape in the oven. If your berries are very sweet, keep the sugar as written; if they’re a little flat, add a spoonful more lemon juice rather than piling on extra sugar.
The lemon juice sharpens the filling and keeps it from tasting heavy. Vanilla softens the edges, while the cinnamon stays in the background and makes the strawberries taste a little more like themselves, not like a spice dessert. The cornstarch needs to be tossed in thoroughly so it doesn’t clump at the bottom of the dish and leave you with uneven thickening.
Building the Cobbler So the Fruit Bubbles and the Top Bakes Cleanly
Coating the Strawberries
Start by tossing the strawberries with the sugar, cornstarch, lemon juice, vanilla, and cinnamon until every piece is coated and the bowl starts to look glossy. That coating should cling to the fruit, not sit in dry pockets at the bottom. Pour it into the baking dish right away so the sugar doesn’t pull out too much liquid before it goes into the oven.
Mixing the Biscuit Dough
Whisk the dry ingredients, then cut in the cold butter until the mixture looks like coarse crumbs with a few pea-size pieces still visible. Those little bits of butter melt in the oven and create lift. Stir in the buttermilk just until the flour disappears; if you keep mixing, the topping turns tough and loses that soft, biscuit-y bite.
Assembling and Baking
Drop the dough in spoonfuls over the berries instead of spreading it smooth. Leave some open spaces so steam can escape and the filling can bubble up around the edges. Bake until the topping is deeply golden and the strawberry juices are thick and active around the perimeter; if the top browns before the center bubbles, the cobbler needs a few more minutes, not just the broiler.
Letting It Rest Before Serving
Give the cobbler its full 10-minute rest once it comes out of the oven. That short pause lets the filling settle from loose and runny to spoonable. Cut too early and the juices run everywhere; wait a few minutes and you get cleaner scoops with a better balance of fruit and biscuit.
How to Adapt This Strawberry Cobbler Without Losing What Makes It Good
Dairy-Free Version
Use a plant-based butter that behaves like stick butter and swap in an unsweetened non-dairy milk with a little extra acid, such as almond milk with a teaspoon of lemon juice stirred in. The topping won’t have quite the same buttermilk tang, but it still bakes up tender if you keep the butter cold and the mixing light.
Frozen Strawberries Work, But the Filling Needs More Time
Frozen berries can step in when fresh ones aren’t available, but don’t thaw them first or they’ll turn watery. Toss them straight from the freezer with the cornstarch mixture and expect the cobbler to need a few extra minutes in the oven for the filling to bubble properly.
Gluten-Free Cobbler Topping
A 1:1 gluten-free baking blend can replace the all-purpose flour with good results, especially one that already contains xanthan gum. The biscuit topping may spread a little more, but it still browns nicely and keeps enough structure to scoop cleanly.
Storage and Reheating
- Refrigerator: Store covered for up to 4 days. The topping softens as it sits, but the flavor stays good.
- Freezer: It freezes best after baking. Cool completely, wrap tightly, and freeze for up to 2 months; the biscuit topping will be a little softer after thawing, but it still works.
- Reheating: Warm individual portions in a 325°F oven until heated through. The microwave makes the topping limp, so use it only if you don’t mind losing the crisp edges.
Questions I Get Asked About This Recipe
Strawberry Cobbler
Ingredients
Equipment
Method
- Preheat the oven to 375°F, and set a 9x13 inch baking dish aside for the filling. Keep the oven fully preheated for even bubbling around the edges.
- In a large bowl, combine the strawberries with granulated sugar, cornstarch, fresh lemon juice, vanilla extract, and cinnamon, then toss gently until coated. You should see the fruit shine as the dry ingredients cling.
- Pour the strawberry mixture into the 9x13 inch baking dish. Spread it into an even layer so the filling bubbles consistently.
- Whisk together all-purpose flour, baking powder, and salt in a separate bowl. Break up any lumps so the biscuit topping bakes up tender.
- Cut in cold butter until the mixture resembles coarse crumbs. Stop when you still see small butter bits.
- Stir in buttermilk until just combined. The dough should look thick and slightly shaggy, not smooth.
- Drop spoonfuls of biscuit dough over the strawberry mixture, leaving some filling visible. Aim for uneven spacing so the fruit peeks through as it bakes.
- Sprinkle coarse sugar over the top for a crisp, golden finish. Use a light, even layer so it caramelizes in the oven.
- Bake for 40-45 minutes at 375°F until golden brown and the filling is bubbly around the edges. Look for a set fruit layer with bubbling visible near the perimeter.
- Let the cobbler rest for 10 minutes before serving. This brief rest helps the filling thicken so each scoop holds together.