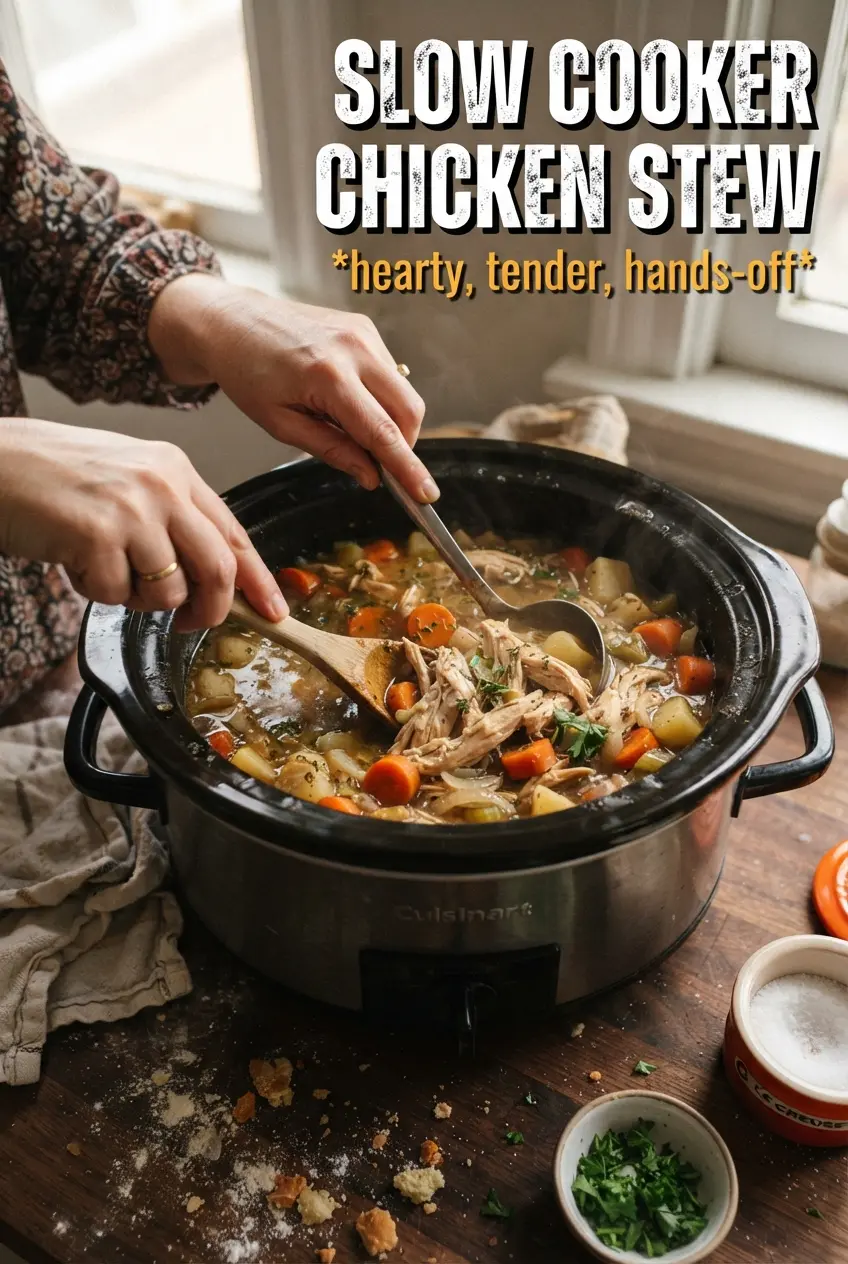
Slow cooker chicken stew lands in the bowl thick, spoonable, and full of the kind of comfort that comes from tender chicken thighs and vegetables that have soaked up every bit of the broth around them. The gravy turns creamy and rich without needing constant attention, and the potatoes hold their shape instead of dissolving into the pot. It’s the kind of dinner that tastes like it took more effort than it did.
The trick here is layering the vegetables on the bottom and the chicken on top so the thighs braise gently instead of sitting in direct heat. Bone-in thighs give the stew better flavor and stay juicy through a long cook, while tomato paste and cream of chicken soup deepen the broth into something closer to a proper gravy than a thin soup. The cornstarch goes in at the end, after the chicken is shredded, so the stew thickens cleanly instead of turning gluey during the long cook.
Below, I’ve included the small details that matter most: how to keep the vegetables from going soft, when to thicken, and which swaps still give you that cozy, spoon-coating finish.
The broth turned into the thickest, richest gravy after the cornstarch slurry, and the chicken shredded with almost no effort. I used the extra time on low and the potatoes stayed intact instead of getting mushy.
Save this slow cooker chicken stew for the nights when you want thick gravy, tender thighs, and almost no hands-on work.
The Reason the Stew Thickens Cleanly Instead of Turning Murky
Slow cooker stews can go from brothy to heavy in the wrong way if the thickener is added too early. Cornstarch needs heat at the end of cooking, not six hours of simmering, or it loses its ability to give you that smooth, glossy finish. Waiting until the chicken is shredded also keeps the texture of the stew clearer and stops the meat from breaking apart into stringy bits.
The other thing that matters here is the order in the pot. The potatoes, carrots, celery, and onion sit underneath the chicken so they get a steady, gentle braise in the broth instead of steaming on top. That setup helps the vegetables soften evenly and keeps the chicken from drying out before the rest of the stew is ready.
What Each Ingredient Is Doing in the Pot

- Bone-in chicken thighs — These hold up better than breasts in a long cook and give the stew a richer base. If you swap in boneless thighs, the stew still works, but the flavor won’t be quite as deep.
- Cream of chicken soup — This is what gives the broth its creamy body without needing a separate roux. A homemade substitute can work, but it takes more time and won’t be quite as stable in the slow cooker.
- Tomato paste — Don’t skip it. It doesn’t make the stew taste tomatoey; it just adds depth and helps the gravy taste more rounded instead of flat.
- Baby potatoes — They keep their shape better than russets, which tend to break down and cloud the stew. Halving them gives enough surface area for flavor to get in without turning them to mash.
- Cornstarch slurry — Mixing the starch with cold water first matters. If you dump dry cornstarch straight into the hot stew, you’ll get little white lumps that never fully disappear.
Building the Stew So the Vegetables Stay Tender and the Chicken Stays Juicy
Layer the vegetables first
Start with the potatoes, carrots, celery, and onion in the bottom of the slow cooker. They need the longest contact with the liquid, and putting them underneath keeps them from drying out while the chicken finishes. If you pile everything in randomly, the top layer cooks unevenly and the bottom layer turns soft before the rest catches up.
Let the thighs braise on top
Set the chicken thighs over the vegetables, then add the broth, soup, tomato paste, herbs, and garlic. The chicken should be mostly submerged but not buried so deep that it falls apart before you can shred it. If the lid leaks steam or the cooker runs hot, check the chicken near the lower end of the cook time so it doesn’t go past tender into stringy.
Finish with the slurry, not before
When the chicken is done, remove it, discard the skin and bones, and shred the meat before thickening the stew. Stir in the cornstarch slurry and let it cook on High for about 20 minutes until the broth turns glossy and coats the back of a spoon. Add the chicken back at the end so it stays tender and doesn’t dry out while the stew tightens.
How to Change This Without Losing the Cozy, Thick Finish
Make it dairy-free
Use a dairy-free cream of chicken-style soup or swap in an unsweetened plant-based cream soup. The stew will still thicken, but the finish may taste a little lighter, so the tomato paste and thyme become even more important for depth.
Use boneless chicken thighs
Boneless thighs shave off a little prep time and still stay moist, but they don’t give the broth quite the same richness. If you use them, check them a bit earlier because they’ll shred faster than bone-in pieces.
Make it gluten-free
Choose a certified gluten-free cream soup and broth, then keep the cornstarch slurry as written. That gives you the same thick, spoon-coating texture without any wheat flour in the base.
Add peas or mushrooms
Stir in frozen peas during the last 10 minutes or sliced mushrooms at the beginning with the other vegetables. Peas keep their bright color if they go in late, while mushrooms need the long cook to lose their raw edge and blend into the gravy.
Storage and Reheating
- Refrigerator: Store in an airtight container for up to 4 days. The gravy thickens as it chills, so it may look tighter than it did fresh.
- Freezer: It freezes well for up to 3 months. Cool it completely first, then freeze in portions; the potatoes will soften a little after thawing, but the stew still reheats well.
- Reheating: Warm gently on the stove or in the microwave with a splash of broth to loosen it. Don’t blast it on high heat or the chicken can dry out and the gravy can separate at the edges.
Questions I Get Asked About This Recipe
Slow Cooker Chicken Stew
Ingredients
Equipment
Method
- Add the baby potatoes, carrots, celery, and onion to the bottom of the slow cooker in an even layer, so the vegetables cook through uniformly.
- Nestle the bone-in chicken thighs on top, then tuck the minced garlic around them.
- Pour in the chicken broth, and add the cream of chicken soup, tomato paste, dried thyme, dried rosemary, and bay leaf.
- Cover and cook on Low for 6-8 hours until the chicken is very tender and easily pulls apart.
- If you’re short on time, cook on High for 3-4 hours until the chicken is very tender.
- Remove the chicken thighs to a plate, discard the skin and bones, and shred the meat into bite-size pieces.
- Remove the bay leaf from the stew, then stir in the cornstarch slurry (cornstarch mixed with water).
- Cook on High for 20 minutes, stirring once, until the stew turns thick and gravy-like.
- Return the shredded chicken to the stew and season with salt and pepper to taste.
- Garnish with fresh parsley and serve hot.