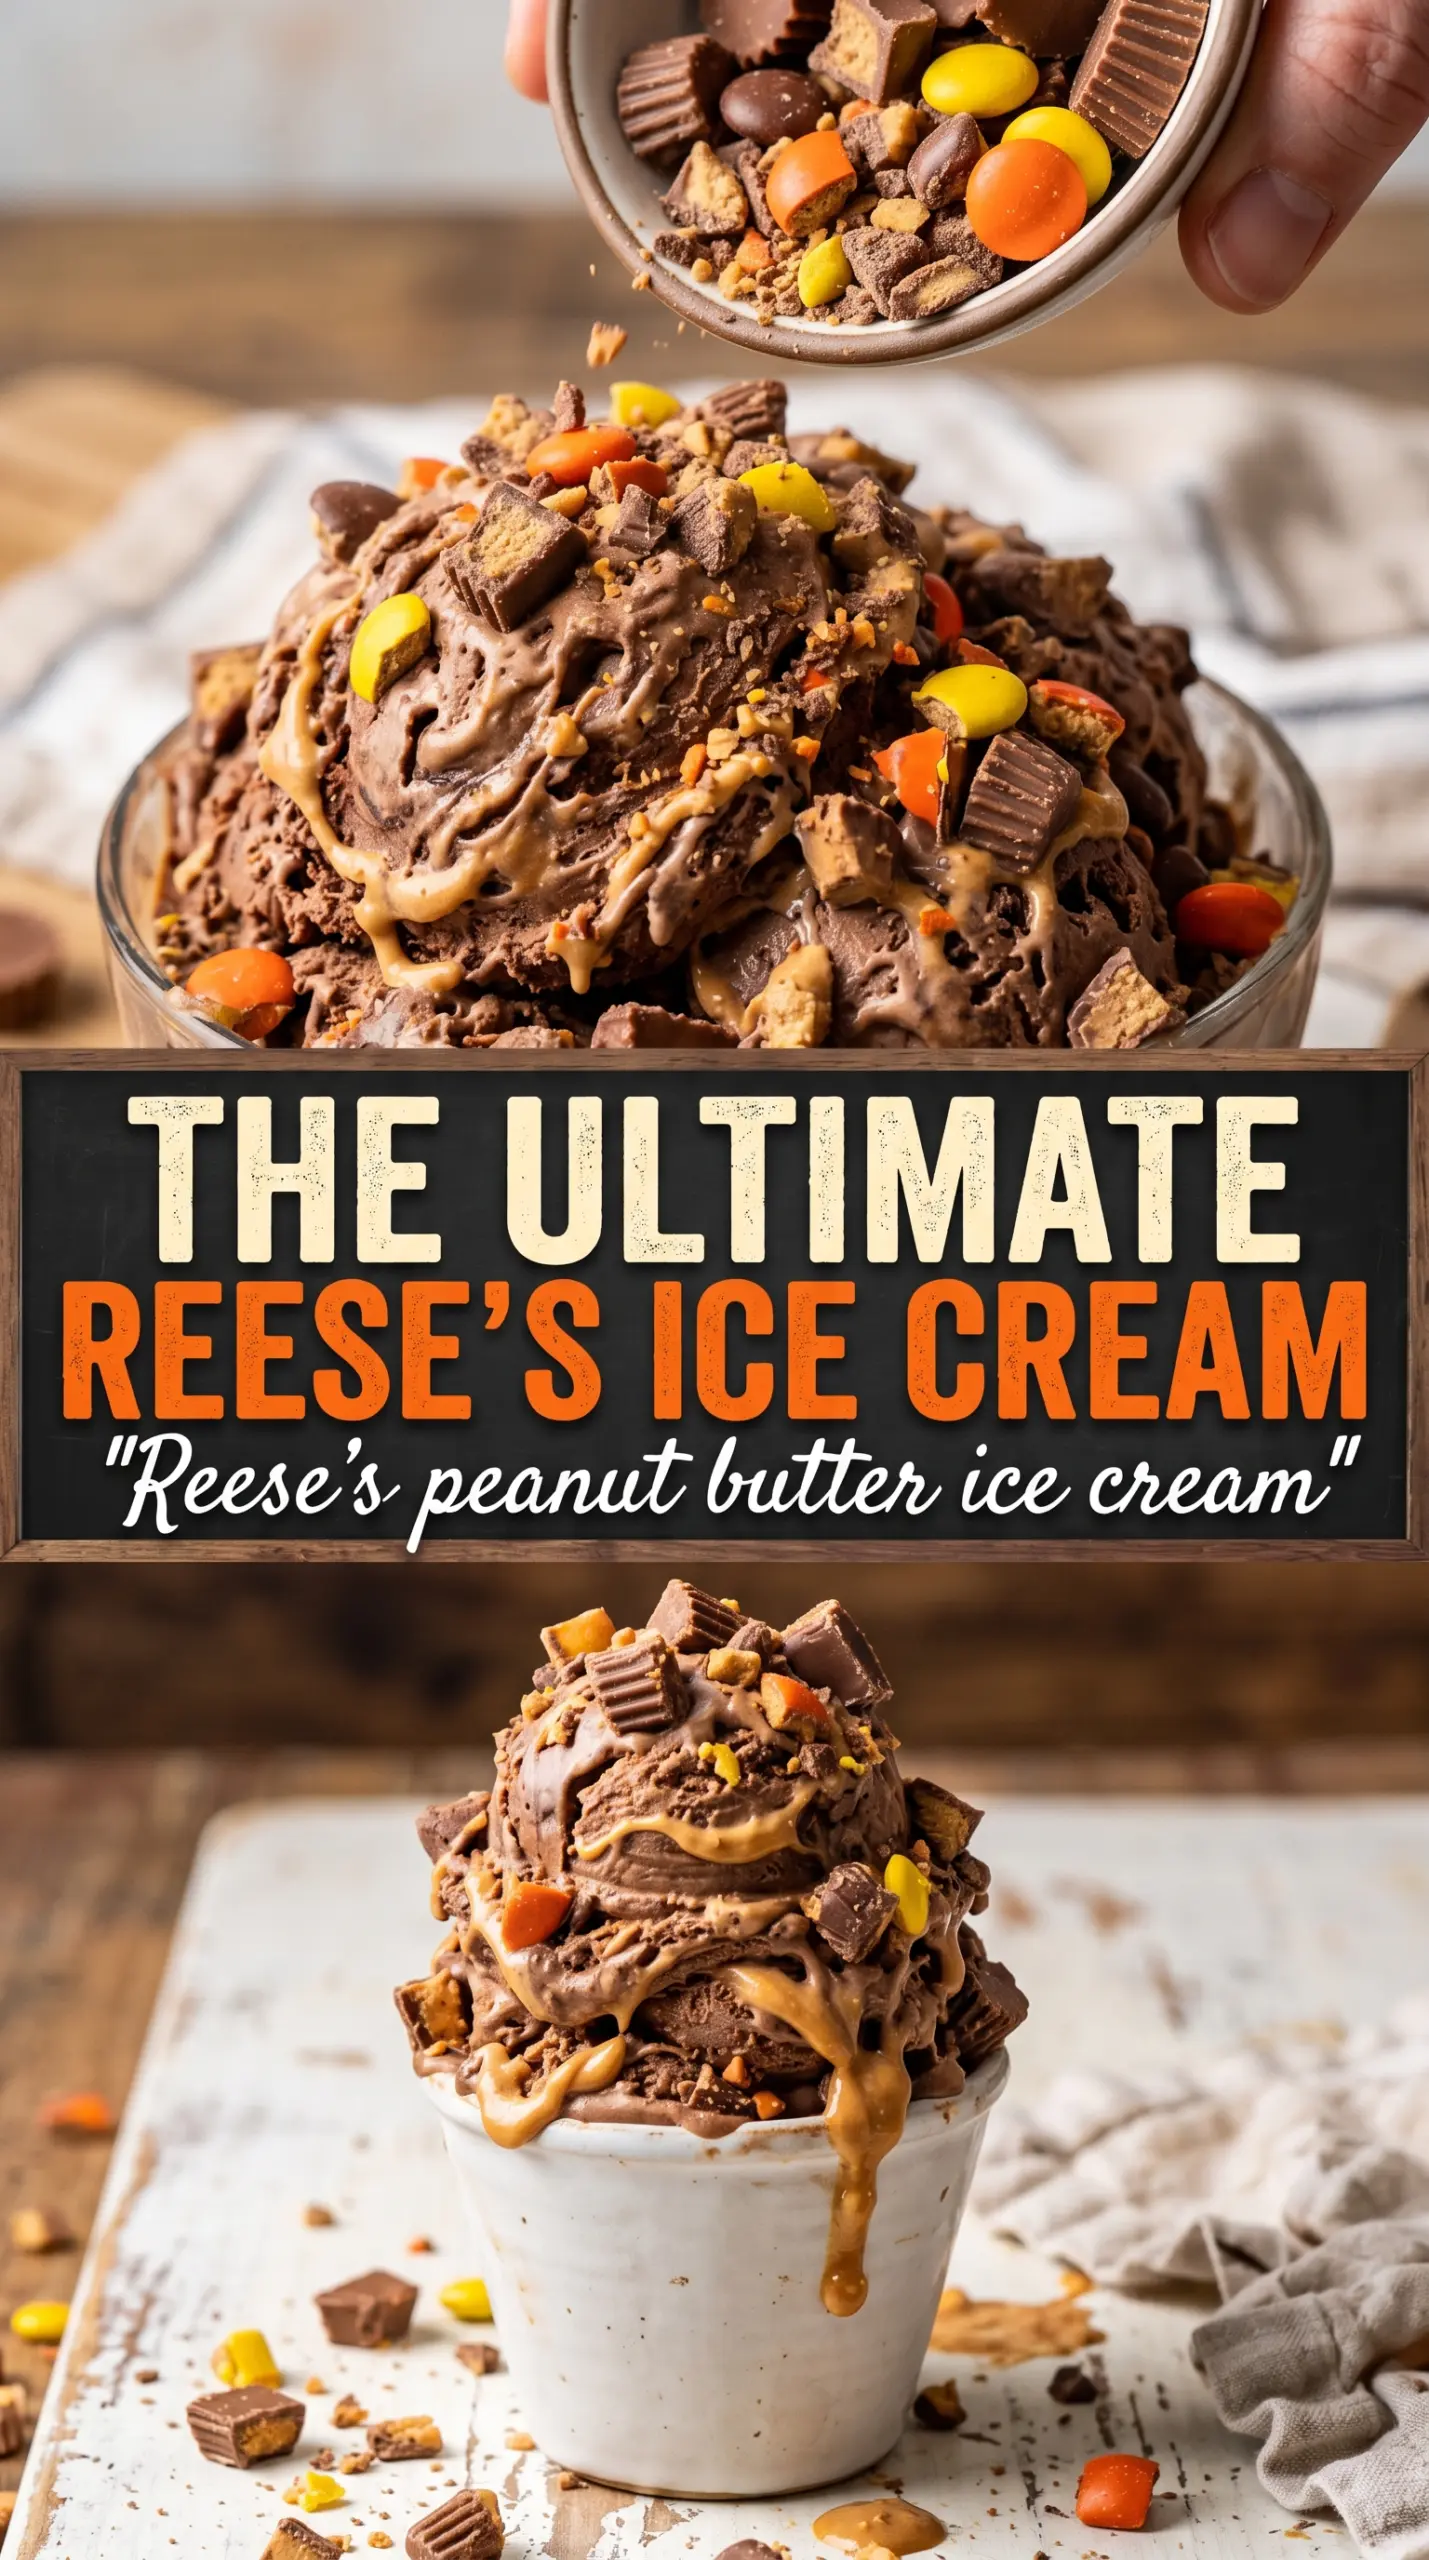
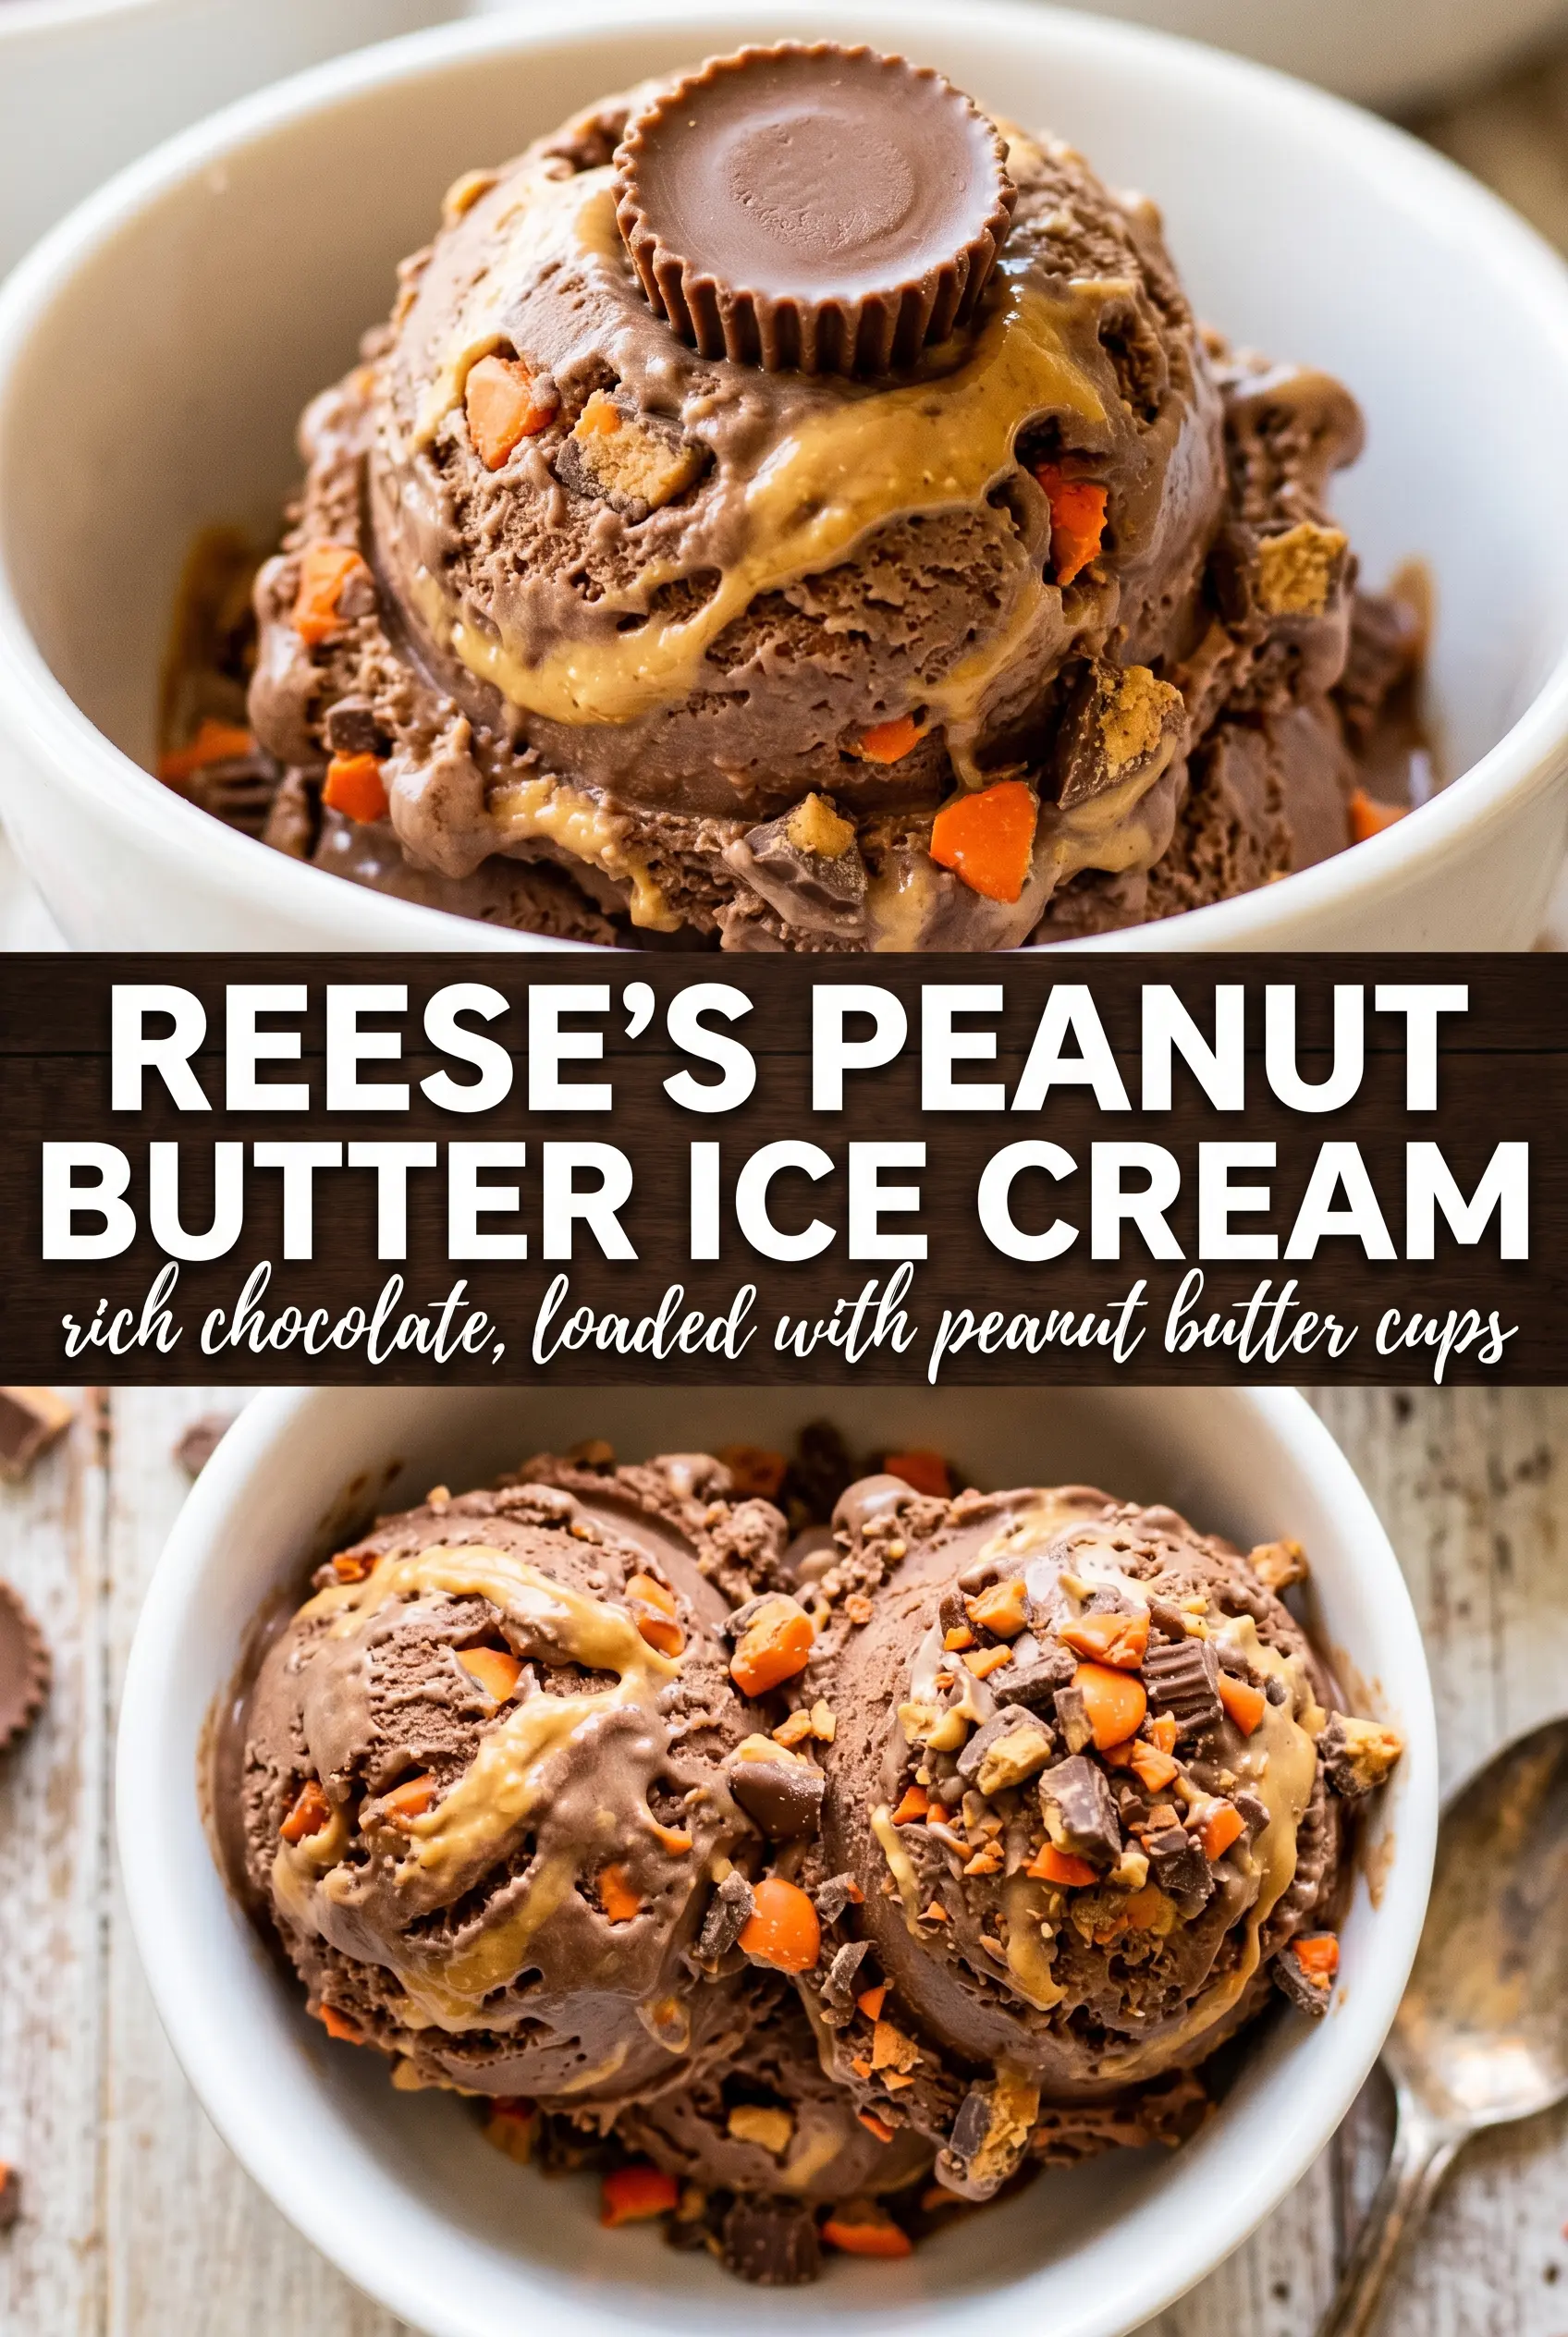
Reese’s Peanut Butter Ice Cream turns into one of those desserts people keep sneaking spoonfuls of straight from the freezer. The base stays creamy without churning, the peanut butter comes through in every bite, and the chopped peanut butter cups give you those cold, fudgy pockets that make each scoop feel loaded instead of plain. It’s the kind of ice cream that disappears fast because the texture lands exactly where it should: soft enough to scoop, firm enough to hold its shape, and studded with enough candy to keep things interesting.
The trick is balancing the peanut butter mixture before it ever meets the whipped cream. If the peanut butter goes in cold or lumpy, you’ll see streaks instead of a smooth, even base. If you fold too hard after the cream is whipped, you’ll knock out the air and end up with something dense instead of light. The sweetened condensed milk keeps the mixture from freezing icy, while the Reese’s pieces stay a little chewy and rich against the creamy base.
Below, I’ll walk through the small details that matter here, plus a few smart swaps if you need to work around what’s in your pantry. The method is simple, but the order matters, and that’s what keeps this from turning grainy or hard.
The base whipped up light and the peanut butter cups stayed chunky even after freezing overnight. I drizzled chocolate sauce on top and my kids said it tasted like a Reese’s sundae in ice cream form.
Pin this Reese’s Peanut Butter Ice Cream for the nights when you want a no-churn dessert with a creamy peanut butter base and big chocolate candy chunks.
The Part That Keeps No-Churn Ice Cream Soft Instead of Icy
No-churn ice cream lives or dies on the base. Sweetened condensed milk brings sweetness and body at the same time, which means you’re not trying to dissolve sugar in a frozen mixture later. Heavy cream has to be whipped to stiff peaks first so it can hold air; that air is what keeps the finished ice cream scoopable after it freezes.
The other common failure is mixing the peanut butter in too early or too roughly. Peanut butter thickens as it sits, and if you whisk it straight into cold condensed milk without loosening it first, you can end up with stubborn little ribbons that never fully disappear. Smooth it out with the vanilla and salt before folding it into the whipped cream, and work gently from there so the base stays light.
What the Peanut Butter and Reese’s Pieces Each Bring to the Bowl
- Creamy peanut butter — Use the regular shelf-stable kind here, not natural peanut butter. Natural peanut butter can separate and freeze with a slightly grainy texture, while the processed creamy version blends into the condensed milk smoothly and keeps the base stable.
- Heavy cream — There isn’t a true substitute if you want this exact no-churn texture. Half-and-half won’t whip, and lower-fat cream makes a looser, icier dessert. Whip it only until stiff peaks hold their shape; if it turns grainy, you’ve gone too far.
- Sweetened condensed milk — This is what keeps the ice cream soft enough to scoop after freezing. Don’t swap in evaporated milk; it won’t give you the same body or sweetness, and the result freezes much harder.
- Reese’s peanut butter cups — Chop them into uneven pieces so you get some bigger bites and some smaller flecks throughout. If they’re too warm when you fold them in, they can smear into the base, so let them stay cool and firm before adding them.
- Chocolate sauce — Optional, but it pulls the whole bowl together. A small drizzle adds contrast without making the ice cream too sweet, and it’s best spooned on right before serving so it doesn’t sink into the frozen surface.
Building the Base Without Losing the Air
Whipping the Cream to the Right Stage
Start with cold cream and a cold bowl if you can. Whip until the cream stands in firm peaks that hold their shape when you lift the beater, but stop before it looks dry or clumpy. If it gets overwhipped, it won’t fold smoothly and the finished ice cream can turn heavy instead of fluffy.
Smoothing the Peanut Butter Mixture
Whisk the condensed milk, peanut butter, vanilla, and salt until the mixture looks glossy and completely even. If the peanut butter resists, warm it just a little so it loosens, but don’t make it hot. Hot peanut butter can melt the whipped cream later and flatten the whole mixture.
Folding in the Candy Chunks
Use a spatula and fold from the bottom up until the mixture is just combined. You want to see a few pale streaks disappear, not beat the mixture into submission. Add the chopped Reese’s pieces at the end so they stay distinct, and stop as soon as they’re distributed; overmixing here is how the candy starts sinking or smearing.
Freezing Until It Slices Cleanly
Scrape the mixture into a loaf pan and smooth the top, then freeze until firm, at least 6 hours. If you serve it too early, it will be soft at the edges and too loose in the center. For cleaner scoops, let it sit at room temperature for 5 to 10 minutes before serving.
Crunchier Candy Top
Save a handful of chopped Reese’s cups and scatter them over the top right before freezing. The pieces on top stay a little firmer and give each scoop more texture, but they can dry out slightly if left exposed too long, so add them after the mixture is in the pan.
Dairy-Free Version
Use full-fat coconut cream in place of heavy cream and a dairy-free sweetened condensed milk. The texture will be a little softer and you’ll taste a faint coconut note, but the frozen base still scoops well and carries the peanut butter flavor nicely.
Extra-Chocolate Swirl
Drizzle a thin ribbon of chocolate sauce through the pan after folding in the candy, then give it one or two gentle passes with a spatula. You’ll get streaks instead of a full mix-in, which gives the ice cream a more pronounced peanut butter cup finish without making the base muddy.
Storing Leftovers
Freeze the ice cream in a loaf pan covered tightly with plastic wrap or in a lidded freezer container for up to 2 weeks for the best texture. After that, it can pick up freezer flavor and get a little icier around the edges. To serve, let it rest on the counter for a few minutes rather than microwaving it, which melts the outside before the center softens.
Answers to the Questions Worth Asking
Reese's Peanut Butter Ice Cream
Ingredients
Equipment
Method
- Using a stand mixer, whip the heavy cream on medium-high until stiff peaks form, 3–5 minutes, with a visibly thick, hold-the-shape texture.
- In a bowl, whisk the sweetened condensed milk, peanut butter, vanilla extract, and salt until smooth, 1–2 minutes, with no streaks remaining.
- Gently fold the peanut butter mixture into the whipped cream until just combined, 1–2 minutes, keeping the mixture airy and pale tan.
- Fold in the chopped Reese's peanut butter cups until evenly distributed, with chocolate-studded chunks suspended throughout.
- Transfer the mixture to a 9x5 loaf pan and freeze at least 6 hours or overnight until firm enough to scoop.
- Scoop into bowls and drizzle with extra chocolate sauce, letting the chocolate streaks set slightly on contact with the cold ice cream.