Pumpkin spice cheesecake bars hit that sweet spot between cozy and polished: a spiced, buttery crust, a smooth pumpkin filling, and a tangy sour cream topping that keeps each bite from feeling heavy. The texture is what makes these bars worth repeating. You get clean slices once they chill, but the center stays creamy instead of turning dense or dry.
The gingersnap crust does a lot of work here. It brings warmth and a little crunch without needing extra spices in the base, and it stands up to the pumpkin layer better than a soft graham crust. The filling stays silky because the cream cheese is beaten first until completely smooth, then the eggs go in one at a time so the batter stays stable instead of turning lumpy.
Below, I’ve added the little details that matter most: how to keep the cheesecake layer from overbaking, why the sour cream topping goes on while the bars are still warm, and the easiest way to get neat slices after chilling.
The crust held together beautifully and the sour cream topping took the pumpkin filling from rich to perfectly balanced. I chilled them overnight and the bars sliced like a dream.
Save these pumpkin spice cheesecake bars for the dessert tray when you want a smooth pumpkin layer, tangy topping, and a gingersnap crust that slices cleanly.
The Reason the Crust Stays Crisp Under a Soft Filling
The crust is baked before the filling goes in, and that’s the move that keeps it from turning soggy under the cheesecake layer. Gingersnap crumbs already have more structure and spice than plain cookie crumbs, but they still need that short bake with the butter and sugar to set into a firm base. If you skip that step, the filling will soften the crust before it has a chance to hold its shape.
The other detail that matters is the pan. A 9×13-inch pan gives the bars a thinner profile than a round cheesecake, which means the center cooks through faster and chills into cleaner squares. The filling should look slightly wobbly in the center when it comes out of the oven. If it looks fully firm in the middle, it’s probably overbaked already.
What Each Ingredient Is Doing in These Pumpkin Cheesecake Bars
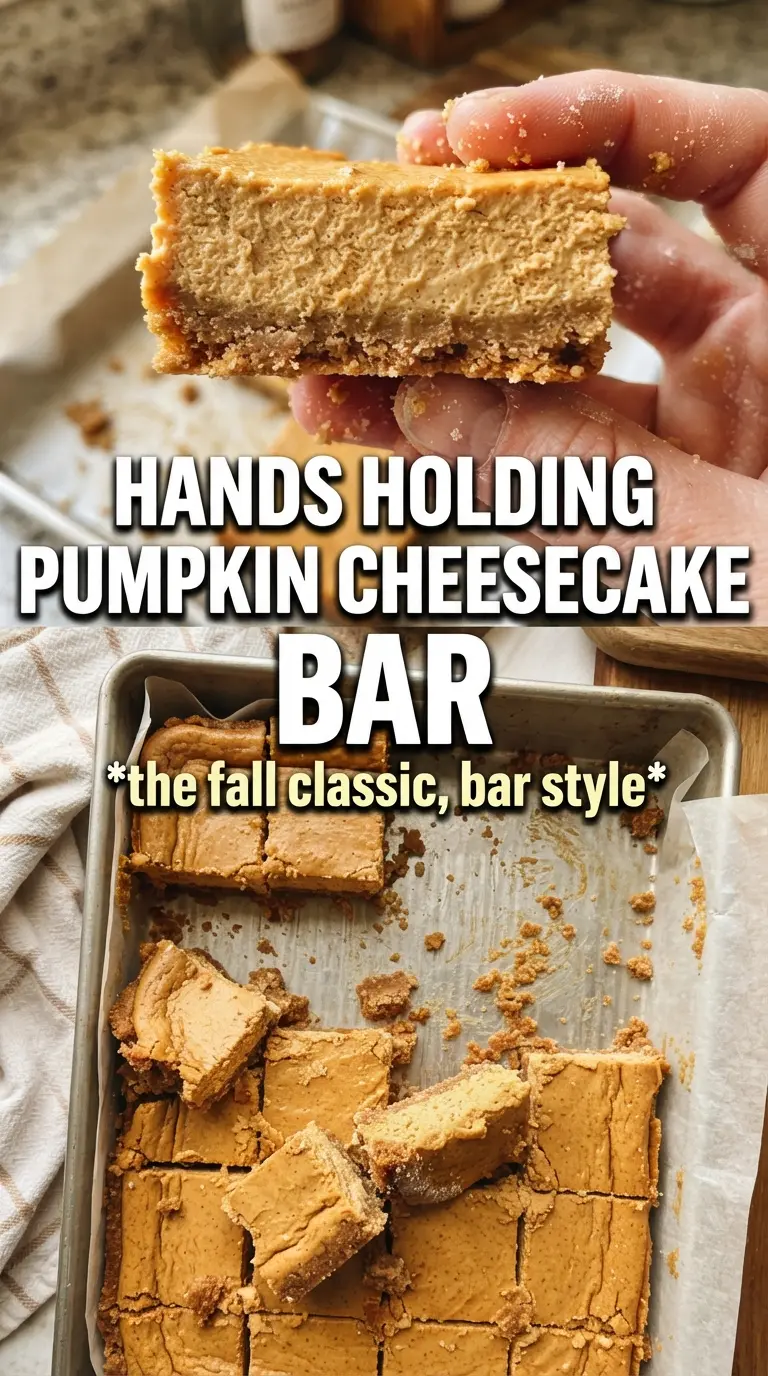
- Gingersnap crumbs — They bring spice and structure at the same time. Graham crackers can work in a pinch, but they make a milder crust that doesn’t stand up as well to the pumpkin filling.
- Cream cheese — This is the base of the texture, so it needs to be softened all the way to room temperature. Cold cream cheese leaves tiny lumps that don’t disappear later, no matter how long you beat the batter.
- Pumpkin puree — Use plain pumpkin puree, not pumpkin pie filling. Pie filling already has sugar and spices added, which throws off the balance and can make the bars too sweet and loose.
- Sour cream — It adds tang and keeps the filling from tasting flat. It also helps loosen the batter just enough for a silky texture, and the topping brings that same clean finish to the top layer.
- Pumpkin pie spice and cinnamon — The blend gives the bars their warm backbone, while the extra cinnamon sharpens the spice without making the filling taste muddy.
- Eggs — They set the filling. Add them one at a time and stop mixing as soon as each one disappears, because too much air makes the bars puff and crack as they bake.
How to Bake the Filling So It Sets Creamy, Not Dry
Building the Crust
Press the gingersnap mixture into the pan with firm, even pressure so the layer is tight from corner to corner. An uneven crust bakes unevenly and can crumble when you cut the bars. Bake it just until it smells toasted and looks set on top; it doesn’t need to darken much because it will bake again under the filling.
Smoothing the Cheesecake Base
Beat the cream cheese and sugar until the mixture looks completely smooth before anything else goes in. If the base still has lumps at this point, they stay in the finished bars. Add the eggs one at a time, mixing only until blended, then stir in the pumpkin, sour cream, spice, cinnamon, and vanilla. Overbeating after the eggs go in pulls in too much air, and that’s how you end up with cracks and a puffy top that falls as it cools.
Watching for the Right Bake
Pour the filling over the crust and bake until the edges are set and the center still has a slight wobble. The middle will finish setting as the bars cool, so don’t wait for it to look fully firm in the oven. If the top starts to brown hard or crack, the bars have gone too far. Pull them as soon as the center moves like set gelatin when you gently nudge the pan.
The Topping and Chill
Spread the sour cream topping over the warm bars while the cheesecake is still hot enough to help it settle into a smooth layer. That thin topping softens any tiny surface cracks and adds a cool tang that cuts through the spice. Chill the pan for the full three hours, and longer if you can. Warm bars cut messy, while fully chilled bars slice into clean squares with sharp edges.
Three Ways to Adapt Pumpkin Spice Cheesecake Bars Without Losing the Texture
Gluten-Free Crust Swap
Use certified gluten-free gingersnap cookies or another crisp gluten-free spice cookie in the crust. The filling stays the same, but the crust may be a touch more fragile, so pack it firmly and let it chill completely before cutting.
Dairy-Free Version
Use dairy-free cream cheese and sour cream substitutes with a thick, tangy texture. The bars will still slice well, but the filling may be a little softer and less rich, so give them extra chilling time before cutting.
Less-Spiced, More Pumpkin Forward
Cut the pumpkin pie spice a little and keep the cinnamon. That gives you a softer spice note and lets the pumpkin and tangy sour cream topping come through more clearly, which works well if you want a milder dessert.
Storage and Reheating
- Refrigerator: Store covered for up to 5 days. The crust softens slightly by day two, but the bars stay neatly sliceable.
- Freezer: These freeze well. Cut into bars, wrap individually, and freeze in an airtight container for up to 2 months. Thaw overnight in the refrigerator for the cleanest texture.
- Reheating: These are meant to be served chilled, not reheated. If you want them less firm, let them sit at room temperature for 10 to 15 minutes. Microwaving makes the filling loose and the crust soggy.
Questions I Get Asked About This Recipe
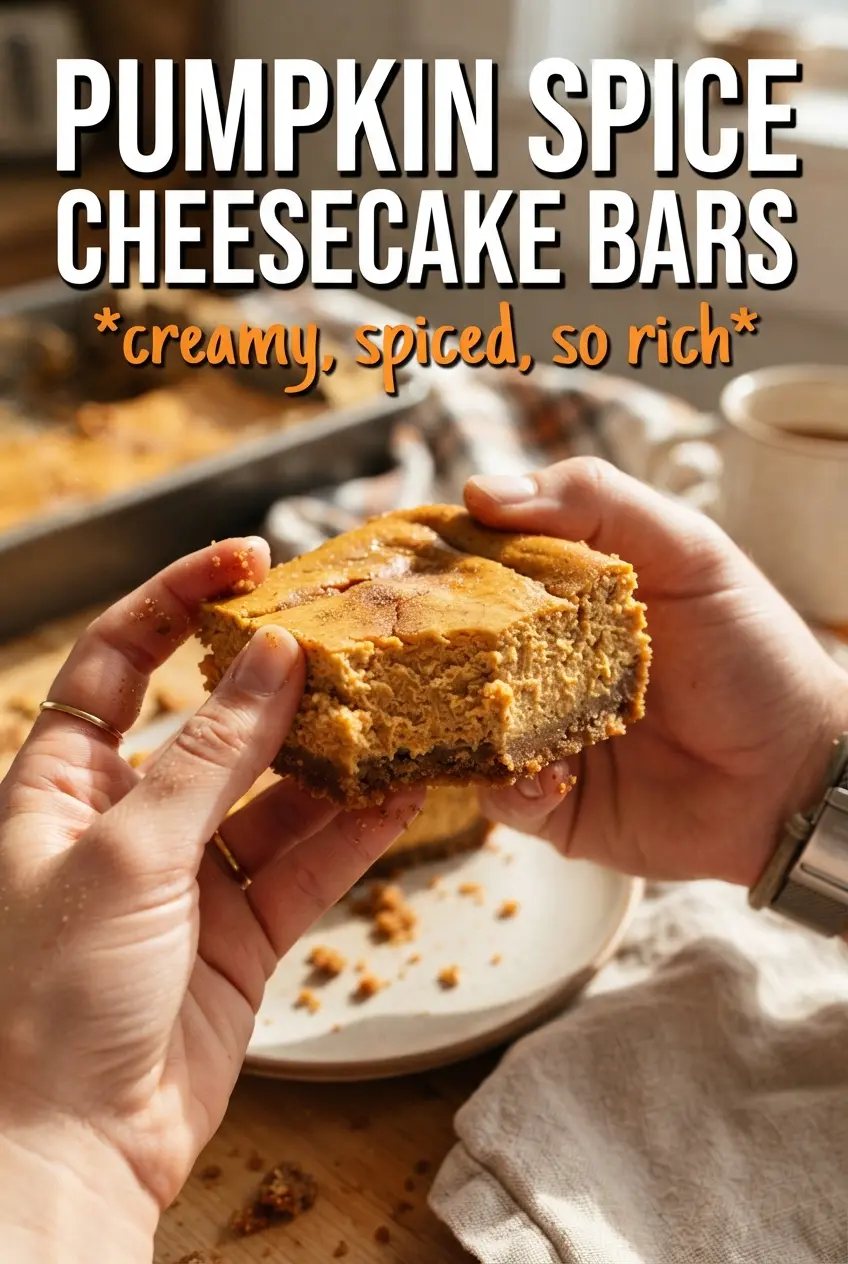
Pumpkin Spice Cheesecake Bars
Ingredients
Equipment
Method
- Preheat the oven to 325F, then press the gingersnap crust mixture firmly into a 9x13 pan.
- Bake the crust for 10 minutes, until lightly set and fragrant, with a dry-looking surface.
- Beat the softened cream cheese and granulated sugar until completely smooth, stopping to scrape the sides.
- Add the eggs one at a time and mix just until each egg disappears, keeping the batter silky.
- Mix in the pumpkin puree and sour cream until smooth and evenly orange.
- Add the pumpkin pie spice, cinnamon, and vanilla, mixing only until the spices are fully incorporated.
- Pour the filling over the warm crust, then bake for 35-40 minutes until the center is just set with a slight jiggle.
- Spread the sour cream topping over the warm bars so it adheres smoothly.
- Refrigerate for 3 hours to fully chill and firm up the bars.
- Dust the top with pumpkin pie spice, then cut into bars and serve after slicing cleanly.