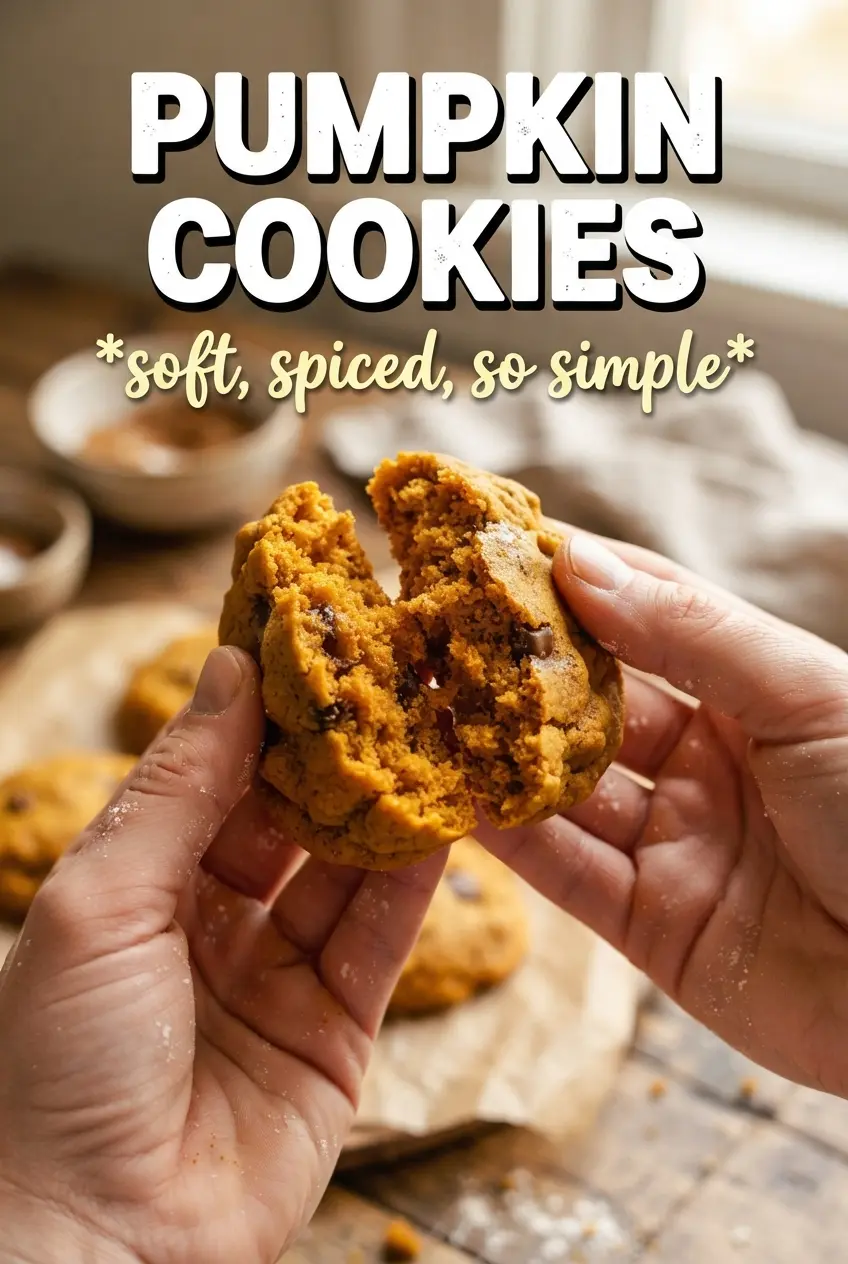
Pumpkin cookies bake up soft, pillowy, and cake-like, with a tender crumb that stays moist for days. The glaze drapes over the tops instead of soaking in, and that little hit of pumpkin pie spice on top gives each bite a warm finish without pushing the cookies into pie territory.
What makes this version work is the balance between enough flour to keep the cookies tall and enough pumpkin to keep them plush. The batter is meant to be soft and sticky, which is exactly what gives you those thick drop cookies instead of flat, greasy rounds. The butter and sugar get beaten first to build a little structure, and the cookies bake just until set so the centers stay tender.
Below, I’m walking through the texture cues that matter, the best way to handle the sticky dough, and a few swaps that still keep these cookies close to the classic version. If your pumpkin cookies have ever spread too much or baked up dense, the fix is in the details here.
The dough was sticky like you said, but the cookies baked up thick and soft instead of spreading out. The glaze set beautifully and the pumpkin spice on top made them taste like a bakery cookie.
Save these soft pumpkin cookies with vanilla glaze for the days when you want a thick, cake-like cookie that stays tender for days.
The Trick to Keeping Pumpkin Cookies Tall Instead of Flat
Pumpkin cookies usually fail in one of two ways: they spread too much, or they bake up dry and bland. The reason is almost always the same — the dough was too loose, or the cookies stayed in the oven too long. This version leans into a soft batter, but the flour ratio and the quick bake time keep the cookies thick enough to hold that rounded, bakery-style shape.
The other detail that matters is using pumpkin puree, not pumpkin pie filling. Pie filling already has sugar and spices added, which throws off the balance here. You want control over the sweetness and spice, because the glaze adds its own sweetness later. If the dough looks sticky, that’s right. If it looks pourable, it’s too thin.
- Butter and sugar — Beating them until fluffy gives the cookies a little lift before the pumpkin goes in. Softened butter matters here; melted butter makes the dough greasy and encourages spreading.
- Pumpkin puree — This brings moisture and that unmistakable pumpkin texture. Blotting it dry isn’t necessary for this recipe, but using the thicker canned puree you’d reach for in baking helps the cookies hold shape.
- Baking soda and baking powder — Both are doing different jobs. Baking soda helps with browning, while baking powder gives the cookies their gentle rise and cake-like crumb.
- Pumpkin pie spice and cinnamon — These spices carry the cookie. If yours tastes flat, it usually means the spices were old or the glaze was added without a little spice on top to finish the flavor.
What Each Ingredient Is Actually Doing in This Recipe
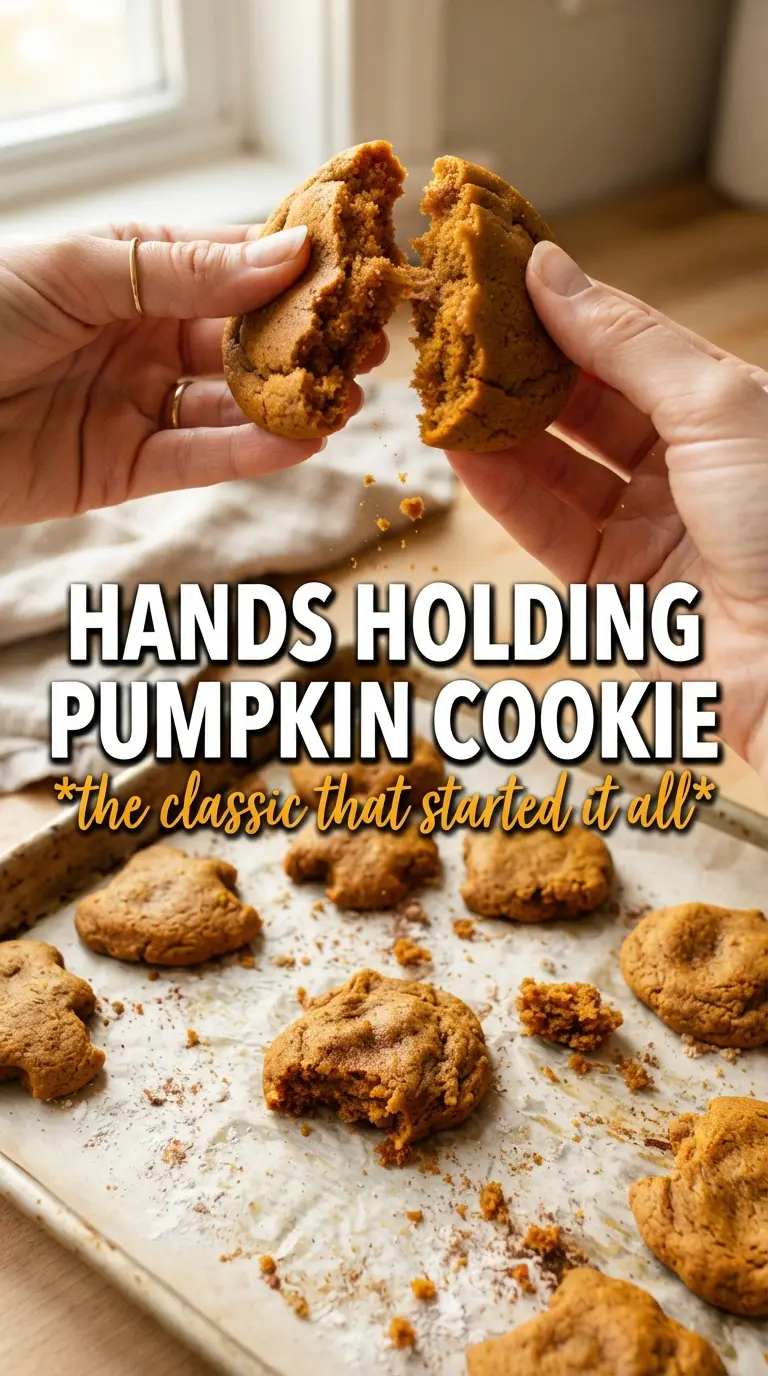
- Primary ingredient (the star) — Quality matters most. Choose the best you can find.
- Cooking medium (oil, butter, or broth) — This carries flavors and prevents dryness.
- Seasonings (salt, pepper, spices, herbs) — Layer flavors so nothing overpowers. Build depth gradually.
- Aromatics (garlic, onion, herbs) — Cook with fat to bloom flavors. Become the foundation.
- Supporting ingredients — Complement the main ingredient without overpowering it.
- Sauce or liquid (if applicable) — Brings flavors together. Balance richness with acid.
- Acid (lemon, vinegar, wine, or other) — Brightens and prevents flat-tasting results.
- Final finish (garnish, glaze, or sauce) — Prevents one-dimensional taste and adds visual appeal.
What to Do With a Soft, Sticky Dough
Mix the Dry Ingredients First
Whisk the flour, leaveners, spice, cinnamon, and salt together before anything else goes into the bowl. That keeps the baking soda and baking powder from clumping in one spot, which can leave you with uneven rise or bitter pockets. The spices should look evenly distributed through the flour before you move on.
Build the Base Until It Looks Light
Beat the butter and sugar until the mixture looks pale and fluffy, not just combined. That step traps air and gives the cookies a little structure before the pumpkin loosens the dough. Add the pumpkin, egg, and vanilla after that, and stop once the mixture looks smooth; overbeating at this stage can make the dough heavy.
Fold, Don’t Work, the Dough
Once the flour goes in, fold just until no dry streaks remain. The dough will be soft and sticky, and that’s the point. If you keep stirring because it looks loose, you’ll only build more gluten and end up with tougher cookies. Drop the dough in rounded mounds onto parchment, and leave a little room between them because they still need a bit of space to settle.
Watch the Edges, Not the Clock
Bake until the tops look set and the cookies no longer look wet in the center, usually right around 10 to 12 minutes. They should still feel tender when they come off the sheet. If they bake until they feel firm in the oven, they’ll be dry by the time they cool. Let them cool completely before glazing, or the icing will slide right off.
How to Adapt These Pumpkin Cookies Without Losing the Soft Texture
Skip the Glaze for a Less-Sweet Cookie
The cookies themselves are mild enough to stand on their own if you’d rather not add the glaze. Leave it off, and the pumpkin spice and cinnamon become more noticeable. The cookies will still stay soft; you’ll just get a more restrained, breakfast-cookie kind of finish.
Make Them Dairy-Free
Swap the butter for a good plant-based baking stick and use your favorite unsweetened non-dairy milk in the glaze. The cookies will still bake up soft, though the flavor will be a little less rich than with butter. Choose a dairy-free butter that comes in stick form, not a tub spread, because the spread is usually too soft for this dough.
Turn Them Into a Frosted Cookie
If you want more of a bakery-style look, keep the cookies plain and spread the glaze thicker instead of drizzling it. That gives you a sweeter top layer and a more decorative finish, but the cookies will need to cool fully or the glaze will melt into the crumb. A thicker glaze also hides any uneven shaping from the scoop.
Storage and Reheating
- Refrigerator: Store in an airtight container for up to 5 days. The glaze may soften a little, but the cookies stay tender.
- Freezer: Freeze the unglazed cookies for up to 2 months. Thaw at room temperature, then glaze after they’re fully thawed for the cleanest finish.
- Reheating: These don’t need reheating, but if you want that fresh-baked feel, warm an unglazed cookie for 8 to 10 seconds in the microwave. Glazed cookies should be warmed carefully or the icing will melt and slide.
Answers to the Questions Worth Asking
Pumpkin Cookies
Ingredients
Equipment
Method
- Preheat oven to 350F and line baking sheets with parchment, using fresh parchment so the cookies release cleanly.
- Whisk all-purpose flour, baking soda, baking powder, pumpkin pie spice, cinnamon, and salt in a bowl until evenly combined.
- Beat softened unsalted butter and granulated sugar until fluffy, then add pumpkin puree, egg, and vanilla extract and mix until smooth.
- Fold the flour mixture into the wet mixture until fully incorporated; the dough should be soft and sticky.
- Drop dough by 2-tablespoon rounds onto the prepared sheets, spacing them apart so they can spread.
- Bake at 350F for 10-12 minutes, until the cookies look set around the edges but still soft in the center.
- Cool cookies completely before glazing to prevent the sugar from melting away.
- Drizzle with glaze, then dust with a pinch of pumpkin pie spice and cinnamon for a spiced finish.