Pesto zucchini lasagna lands on the table with all the comfort of a baked pasta dish, just without the noodles. The zucchini softens into tender layers, the ricotta stays creamy, and the pesto runs through every slice with a fresh basil punch that keeps the whole pan from feeling heavy. When it’s baked properly, you get a clean-cut casserole with a golden top and a center that holds together instead of sliding all over the plate.
The part that makes this version work is treating the zucchini like the main structural ingredient, not just a pasta swap. Salting and roasting the planks first pulls out the extra moisture that usually turns vegetable lasagna into soup. The pesto gets layered in more than one place too, so you taste it in every bite instead of just on top. That balance is what keeps the dish bright, rich, and sturdy enough to slice.
Below, I’ll walk through the part that matters most: how to keep the zucchini from weeping, how to layer the pesto so it doesn’t disappear, and what to change if you want to make it vegetarian, low carb, or a little more pantry-friendly.
The zucchini held its shape and the pesto stayed bright instead of getting lost. I baked it exactly as written and the slices came out clean after resting, which never happens with my vegetable bakes.
Save this pesto zucchini lasagna for the nights when you want a green, creamy, noodle-free bake with clean slices and a golden mozzarella top.
The Part Most Zucchini Lasagnas Get Wrong
The mistake usually starts before the pan even goes into the oven. Zucchini carries a lot of water, and if you layer it in raw, that moisture leaks out as it bakes and thins everything around it. Salting the planks first draws out some of that liquid, and a quick roast gives you a head start on evaporation so the finished lasagna sets instead of puddling.
The other thing that matters is thickness. Thin planks soften enough to slice neatly, but if they’re shaved too thin they disappear into the filling and the dish loses structure. You want them flexible, not flimsy. That little bit of backbone is what keeps each layer distinct after the rest time.
What Each Layer Is Actually Doing Here
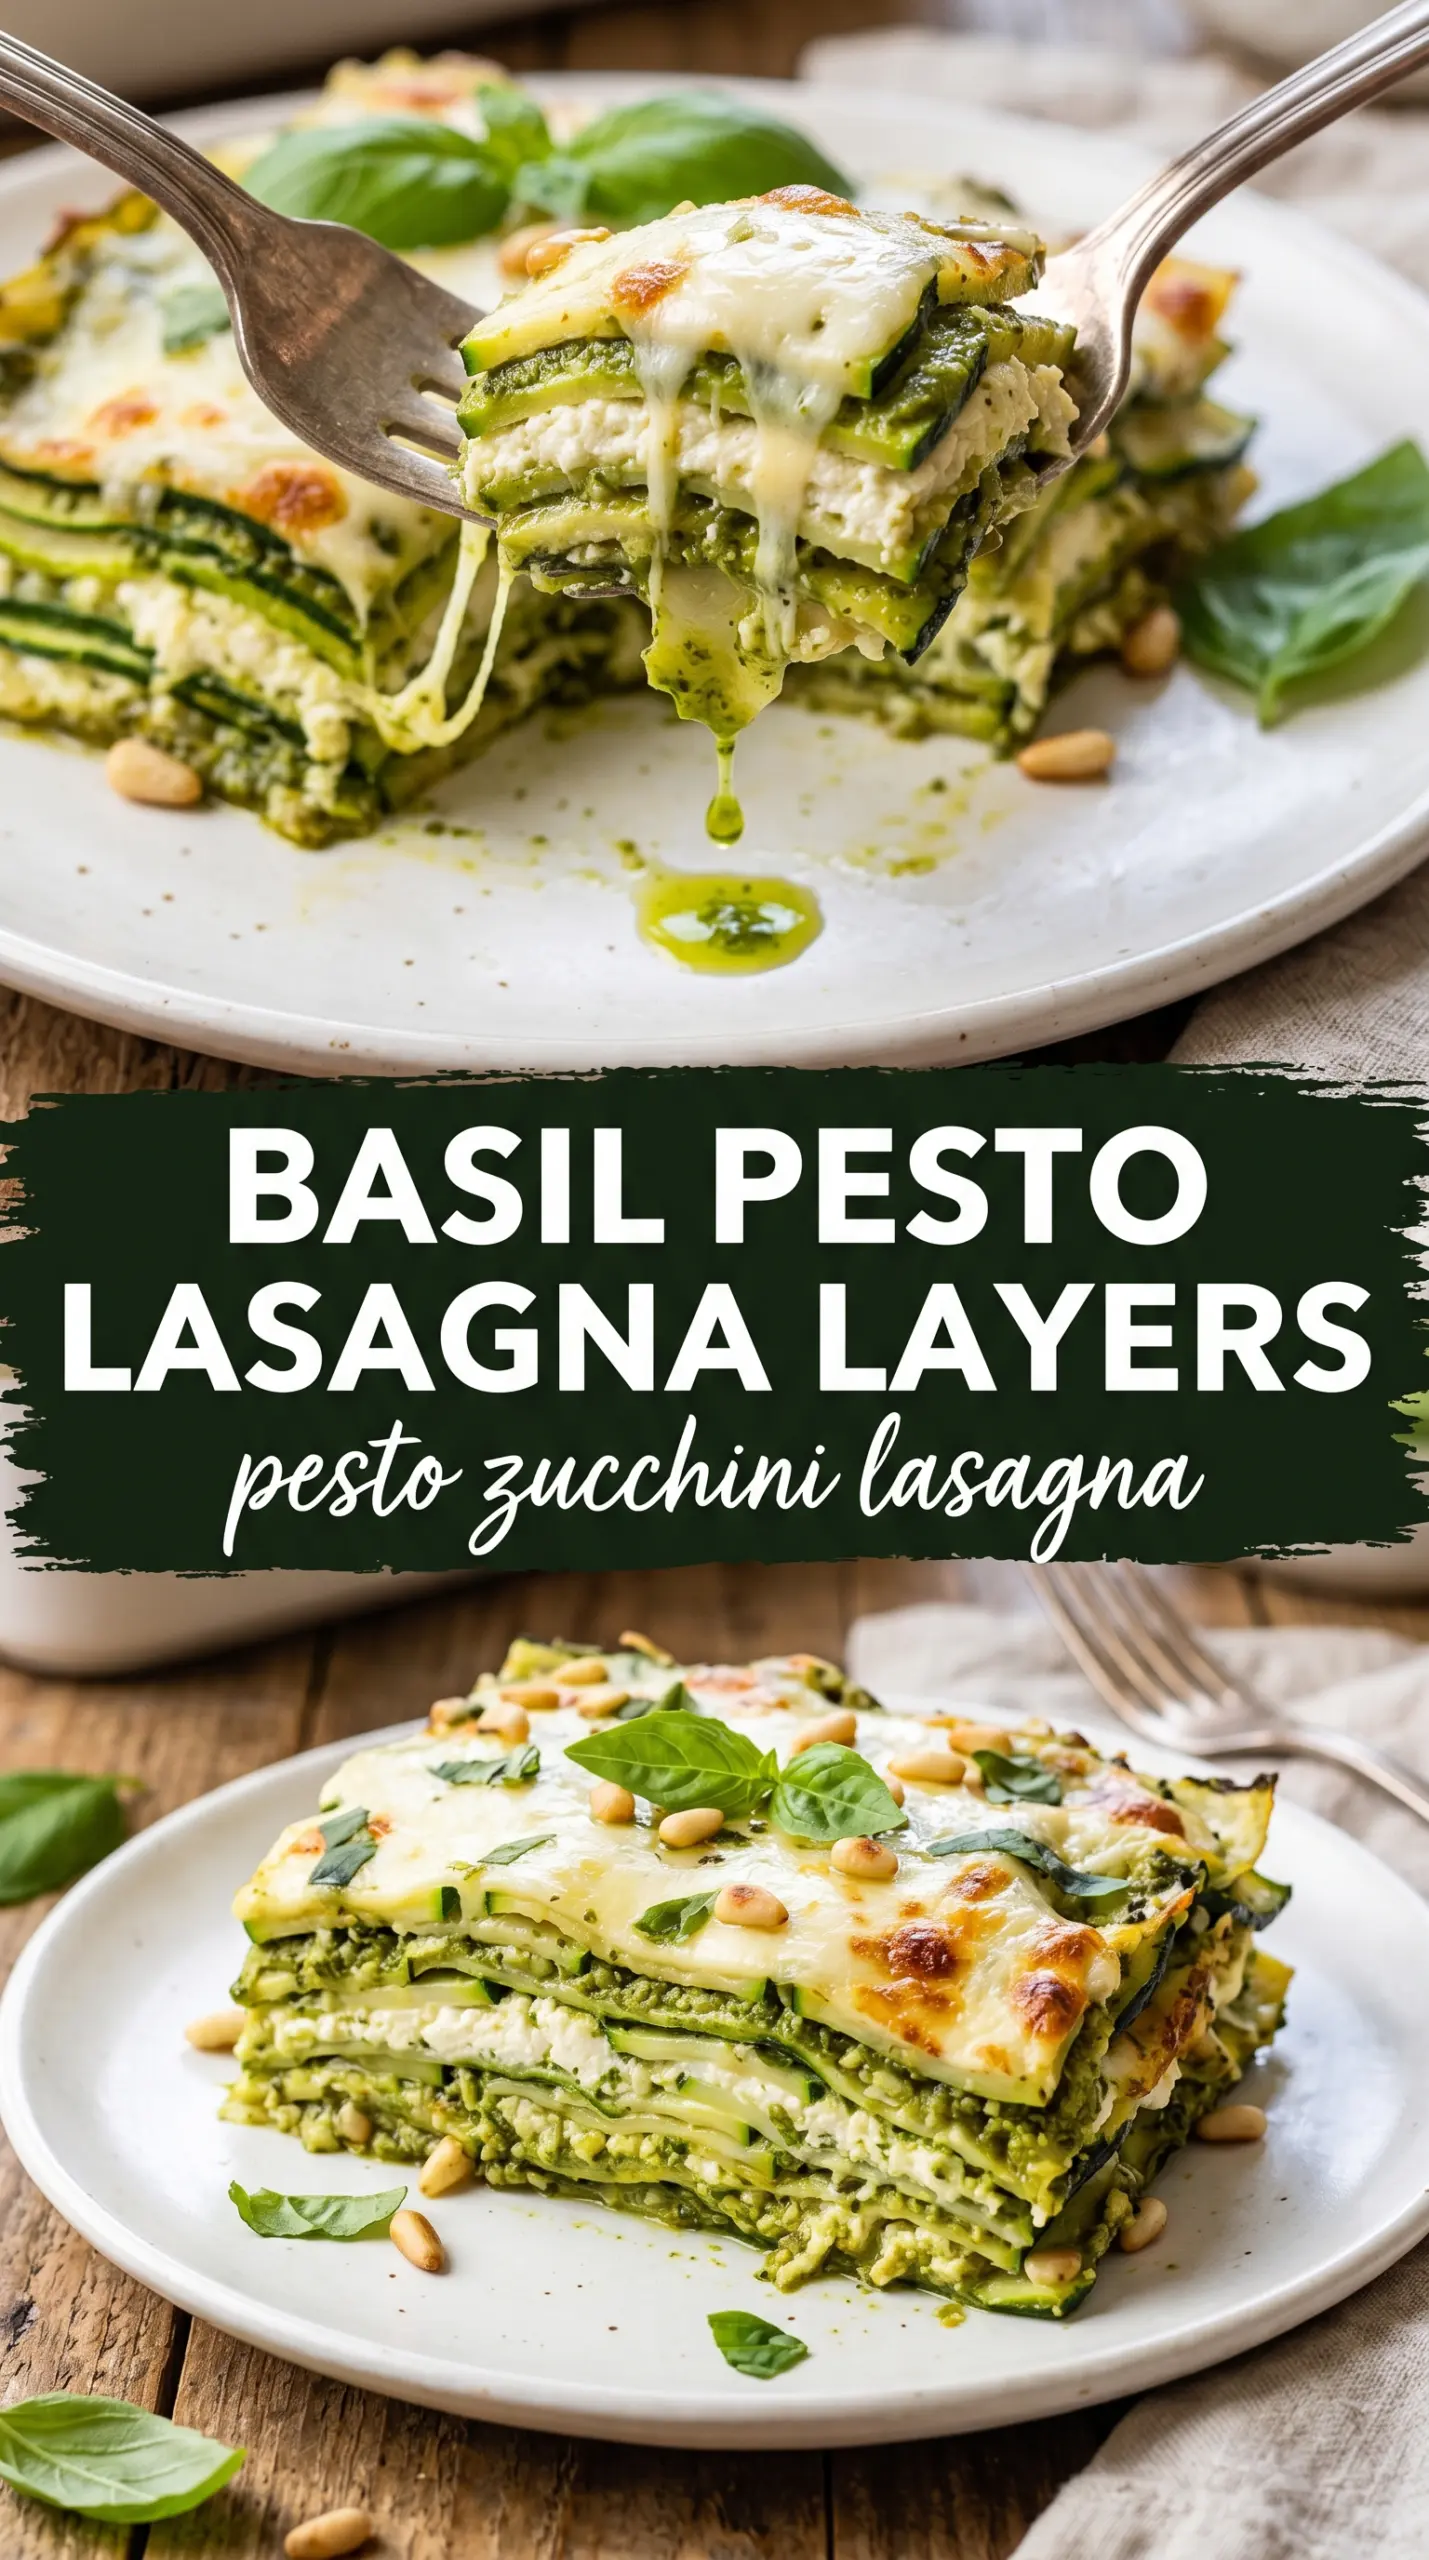
- Zucchini — This is the structure, so choose firm, medium-to-large zucchini with smooth skin and no soft spots. Bigger ones are easier to slice into wide planks, but if the seeds look watery and spongy, trim those centers away because they’ll loosen the bake.
- Pesto — This is the flavor engine, and homemade pesto tastes sharper and brighter than most jars. Store-bought works fine when you’re short on time, but pick one with olive oil and real cheese high on the ingredient list so it doesn’t taste flat.
- Ricotta — The egg in the ricotta layer helps it set into soft slices instead of oozing out when you cut the pan. If your ricotta is especially loose, drain it briefly in a fine mesh strainer first; that small step keeps the filling thick and stable.
- Mozzarella — Use shredded mozzarella that melts cleanly and browns well. Fresh mozzarella brings more moisture than you want here, so it can make the top sloshy instead of golden.
- Sun-dried tomatoes — Optional, but they add little bursts of sweetness and chew that work beautifully against the basil and cheese. If you use them, chop them small so they spread through the layers instead of pulling out in big sticky pieces.
Building the Bake So It Slices Cleanly
Salting and Roasting the Zucchini
Lay the zucchini planks in a single layer, salt them, and let them sit for the full 20 minutes. You’ll see beads of moisture form on the surface, which is exactly what you want. Pat them dry before roasting, then roast at 425°F until the planks look softened and a little dry at the edges. If you skip the roast, the bake can still work, but the pan will release more liquid and the layers won’t hold as neatly.
Mixing the Pesto and Ricotta
Blend the pesto until it’s smooth enough to spread, but don’t overdo it to the point where the basil turns dull and warm. The ricotta mixture should look thick, creamy, and just loose enough to spread without tearing the zucchini. If the filling seems runny, the lasagna will slide when you cut it, so stop and drain or thicken it before you build the pan.
Layering for Flavor, Not Just Height
Start with a thin swipe of pesto on the bottom of the dish so the first layer doesn’t stick. Then build in the same order each time: zucchini, ricotta, pesto, tomatoes if you’re using them, mozzarella. Keep the pesto generous but not sloppy. The goal is a defined layer of basil flavor in each bite, not a pan where the cheeses and sauce blur together.
The Rest That Makes the Difference
Cover the pan for the first part of baking so the center heats through without the top drying out too early. Uncover it near the end to get the mozzarella golden and lightly blistered. Then let it rest for the full 15 minutes. If you cut it too soon, the layers spread out and the zucchini gets slippery; after resting, the slices settle into neat, sturdy portions.
Three Ways to Make This More Your Own
Dairy-Free Version
Use a dairy-free ricotta and a melty plant-based mozzarella, then check your pesto because many jars and homemade versions rely on parmesan. Swap in nutritional yeast or a dairy-free parmesan-style substitute for the cheese in the pesto. The result will still be creamy and savory, but a little less sharp and nutty than the original.
Low-Carb, Extra-Structured Bake
This version already leans low carb, but if you want it even firmer, use a little less ricotta in each layer and roast the zucchini until the edges are dry and lightly browned. That extra evaporation gives you tighter slices and a less watery center. The tradeoff is a slightly more vegetable-forward texture, which I think works well here.
No Pine Nuts Pesto
Walnuts or cashews work in place of pine nuts if that’s what you’ve got. Walnuts bring a deeper, slightly bitter edge; cashews make the pesto milder and creamier. Toast either one first if you want the pesto to taste more layered and less one-note.
Make-Ahead Assembly
You can prep the pesto, roast the zucchini, and mix the ricotta a day ahead, then assemble right before baking. I wouldn’t build the full pan too far in advance because the zucchini keeps releasing moisture once it’s layered with salt and cheese. Prepping the parts separately gives you the same flavor without the soggy edge.
Storage and Reheating
- Refrigerator: Store leftovers covered for up to 4 days. The slices will firm up as they chill, which actually helps them hold together.
- Freezer: It freezes, but the zucchini softens after thawing, so the texture is best for a homey leftover meal rather than a perfect plated slice. Wrap individual portions tightly and freeze for up to 2 months.
- Reheating: Reheat covered in a 350°F oven until hot through, then uncover for the last few minutes if you want the top to perk back up. The microwave works in a pinch, but it pushes more water out of the zucchini and makes the layers looser.
Answers to the Questions Worth Asking
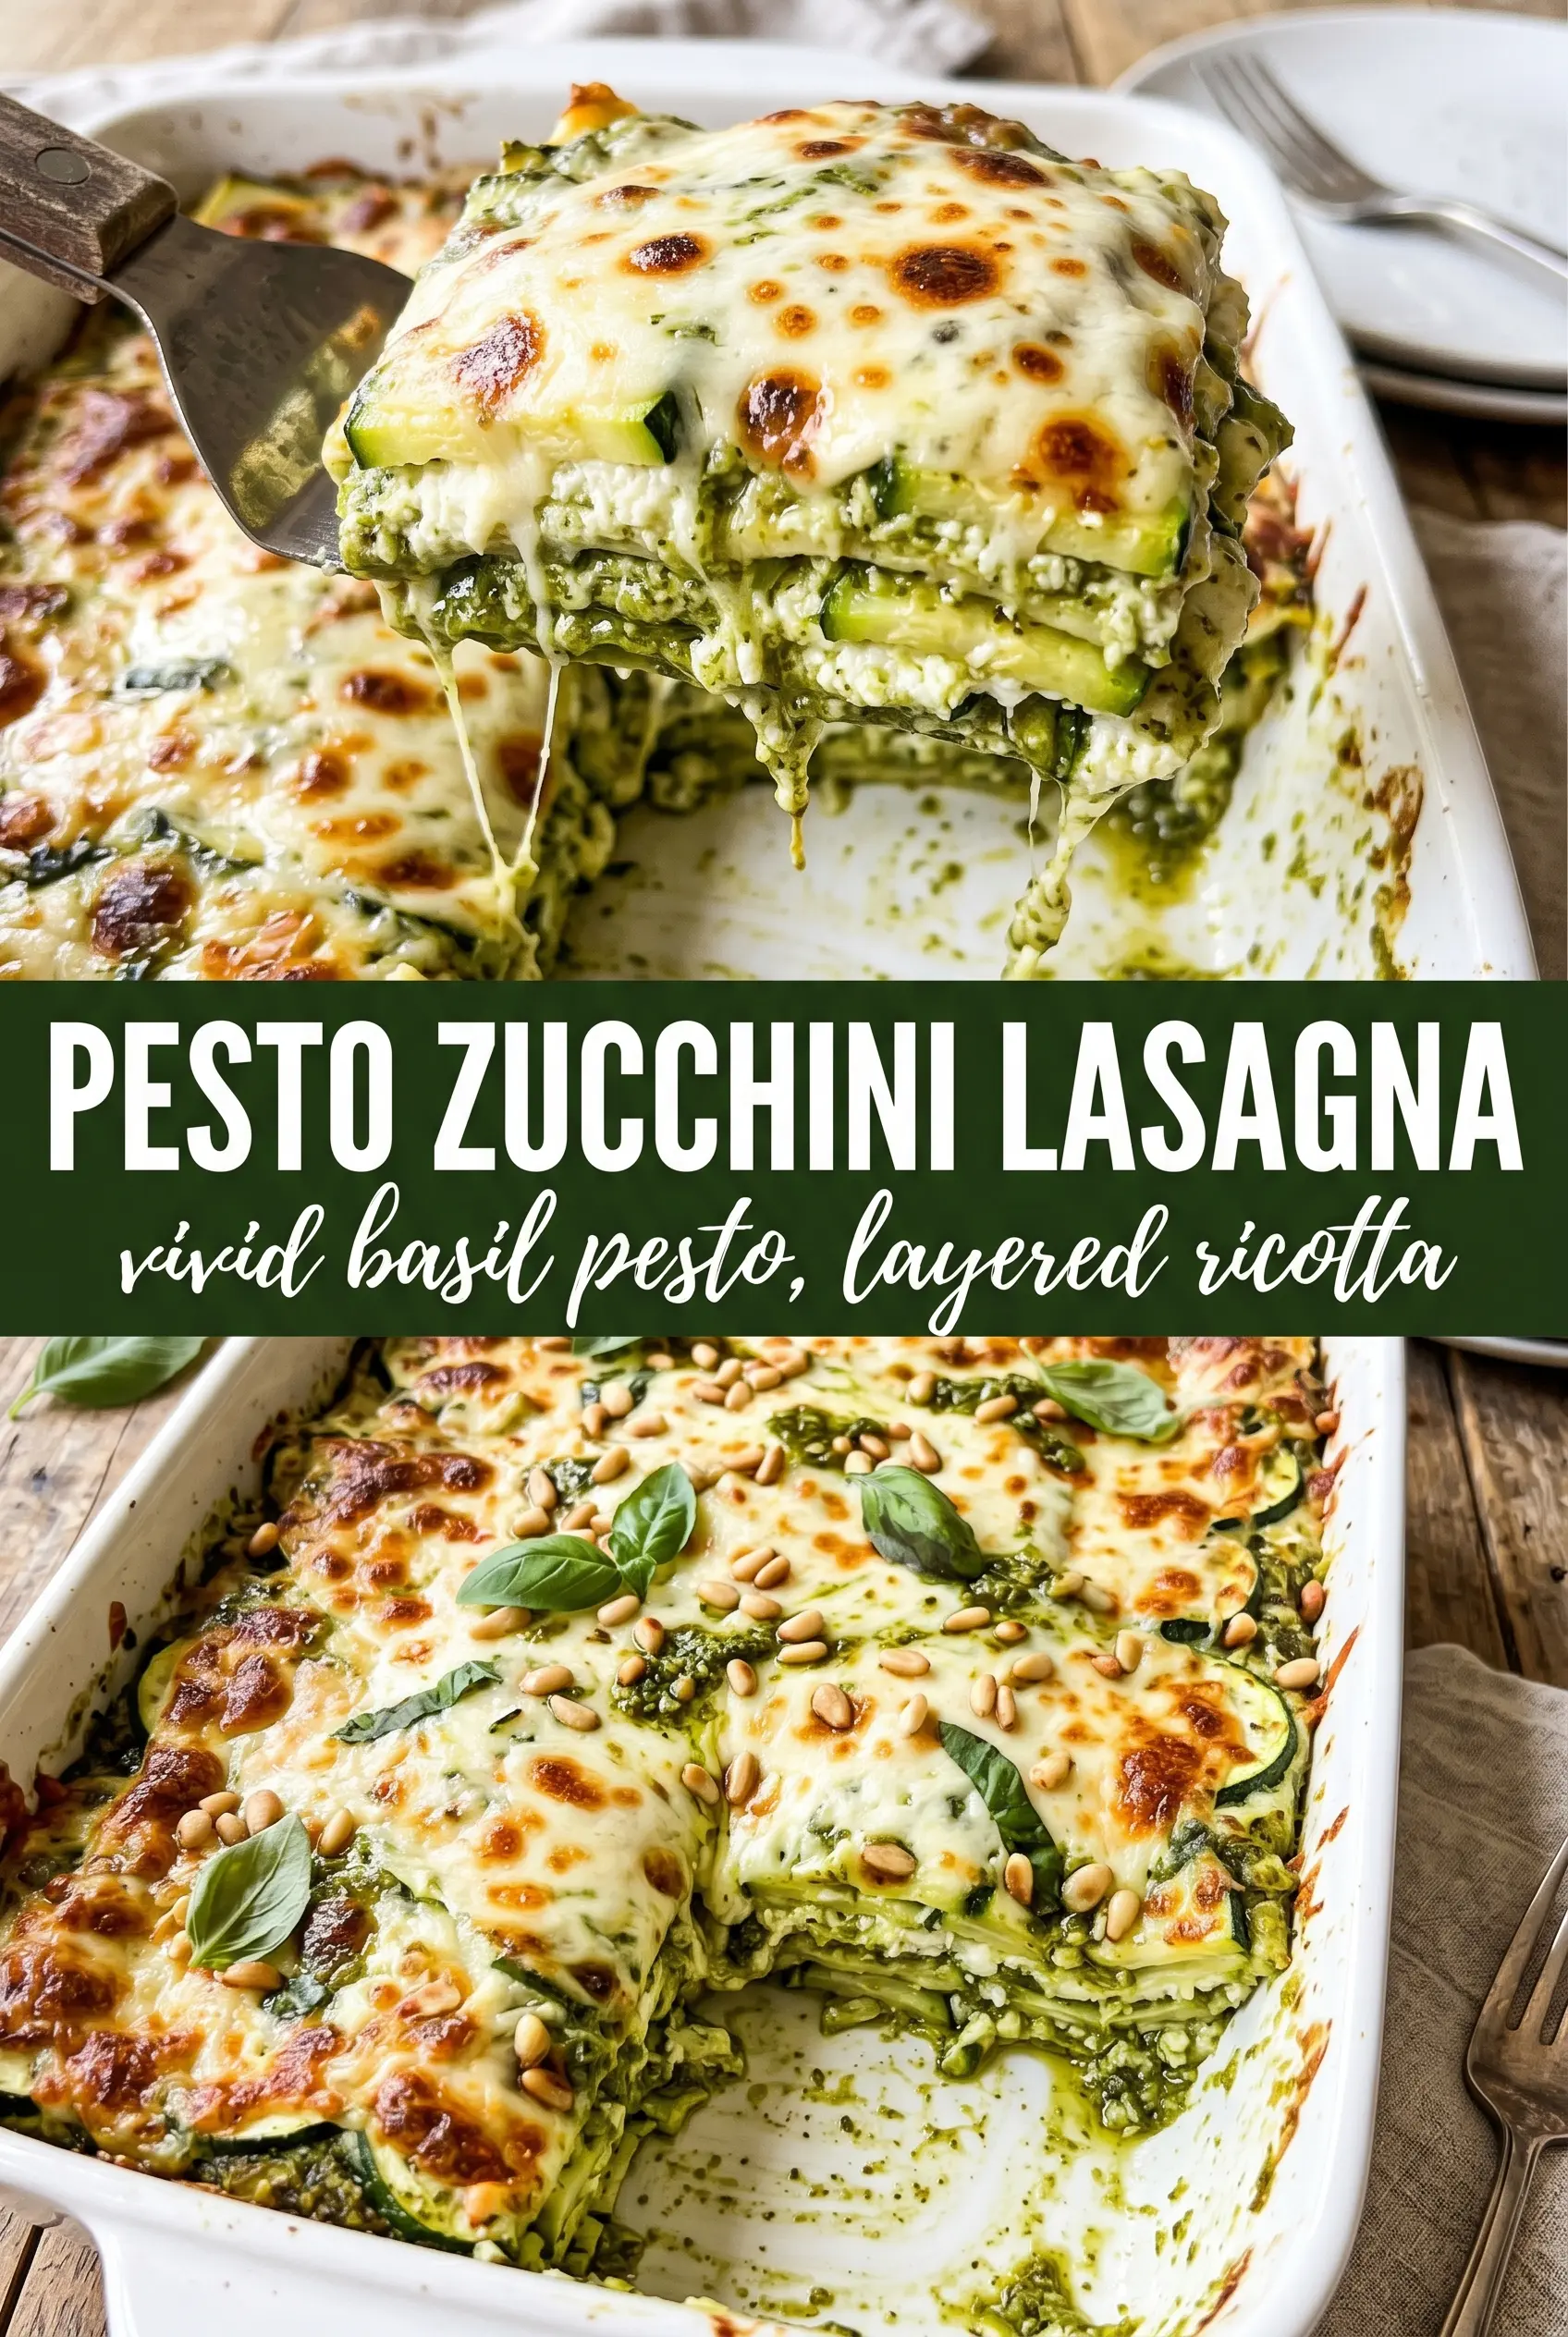
Pesto Zucchini Lasagna
Ingredients
Equipment
Method
- Salt the zucchini planks and let them rest for 20 minutes, then pat them dry until surface moisture is gone (look for reduced gloss). Roast on a sheet pan at 425°F for 10 minutes, until edges start to dry slightly.
- Blend the fresh basil, pine nuts, garlic, and parmesan until the mixture looks crumbly and evenly combined. With the blender running, stream in the olive oil until smooth, then season with salt to taste.
- In a bowl, mix the ricotta with the egg, parmesan, chopped basil, salt, and pepper until smooth and thick.
- Preheat the oven to 375°F and spread 3 tablespoons pesto on the bottom of a 9x13 baking dish so the base is lightly coated.
- Layer the roasted zucchini planks in an even first layer to cover the pesto base.
- Spread the ricotta mixture over the zucchini in a smooth layer, making sure the corners are covered.
- Dollop and spread pesto generously over the ricotta so green ribbons peek through (add more than seems necessary for a bold flavor).
- Scatter the sun-dried tomatoes over the pesto if using for sweet-tangy pops.
- Top with shredded mozzarella, distributing it so the surface will brown evenly.
- Repeat the layers of zucchini, ricotta, pesto, (sun-dried tomatoes if using), and mozzarella, ending with mozzarella on top.
- Cover the dish with foil and bake at 375°F for 30 minutes to set the layers and melt the cheeses.
- Uncover and bake for 15 minutes more at 375°F until the top is golden and bubbling.
- Rest the lasagna for 15 minutes before slicing so the layers hold together and the pesto ribbons stay distinct.
- Serve with extra pesto drizzled over each slice and garnish with extra basil.