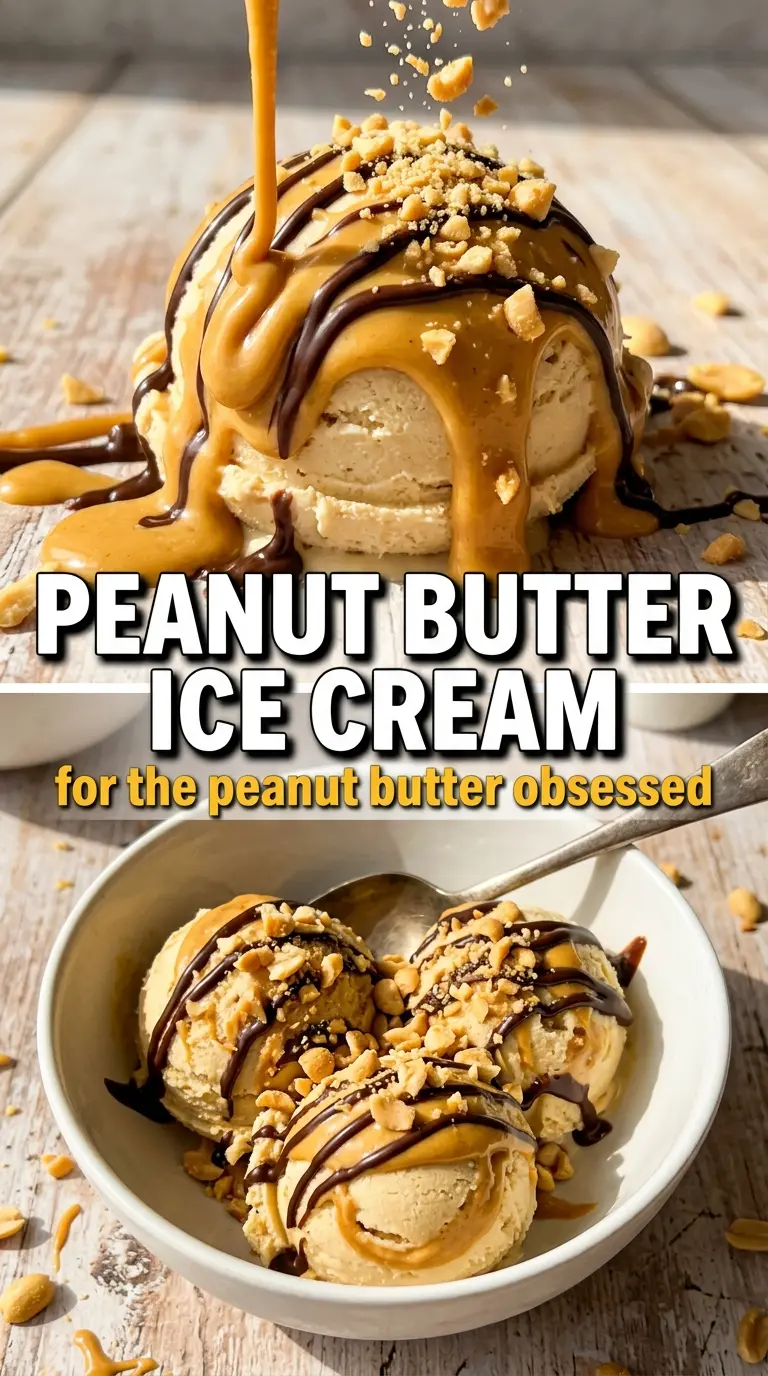
Peanut butter ice cream lands with that dense, spoon-coating texture that makes a bowl disappear fast. The peanut butter doesn’t sit on top as a separate flavor here; it gets folded into a custard base, so every bite tastes round, creamy, and deeply roasted instead of sharp or greasy. The finish is smooth enough to scoop cleanly, but rich enough to hold its shape for a few seconds before melting.
The key is treating this like custard first and ice cream second. Heating the dairy just to steaming keeps the yolks from scrambling when you whisk them together, and cooking the base to 175°F gives you body without turning it eggy. Peanut butter goes in after the custard comes off the heat, which keeps the fat from seizing and lets it melt into a silky base instead of leaving little streaks.
Below, you’ll find the one step that keeps the texture velvety, plus the little adjustments that matter if you want a stronger peanut flavor, a dairy-free direction, or a firmer finish for scooping straight from the freezer.
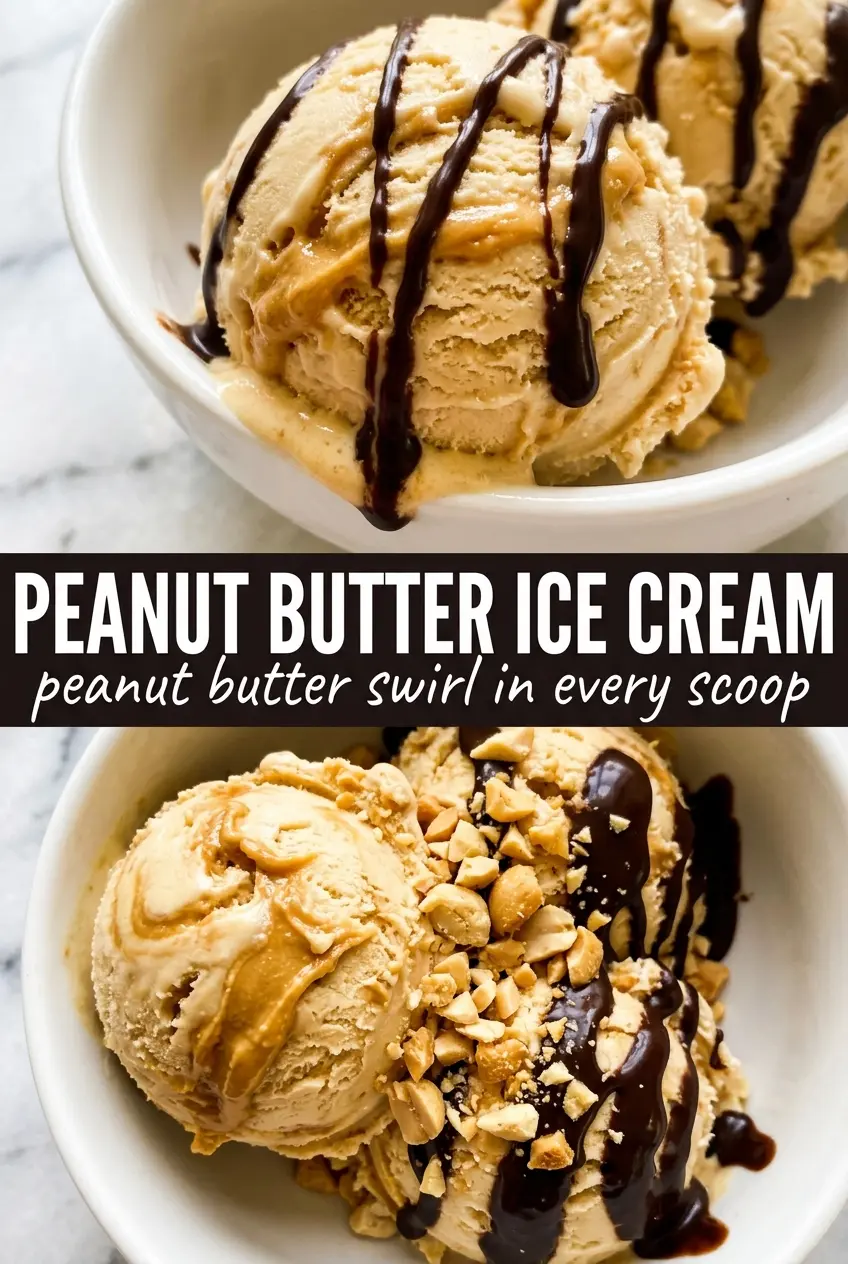
The custard came out smooth and the peanut butter flavor stayed rich after churning. I chilled it overnight and the texture was perfect straight from the freezer, not icy at all.
Creamy peanut butter ice cream with a custard base and roasted peanut depth is worth keeping on hand for dessert nights.
The Custard Temperature That Keeps Peanut Butter Ice Cream Smooth
Peanut butter can make an ice cream base feel heavy if the custard is undercooked, but an overcooked yolk base turns grainy fast. The sweet spot here is 175°F. That gives the mixture enough thickness to freeze into a creamy scoop without tasting like sweetened milk. If you stop at the first sign of steam, the ice cream will churn up soft and icy.
The other place people get tripped up is adding peanut butter too early or over too much heat. Peanut butter is happiest once the custard is off the burner. At that point, it melts in smoothly and keeps its roasted flavor. If you whisk it into a bubbling pan, the fat can separate and the base can look broken before you’ve even strained it.
What Each Ingredient Is Actually Doing In This Ice Cream
- Heavy cream — This is what gives the ice cream its lush body and slow melt. There isn’t a great substitute if you want that dense, full texture, though you can swap in a small part with half-and-half if you want it a touch lighter.
- Whole milk — It keeps the base from becoming cloying and helps the peanut flavor taste round instead of heavy. Lower-fat milk will work in a pinch, but the final scoop will freeze harder and taste less rich.
- Egg yolks — They build the custard structure and help the ice cream churn up silky instead of icy. Whisk them with the sugar first so they lighten a bit and blend in without streaking.
- Creamy peanut butter — Use a standard creamy peanut butter, not the natural kind that separates into oil and solids. Natural peanut butter can work if you stir it extremely well, but the texture is less predictable and the finished ice cream is more likely to taste oily or grainy.
- Vanilla extract — It rounds out the peanut butter and keeps the flavor from tasting flat. A small amount goes a long way here, so you’re not trying to make it taste like vanilla ice cream with peanut butter mixed in.
- Salt — It sharpens the roasted peanut note and keeps the sweetness in check. Don’t skip it; peanut butter ice cream tastes dull without it.
Building The Base So It Churns Creamy, Not Grainy
Warming The Dairy
Heat the cream and milk until they’re steaming around the edges, not boiling. If the dairy gets too hot, the yolks can cook too fast when you combine them and you’ll get little bits of egg in the base. Steaming is enough to temper the yolks gradually and keep the custard smooth.
Cooking The Custard
Return everything to the saucepan and cook over medium-low heat, stirring constantly with a spatula or whisk. You want the mixture to thicken just enough to coat the back of a spoon and hit 175°F, which is hot enough to set the custard but not so hot that the eggs curdle. If the mixture starts looking lumpy, pull it off the heat immediately and strain it right away before the texture gets worse.
Melting In The Peanut Butter
Take the pan off the heat before you add the peanut butter. Whisk until it disappears completely and the base looks glossy and even. If you still see streaks, keep whisking; that’s a sign the peanut butter hasn’t fully emulsified yet. Strain the custard through a fine mesh sieve, then add the vanilla and salt once the mixture is smooth and warm, not piping hot.
Chilling Before Churning
Set the bowl over an ice bath to cool the base down quickly, then refrigerate it for at least 4 hours or overnight. This matters more than people think. A cold base churns faster, makes smaller ice crystals, and gives you that dense, scoopable texture instead of soft, airy ice cream. If you churn a warm base, it stays loose and never firms up the same way.
Three Ways To Adjust The Peanut Flavor And Finish
Make It Even More Peanut-Forward
Use a full 3/4 cup of peanut butter and add it once the custard comes off the heat, then let the finished ice cream freeze until fully firm. That gives you a deeper roasted flavor and a slightly denser scoop. If you want even more peanut character, top the bowl with chopped roasted peanuts instead of mixing add-ins into the base.
Dairy-Free Version
Swap the cream and milk for full-fat canned coconut milk, but know the texture will be a little softer and the flavor will pick up a mild coconut note. Use the same cooking method and still chill the base thoroughly before churning. This works best with a smooth commercial peanut butter, since the coconut fat and peanut butter need to emulsify cleanly.
For Firmer Scoops Straight From The Freezer
Freeze the churned ice cream in a shallow container and press parchment or plastic wrap directly against the surface before sealing. That cuts down on ice crystals and helps it freeze with a cleaner scoop. If your freezer runs warm, let the container sit at room temperature for 5 to 10 minutes before serving instead of digging in right away.
Storage And Reheating
- Refrigerator: The custard base can sit in the fridge for up to 2 days before churning, and the flavor actually settles as it rests.
- Freezer: Churned ice cream keeps well for about 2 weeks in an airtight container. After that, it can start to pick up ice crystals.
- Reheating: This isn’t a reheated dessert, but if it freezes too hard, let it soften on the counter for a few minutes. Don’t microwave it; that melts the edges before the center is scoopable.
Questions I Get Asked About This Recipe
Peanut Butter Ice Cream
Ingredients
Equipment
Method
- Heat the heavy cream and whole milk in a saucepan over medium heat until steaming, then turn the heat to low so the mixture stays hot.
- Whisk the egg yolks with the granulated sugar in a mixing bowl until smooth, then slowly whisk in the steaming dairy to temper the yolks.
- Return the mixture to the saucepan and cook over medium-low heat, stirring constantly, until the custard reaches 175F.
- Remove the saucepan from the heat and whisk in the creamy peanut butter until completely smooth and glossy.
- Strain the custard through a fine mesh sieve into a clean bowl to remove any bits of cooked egg.
- Whisk in the vanilla extract and salt, then cool the custard over an ice bath until no longer hot.
- Cover and refrigerate the custard at least 4 hours or overnight until well chilled.
- Churn the chilled custard in an ice cream maker according to the manufacturer’s instructions until thickened like soft-serve.
- Transfer to a container and freeze until firm, about 2 to 4 hours, for scoopable texture.