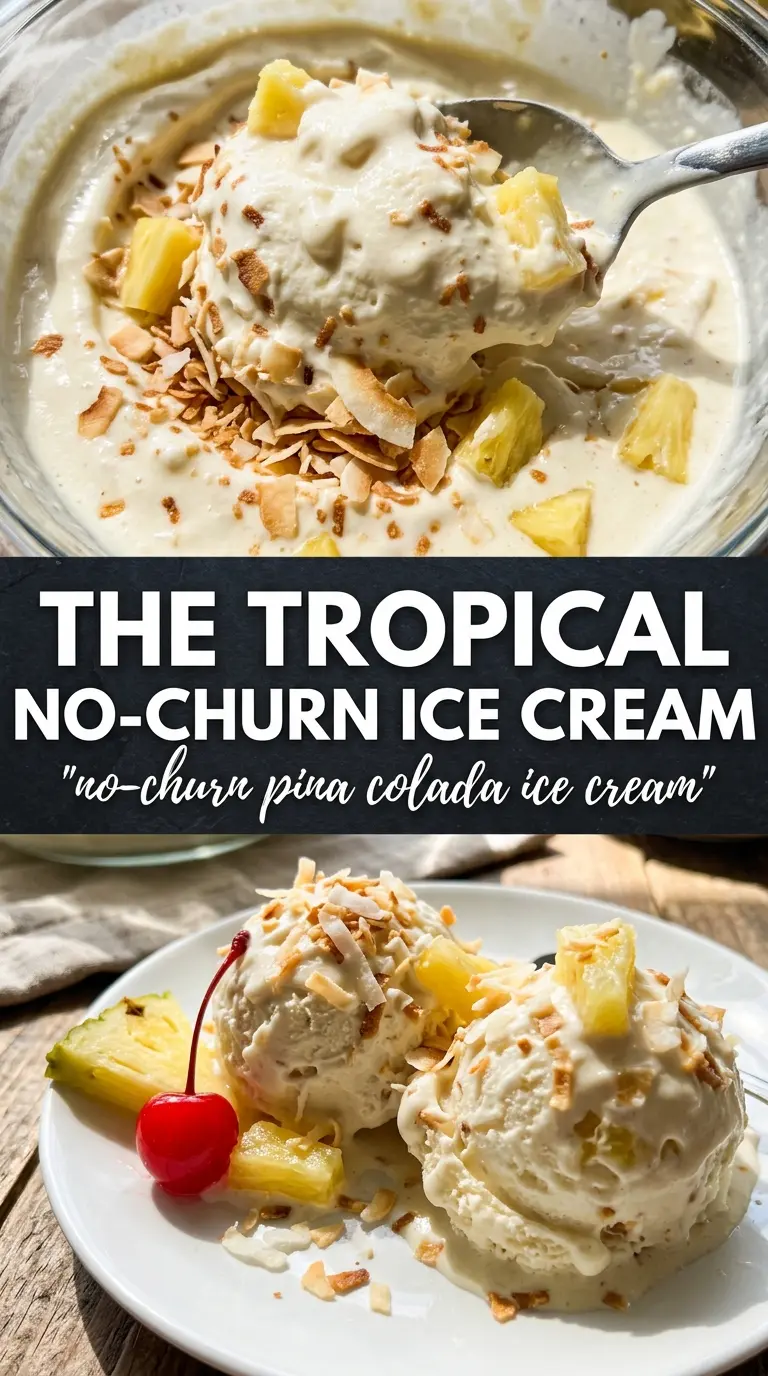
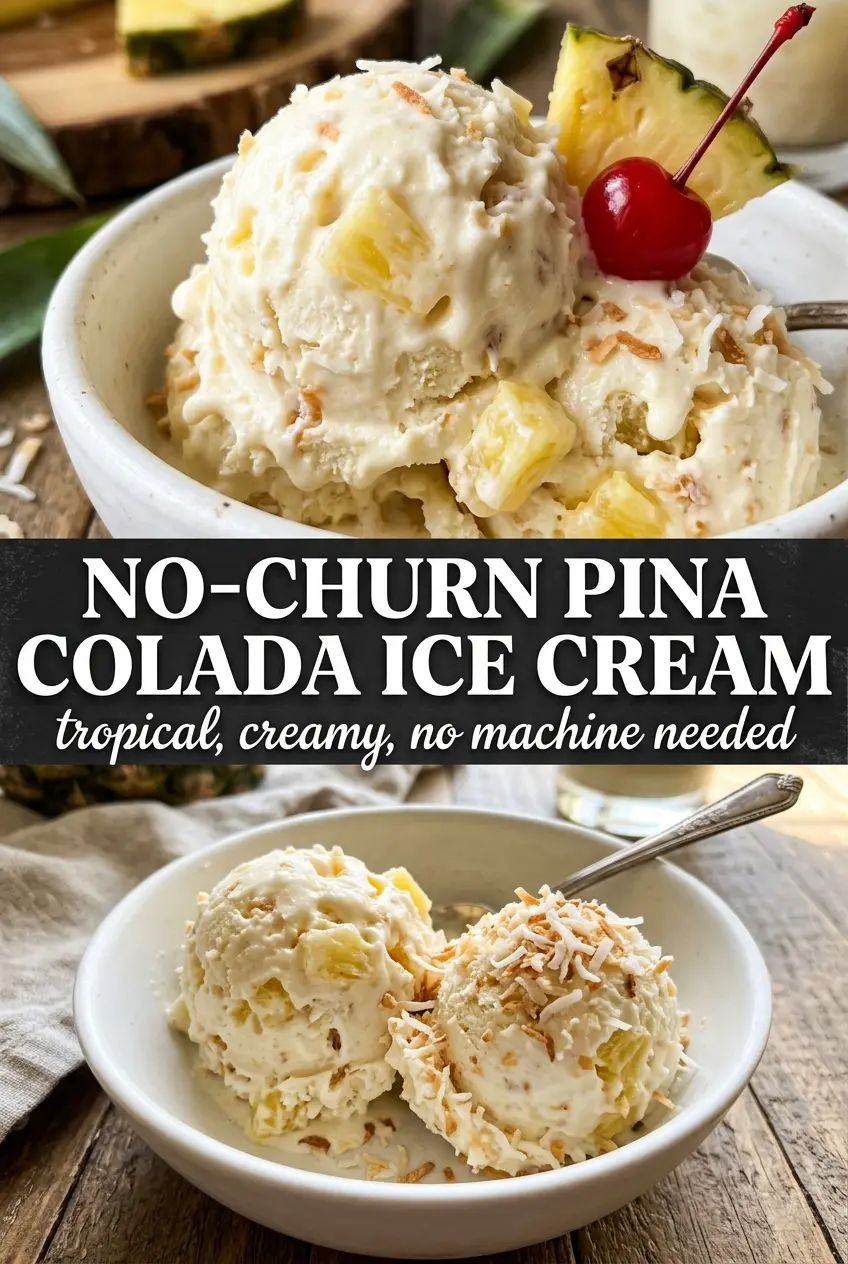
No-churn pina colada ice cream comes out creamy and scoopable without an ice cream machine, with coconut richness, bright pineapple, and just enough rum to give it that frozen cocktail edge. The texture lands somewhere between soft-serve and classic scoop shop ice cream once it’s fully frozen, and the toasted coconut keeps every bite from feeling flat.
What makes this version work is the balance. Sweetened condensed milk gives the base body and sweetness, while whipped cream brings the lightness that keeps it from freezing into a brick. The pineapple goes in diced, not puréed, so you get little juicy pops instead of a watery base, and the toasted coconut adds real texture instead of just another layer of sweetness.
Below, I’ll walk through the small details that keep the mixture airy and the fruit from watering things down. There’s also a smart way to swap the rum, plus the best way to serve it if you want those clean, bakery-style scoops.
The coconut stayed creamy and the pineapple pieces didn’t turn icy at all. I used the rum, and after six hours it scooped perfectly without being hard as a rock.
Save this boozy coconut-pineapple ice cream for the nights when you want pina colada flavor without breaking out the machine.
The Trick to Keeping No-Churn Ice Cream Creamy Instead of Icy
The difference between creamy no-churn ice cream and a frozen block comes down to air and water. Whipped cream traps air, which keeps the base light, and sweetened condensed milk lowers the freeze point enough that the dessert stays scoopable. If the pineapple is too juicy, though, it can undo both of those things and leave you with icy pockets instead of a smooth spoonful.
That’s why the pineapple needs to be finely diced and patted dry if it’s especially wet. Small pieces distribute the fruit evenly without dumping extra liquid into the base. The toasted coconut matters here too, because it keeps the texture interesting and helps the ice cream feel dense and rich instead of fluffy in a thin way.
What Each Ingredient Is Doing in the Bowl
- Heavy cream — This is what gives the ice cream its structure and volume. Whip it to stiff peaks so it can hold up when folded with the condensed milk. If you stop at soft peaks, the finished ice cream will freeze softer and can collapse a little once it sits.
- Sweetened condensed milk — This is the sweetener and the softening agent in one. There isn’t a true substitute that behaves the same way, because it’s what keeps the mixture from freezing hard. If you want a less sweet result, the better move is to keep the other ingredients balanced rather than cutting this too much.
- Coconut cream — This is where the coconut flavor gets its depth. Use coconut cream, not coconut milk, for the richest texture; coconut milk is thinner and can make the base less lush. If you can only find canned coconut milk, chill the can and use the thick top layer, but expect a slightly lighter result.
- Pineapple — Fresh pineapple gives you the cleanest, brightest flavor and the best texture. Dice it small so it folds in neatly and doesn’t create big icy chunks. If your pineapple is extra juicy, blot it dry before adding it.
- Rum — Optional, but it gives the dessert that classic pina colada note and helps keep the ice cream a little softer. Use a light hand; too much can prevent it from setting properly. If you skip it, the recipe still works, just with a cleaner coconut-pineapple flavor.
- Toasted shredded coconut — Toasting matters. Raw coconut tastes flat here, while toasted coconut brings a nutty edge and a little crunch. Let it cool before folding it in so it doesn’t melt the base or clump together.
Folding, Freezing, and the Part Where Patience Pays Off
Whipping the Cream to the Right Point
Whip the heavy cream until it holds stiff peaks and the whisk leaves deep trails. That means the cream stands up on itself instead of slumping over. If you underwhip it, the mixture will freeze denser and lose that light, creamy spoonful.
Bringing the Base Together
Whisk the condensed milk, coconut cream, rum, coconut extract, and vanilla in a separate bowl before you touch the whipped cream. That gives you an even base without overworking the cream later. If the coconut cream is lumpy from the can, whisk it smooth now so those bits don’t show up in the finished ice cream.
Folding Without Deflating
Add the condensed milk mixture to the whipped cream in two or three additions and fold gently with a spatula. Scrape from the bottom and turn the bowl as you go until no white streaks remain. Stirring aggressively is how you knock out the air you just whipped in, and that’s what leads to a heavy, icy texture.
Freezing for the Best Scoop
Transfer the mixture to a 9×5 loaf pan, smooth the top, and freeze at least 6 hours. An overnight freeze gives the cleanest scoops, especially if you used the rum. If the top gets frost, press a piece of parchment or plastic wrap directly against the surface before freezing.
Make It Without Rum
Skip the rum and add an extra 1/2 teaspoon vanilla if you want the same warmth without the alcohol. The ice cream will freeze a little firmer, which is actually helpful if you prefer a cleaner scoop and a more kid-friendly dessert.
Dairy-Free Version
Use a full-fat coconut whipped topping in place of the heavy cream and a dairy-free sweetened condensed milk if you can find one. The texture will be a touch softer and more coconut-forward, but it still freezes into a spoonable dessert with the same pina colada vibe.
Extra Tropical Crunch
Fold in a handful of chopped toasted macadamias or a few crushed shortbread cookies for more texture. The nuts lean more tropical and the cookies make it taste closer to a dessert-shop sundae, but add them right before freezing so they stay crisp.
Storage and Reheating
- Refrigerator: Not recommended. This is a frozen dessert and it will melt quickly into a loose cream if left in the fridge.
- Freezer: Store covered for up to 2 weeks for the best texture. After that, it can pick up ice crystals and lose some of its smoothness.
- Reheating: Not applicable. Let it sit at room temperature for 5 to 10 minutes before scooping so the edges soften slightly. If it’s rock-hard, the most common mistake is serving it straight from the freezer.
Answers to the Questions Worth Asking
No-Churn Pina Colada Ice Cream
Ingredients
Equipment
Method
- Whip the heavy cream to stiff peaks, stopping when the mixture holds tall ridges that don’t slump. (No temperature is needed; keep whipping until it becomes thick and airy.)
- Whisk together the sweetened condensed milk, coconut cream, rum if using, coconut extract, and vanilla extract until smooth and glossy, with no streaks.
- Fold the condensed milk mixture into the whipped cream gently, keeping as much air as possible. Mix only until streak-free, then stop.
- Fold in the finely diced fresh pineapple until evenly distributed throughout the base.
- Fold in the toasted shredded coconut so it’s dispersed with visible flakes.
- Transfer the mixture to a 9x5 loaf pan and smooth the top.
- Freeze for at least 6 hours or overnight until firm enough to scoop.
- Garnish with extra toasted shredded coconut and pineapple when serving, so the top looks speckled and tropical.