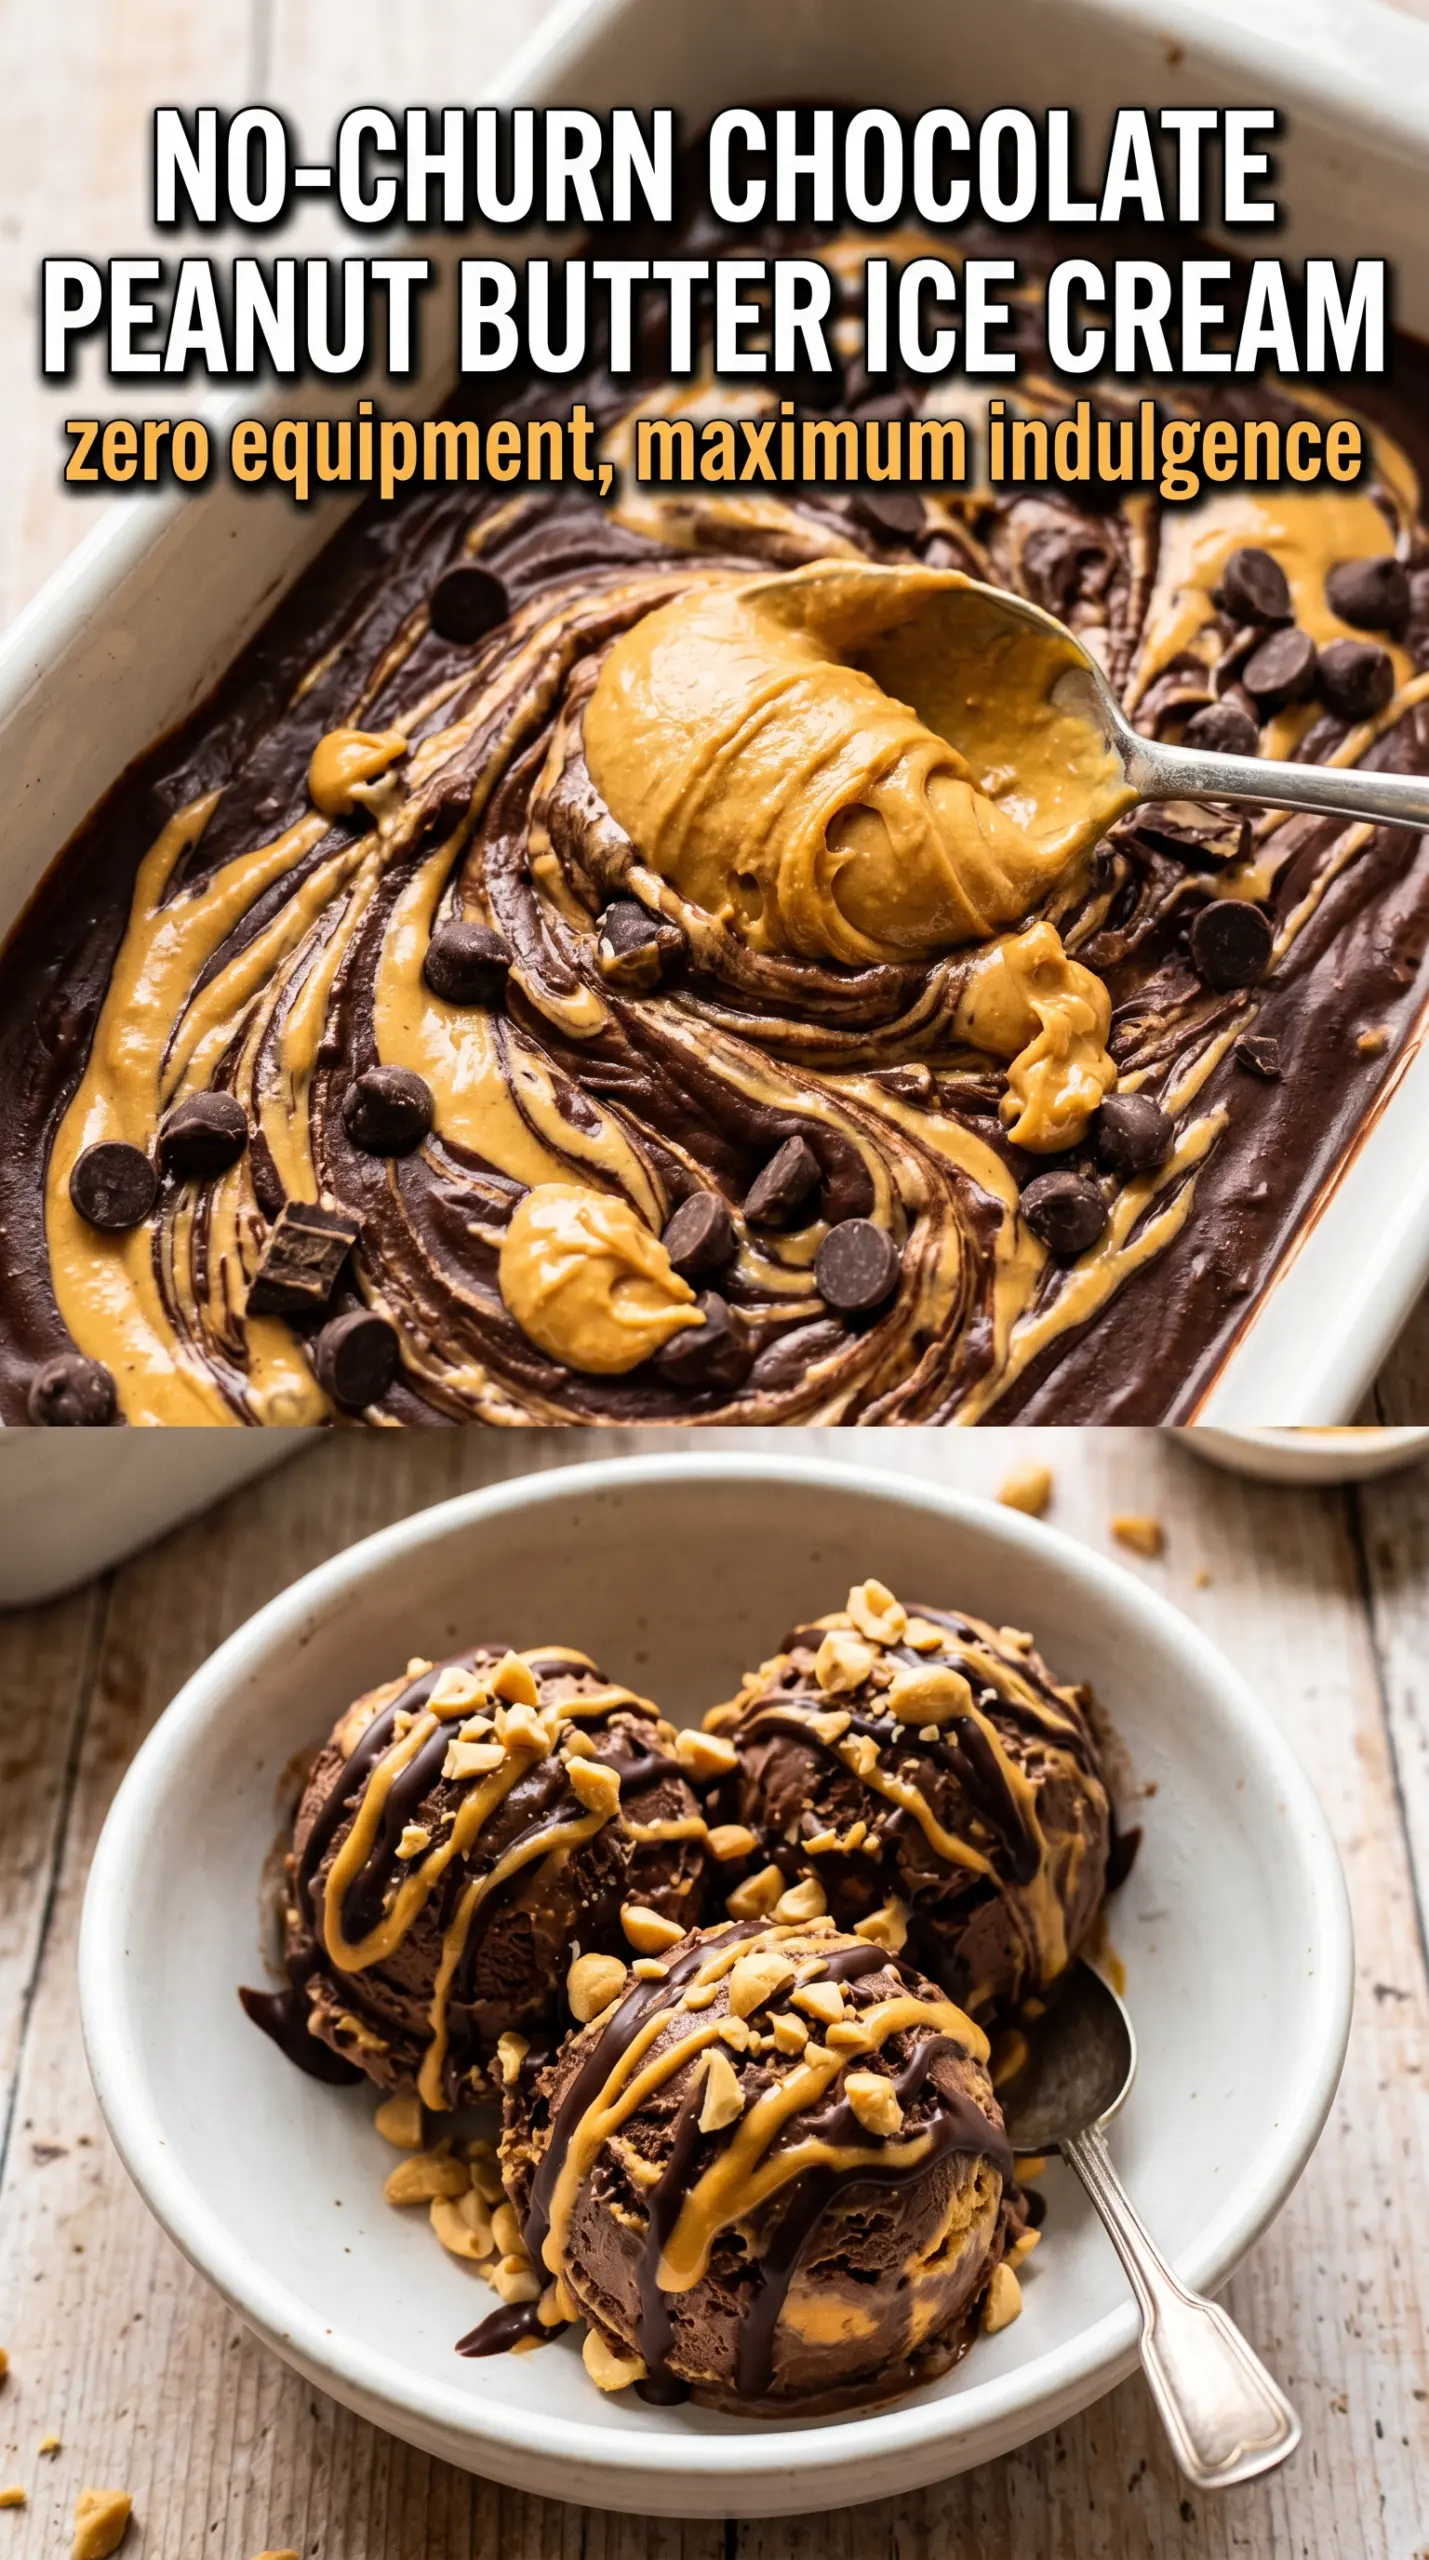
Fudgy chocolate ice cream with thick ribbons of peanut butter swirled through it is the kind of dessert that disappears fast, even when the freezer is full of other options. The texture is dense and creamy without feeling heavy, and the peanut butter cuts through the chocolate in a way that keeps each bite interesting all the way to the bottom of the pan.
What makes this version work is the balance between whipped cream and sweetened condensed milk. The cream brings air and body, while the condensed milk keeps the base smooth and scoopable after freezing. Cocoa powder gives the chocolate a deep, almost brownie-like edge, and warming the peanut butter first matters because it drizzles cleanly instead of clumping into thick blobs that won’t swirl.
Below, I’ll show you how to keep the whipped cream from collapsing, how to get those peanut butter ribbons instead of a muddy blend, and a few smart ways to change the recipe if you want to make it dairy-free or add extra crunch.
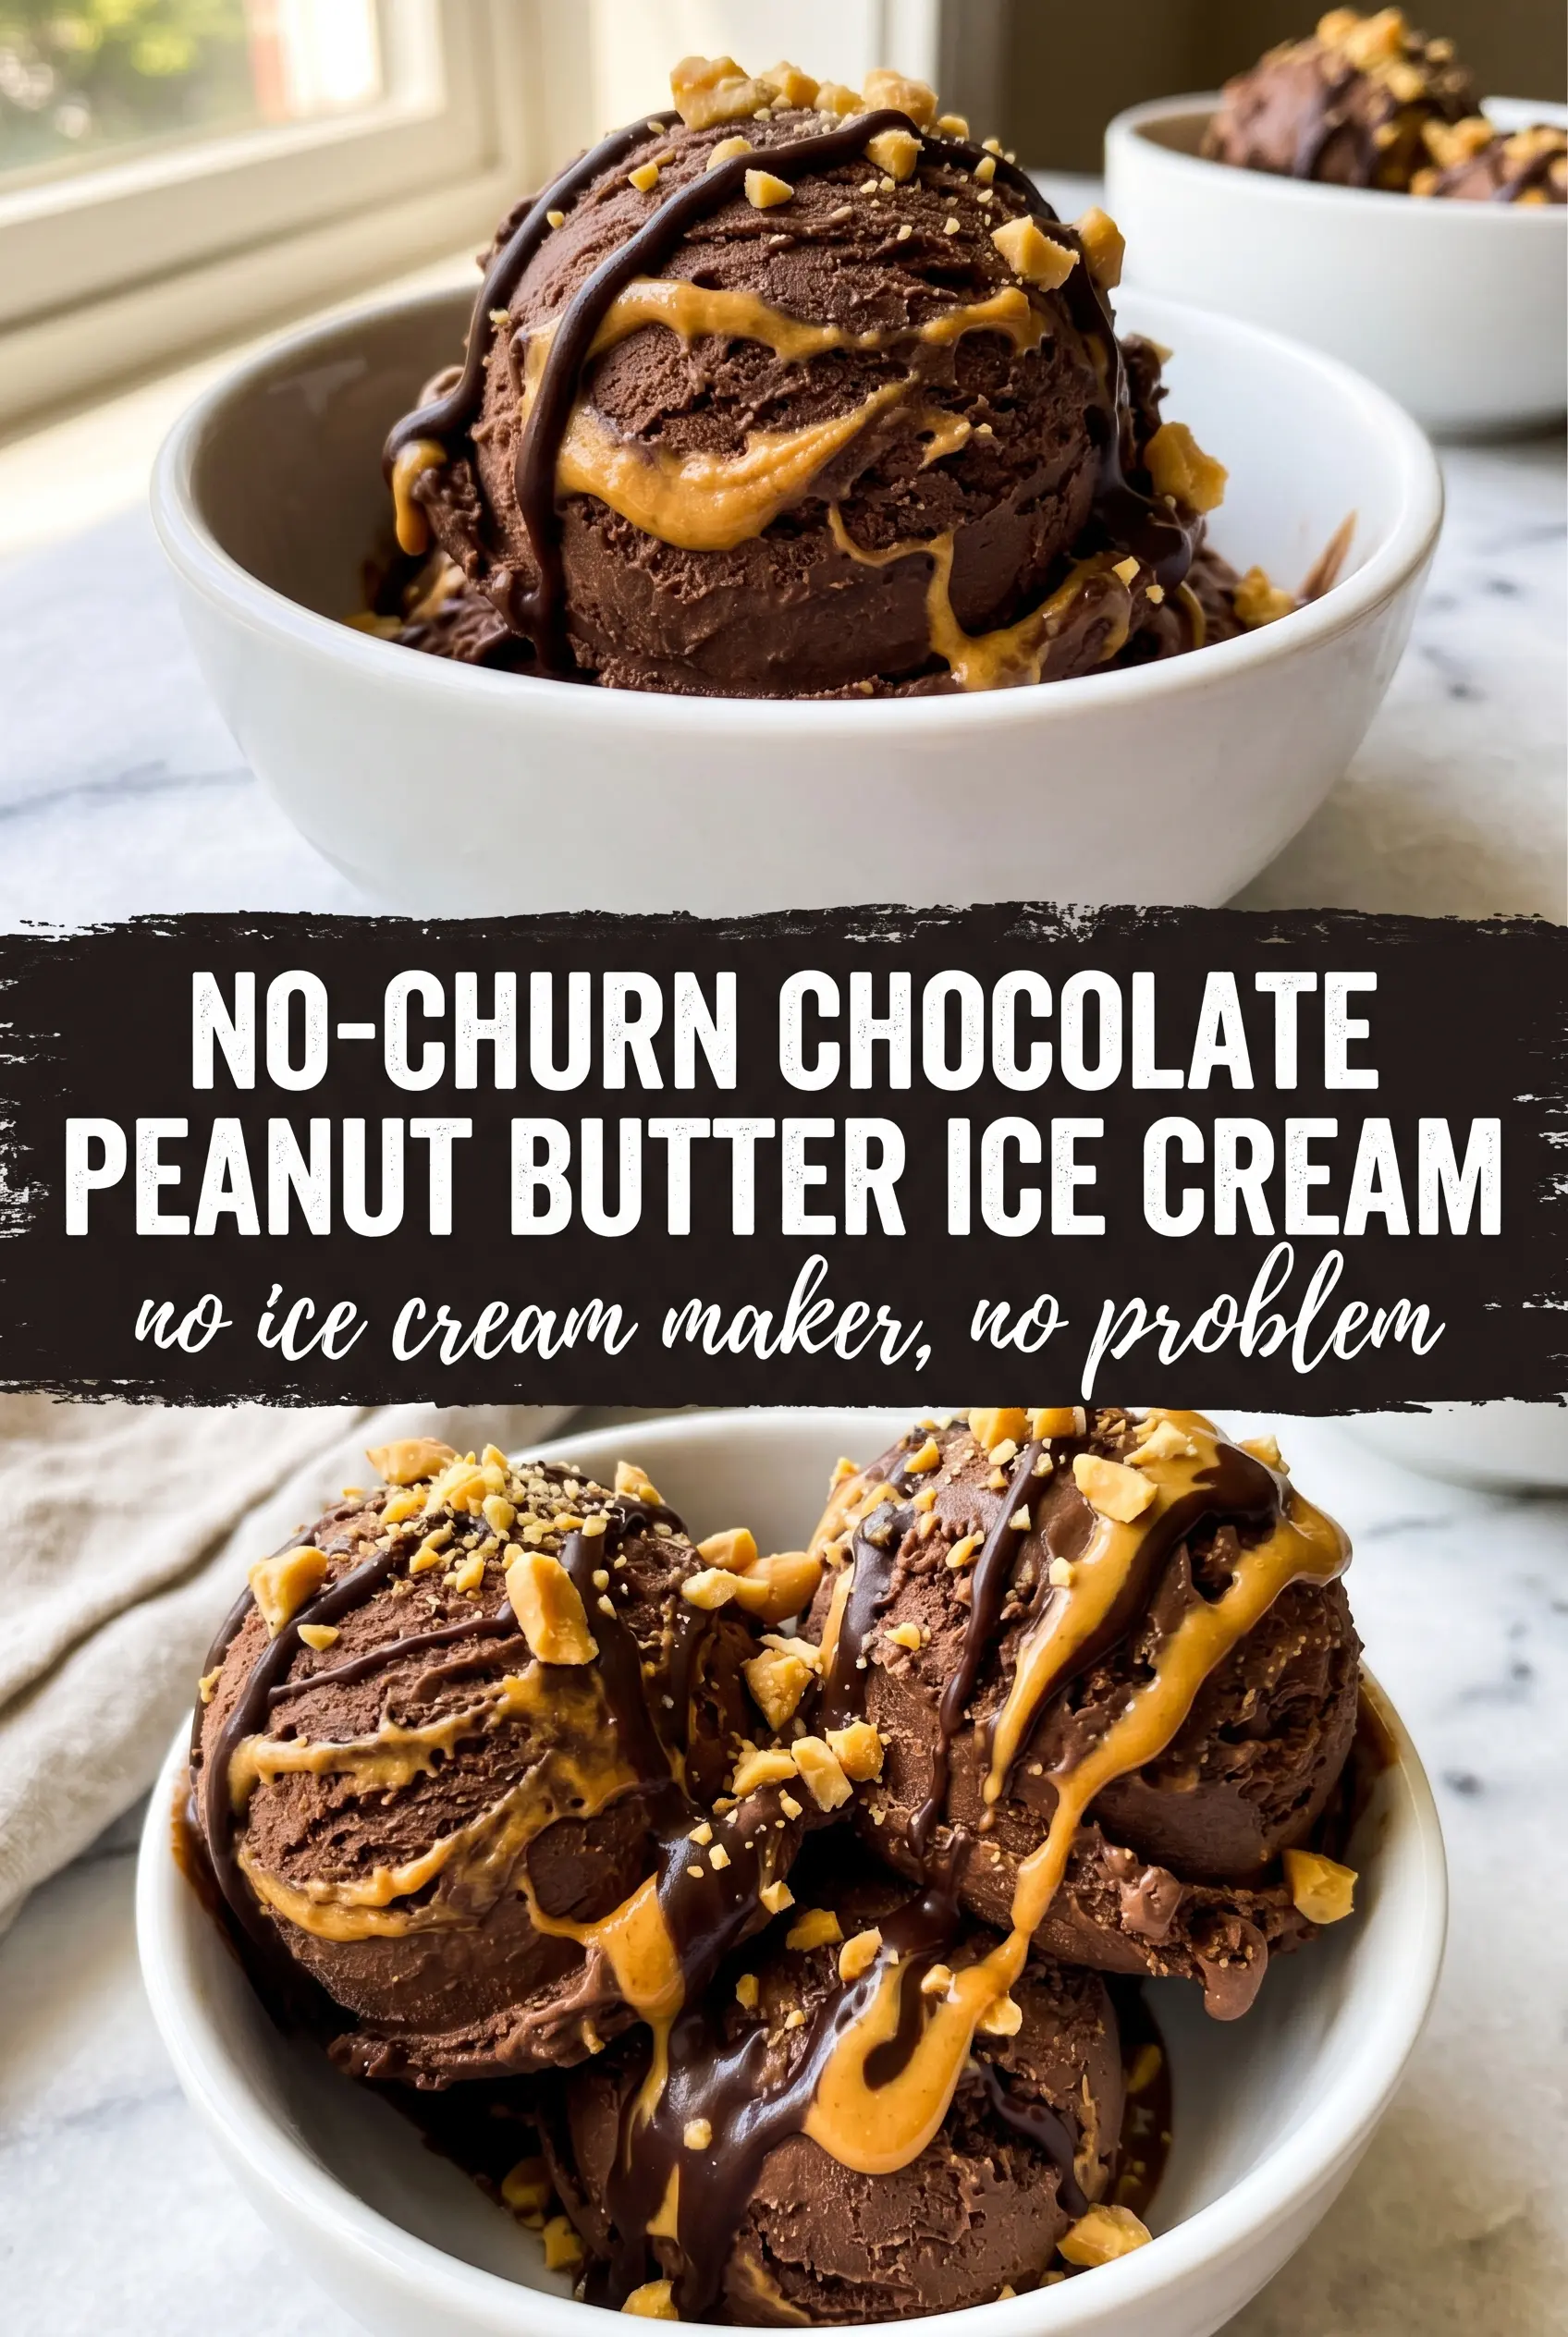
The chocolate base froze up creamy, not icy, and the peanut butter stayed in thick ribbons instead of disappearing into the mix. I let it sit about 10 minutes before scooping and it was perfect.
Save this no-churn chocolate peanut butter ice cream for the nights when you want thick peanut butter swirls and a fudgy frozen base without dragging out the machine.
The Part That Keeps No-Churn Ice Cream Creamy Instead of Dense
No-churn ice cream only works when the base keeps enough air to freeze soft, not heavy. The biggest mistake is overmixing after the whipped cream goes in. Once the condensed milk mixture meets the whipped cream, you’re just folding until the streaks disappear. Stop there. If you keep stirring, you knock out the air that gives the finished ice cream its scoopable texture.
The other place people go wrong is with the peanut butter swirl. Thick peanut butter sinks and turns into hard pockets. Warm it just enough to loosen it, and drizzle it in thin ribbons over the surface so a knife can drag it through the chocolate base without blending everything into one brown color.
- Whipping cream to stiff peaks — This is your structure. Soft peaks won’t hold enough air, and the ice cream freezes more solid. Stiff peaks should stand straight up when you lift the whisk.
- Sweetened condensed milk — Don’t swap this for regular milk and sugar unless you’re making a completely different recipe. Condensed milk brings sweetness and body in one ingredient, which is why the texture stays smooth after freezing.
- Cocoa powder — Unsweetened cocoa gives the base its deep chocolate flavor without making it gritty. Dutch-process cocoa works too and gives a darker, smoother taste.
- Warmed peanut butter — This matters more than the brand. Smooth peanut butter swirls best when it’s warm enough to drizzle. Natural peanut butter can work, but stir it very well first so the oil doesn’t separate in the freezer.
What Each Ingredient Is Actually Doing in This Ice Cream
- Base ingredient (cream, milk, or custard) — This provides the foundation and richness. Quality matters.
- Sweetener (sugar, honey, or condensed milk) — This sweetens and prevents ice crystals. The ratio is critical.
- Flavor element (vanilla, fruit, chocolate, or other) — This defines the ice cream personality. Use quality ingredients.
- Egg yolks (if making custard base) — These create richness and silky texture. Optional but elevates ice cream.
- Churning (if using ice cream maker) — This incorporates air and prevents ice crystals. Critical for smooth texture.
- Freezing temperature and time — Proper freezing prevents rock-hard texture. Store at 0°F or below.
- Mix-ins (chocolate, cookies, fruit, or swirls) — These add texture and prevent one-dimensional flavor. Add near end of churning.
- Serving temperature (slightly soft, not rock hard) — This provides creamy mouthfeel. Remove from freezer 5 minutes before serving.
How to Fold the Base Without Losing the Air You Just Whipped In
Whip the Cream First
Start with cold heavy cream in a large bowl and whip it until stiff peaks form. The cream should look billowy and hold its shape, not slump back into the bowl. If you stop too early, the finished ice cream freezes hard. If you go too far and it starts looking grainy, you’ve overwhipped it, and the texture won’t be as smooth once frozen.
Mix the Chocolate Base Until It’s Completely Smooth
In a separate bowl, whisk the sweetened condensed milk, cocoa powder, vanilla, and salt until no dry spots remain. Cocoa likes to hide in the corners, so scrape the bowl and keep whisking until the mixture looks glossy and even. A few tiny lumps here turn into bitter specks later, and that’s hard to fix once the cream is folded in.
Fold, Don’t Stir
Add the chocolate mixture to the whipped cream in two or three additions and fold with a spatula, sweeping from the bottom of the bowl up and over the top. The goal is a uniform base that still looks light. If you stir in circles, the cream deflates and the ice cream freezes closer to a brick than a scoop. Stop as soon as the streaks are gone.
Swirl the Peanut Butter While It’s Still Soft
Pour half the mixture into a loaf pan, drizzle on half the warm peanut butter, and drag a knife through it a few times. Repeat with the remaining mixture and peanut butter. Don’t over-swirl. You want ribbons, not a fully blended filling. A little contrast is what makes each spoonful taste like chocolate and peanut butter instead of just one muted flavor.
Freeze Until Firm Enough to Scoop
Cover the pan and freeze it for at least 6 hours, or overnight if you want clean scoops. The surface should look matte and firm all the way through. If it feels soft in the center, it needs more time. Pulling it too early gives you a slushy middle that turns icy after refreezing.
Three Ways to Change the Swirl Without Breaking the Texture
Make it dairy-free
Use full-fat coconut cream in place of heavy cream and a dairy-free sweetened condensed milk alternative. The texture will still be creamy, but the coconut flavor will show a little. Chill both ingredients well before whipping so the base holds as much air as possible.
Add crunch without freezing it solid
Fold in chopped peanut butter cups, chopped peanuts, or chocolate chunks after the base is mixed, then layer a little between the swirls. Keep the pieces small so the scoop still cuts cleanly. Big chunks can make the frozen loaf brittle.
Use almond butter instead of peanut butter
Almond butter gives a slightly less sweet, more roasted finish. Warm it the same way and swirl it lightly so it stays visible in the chocolate base. It’s a good swap if you want the same method with a softer nut flavor.
Storage and Reheating
- Refrigerator: This ice cream doesn’t belong in the fridge. It will melt into a loose base within minutes.
- Freezer: Keeps well for about 2 weeks if tightly covered. Press parchment or plastic wrap directly on the surface before sealing the pan to prevent ice crystals.
- Reheating: Not applicable. Let it sit at room temperature for 5 to 10 minutes before scooping so the edges soften first.
Questions I Get Asked About This Recipe
No-Churn Chocolate Peanut Butter Ice Cream
Ingredients
Method
- Whip the heavy cream in a large bowl until you reach stiff peaks, about 5–8 minutes, and the mixture holds shape when you lift the whisk.
- Whisk the sweetened condensed milk, unsweetened cocoa powder, vanilla extract, and salt in a separate bowl until the cocoa is fully smooth and no dark streaks remain.
- Gently fold the condensed milk cocoa mixture into the whipped cream until just combined, keeping the foam airy and stopping as soon as no white streaks show.
- Pour half of the mixture into a 9x5 loaf pan, drizzle with half the warmed peanut butter, then swirl with a knife using a few gentle passes.
- Add the remaining ice cream mixture, top with the remaining peanut butter, and swirl again with the knife for thick ribbon patterns.
- Freeze the loaf pan for at least 6 hours or overnight until firm to the touch and scoopable.