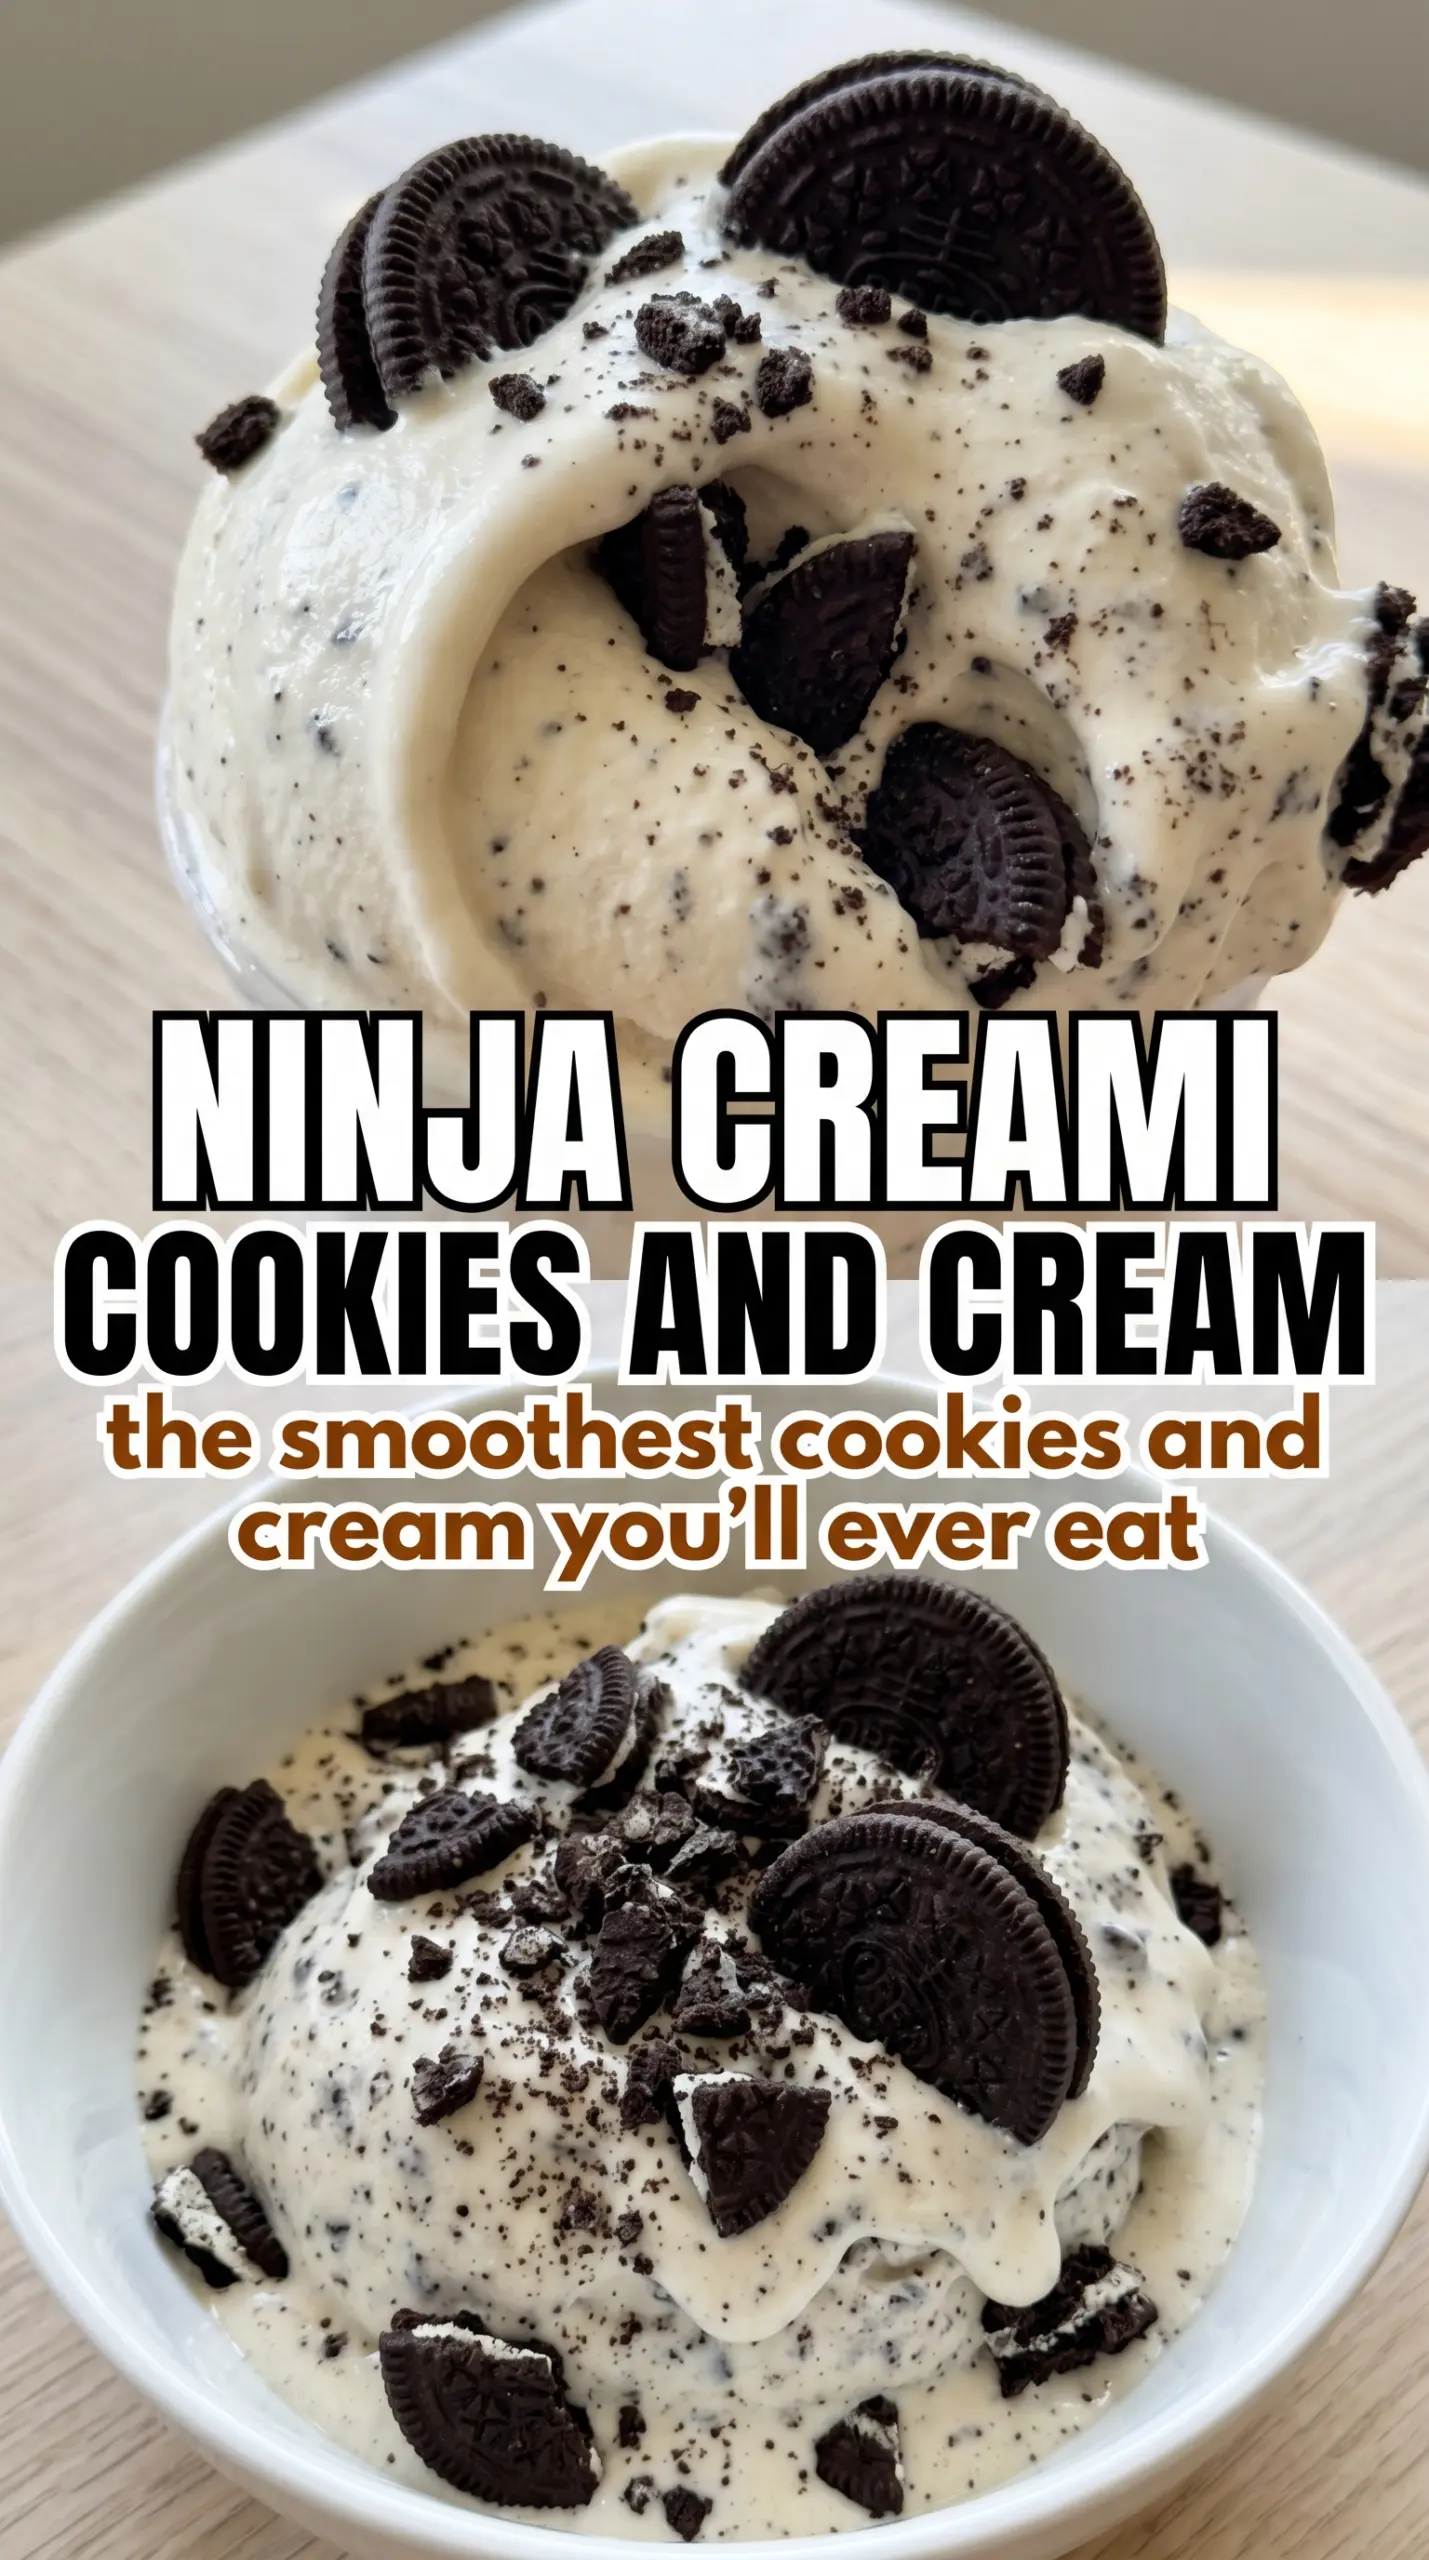
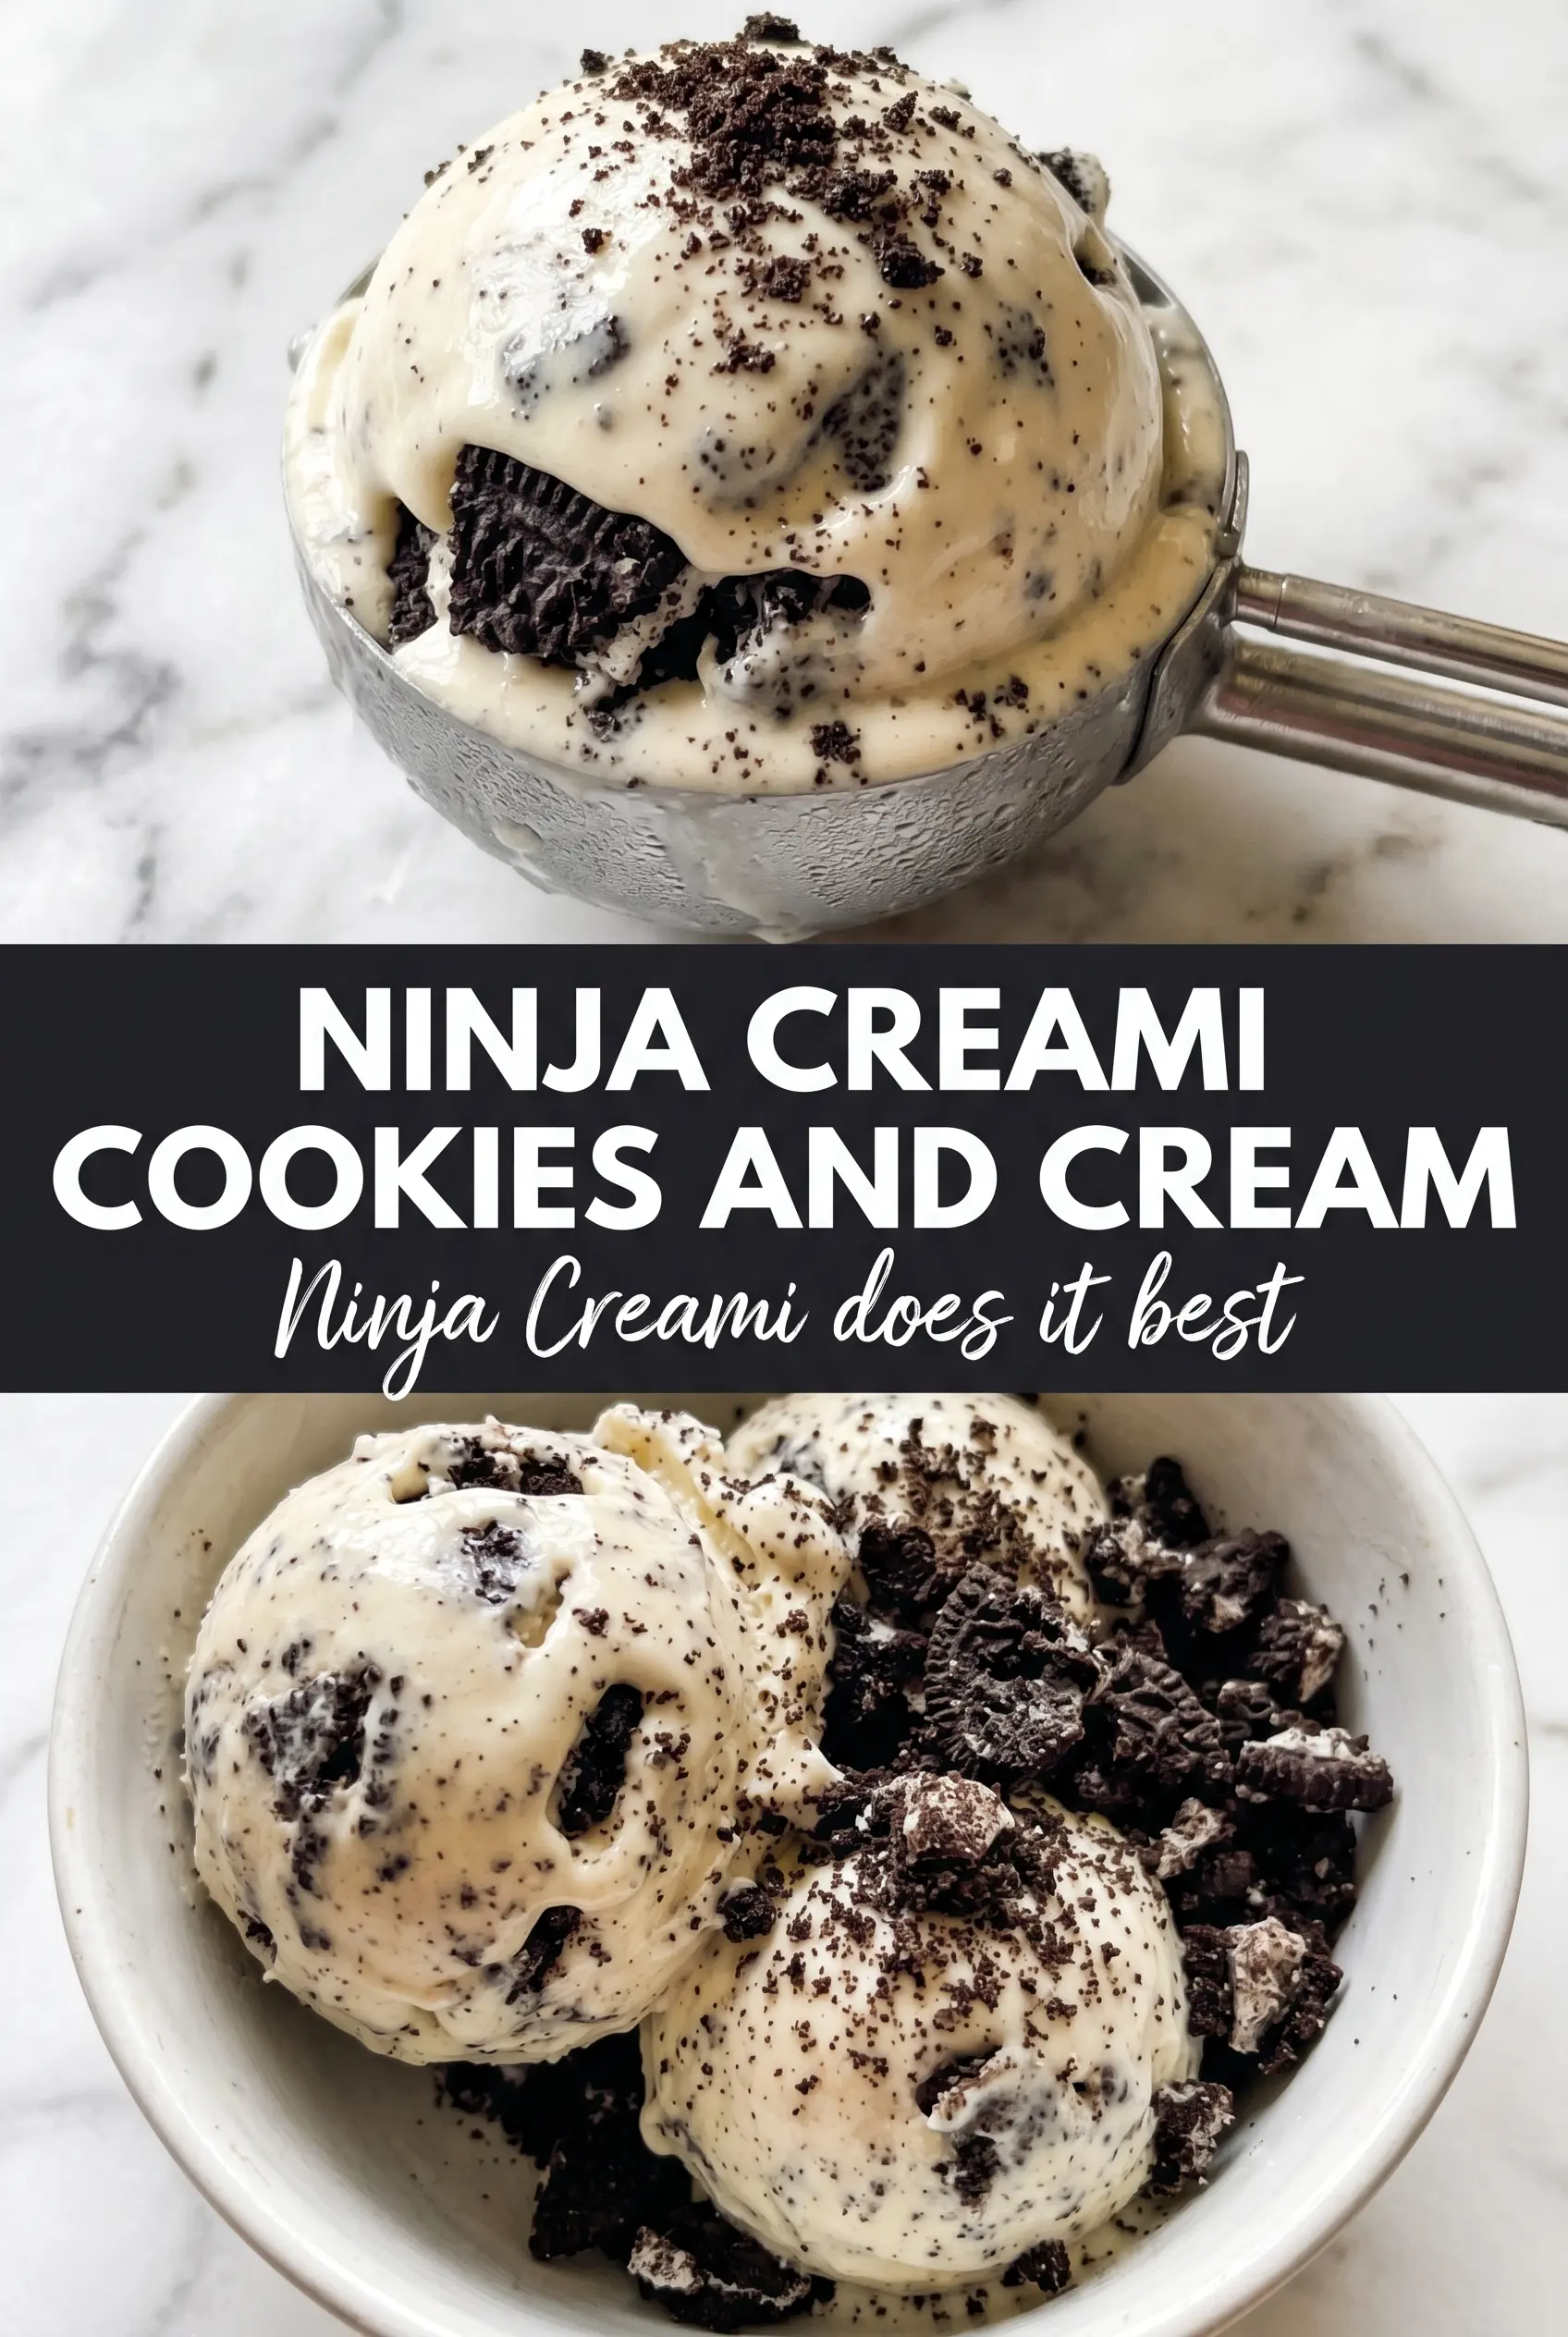
Cookies and cream in the Ninja Creami turns out with that dense, scoopable texture people are chasing when they buy one of these machines. The base freezes hard, then gets shaved and whipped into a smooth, rich ice cream that tastes like a good old-fashioned bowl of Oreo ice cream without the icy stretch you get from some homemade versions.
What makes this version work is the balance of fat, sugar, and a little cream cheese. The heavy cream gives the base body, the whole milk keeps it from turning heavy, and the cream cheese helps the texture stay creamy after freezing. The cookies go in at the end with the Mix-In function, which keeps those chocolate pieces distinct instead of turning the whole pint gray.
Below, I’m walking through the small details that matter most: how smooth the base needs to be before freezing, why the headspace in the pint matters, and when to add that extra splash of milk if the first spin comes out crumbly.
The base came out perfectly creamy after one respin, and the cookie pieces stayed chunky instead of disappearing into the ice cream. I used a little extra milk on the first spin and it turned out just like a real scoop shop pint.
Save this Ninja Creami cookies and cream pint for the nights when you want rich homemade ice cream with crunchy cookie pieces in every bite.
The Part That Stops a Grainy Pint Before It Starts
The biggest mistake with Ninja Creami bases is freezing a mixture that isn’t fully smooth. Cream cheese can leave tiny lumps that don’t disappear later, and once that base freezes, those little bits turn into grit after spinning. Blend until the mixture looks completely uniform and the cream cheese is gone from sight before it ever hits the pint.
The other thing that matters is the freeze. The mixture needs a full 24 hours in the freezer, flat and level, so the blade can shave it evenly. If the top is domed or the pint is overfilled, the machine works harder and you’re more likely to end up with a powdery middle that needs extra liquid to come together.
- Cream cheese — This is the ingredient that gives the base that slight custardy body. Softened cream cheese blends in cleanly; cold cream cheese leaves tiny bits behind and those show up after freezing.
- Heavy cream — This carries the rich ice cream texture. You can swap in half-and-half in a pinch, but the final pint will be lighter and a little less plush.
- Whole milk — This keeps the mixture from tasting too heavy. Lower-fat milk works, but the result will be a little icier.
- Chocolate sandwich cookies — Use a cookie with a crisp chocolate wafer for the best Mix-In texture. Crush them by hand or with a rolling pin so you get bits, not dust.
What Each Ingredient Is Actually Doing in This Ninja Creami Recipe
- Base liquid (juice, coffee, tea, or smoothie) — This determines the flavor profile. Quality liquid makes better ice.
- Sweetener (sugar, honey, or simple syrup) — This sweetens and prevents rock-hard freezing. The ratio is critical.
- Acid (lemon, lime, vinegar, or citrus juice) — This brightens flavors and prevents one-dimensional taste.
- Flavoring (vanilla, coffee, fruit, or other extract) — This defines the Creami personality. Use quality flavorings.
- Freezing time (at least 24 hours) — Proper freezing creates the right texture. Underfreezed won’t process correctly.
- Container choice (Creami-compatible cups) — Must fit the machine properly. Wrong cups won’t freeze or process correctly.
- Processing speed (sorbet vs slushi vs gelato) — Different speeds create different textures. Choose based on your preference.
- Serving immediately — Creami works best when served right after processing. Freezing again changes texture.
Freezing It Flat, Spinning It Right, and Folding in the Cookies Last
Blending the Base Until It Disappears
Add the milk, cream, sugar, softened cream cheese, vanilla, and salt to a blender and run it until the mixture looks silky and even. Stop and scrape down the sides if you see any pale streaks from the cream cheese. If the base isn’t fully smooth now, the frozen result won’t be smooth later, and the machine can’t fix that for you.
Freezing the Pint Without Overfilling It
Pour the base into the Ninja Creami pint, leaving about 1 inch of space at the top. That headspace matters because the mixture expands a little as it freezes, and overfilling can distort the surface. Set the pint on a level shelf and freeze it for the full 24 hours so the texture firms evenly from edge to center.
Spinning, Respining, and Adding the Cookies
Process the frozen pint on the Ice Cream setting. If the texture comes out dry or crumbly, add 1 tablespoon of milk and use Re-spin; that small amount is usually enough to bring the pint back together without making it slushy. Once the base is smooth, use the Mix-In function for the crushed cookies so they stay in visible pieces and don’t get pulverized into the ice cream.
How to Adjust This Pint Without Losing the Creamy Texture
Dairy-Free Version
Use full-fat coconut milk in place of the milk and cream, and swap the cream cheese for a dairy-free cream cheese that blends smoothly. The pint will still be rich, but it will taste a little more like coconut underneath the cookies. Pick cookies without dairy if you need the whole dessert to stay dairy-free.
Lighter Cookies and Cream
Replace the heavy cream with half-and-half for a lighter base. The ice cream will still spin up well, but it won’t have quite the same dense scoop-shop feel, so plan on a slightly softer texture straight out of the machine.
Extra Cookie Crunch
If you want bigger cookie pieces, hold back a couple of cookies and fold them in after the first Mix-In cycle. This keeps some chunks larger and gives you a better crunch in the final spoonfuls instead of turning everything into fine crumbs.
Storage and Re-Spinning
- Refrigerator: The base can sit in the fridge for up to 1 day before freezing, but the finished ice cream is best eaten right after spinning.
- Freezer: The spun ice cream hardens quickly in the freezer. If you store leftovers, press plastic wrap directly on the surface and expect to respin before serving.
- Reheating: Let the pint sit at room temperature for 5 to 10 minutes, then process again or use Re-spin. Don’t try to dig into a rock-hard pint straight from the freezer; that’s how you get a crumbly texture instead of creamy scoops.
Questions I Get Asked About This Recipe
Ninja Creami Cookies and Cream Protein-Style Ice Cream (Single Serve Pint)
Ingredients
Equipment
Method
- Add whole milk, heavy cream, granulated sugar, softened cream cheese, vanilla extract, and salt to a blender and blend until completely smooth with no cream cheese streaks (about 45–60 seconds). Look for a thick white mixture that pours evenly and feels fully emulsified.
- Pour the mixture into the Ninja Creami pint container, leaving 1 inch of headspace. Freeze for 24 hours, until the pint is solid and scoop-firm.
- Spin the frozen pint on the Ice Cream setting. The surface should turn smooth and creamy with cookie pieces beginning to show through.
- If the pint is too firm and won’t break down cleanly, add 1 tablespoon milk and re-spin. Visually check that the processed top looks fully smoothed rather than grainy or cratered.
- Use the Mix-In function to fold in crushed chocolate sandwich cookies. You should see evenly distributed cookie flecks throughout the white base.
- Serve immediately for best scoop texture, or return the pint to the freezer if not eating right away. The ice cream should hold its shape and look dense, creamy, and white with visible cookie bits.