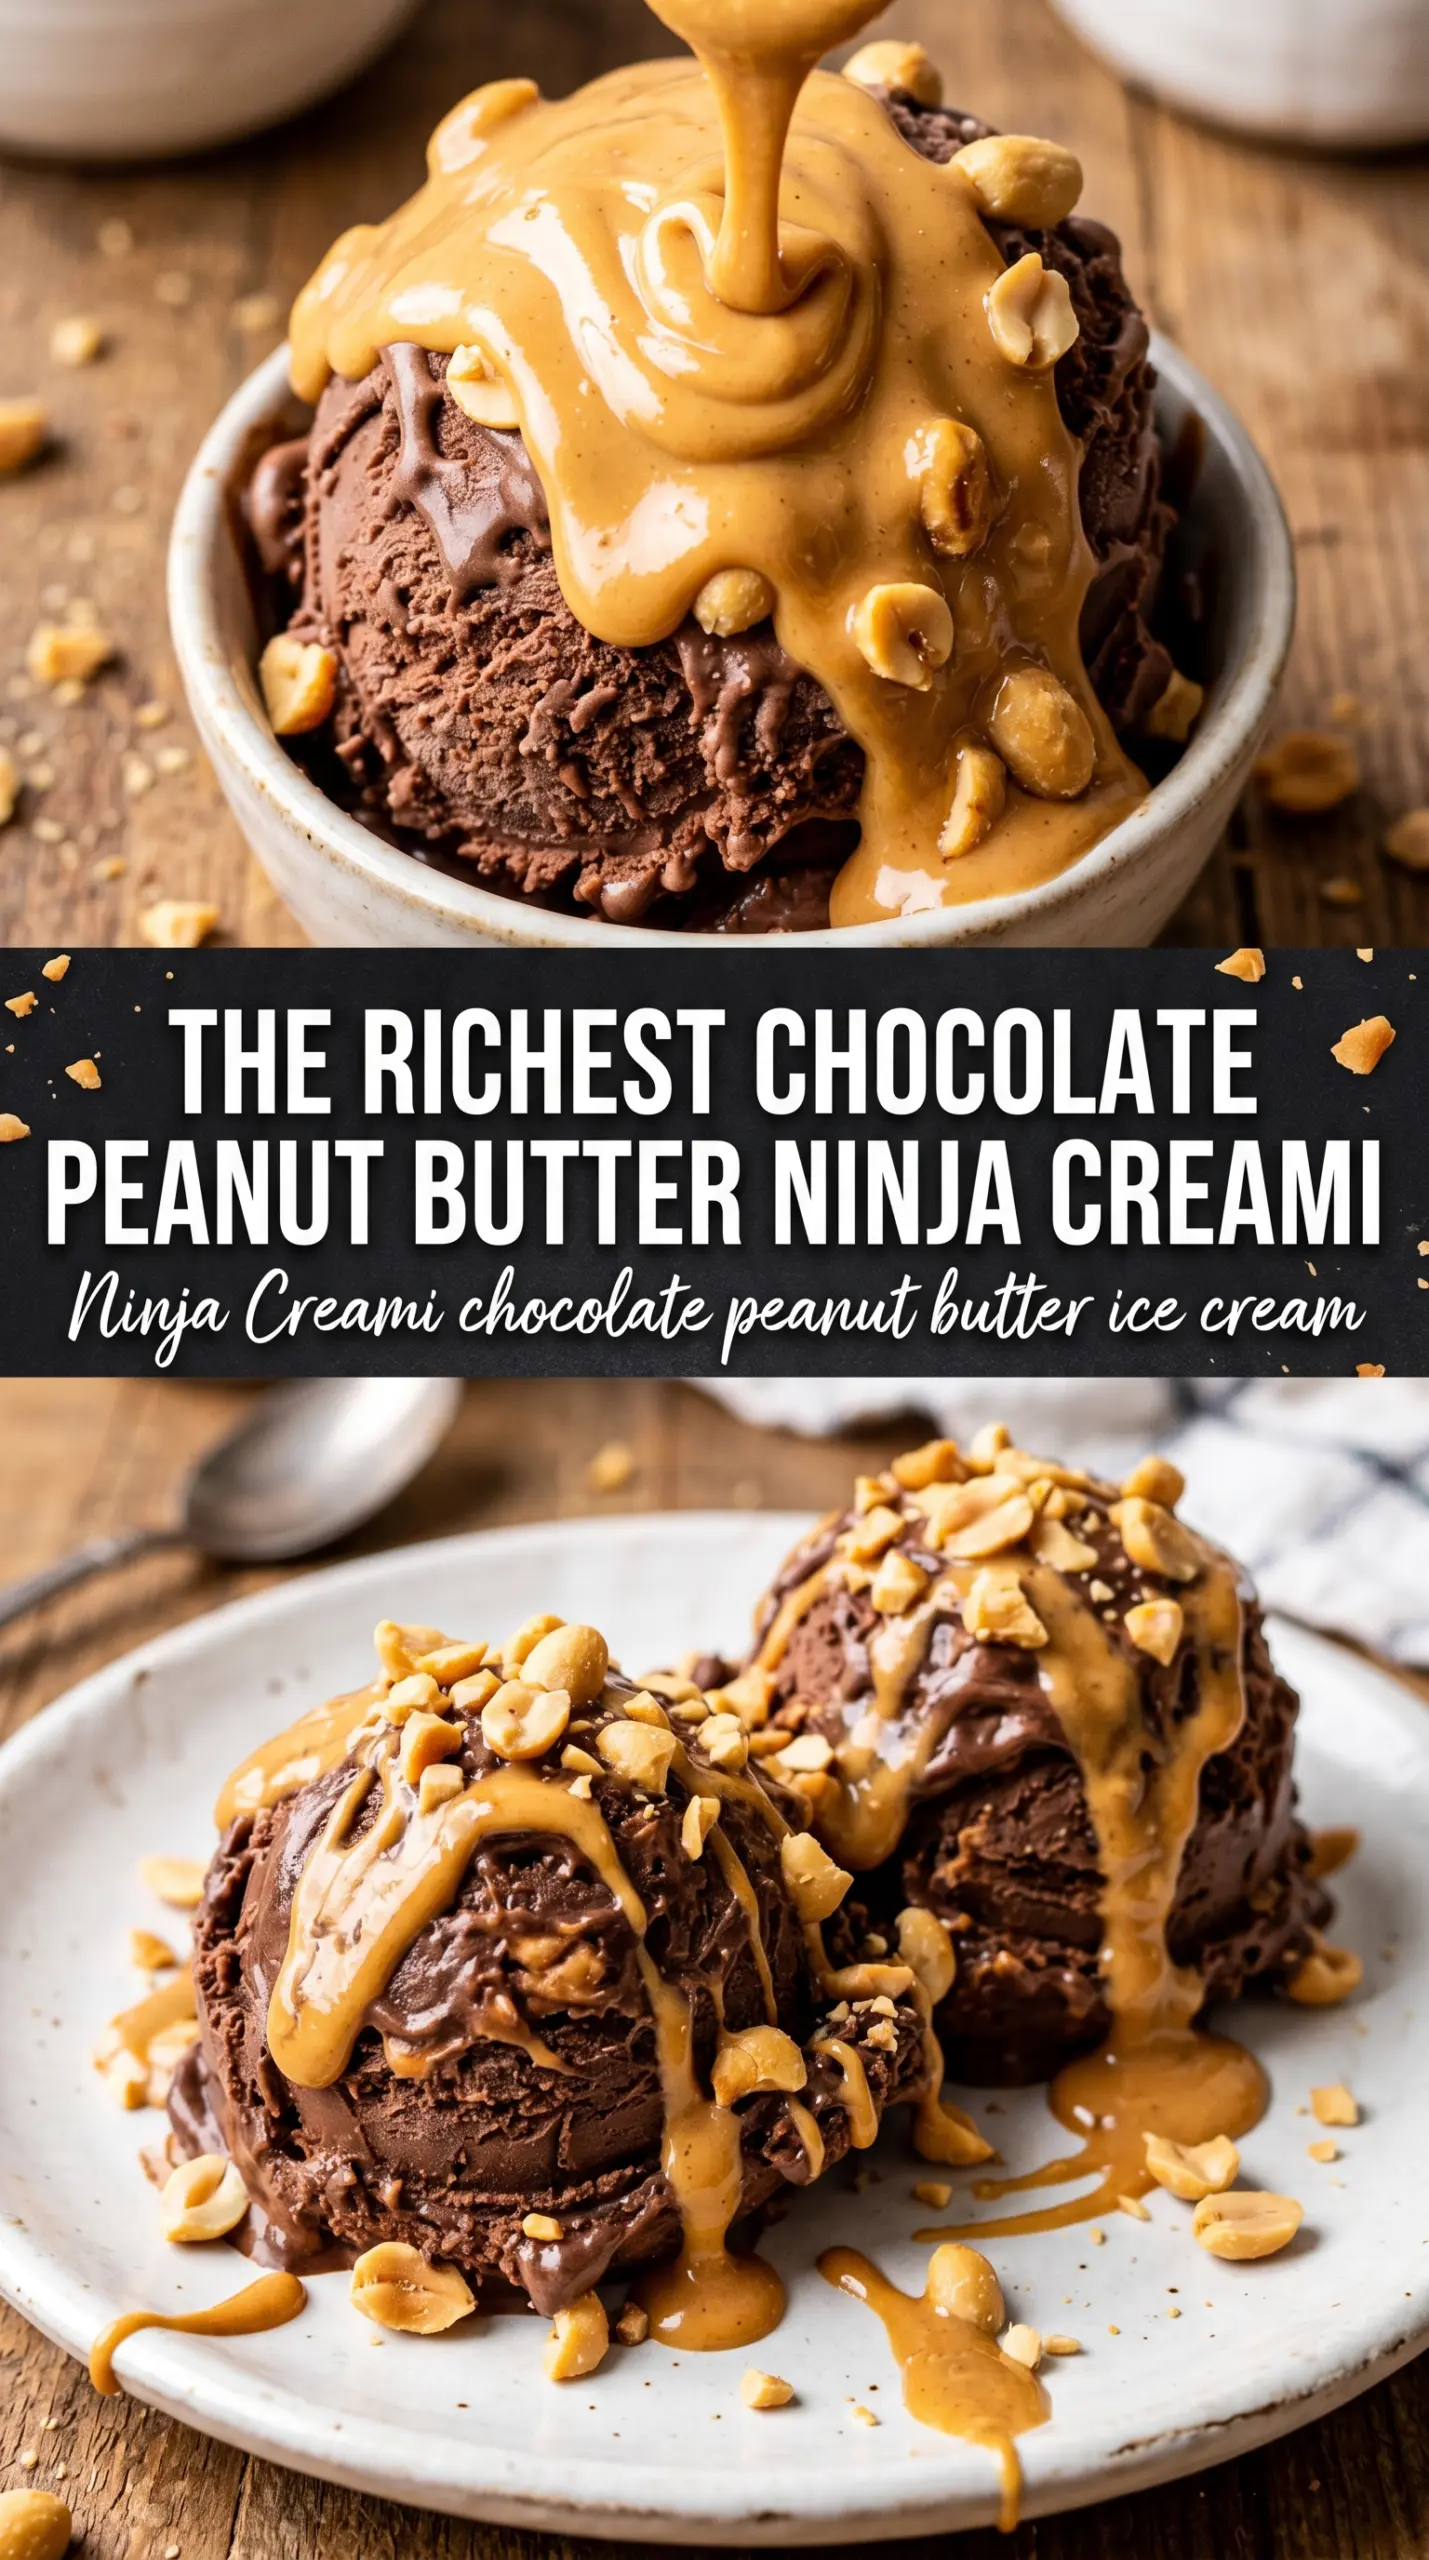
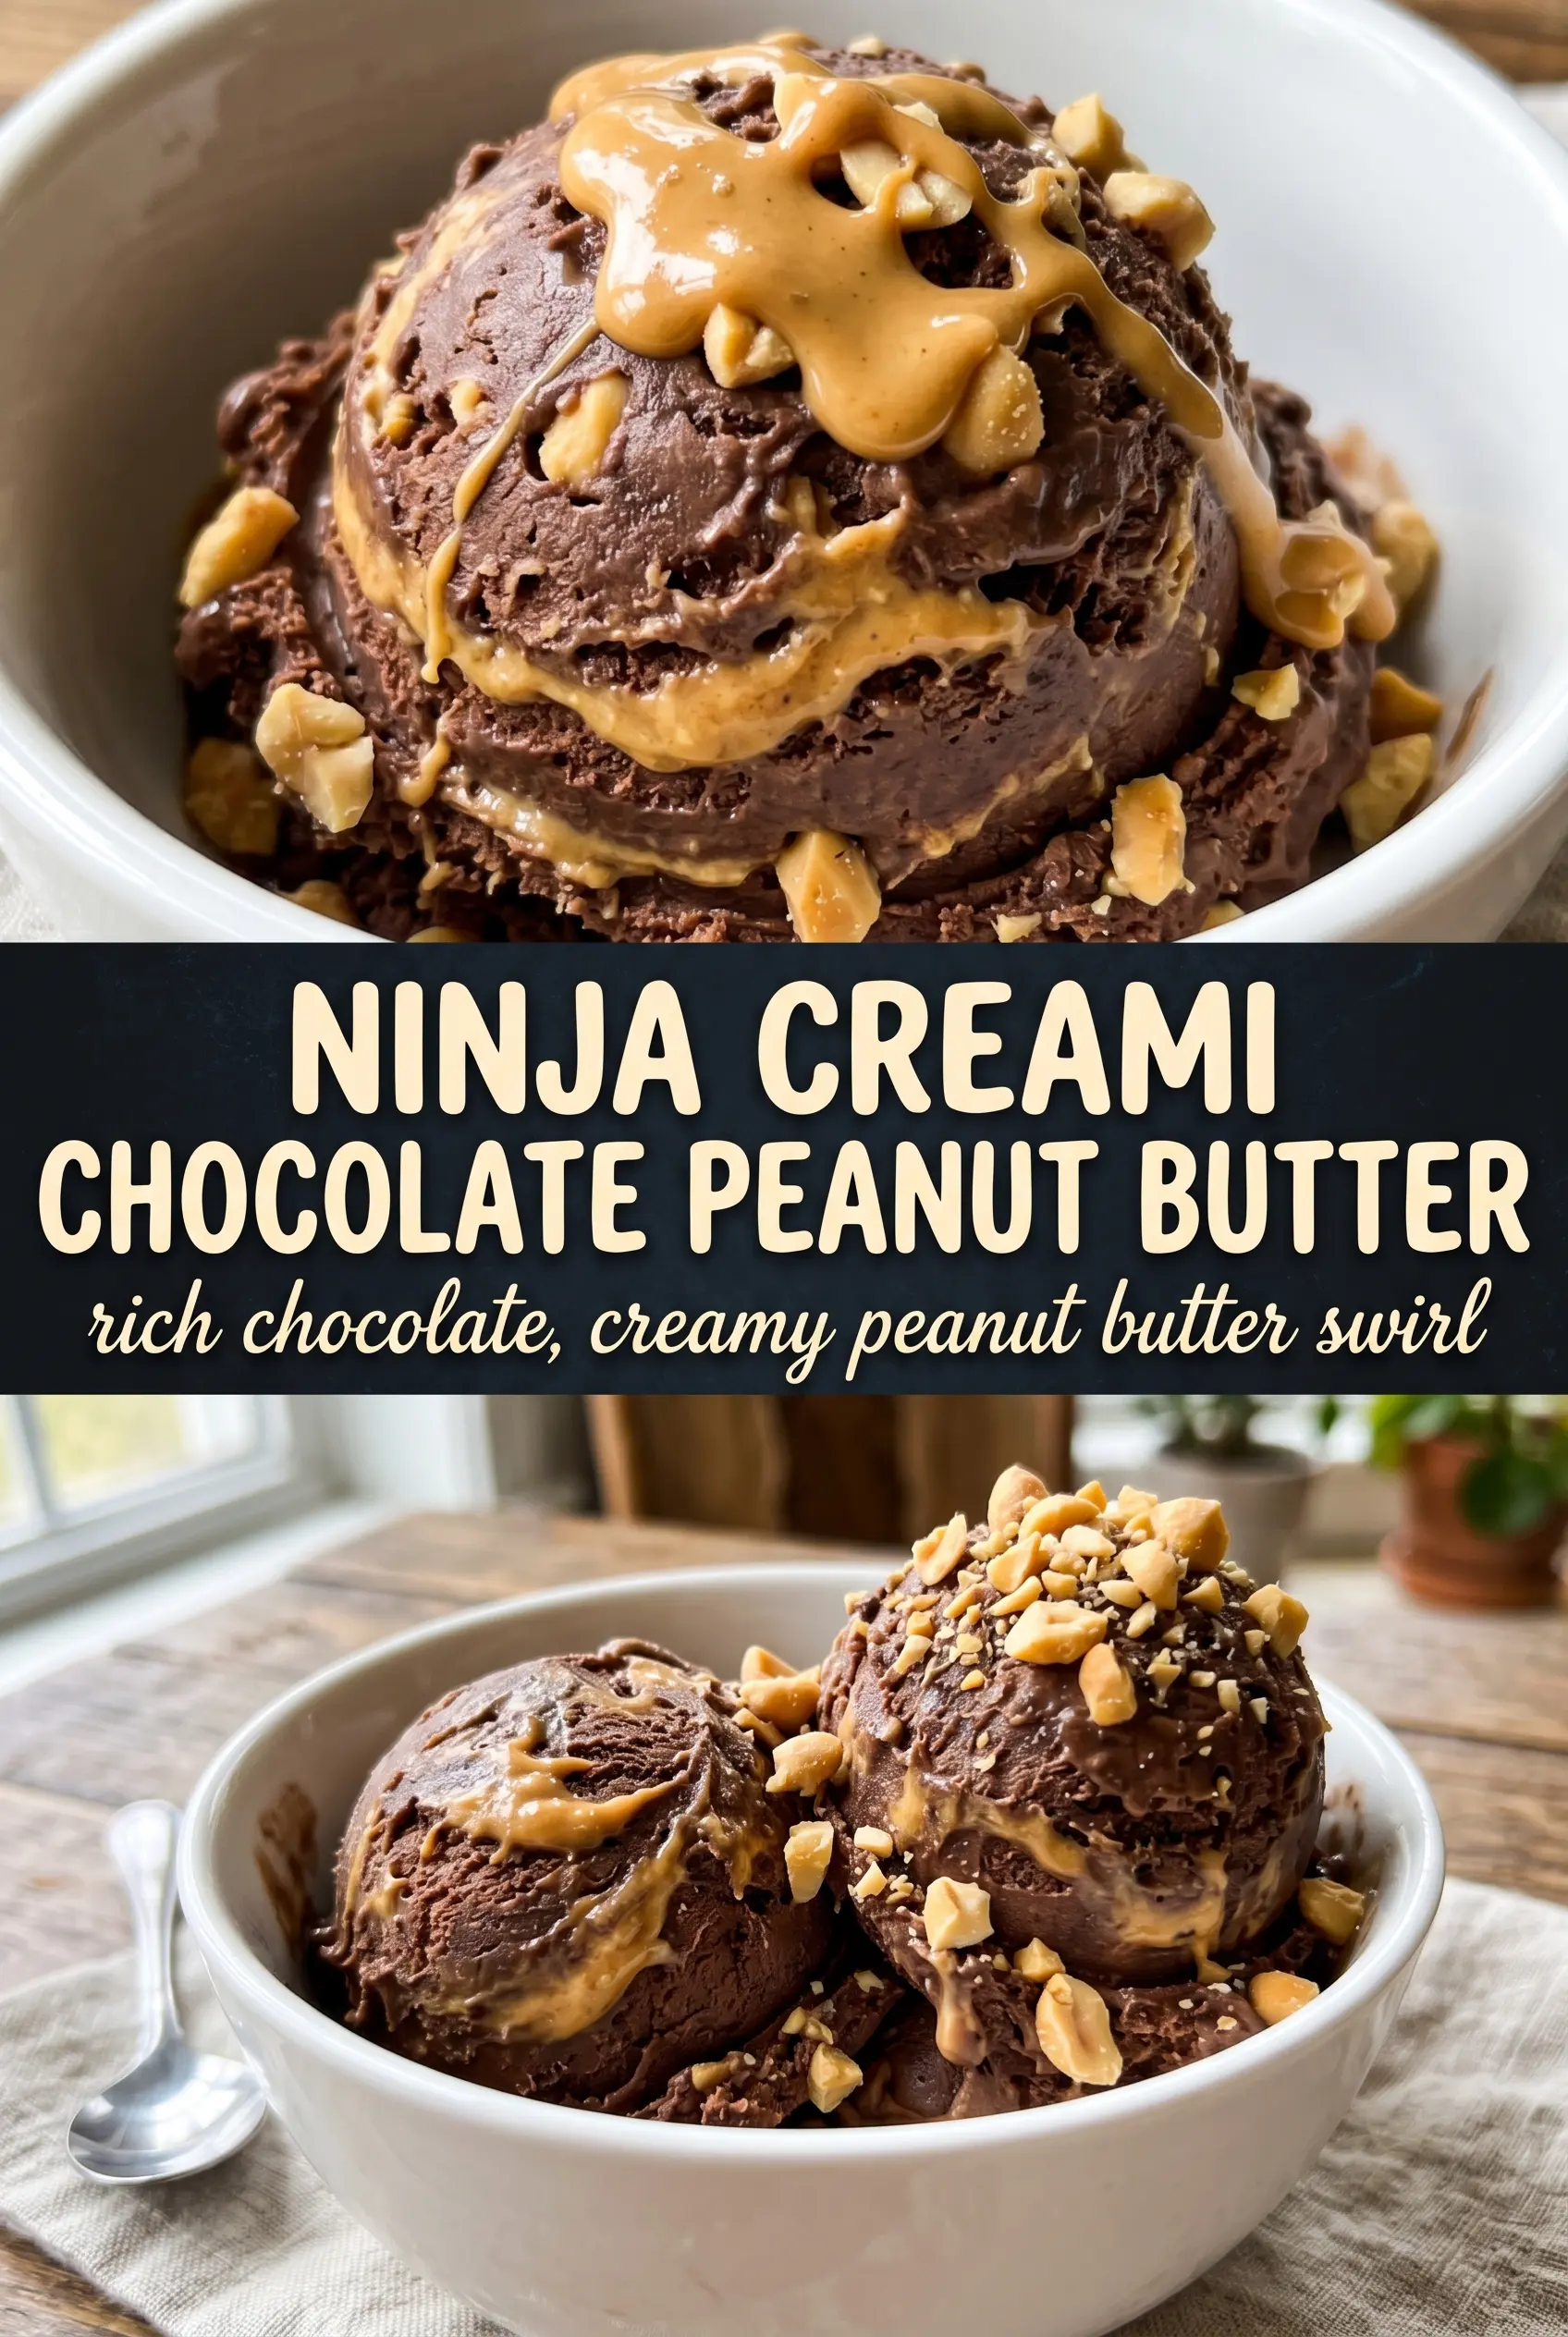
Dense chocolate ice cream with a ribbon of warm peanut butter is one of those combinations that never needs improving, but the Ninja Creami makes it feel extra satisfying because the base freezes hard and spins into something that eats like old-school ice cream. The chocolate stays deep and fudgy instead of airy, and the peanut butter cuts through it with a salty, nutty finish that keeps each bite interesting.
The trick here is building a base that freezes smooth enough to spin cleanly. Cream cheese gives the pint a little body, cocoa powder brings the chocolate backbone, and enough fat from the cream keeps the finished texture from turning icy. Warming the peanut butter matters too: cold peanut butter clumps, but warm peanut butter slips into the ice cream in glossy ribbons instead of sitting on top in blobs.
Below, I’m walking through the few details that make this pint turn out creamy instead of crumbly, plus the best way to swirl in the peanut butter so it looks and tastes like a dessert shop treat.
The chocolate base came out smooth after one re-spin, and the warm peanut butter swirled through instead of sinking to the bottom. My husband called it the best Reese’s-style ice cream he’s had at home.
Save this Ninja Creami Chocolate Peanut Butter Ice Cream for the nights when you want a thick chocolate pint with a warm peanut butter swirl.
The Part That Keeps the Base Creamy After Freezing
The biggest mistake with a Ninja Creami pint is underbuilding the base. If it’s too lean, it spins up dry and crumbly, and no amount of re-spin magic fully fixes that. Here, the combination of milk, cream, and cream cheese gives the frozen pint enough fat and solids to turn into something scoopable instead of icy.
Another detail that matters is the cocoa powder. It needs to be fully dissolved before freezing, or you’ll get bitter little pockets and a grainy texture after spinning. Blending the mixture until it looks completely uniform is worth the extra minute. That smooth base is what lets the machine do its job cleanly.
What Each Ingredient Is Actually Doing Here
- Chocolate milk or whole milk — Chocolate milk gives you an extra layer of chocolate flavor and a little sweetness, while whole milk keeps the base from freezing too hard. If you use plain whole milk, the cocoa powder carries more of the flavor, so the chocolate tastes deeper and less sweet.
- Heavy cream — This is what gives the pint its rich, fudgy finish. Half-and-half works in a pinch, but the texture won’t be as lush.
- Cream cheese — Don’t skip this unless you have to. It acts like an emulsifier and helps the frozen base spin smoother instead of turning chalky. Softened cream cheese blends in best; cold cream cheese leaves little bits behind.
- Cocoa powder — Use unsweetened cocoa so you can control the sweetness. If your cocoa is extra dark, the ice cream will taste more bittersweet and grown-up, which is perfect with the peanut butter swirl.
- Peanut butter — Warm, creamy peanut butter is non-negotiable if you want an actual swirl. If it’s too thick, it will drag through the ice cream and clump instead of ribboning through it.
How to Freeze, Spin, and Swirl It Without Ruining the Texture
Blending the Base Until It’s Completely Smooth
Add the chocolate milk, cream, cocoa, sugar, cream cheese, vanilla, and salt to a blender or use a stick blender in a deep cup. Blend until you can’t see any streaks of cream cheese or cocoa dust. If the base goes into the pint with lumps, they’ll freeze into hard bits that the machine won’t fully smooth out later.
Freezing the Pint Flat and Solid
Pour the mixture into the Ninja Creami pint and freeze it on a level surface for 24 hours. The top should look completely set, not slushy at the center. If the pint freezes crooked, the blade can shave one side faster than the other and leave an uneven texture.
Spinning for the Right Texture
Process on the Ice Cream setting. If it looks powdery or sandy after the first spin, add 1 tablespoon milk and re-spin. That little bit of liquid gives the blade enough help to bring the fat and solids back together. Too much milk makes the pint loose and soft, so add only what it needs.
Adding the Peanut Butter Swirl at the End
Warm the peanut butter until it’s just loose and glossy, then drizzle it over the top of the spun ice cream. Swirl it in with a spoon for visible ribbons, or use the Mix-In function if you want heavier streaks throughout. Add it after spinning, not before freezing, or it will disappear into the base and lose that peanut butter hit.
Ways to Adjust the Pint Without Losing the Good Texture
Use natural peanut butter for a less-sweet finish
Natural peanut butter works if it’s stirred smooth first, but it’s thinner and less sweet than shelf-stable peanut butter. You’ll get a more pronounced roasted peanut flavor and a looser swirl, which some people prefer because it tastes less candy-like.
Make it dairy-free with a richer plant-based base
Use full-fat oat milk and coconut cream in place of the dairy milk and heavy cream, and swap in a dairy-free cream cheese. The texture will still be creamy, though it will taste a little more coconut-forward if your coconut cream is very strong.
Turn it into a Reese’s-style mix-in pint
After the first spin, add chopped peanut butter cups instead of just swirling in peanut butter. The chunks give you a sweeter, crunchier bite, while the plain peanut butter keeps the chocolate base from tasting flat.
Storage and Reheating
- Refrigerator: Not ideal once it’s spun. The texture softens fast and turns puddly.
- Freezer: You can refreeze leftovers in the pint, but they’ll freeze harder and need another spin before serving.
- Reheating: Let the pint sit at room temperature for 5 to 10 minutes, then re-spin. Don’t microwave it; that melts the edges and leaves the center icy.
Answers to the Questions Worth Asking
Ninja Creami Chocolate Peanut Butter Ice Cream
Ingredients
Equipment
Method
- Blend chocolate milk, heavy cream, unsweetened cocoa powder, granulated sugar, cream cheese, vanilla extract, and salt until completely smooth and no lumps remain, scraping down as needed to keep the mixture silky.
- Pour the mixture into the Ninja Creami pint container, cover, and freeze for 24 hours (until solid).
- Process on the Ice Cream setting until thick and scoopable; if the texture is not yet dense, re-spin with 1 tablespoon milk and run again for a short second pass.
- Drizzle warm peanut butter over the top and swirl in with a spoon to create a thick ribbon; for stronger marbling, use the Mix-In function instead.
- Serve immediately for the best dense, fudgy texture and a balanced bitter chocolate and nutty peanut butter finish.