Golden, cheesy Monterey chicken hits the table with the kind of payoff that makes people stop talking for a second. The chicken stays juicy under a layer of tangy BBQ sauce, smoky bacon, sweet caramelized onions, and melted Monterey Jack that bubbles into a browned, savory cap under the broiler. It’s the sort of dinner that tastes like a restaurant order, but it lands on the plate with plain old weeknight effort.
What makes this version work is the order of the build. The chicken gets a quick sear first so it picks up color and stays flavorful, then the BBQ sauce goes on in two stages so it doesn’t burn in the pan. The onions need to be fully caramelized before they go on top; if they’re still pale, they’ll taste sharp and throw off the balance of the whole dish. Monterey Jack is the right cheese here because it melts into a smooth blanket instead of turning oily or stringy.
Below you’ll find the timing that keeps the chicken tender, the best way to get the cheese melted without drying out the top, and a few swaps that still keep the spirit of the dish intact.
The chicken stayed juicy, the BBQ sauce caramelized at the edges, and the cheese melted into that perfect bubbly layer without turning greasy. My husband said it tasted like the restaurant version, only better.
Pin this Monterey chicken for the nights when you want crispy bacon, melted Monterey Jack, and BBQ chicken all in one skillet.
The Part Most Monterey Chicken Gets Wrong: The Broiler Finish
The chicken can be perfectly cooked and still land flat if the broiler step is rushed or too close to the heat. The cheese should melt fast, bubble at the edges, and pick up a few golden spots without giving the chicken time to dry out. That only happens when the toppings are already hot from the skillet and the oven rack sits high enough to brown the cheese instead of slowly baking everything into a bland layer.
The other place this recipe goes sideways is the sauce. BBQ sauce can scorch if it’s left on the chicken through the whole sear, which is why only half of it goes on before cooking. The second layer waits until after the chicken is cooked through, so it warms under the cheese instead of burning on contact with the pan.
- Bring the chicken to an even thickness — If one side is much thicker, the outside will overcook before the center reaches 165°F. A quick pound to an even shape helps the chicken sear and finish at the same time.
- Use an oven-safe skillet — You want to carry the chicken straight from the stovetop to the broiler without moving everything around. That keeps the juices and the toppings where they belong.
- Broil just long enough to brown — Two to three minutes is usually enough. Walk away for even a minute too long and the cheese can go from glossy and golden to blistered and oily.
Why the BBQ Sauce, Bacon, and Monterey Jack Each Pull Their Weight
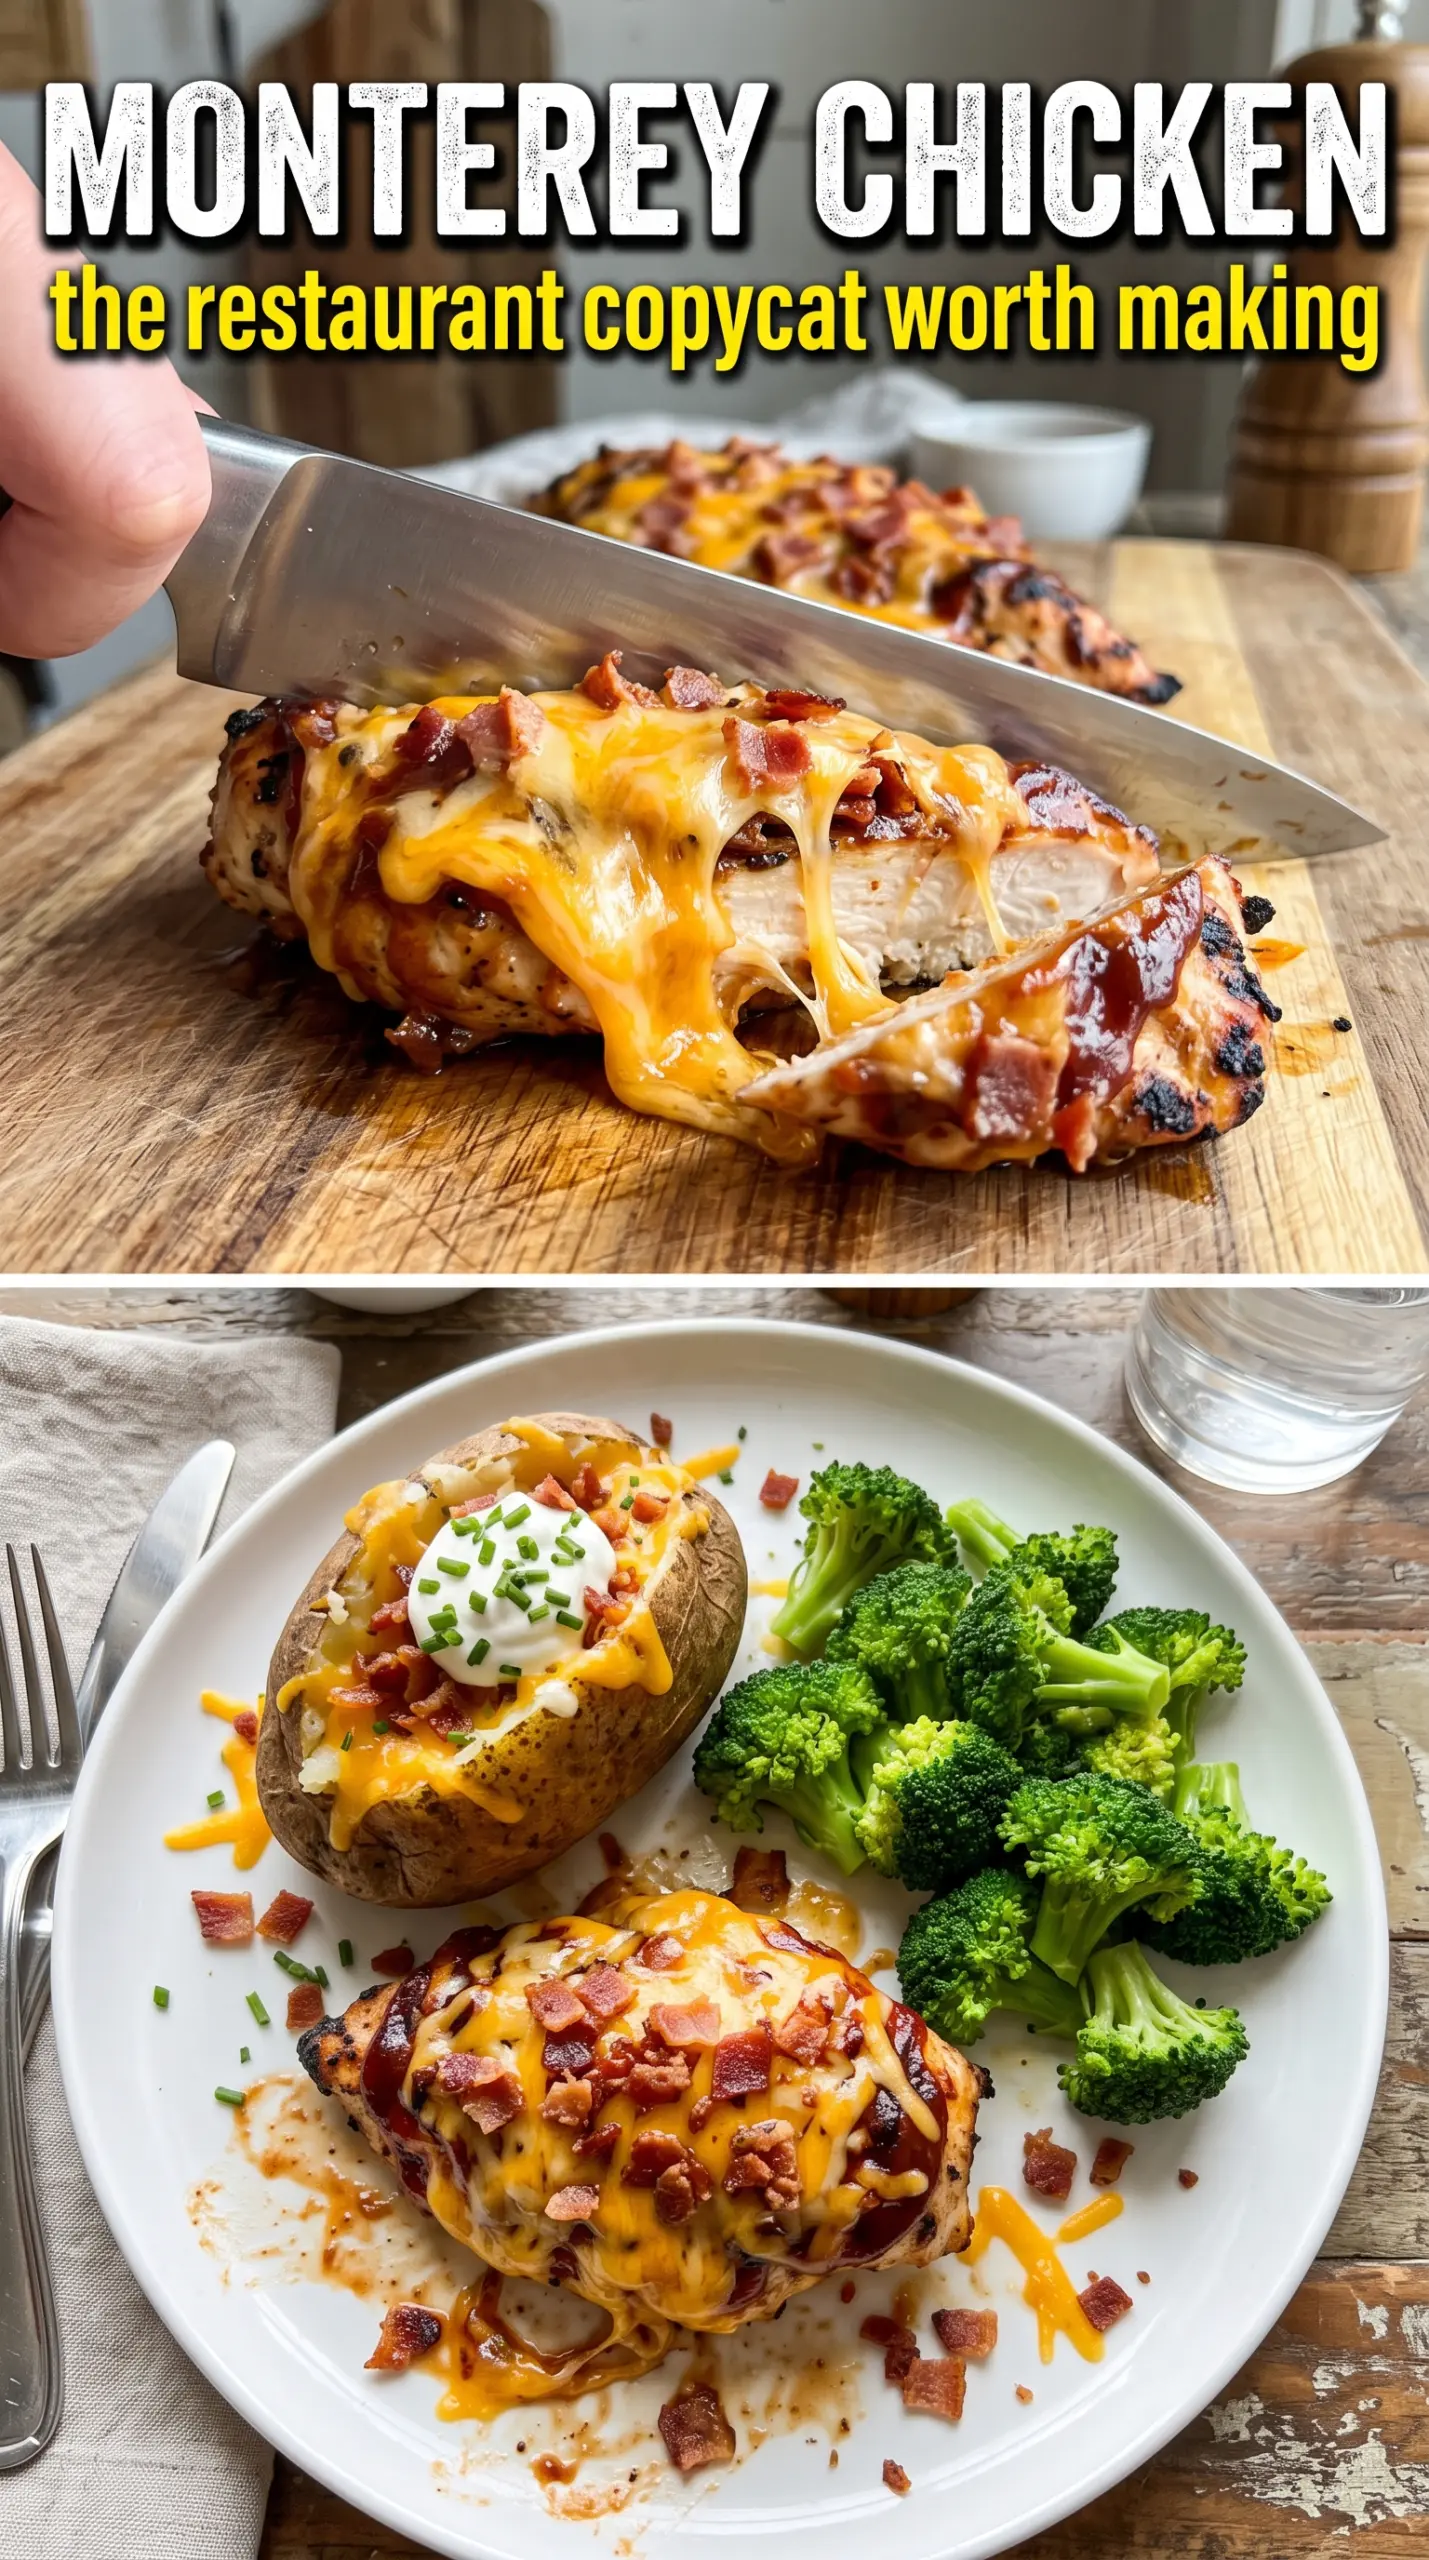
- BBQ sauce — This is the backbone of the dish, so use one you actually like tasting on its own. A sweet, smoky sauce works best here because it balances the saltiness of the bacon and cheese. If yours runs thin, brush on a light layer instead of pouring it over the chicken.
- Monterey Jack cheese — This cheese melts cleanly and blankets the toppings without turning heavy. Pre-shredded works in a pinch, but freshly shredded melts smoother because it doesn’t have the anti-caking coating that can make the top a little dull.
- Bacon — Crispy bacon gives the dish its salty crunch, and that texture matters. If it’s floppy, it disappears under the cheese, so cook it until it snaps cleanly before layering it on.
- Caramelized onions — They need time. Quick-sautéed onions taste sharp and watery, while fully caramelized onions bring sweetness that ties the BBQ sauce and bacon together. Butter helps them brown evenly and gives them a softer finish.
- Chicken breasts — Boneless, skinless breasts are ideal because they’re quick to cook and easy to top. If they’re huge, slice them in half horizontally or pound them to an even thickness so the center doesn’t lag behind the sear.
Building the Layers So the Chicken Stays Juicy
Seasoning and the First Layer of Sauce
Season the chicken well before it hits the pan, then brush on only half the BBQ sauce. That first layer gives the meat a head start on flavor without flooding the skillet with sugar, which is what causes sticking and dark spots too early. Let the chicken sit for about 10 minutes if you have the time; that short rest helps the seasoning cling and gives the surface a little more flavor before cooking.
Searing to Lock in Color
Heat the olive oil in an oven-safe skillet over medium-high heat until it shimmers. Lay the chicken in and don’t move it around; the crust needs uninterrupted contact with the pan to turn deep golden. After 4 to 5 minutes per side, the chicken should be browned and nearly cooked through. If the pan is too hot, the outside will race ahead while the middle stays underdone, so lower the heat slightly if the fond starts turning too dark.
Layering the Toppings
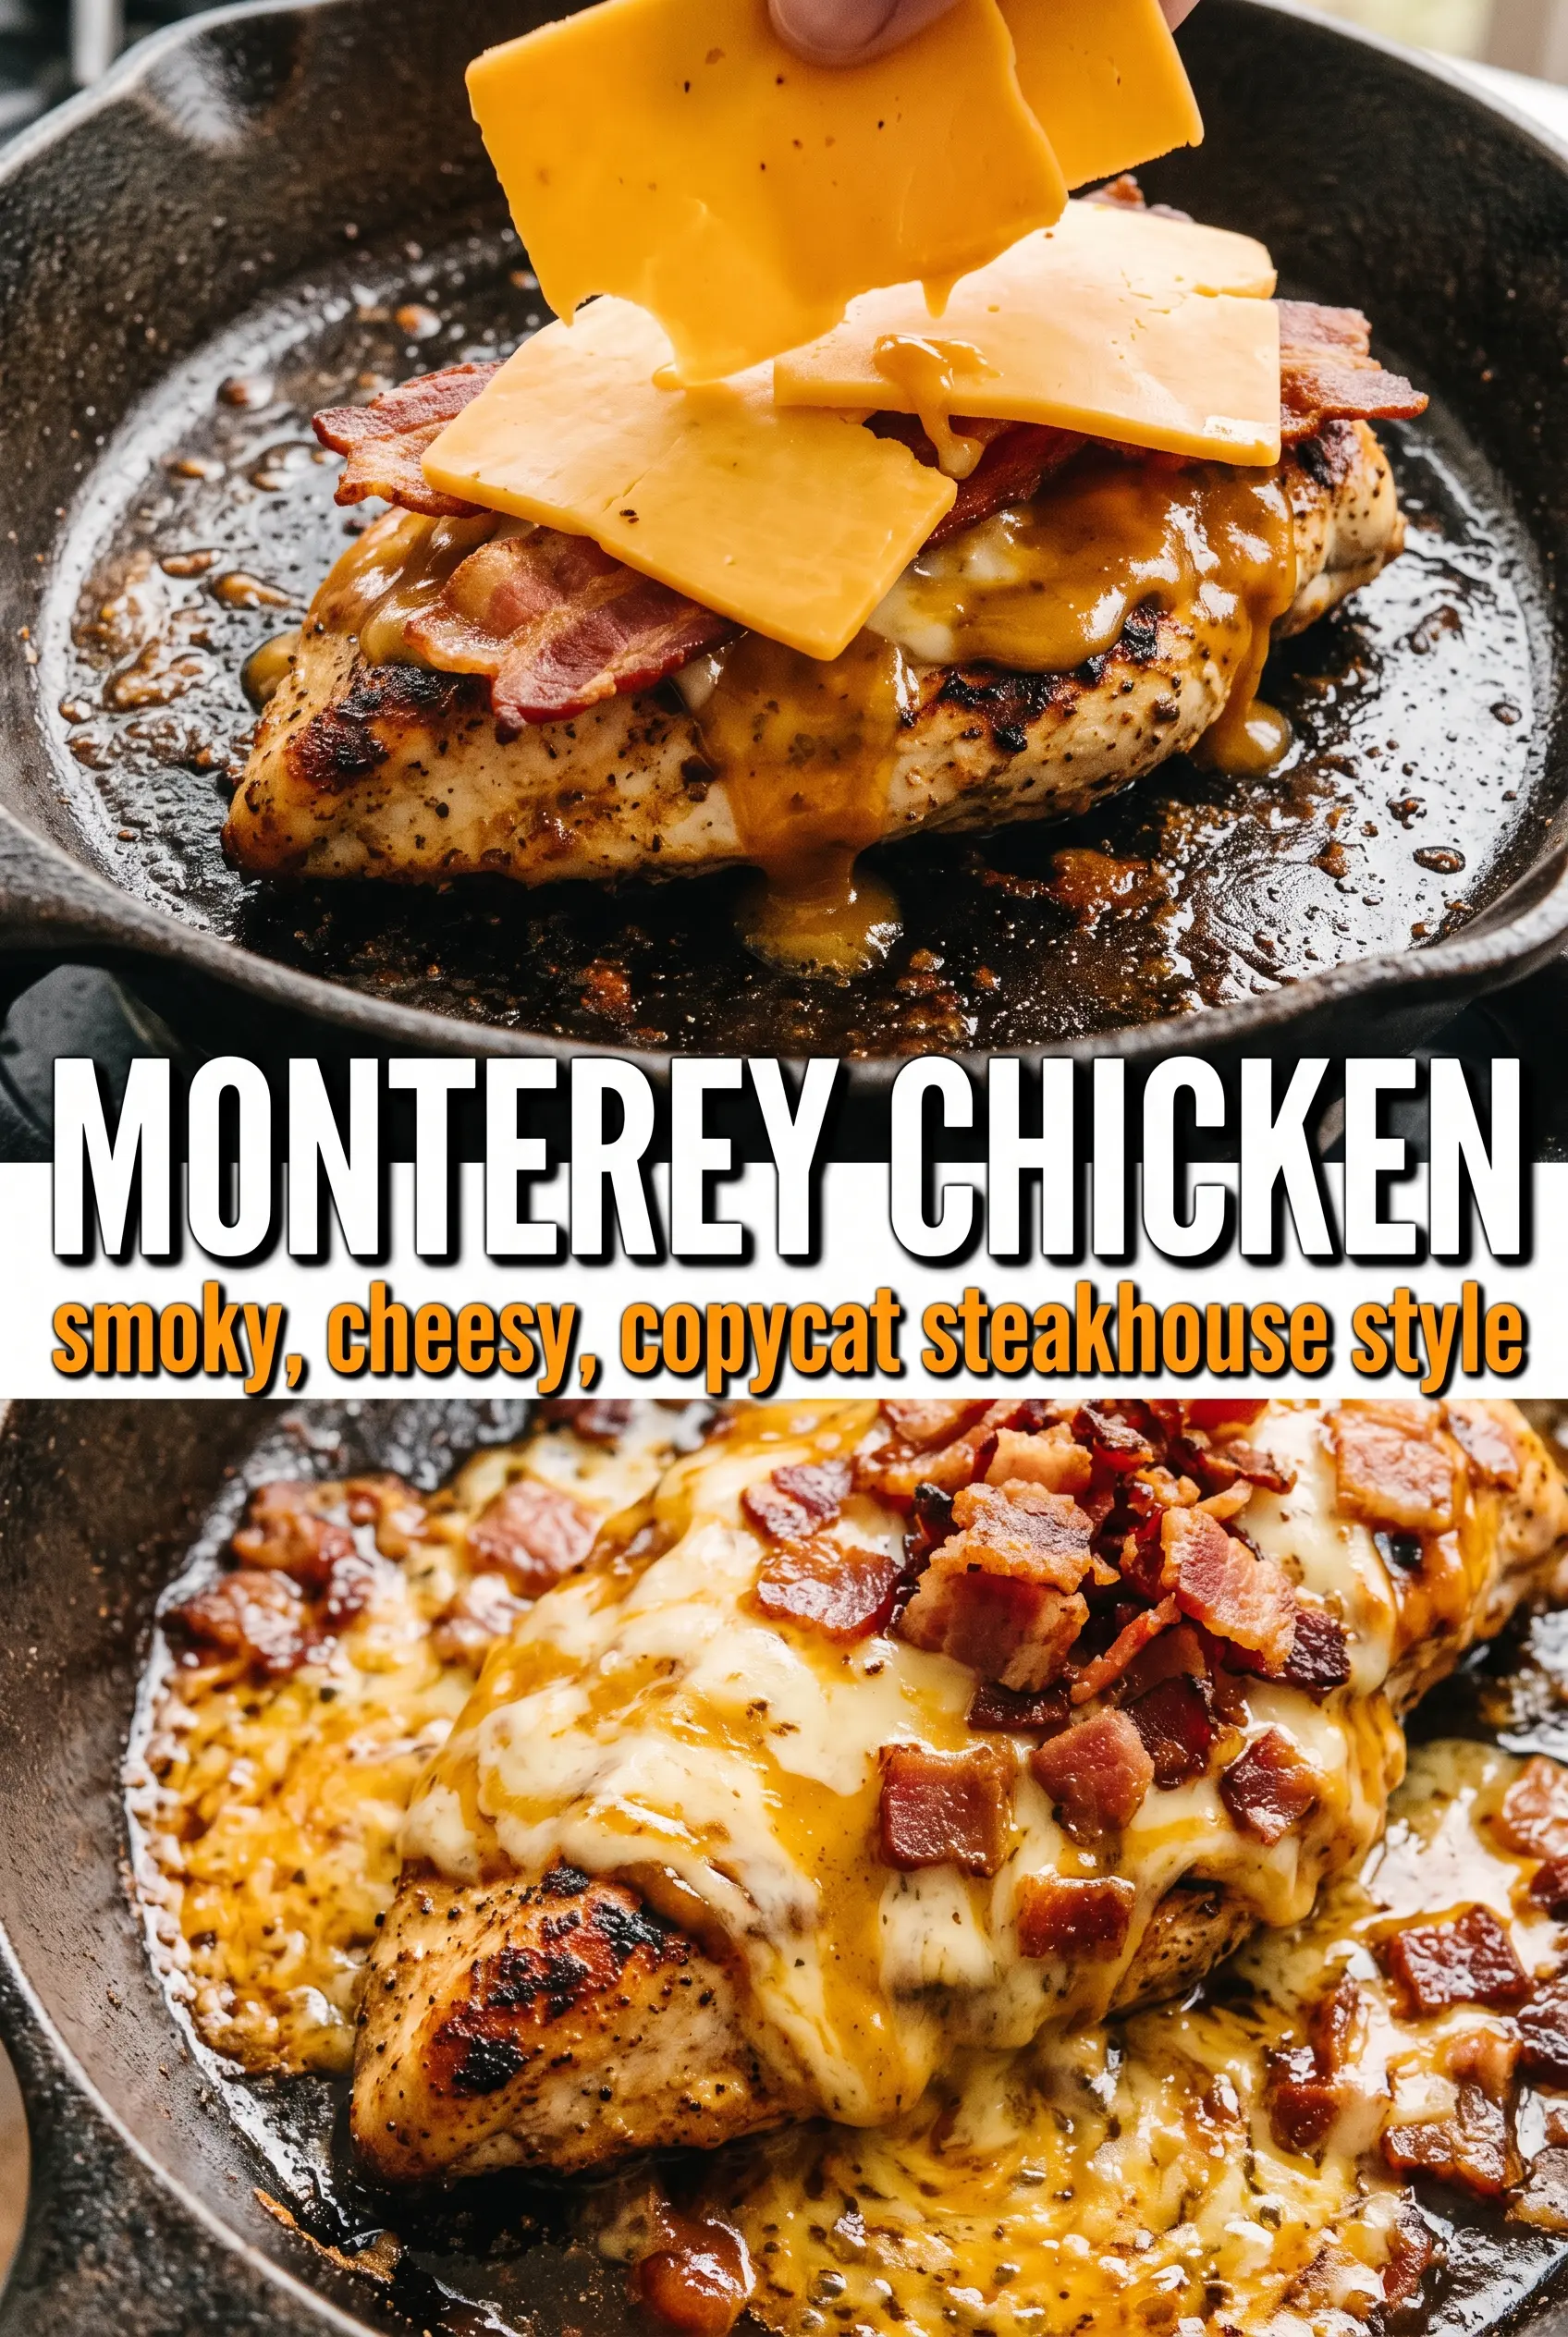
Once the chicken is cooked through, brush on the remaining BBQ sauce and pile on the caramelized onions, bacon, and Monterey Jack. Build the toppings while the chicken is still hot so the cheese begins to melt the moment it goes under the broiler. Keep the layers even and centered; if the cheese hangs over the sides, it can drip into the pan and brown before the top is fully melted.
The Broiler Finish
Broil just until the cheese is fully melted, bubbly, and lightly golden in spots. Watch closely, because broilers turn a good top into a burnt one in a flash. Pull the skillet as soon as the cheese loosens and the edges start to blister. Finish with diced tomatoes and chives right before serving so the top stays bright and fresh.
How to Adapt Monterey Chicken Without Losing the Point of the Dish
Dairy-Free Version
Use a good melting dairy-free cheese and keep the broil brief so it softens instead of separating. You’ll lose a little of the classic gooey Monterey Jack finish, but the BBQ, bacon, and onions still carry the dish.
Gluten-Free Check
The recipe is naturally gluten-free as long as your BBQ sauce is labeled gluten-free. That label matters because some sauces use malt vinegar or other wheat-based thickeners.
Chicken Thigh Swap
Boneless thighs work if you want a richer, more forgiving result. They need a little longer in the pan, but they stay juicier and can handle the broiler finish without drying out as fast as breasts.
Make It Lighter Without Losing the Build
Cut the bacon to one strip per breast and use just enough cheese to cover the top in a thin layer. You’ll still get the salty-smoky-sweet balance, just with a less heavy finish.
Storage and Reheating
- Refrigerator: Store leftovers in an airtight container for up to 3 days. The cheese will firm up and the bacon softens, but the flavor stays good.
- Freezer: It freezes, but the cheese texture gets less silky after thawing. Freeze the cooked chicken without the fresh tomato garnish, then thaw in the fridge before reheating.
- Reheating: Warm covered in a 325°F oven until heated through, then uncover for the last few minutes so the cheese loosens again. The mistake to avoid is blasting it in the microwave, which turns the chicken rubbery and the cheese greasy.
Questions I Get Asked About This Recipe
Monterey Chicken
Ingredients
Equipment
Method
- Season the chicken breasts with salt, pepper, garlic powder, and smoked paprika, then brush with half the BBQ sauce. Let the chicken marinate for 10 minutes.
- Heat olive oil in an oven-safe skillet over medium-high heat and sear the chicken for 4–5 minutes per side, until golden. Continue cooking until the chicken reaches 165°F in the thickest part.
- Brush each breast with the remaining BBQ sauce, then top with caramelized onions. Layer 2 strips of bacon per breast on top of the onions.
- Pile Monterey Jack cheese generously over each breast so it fully covers the toppings. Broil for 2–3 minutes until the cheese is fully melted, bubbly, and golden in spots.
- Garnish with diced tomatoes and fresh chives, then serve immediately. The toppings should be hot and the cheese should remain glossy and melted.