Mini pumpkin pies bake up with the best parts of a classic pie in a neat little handheld dessert: buttery crust, smooth spiced filling, and just enough sweetness to finish a meal without feeling heavy. The small size gives you more crisp edge on every bite, which is exactly why these disappear fast at parties and holidays.
The filling stays silky because it’s mixed until smooth and baked only until just set. Pull them from the oven while the centers still have the tiniest bit of wobble; they finish setting as they cool, and that keeps the texture creamy instead of grainy or overbaked. Using refrigerated pie crust keeps this recipe practical, but pressing it into the mini muffin tin the right way is what gives you those tidy cups that hold their shape.
Below, I’ll walk through the little details that matter most, from getting the crusts into the pan without tearing to knowing exactly when the custard is done. There’s also a simple make-ahead note if you want to serve them chilled and fully finished with whipped cream.
The filling set up perfectly and the crust stayed crisp even after chilling. I topped them with a little whipped cream and cinnamon and my guests kept coming back for “just one more.”
These mini pumpkin pies bake into neat little custard cups with flaky edges and a smooth spiced center — perfect for making ahead and topping with whipped cream right before serving.
The Trick to Mini Pumpkin Pies That Hold Their Shape
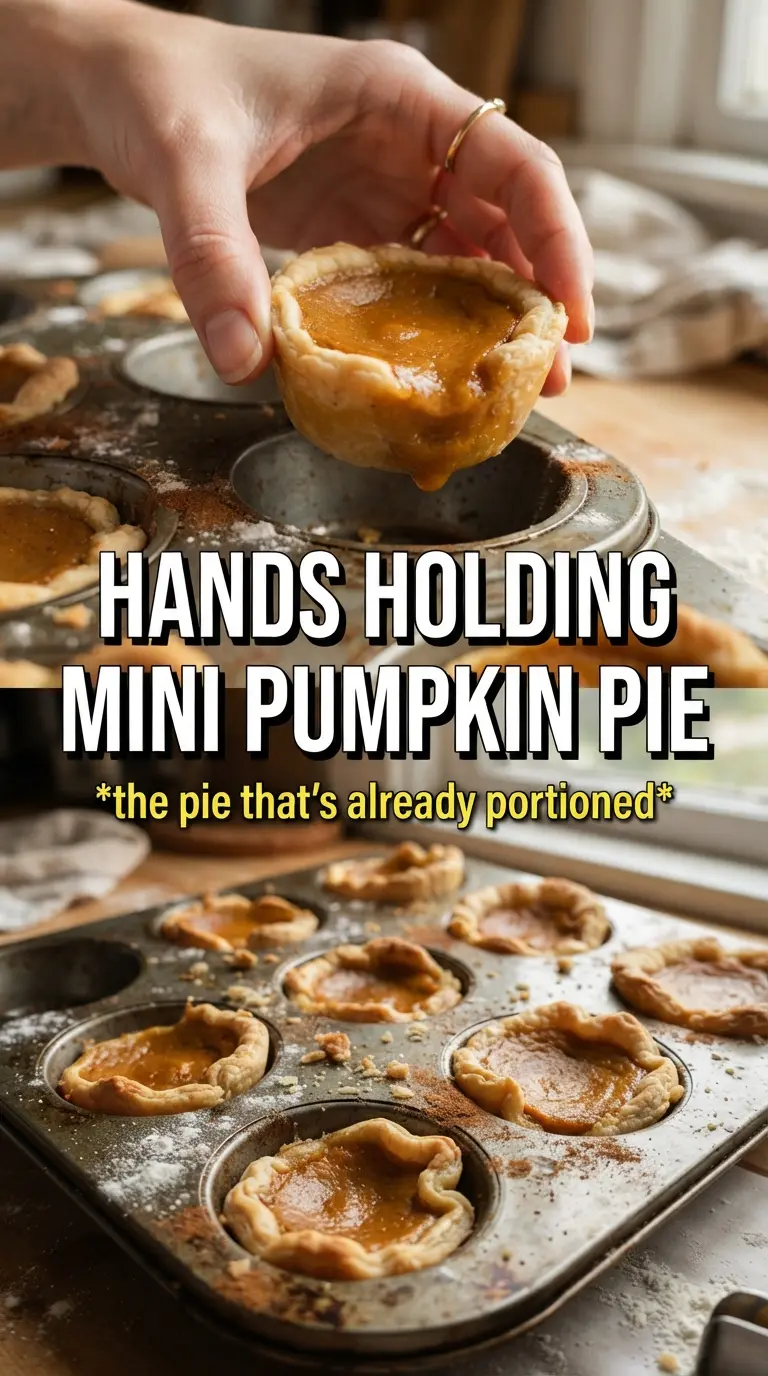
The biggest mistake with mini pies is overfilling the crusts. If the filling comes up too high, it puffs, spills, and sticks to the pan, which makes the pies look messy and can soften the edges. Three-quarters full is the sweet spot: enough filling for a proper pumpkin bite, not so much that the custard climbs over the crust.
These pies also need a full cool-down before you try to lift them out. The filling sets as it rests, and the crust firms back up once it leaves the oven. If you move them too soon, the centers can slump and the pastry cups can split.
What the Filling Needs to Stay Smooth
- Pumpkin puree — Use plain pumpkin puree, not pumpkin pie filling. The canned filling already has sugar and spices mixed in, which throws off the texture and makes the pies taste too sweet.
- Evaporated milk or heavy cream — Evaporated milk gives a classic pumpkin pie texture that’s rich without being overly heavy. Heavy cream makes the filling a touch silkier and richer, so use it if you want a softer finish.
- Brown sugar — Brown sugar brings the warm caramel note that works so well with pumpkin spice. Granulated sugar will work in a pinch, but you’ll lose some depth.
- Pie crust — Refrigerated crust is the shortcut here, and it’s a good one. Chill it before cutting if it starts to feel soft; cold dough is much easier to press into the muffin tin without stretching and shrinking.
- Vanilla and spice — Vanilla rounds out the filling, while cinnamon and pumpkin pie spice keep it warm and balanced. Don’t skip the salt; it sharpens the flavor and keeps the sweetness from flattening out.
Building the Filling and Baking It Just Until Set
Pressing the Crusts into the Tin
Cut the dough into even circles and press each one gently into a greased mini muffin cup. Don’t stretch the dough to make it fit; stretched dough snaps back in the oven and can shrink away from the sides. If the dough gets warm and soft, chill the pan for a few minutes before filling it.
Mixing the Pumpkin Custard
Whisk the pumpkin, eggs, milk, sugar, spice, cinnamon, salt, and vanilla until the mixture looks smooth and even in color. Stop as soon as it’s combined. Overwhisking adds extra air, and that can cause the filling to puff and crack more than you want.
Baking for a Just-Set Center
Fill each crust about three-quarters full and bake until the tops look set and the centers still have the slightest jiggle. The filling should not look wet or sloshy in the middle. If the crust edges darken too quickly, keep going but watch the pan closely near the end; mini pies can go from golden to overbrowned fast.
Cooling Before the Finish
Let the pies cool completely in the pan, then chill them for at least an hour. That chilling time is what gives you clean edges and a custard that slices or lifts neatly. Add whipped cream and cinnamon only after they’re fully cold, or the topping will melt and slide off.
How to Adapt These Mini Pumpkin Pies for Different Guests
Dairy-Free Version with Coconut Milk
Swap the evaporated milk or cream for full-fat coconut milk. The pies will still set well, and you’ll get a faint coconut note that plays nicely with the pumpkin spice. Use a good-quality canned coconut milk so the filling stays creamy instead of thin.
Gluten-Free Crust Cups
Use a gluten-free refrigerated pie dough if you can find one, or press the filling into well-greased silicone mini tart molds with a gluten-free crust recipe. The filling itself is already gluten-free, so the crust is the only part that needs attention. Expect the dough to be a little more delicate, especially when unmolding.
Make-Ahead for a Crowd
Bake the pies a day ahead, chill them, and hold the whipped cream until serving. The crust stays better when it’s topped right before eating, and the flavor deepens overnight. This is the easiest way to serve a tray of them without rushing on the day of your gathering.
Storage and Reheating
- Refrigerator: Store in an airtight container for up to 4 days. The crust softens a little after day one, but the filling stays lovely.
- Freezer: Freeze without whipped cream for up to 2 months. Freeze on a tray first, then move to a freezer bag so the tops don’t get crushed.
- Reheating: Thaw in the refrigerator, then serve cold or let them sit at room temperature for 20 minutes. Reheating in the oven can dry out the custard, so skip it unless you only want to warm the crust slightly.
Answers to the Questions Worth Asking
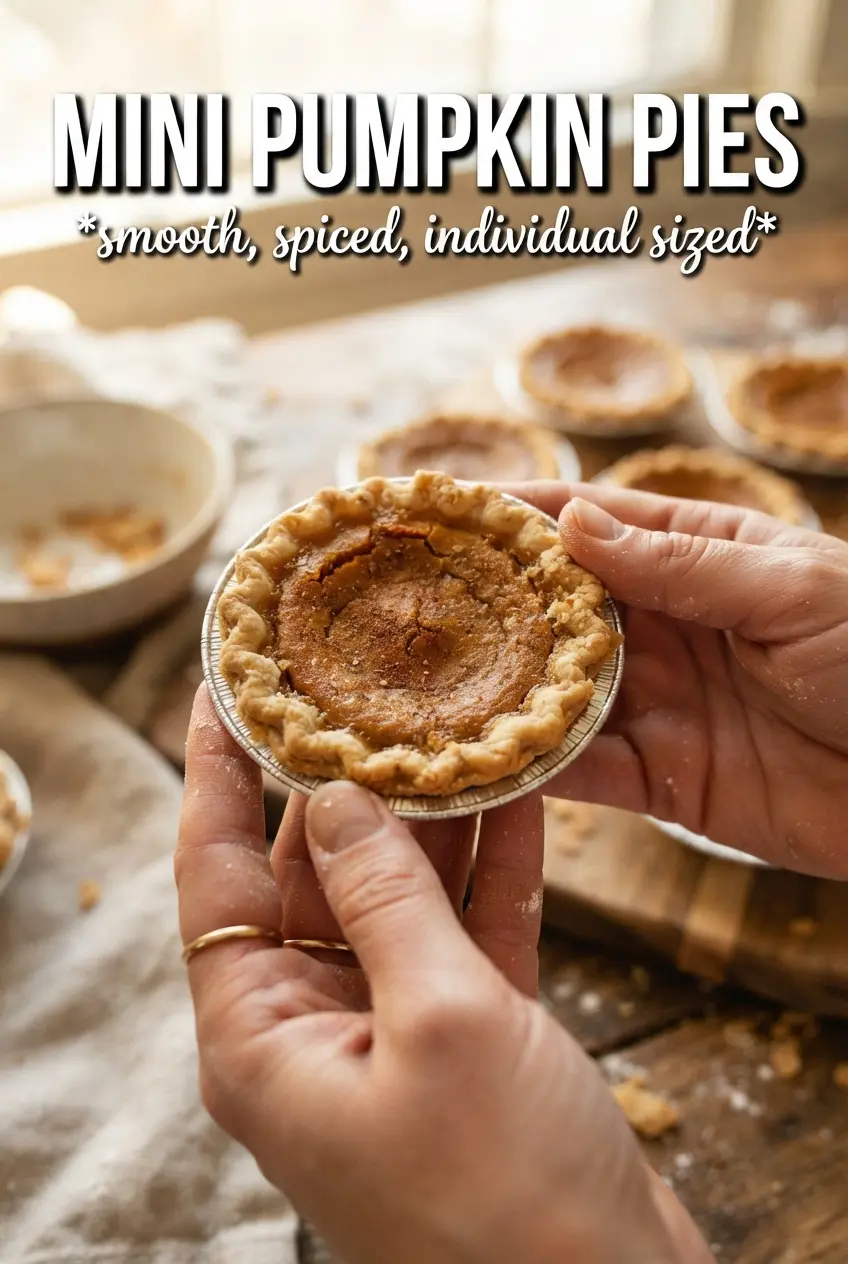
Mini Pumpkin Pies
Ingredients
Equipment
Method
- Preheat the oven to 375°F, and grease a mini muffin tin so the crust cups release easily.
- Cut refrigerated pie crusts into 3.5-inch circles and press one into each greased mini muffin cup.
- Whisk pumpkin puree, eggs, evaporated milk (or heavy cream), brown sugar, pumpkin pie spice, cinnamon, salt, and vanilla until smooth.
- Fill each crust cup about 3/4 full with the pumpkin custard.
- Bake for 18-22 minutes at 375°F, until the filling is just set and the crust is golden with a lightly browned edge.
- Cool the mini pies completely at room temperature before chilling.
- Refrigerate for 1 hour to fully set the custard.
- Top each mini pumpkin pie with whipped cream, then dust with cinnamon right before serving.