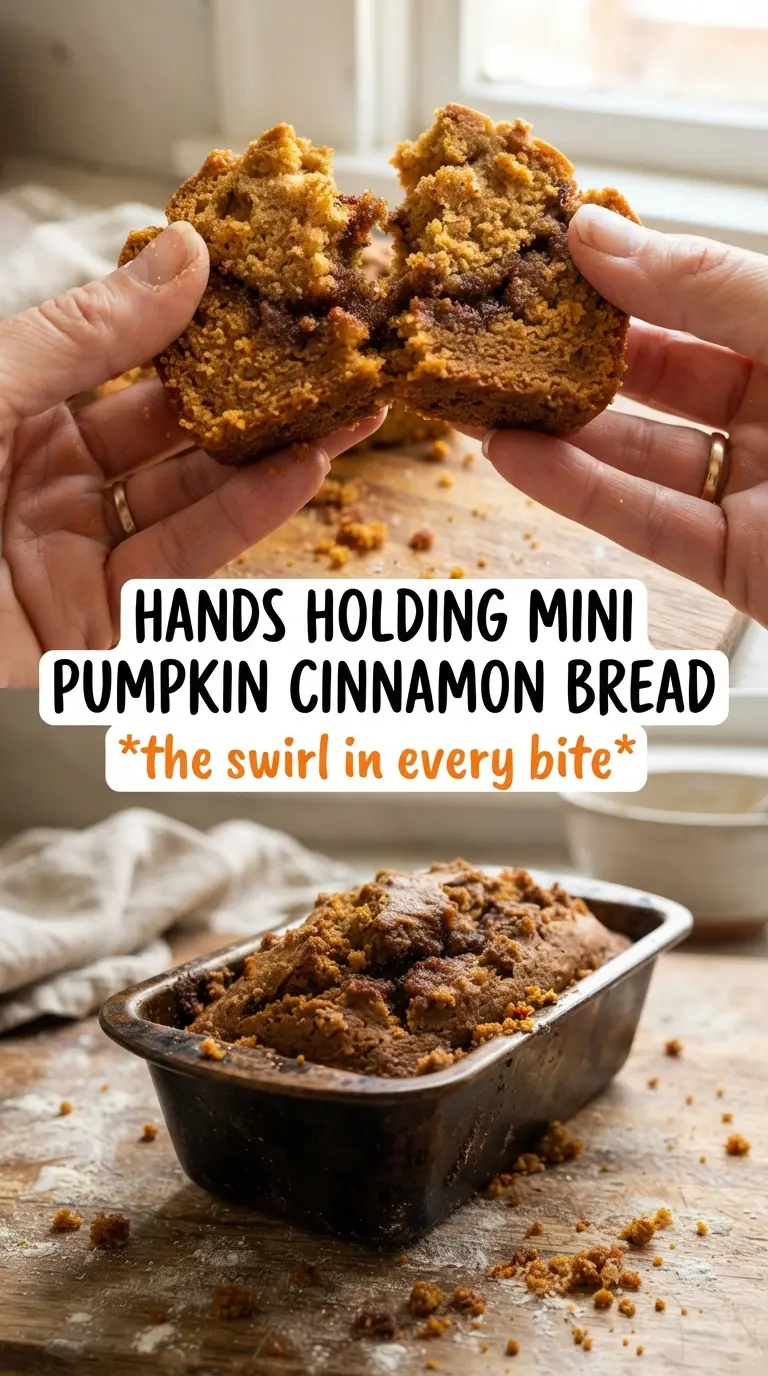
Mini pumpkin bread with cinnamon swirl bakes up with a soft, tender crumb and that ribbon of brown sugar in the middle that turns every slice into something a little more special than plain pumpkin bread. The mini loaves are just the right size for breakfast, gifting, or stashing one away for later, and the glaze over the warm bread gives each loaf a bakery-style finish without much extra work.
The trick here is keeping the batter simple and the swirl a little thick. Pumpkin puree brings moisture and structure, while the oil keeps the crumb plush even after the loaves cool. The cinnamon-sugar swirl needs to stay spoonable so it doesn’t disappear into the batter; once you layer it in and drag a toothpick through, you get those pretty brown ribbons instead of a muddy mix.
Below you’ll find the small details that keep the loaves from baking up heavy, plus the best way to get a clean swirl and a glaze that settles into the warm bread instead of running off the sides.
The swirl stayed distinct all the way through and the loaves baked up moist without sinking in the middle. I drizzled the glaze while they were still warm and it soaked in just enough.
Love these mini pumpkin loaves with their cinnamon swirl centers? Save them to Pinterest for an easy breakfast bake with bakery-style glaze.
The Part That Keeps the Swirl from Disappearing
Most cinnamon swirl quick breads go wrong because the filling is too thin or the batter is overmixed. Thin swirl mixture sinks and spreads into the loaf instead of staying in ribbons, and heavy mixing turns the bread dense before it even hits the oven. This version works because the swirl is made with brown sugar, cinnamon, and just enough butter to hold together, not turn syrupy.
Folding the dry ingredients in at the end keeps the crumb light. Once the flour is in, stop as soon as you don’t see dry streaks. Overworking the batter tightens the texture and can also knock air out of the eggs, which makes the loaves bake up flatter and heavier than they should.
- Pumpkin puree — Use pure pumpkin puree, not pumpkin pie filling. Pie filling has added sugar and spices that throw off both the texture and the flavor balance.
- Brown sugar in the swirl — Brown sugar gives the swirl its soft, caramel-like middle. White sugar won’t melt the same way and the filling can taste sharp instead of warm.
- Vegetable oil — Oil keeps mini loaves moist longer than butter does. Melted butter can work in a pinch, but the crumb will be a little firmer once the bread cools.
- Mini loaf pans — The smaller pans help the bread bake evenly and give you that nice ratio of swirl to crumb in every slice. If you use one standard loaf pan, you’ll need a longer bake time and the center may need tenting.
What Each Ingredient Is Actually Doing in This Recipe
- Primary ingredient (the star) — Quality matters most. Choose the best you can find.
- Cooking medium (oil, butter, or broth) — This carries flavors and prevents dryness.
- Seasonings (salt, pepper, spices, herbs) — Layer flavors so nothing overpowers. Build depth gradually.
- Aromatics (garlic, onion, herbs) — Cook with fat to bloom flavors. Become the foundation.
- Supporting ingredients — Complement the main ingredient without overpowering it.
- Sauce or liquid (if applicable) — Brings flavors together. Balance richness with acid.
- Acid (lemon, vinegar, wine, or other) — Brightens and prevents flat-tasting results.
- Final finish (garnish, glaze, or sauce) — Prevents one-dimensional taste and adds visual appeal.
Building the Batter and Swirl in the Right Order
Mix the dry ingredients first
Whisk the flour, baking soda, pumpkin pie spice, cinnamon, and salt together until the mixture looks evenly speckled. That step spreads the leavening and spice through the flour so the loaves rise evenly and don’t have little pockets of baking soda. If the dry mix looks clumpy, break it up now before it gets buried in the wet ingredients.
Whisk the pumpkin base until smooth
Combine the pumpkin puree, both sugars, oil, eggs, and vanilla until the mixture looks glossy and uniform. It should look thick but pourable, with no visible streaks of egg white. This is where a smooth base matters, because any lumps left here can turn into dense spots later.
Layer the batter and swirl gently
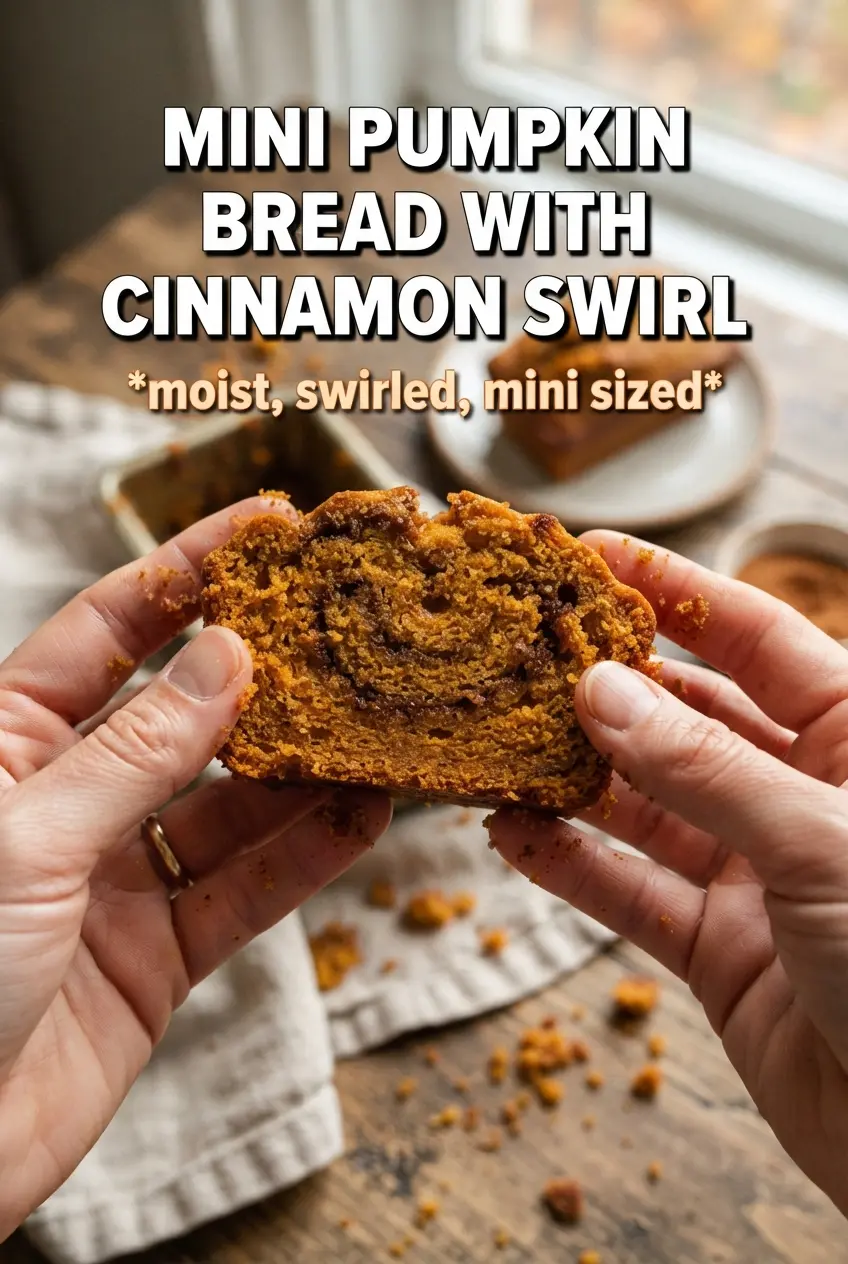
Fill each mini loaf pan halfway, then drop spoonfuls of the cinnamon swirl over the top before adding the rest of the batter. Drag a toothpick through just a few times; if you keep swirling, the filling blends into the bread instead of making clear ribbons. Stop when the surface looks marbled, not muddy.
Bake until the center is set
Bake at 350°F until a toothpick comes out clean or with a few moist crumbs attached, usually 28 to 32 minutes. The tops should spring back lightly when touched, and the edges will pull a little from the pan. If the centers still jiggle, give them a few more minutes rather than relying on the top color alone.
Finish with glaze while warm
Stir the powdered sugar, cream cheese, and milk until smooth, then drizzle it over the warm loaves. Warm bread helps the glaze settle in just enough without melting away completely. If the glaze looks too thick, add milk a teaspoon at a time; if it’s too loose, it will run off instead of sitting on top in that creamy layer.
Three Ways to Adjust the Loaves Without Losing the Swirl
Dairy-Free Glaze
Swap the cream cheese and milk for a simple glaze made with powdered sugar and a splash of unsweetened non-dairy milk. You lose the tangy cream cheese note, but the drizzle still gives the bread a sweet finish and keeps the loaves from feeling plain.
One Standard Loaf Instead of Minis
Use the same batter in a standard 9×5-inch loaf pan, but expect a much longer bake time. The loaf will be a little less dramatic on the swirl-to-crumb ratio, and the center needs close attention so it doesn’t stay underbaked while the top looks done.
Gluten-Free Version
Use a 1:1 gluten-free baking flour with xanthan gum already included. The texture will be slightly more delicate, but the pumpkin keeps it moist and the swirl still bakes up well as long as you don’t overmix the batter.
Extra-Spiced Swirl
Add a pinch of pumpkin pie spice to the cinnamon swirl if you want a deeper spice note. Keep it light, though, or the filling can become too crowded and lose the clean brown sugar-cinnamon flavor that makes the ribbon stand out.
Storage and Reheating
- Refrigerator: Store in an airtight container for up to 4 days. The glaze may soak in a little more as it sits, but the bread stays moist.
- Freezer: Freeze the unfrosted mini loaves tightly wrapped for up to 2 months. Thaw at room temperature, then glaze after thawing if you want the finish to look fresh.
- Reheating: Warm individual slices in the microwave for 10 to 15 seconds. Heat just enough to take the chill off; too much heat makes the bread rubbery and melts the glaze into the crumb.
Answers to the Questions Worth Asking
Mini Pumpkin Bread With Cinnamon Swirl
Ingredients
Equipment
Method
- Preheat oven to 350F, then grease 6 mini loaf pans so the crumb releases cleanly after baking.
- Whisk all-purpose flour, baking soda, pumpkin pie spice, cinnamon, and salt until evenly combined.
- Whisk pumpkin puree, granulated sugar, brown sugar, vegetable oil, eggs, and vanilla extract until smooth.
- Fold the flour mixture into the pumpkin mixture until just combined, with no dry streaks remaining.
- Stir together cinnamon swirl ingredients—brown sugar, cinnamon, and melted butter—until a thick, spoonable mixture forms.
- Fill each mini loaf pan halfway with batter, then drop spoonfuls of cinnamon swirl mixture on top.
- Use a toothpick to swirl through each loaf in gentle figure-eights, creating marbled cinnamon-brown sugar ribbons.
- Top each pan with remaining batter to cover the swirl.
- Bake at 350F for 28-32 minutes until a toothpick inserted in the center comes out clean.
- Drizzle the cream cheese glaze over the warm mini loaves, so it melts slightly and settles into the tops.