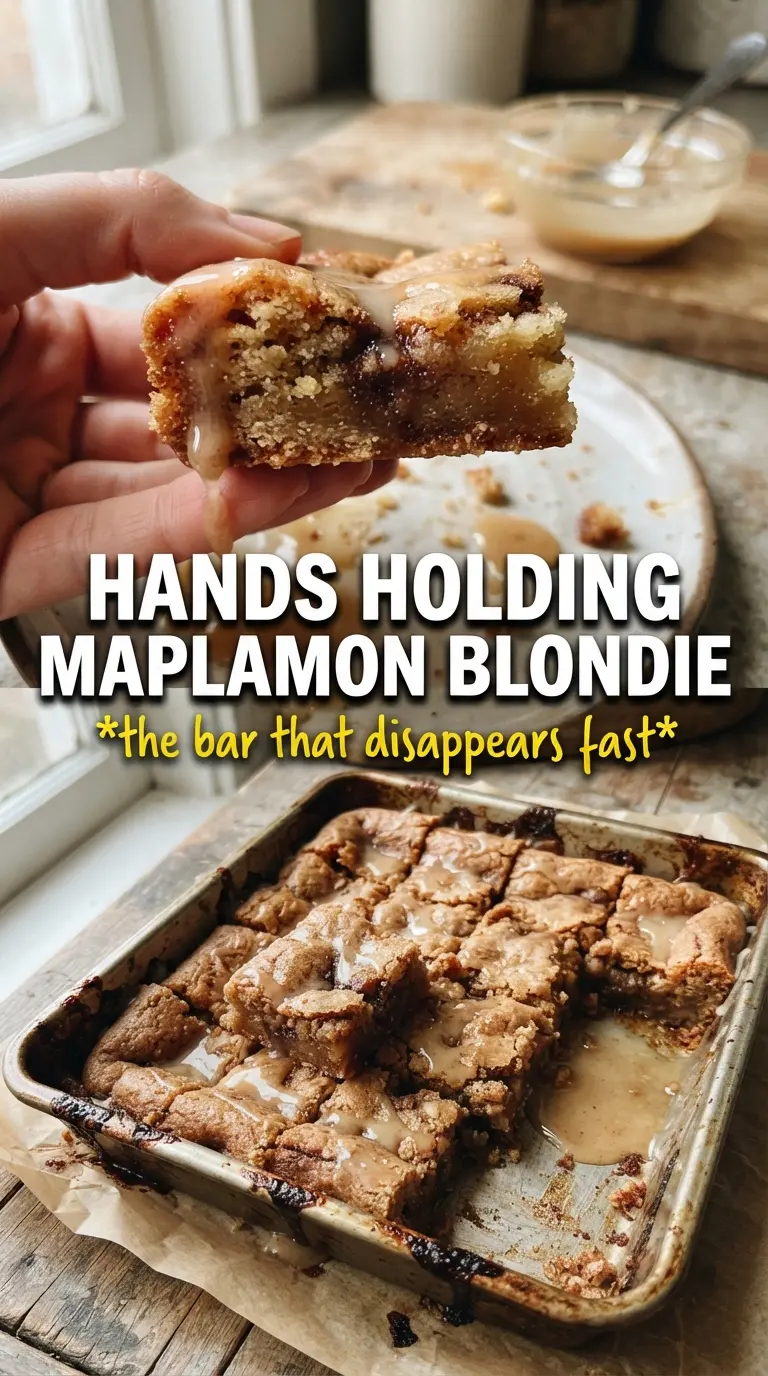
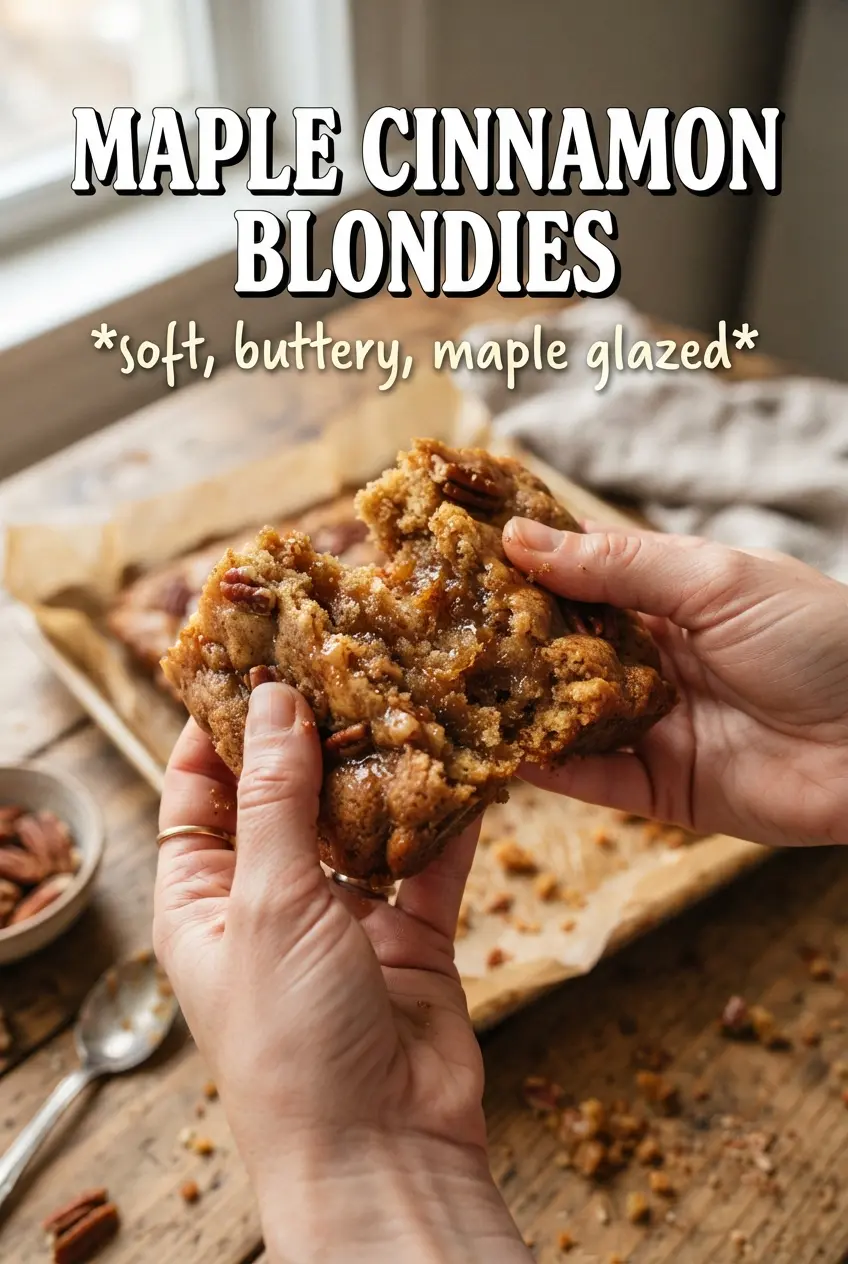
These maple cinnamon blondies bake up with chewy edges, a soft middle, and a caramelized depth that plain blondies just don’t have. The browned butter gives them a nutty backbone, while the maple syrup and maple extract push the flavor past simple brown sugar bars into something warmer and fuller. A thin maple glaze and a pinch of flaky salt finish the top without making the bars overly sweet.
Browned butter matters here because it replaces flat, melted butter flavor with something toasted and almost toffee-like. Cooling it for a few minutes before mixing keeps the eggs from scrambling and helps the sugar dissolve more evenly, which is part of what gives the bars that dense, fudgy bite. The spice mix is modest on purpose; cinnamon leads, nutmeg stays in the background, and the maple stays front and center.
Below, I’ve included the detail that keeps these bars chewy instead of cakey, plus the best way to know when to pull them from the oven. The glaze takes just a minute, but the bars need to cool all the way before you add it or it will disappear into the top instead of setting in a glossy layer.
The browned butter and maple gave these bars a deep caramel taste, and the center stayed chewy after cooling instead of turning cakey. I added the glaze after they were fully cool and it set up perfectly.
Love chewy maple cinnamon blondies with that glossy glaze and flaky salt finish? Save this one for the next time you want a bar dessert that cuts cleanly and tastes like brown butter and maple in every bite.
The Key to Chewy Blondies Is Stopping Before They Look Done
Blondies go wrong when they bake past the point where the center still has a little give. The pan will keep cooking them after they come out, and that carryover heat is what finishes the middle without drying out the edges. If you wait until the top looks fully set and browned across the board, you’ll end up with bars that taste more like cake than a dense, chewy blondie.
Browning the butter helps balance that texture because it adds flavor without adding extra liquid. The batter comes together thick, which is what you want; a thin batter usually means too much mixing or too much heat in the butter, and both can make the bars spread oddly and bake up dry around the edges before the center is ready.
What the Maple Actually Does Here
- Browned butter — This is the backbone of the recipe. Melted butter would work, but it won’t give you the toasted, nutty note that makes these taste deeper and less one-dimensional. Let it cool for about 10 minutes so it’s warm, not hot, before you whisk it with the sugar.
- Pure maple syrup — This brings actual maple flavor and a little extra moisture. Pancake syrup won’t give the same result, because it tastes flatter and can leave the bars sweet without that distinct maple finish.
- Maple extract — A small amount sharpens the maple flavor so it doesn’t disappear under the brown sugar and cinnamon. If you skip it, the bars still work, but the maple note will be softer and more background than bold.
- Brown sugar — This keeps the crumb moist and chewy. Packed light or dark brown sugar both work; dark brown sugar gives a slightly deeper molasses note if you want the bars to lean richer.
- Flaky sea salt — Don’t skip it on top. It cuts the sweetness and gives each square a little finishing crunch that makes the glaze taste cleaner instead of heavier.
Building the Batter Without Beating It Into Cake
Brown the butter first
Cook the butter over medium heat until it foams, then turns golden with little brown specks at the bottom and a nutty smell. Pull it off the heat as soon as it reaches that point; if you let it go too far, it turns bitter fast. Pour it into a mixing bowl and let it cool for about 10 minutes so it won’t cook the eggs in the next step.
Whisk the wet ingredients until glossy
Stir the brown sugar and maple syrup into the cooled butter until the mixture looks thick and glossy. Then add the eggs, vanilla, and maple extract and whisk until the batter smooths out and looks slightly lighter in color. If the butter is too hot, the eggs can curdle or turn streaky, and that rough texture carries through the final bars.
Fold in the flour just until the streaks disappear
Add the dry ingredients and fold with a spatula until you no longer see dry flour. Stop there. Overmixing develops too much gluten and turns blondies chewy in the wrong way, more bready than dense. The batter should be thick enough to spread with a spatula and hold its shape in the pan.
Bake until the center still has a little softness
Spread the batter into a greased 9×13 pan and bake until the edges are set and a toothpick in the center comes out with a few moist crumbs, not wet batter. That usually lands around 25 to 30 minutes. If the top is deeply browned and the center feels firm in the pan, they’ve gone too far.
How to Adjust These Blondies Without Losing the Texture
Dairy-Free Version
Use a high-quality plant-based butter that browns well, or use a plain vegan butter if browning isn’t important to you. You’ll lose some of the toasted nuttiness if the substitute doesn’t brown properly, but the bars will still be chewy and maple-forward.
Extra Maple Glaze
If you want a sweeter, more bakery-style finish, drizzle a little more glaze over the cooled bars and let it set before slicing. Add it sparingly if you’re serving them for a crowd; too much glaze can blur the cinnamon flavor and make the top sticky instead of glossy.
Spiced Pecan Version
Fold in up to 1 cup chopped toasted pecans with the flour for extra crunch and a more old-fashioned dessert feel. Toasting matters here because raw pecans taste dull in a bar that already leans soft and rich.
Storage and Reheating
- Refrigerator: Store in an airtight container for up to 5 days. The glaze stays set, and the bars get a little firmer as they chill.
- Freezer: These freeze well without the glaze. Wrap the unglazed bars tightly and freeze for up to 2 months, then thaw and glaze after they come back to room temperature.
- Reheating: Warm individual bars for 10 to 15 seconds in the microwave if you want a softer texture. Don’t heat them long enough to melt the glaze completely or the top will turn slippery instead of glossy.
Questions I Get Asked About This Recipe
Maple Cinnamon Blondies
Ingredients
Equipment
Method
- Brown the butter in a cast iron skillet over medium heat until golden and nutty; remove and cool for 10 minutes. Look for amber-brown flecks and a toasted aroma.
- Preheat the oven to 350F and grease a 9x13 pan. Make sure the pan has an even coat so the blondies release cleanly.
- Whisk together the all-purpose flour, baking powder, cinnamon, nutmeg, and salt in a bowl. Keep whisking until the spices are evenly distributed.
- Whisk the browned butter, brown sugar, and pure maple syrup until smooth. The mixture should look glossy and slightly thick.
- Whisk in the eggs, vanilla, and maple extract until well combined. The batter should look unified with no streaks.
- Fold in the flour mixture until just combined, then spread the batter into the prepared pan. Smooth the top so it bakes evenly.
- Bake at 350F for 25-30 minutes, until a toothpick has just a few moist crumbs. The center should look set but still slightly tender.
- Cool completely in the pan, then drizzle with the maple glaze and sprinkle with flaky sea salt. For the glaze to look glossy, drizzle only after the blondies are fully cool.