Maple brown sugar cookies bake up soft in the center with crinkled tops, caramel edges, and that warm maple note that lingers after the last bite. The brown sugar keeps them tender, the maple syrup deepens the flavor without making the dough heavy, and the glaze turns them into the kind of cookie people reach for before they’ve even finished chewing the first one.
What makes these work is the balance. Brown sugar brings chew and moisture, while cream of tartar gives the dough a little lift and that subtle tang that keeps the sweetness from flattening out. The maple extract matters here too; it gives the cookies a clear maple flavor that doesn’t disappear once they hit the oven, and the flaky salt on top keeps the glaze from tasting one-note.
Below, you’ll find the timing cue that tells you when to pull them from the oven, plus the small change that helps the glaze set cleanly instead of sliding off warm cookies.
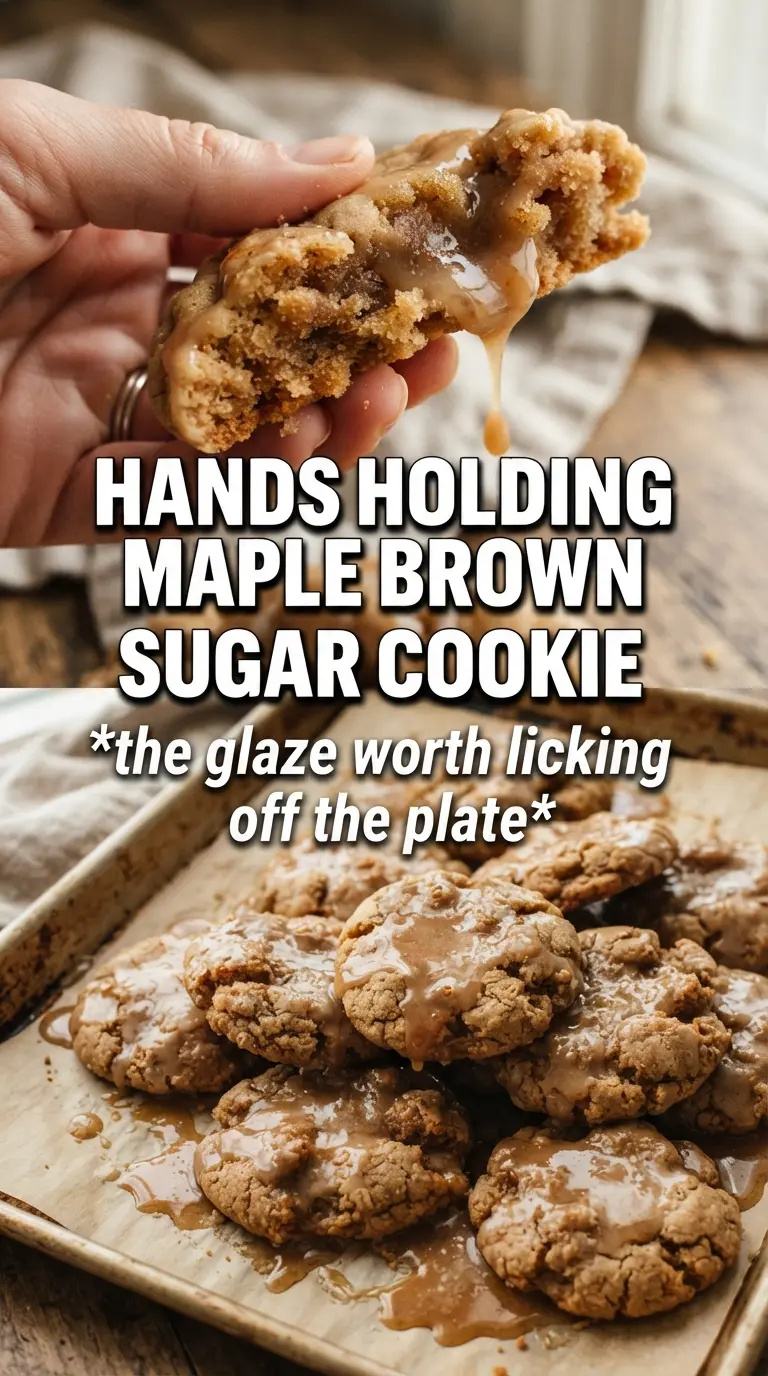
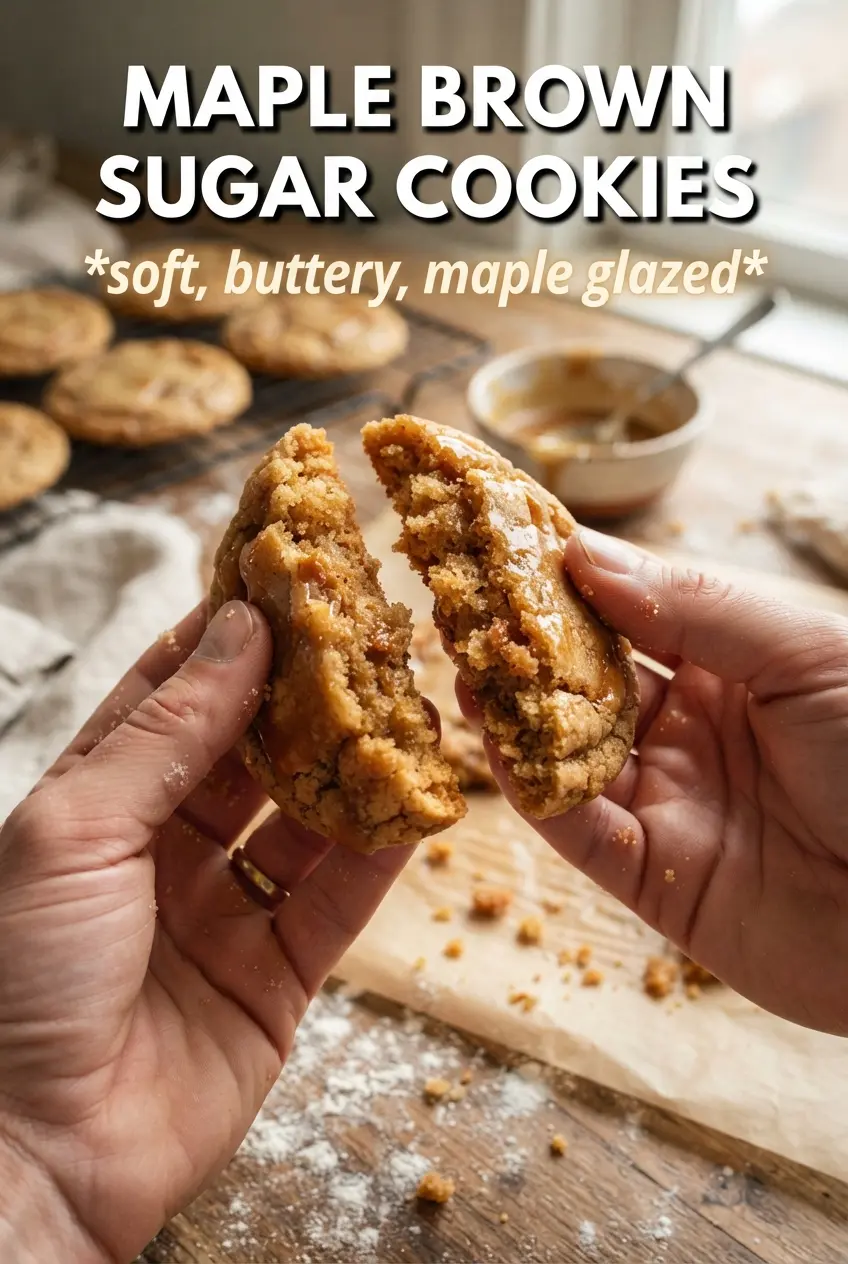
The cookies came out soft in the middle with those little crackly tops, and the maple glaze set up just enough that they didn’t get sticky in the container. My husband kept sneaking them off the tray.
Save these maple brown sugar cookies for the days when you want soft, glaze-finished cookies with a deep caramelized maple flavor.
The Reason These Cookies Stay Soft Instead of Going Dry
The biggest mistake with cookies like this is overbaking them. Maple and brown sugar both brown quickly, so the edges should look set while the centers still look slightly underdone when they come out. They finish on the baking sheet, and that carryover heat is what keeps the middle tender instead of crumbly.
Cream of tartar earns its place here. It works with the baking soda to give the cookies a little lift and a lighter bite, which matters because brown sugar and maple syrup can otherwise make the dough dense. If you skip the cream of tartar, the texture shifts from soft and crinkly to flatter and heavier.
- Brown sugar — This is what gives the cookies their caramel depth and keeps them moist. Pack it firmly into the cup so the dough has enough sweetness and structure.
- Pure maple syrup — Use the real thing here. Pancake syrup tastes thin and artificial in baking, while pure maple syrup brings the warm, rounded note that makes the cookies taste like maple from the inside out.
- Maple extract — This is the ingredient that makes the flavor hold through the bake. If you only use syrup, the maple taste is softer and less distinct.
- Butter — Softened butter creams properly with the sugar, which traps air and helps the cookies bake up with that lighter center. Cold butter won’t whip well, and melted butter makes the dough spread too much.
Building the Dough So the Glaze Sits on Top, Not Soaks In
- Butter and brown sugar — Beat them until the mixture looks lighter in color and a little fluffy around the edges. That step gives the cookies their texture, so don’t rush it.
- Eggs, syrup, and extracts — Add these after the butter mixture is aerated, then mix just until smooth. If the dough looks a little curdled at first, keep going briefly; it usually comes back together once the flour goes in.
- Dry ingredients — Add the flour mixture and stop as soon as no streaks remain. Overmixing tightens the dough and turns these from soft cookies into dense ones.
- Glaze — Wait until the cookies are completely cool before drizzling. Warm cookies melt the glaze instead of letting it set into that thin, glossy finish.
Mixing the Base
Cream the butter and brown sugar until the mixture looks paler and a little fluffy. That air you build here is part of what keeps the centers soft. Add the eggs one at a time if you want a smoother emulsion, then mix in the maple syrup, vanilla, and maple extract. If the mixture looks slightly split, don’t panic; the flour will bring it back together.
Bringing in the Dry Ingredients
Whisk the flour, baking soda, cream of tartar, cinnamon, and salt before adding them. This keeps the leavening and spice evenly distributed, which matters in a cookie this simple. Fold the dry ingredients in just until the last streak of flour disappears. If you keep stirring past that point, the dough gets tougher and the cookies spread less evenly.
Shaping and Baking
Scoop the dough into 2-tablespoon rounds and space them apart on parchment-lined baking sheets. They should look domed and a little rough on top before baking; that shape helps them crack instead of flattening too fast. Pull them when the edges are set and the centers still look soft. If you wait until the tops look fully baked, they usually go dry by the time they cool.
Finishing with Glaze and Salt
Let the cookies cool all the way before you drizzle the maple glaze over the tops. The glaze should be thick enough to ribbon off a spoon but thin enough to move easily; add the milk a little at a time if needed. Finish with flaky sea salt while the glaze is still wet so it sticks. That last pinch keeps the sweetness sharp and gives each bite a little contrast.
How to Adapt These Cookies Without Losing the Maple Character
Gluten-Free Version
Use a 1:1 gluten-free baking flour that already includes xanthan gum. The cookies will be a little more delicate, but the maple flavor and soft center hold up well. Let the dough rest for 10 minutes before scooping so the flour hydrates and the texture settles.
Dairy-Free Swap
Replace the butter with a good plant-based baking stick, not a tub spread. The tub versions usually contain more water and can make the cookies spread too much. The result will be a little less rich, but still soft and maple-forward.
Extra Maple Glaze Finish
If you want a sweeter, bakery-style cookie, double the glaze and drizzle it in a thin zigzag pattern after the first layer sets. This adds shine and a little more maple hit, but it also softens the top of the cookie faster, so store them in a single layer at first.
Storage and Reheating
- Refrigerator: Store in an airtight container for up to 5 days. The glaze will stay soft, and the cookies may firm up slightly as they chill.
- Freezer: Freeze the unglazed cookies for up to 2 months. Thaw at room temperature, then glaze after they’re fully defrosted for the cleanest finish.
- Reheating: These don’t need reheating, but if you want them slightly warm, give an unglazed cookie 5 to 8 seconds in the microwave. Don’t heat glazed cookies for long or the topping will melt and turn sticky.
Questions I Get Asked About This Recipe
Maple Brown Sugar Cookies
Ingredients
Equipment
Method
- Preheat oven to 375F and line baking sheets with parchment, ensuring the surface is ready for shaped dough.
- Whisk all-purpose flour, baking soda, cream of tartar, cinnamon, and salt in a bowl until evenly combined.
- Beat softened unsalted butter and packed brown sugar until light and fluffy, scraping the bowl as needed.
- Beat in eggs, pure maple syrup, vanilla extract, and maple extract until smooth and glossy.
- Fold the dry flour mixture into the wet ingredients just until no dry streaks remain.
- Scoop dough into 2-tablespoon rounds and place on the parchment-lined sheet, spacing them apart.
- Bake at 375F for 10-12 minutes until the edges are set and the centers look slightly underdone.
- Cool cookies completely so the glaze sets cleanly and doesn’t melt.
- Whisk powdered sugar, maple syrup, and milk for the maple glaze until thick and drizzle-ready.
- Drizzle cooled cookies with maple glaze and finish with flaky sea salt.