Mexican zucchini lasagna brings all the taco-night comfort of a layered bake without the heavy pasta finish. The zucchini stays tender but not watery, the beef mixture turns rich and saucy, and the melted Mexican cheese pulls everything together into clean slices that hold their shape after a short rest.
The part that makes this version work is handling the zucchini before it ever goes into the dish. Salt draws out extra moisture, and a quick roast gives the planks enough structure that they don’t steam the whole casserole into a puddle. The filling also gets a boost from black beans, corn, and salsa, which keeps the beef layer hearty and gives you that Tex-Mex flavor in every bite.
Below you’ll find the small details that matter most: how to keep the zucchini from going limp, how to build layers that slice neatly, and what to change if you want to make it a little lighter or a little spicier.
The zucchini held its shape and didn’t turn soggy at all. Resting it the full 15 minutes made the layers slice cleanly, and my husband went back for a second piece before I’d even set the pan down.
Save this low-carb Mexican zucchini lasagna for taco nights when you want the same layered comfort with no pasta and a clean, cheesy slice.
The Reason the Zucchini Has to Lose Its Water First
Zucchini is the thing that makes or breaks this dish. Skip the salting and roasting step, and the moisture seeps straight into the filling and the bottom of the pan, which leaves you with a casserole that tastes fine but slices like soup. The goal is not to cook the zucchini all the way through. It just needs to shed enough moisture to stay sturdy under the layers.
The beef mixture has its own job too. Once the taco seasoning goes in with a little water, it needs a short simmer so the spices bloom and the sauce tightens up before the beans, corn, and salsa join the pan. If the filling is loose when it goes into the dish, it keeps leaking liquid during baking and the layers slide apart.
What Each Layer Is Actually Doing Here
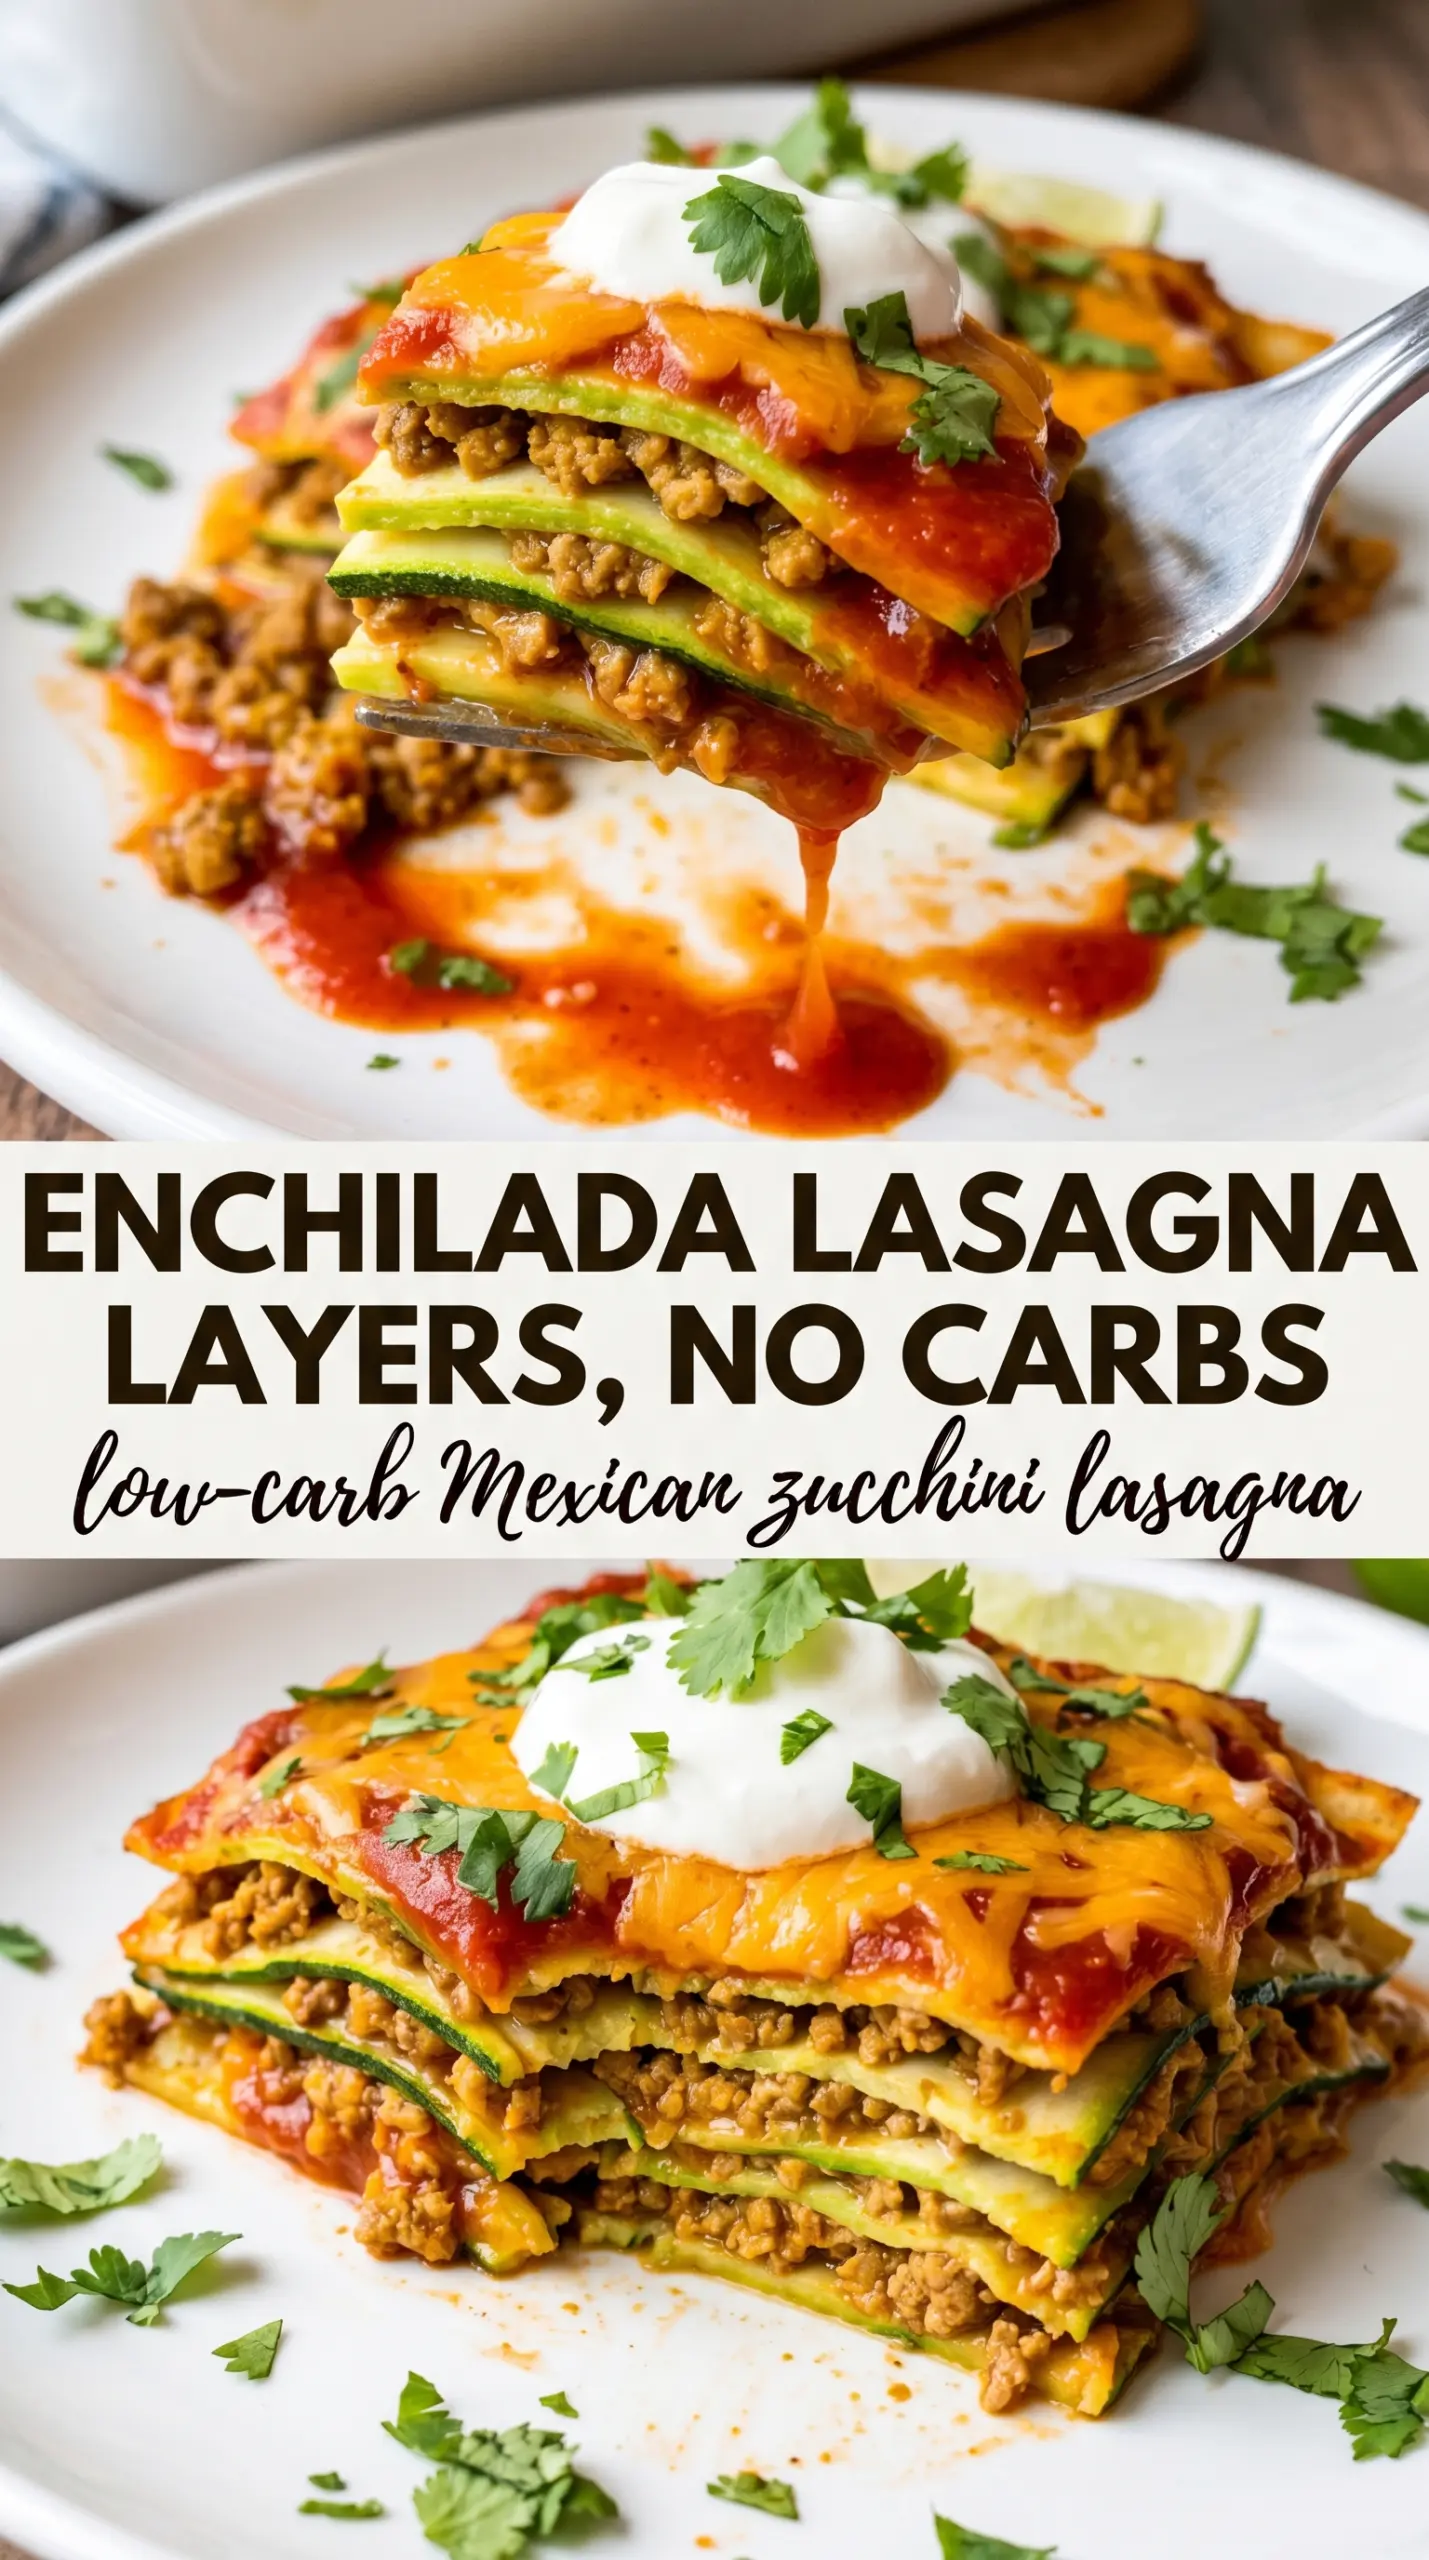
- Zucchini planks — These replace the noodles, but they also bring moisture, which is why the salt-and-roast treatment matters. Thin, even planks give you the best slice and keep the casserole from collapsing.
- Ground beef — Use a beef with enough fat for flavor, then drain the excess after browning. Too lean and the filling tastes dry; too greasy and the layers turn heavy.
- Taco seasoning — This gives the dish its backbone. A packet works fine here because the beef is combined with beans, corn, and salsa, which soften the sharper edges of the seasoning.
- Cream cheese and sour cream — This is the binding layer that keeps the bake rich and sliceable. Softening the cream cheese fully before mixing is what keeps the sauce smooth instead of lumpy.
- Mexican cheese blend — It melts into a stretchy top and helps lock the layers together. Freshly shredded cheese melts better than pre-shredded, but either works if that’s what you have.
Building the Layers So They Hold Together
Drying and Roasting the Zucchini
Salt the zucchini planks and let them sit long enough to draw out surface water, then pat them dry before they go into the oven. A hot 425°F roast for about 10 minutes gives them a little color and shrinks them just enough that they won’t flood the casserole later. If the planks look wet after roasting, give them another minute or two on the sheet pan; excess moisture left behind now shows up as a watery bottom later.
Cooking the Taco Beef Filling
Brown the beef until there’s no pink left and a few browned bits stick to the pan. Stir in the taco seasoning and water, then let it simmer for a few minutes until it looks glossy and slightly thickened instead of soupy. Add the beans, corn, and salsa after that so they warm through without turning mushy. If the mixture is still loose, keep it on the heat a little longer; it should mound on a spoon, not run off it.
Stacking and Baking the Casserole
Spread a thin layer of the cream cheese mixture on the bottom of the dish first, then build the zucchini, beef, and cheese in even layers. That bottom layer keeps the zucchini from sticking and gives the base a creamy finish instead of a dry one. Bake covered first so the center heats through, then uncover at the end so the top gets melted and lightly golden. If the cheese browns too fast, the middle probably still needs time, so keep the foil on a little longer next time.
Letting It Rest Before the First Slice
Give the finished pan the full 15 minutes before cutting into it. That pause lets the cheese settle and the filling tighten, which is the difference between a neat square and a loose pile on the plate. If you slice too soon, the layers slide and the zucchini releases more steam right onto the serving dish.
How to Adapt This for a Lighter Pan, More Heat, or No Dairy
Make it dairy-free
Use a dairy-free cream cheese and a melting-style vegan shredded cheese. The texture stays close, though the topping won’t brown quite the same way, so rely on bubbling edges as your cue that it’s done.
Make it lower in carbs
Leave out the corn and use a no-sugar-added salsa if carbs are a concern. The dish still tastes full because the beef, cheese, and zucchini carry the flavor, and the black beans can be reduced if you want it even lighter.
Turn up the heat
Use hot salsa or Rotel with green chiles, then top the finished dish with sliced jalapeños. This changes the balance more than the texture, so the dish still slices the same way but finishes with a sharper, spicier bite.
Storage and Reheating
- Refrigerator: Store leftovers covered for up to 4 days. The zucchini softens a little more as it sits, but the flavor gets even better by day two.
- Freezer: It freezes well in individual portions if you cool it completely first. Wrap tightly and freeze for up to 2 months; thaw overnight in the fridge before reheating.
- Reheating: Warm in a 325°F oven, covered, until heated through. Microwaving works for a single slice, but short bursts are better than one long blast, since that’s how the cheese turns rubbery and the zucchini gets soggy.
Answers to the Questions Worth Asking
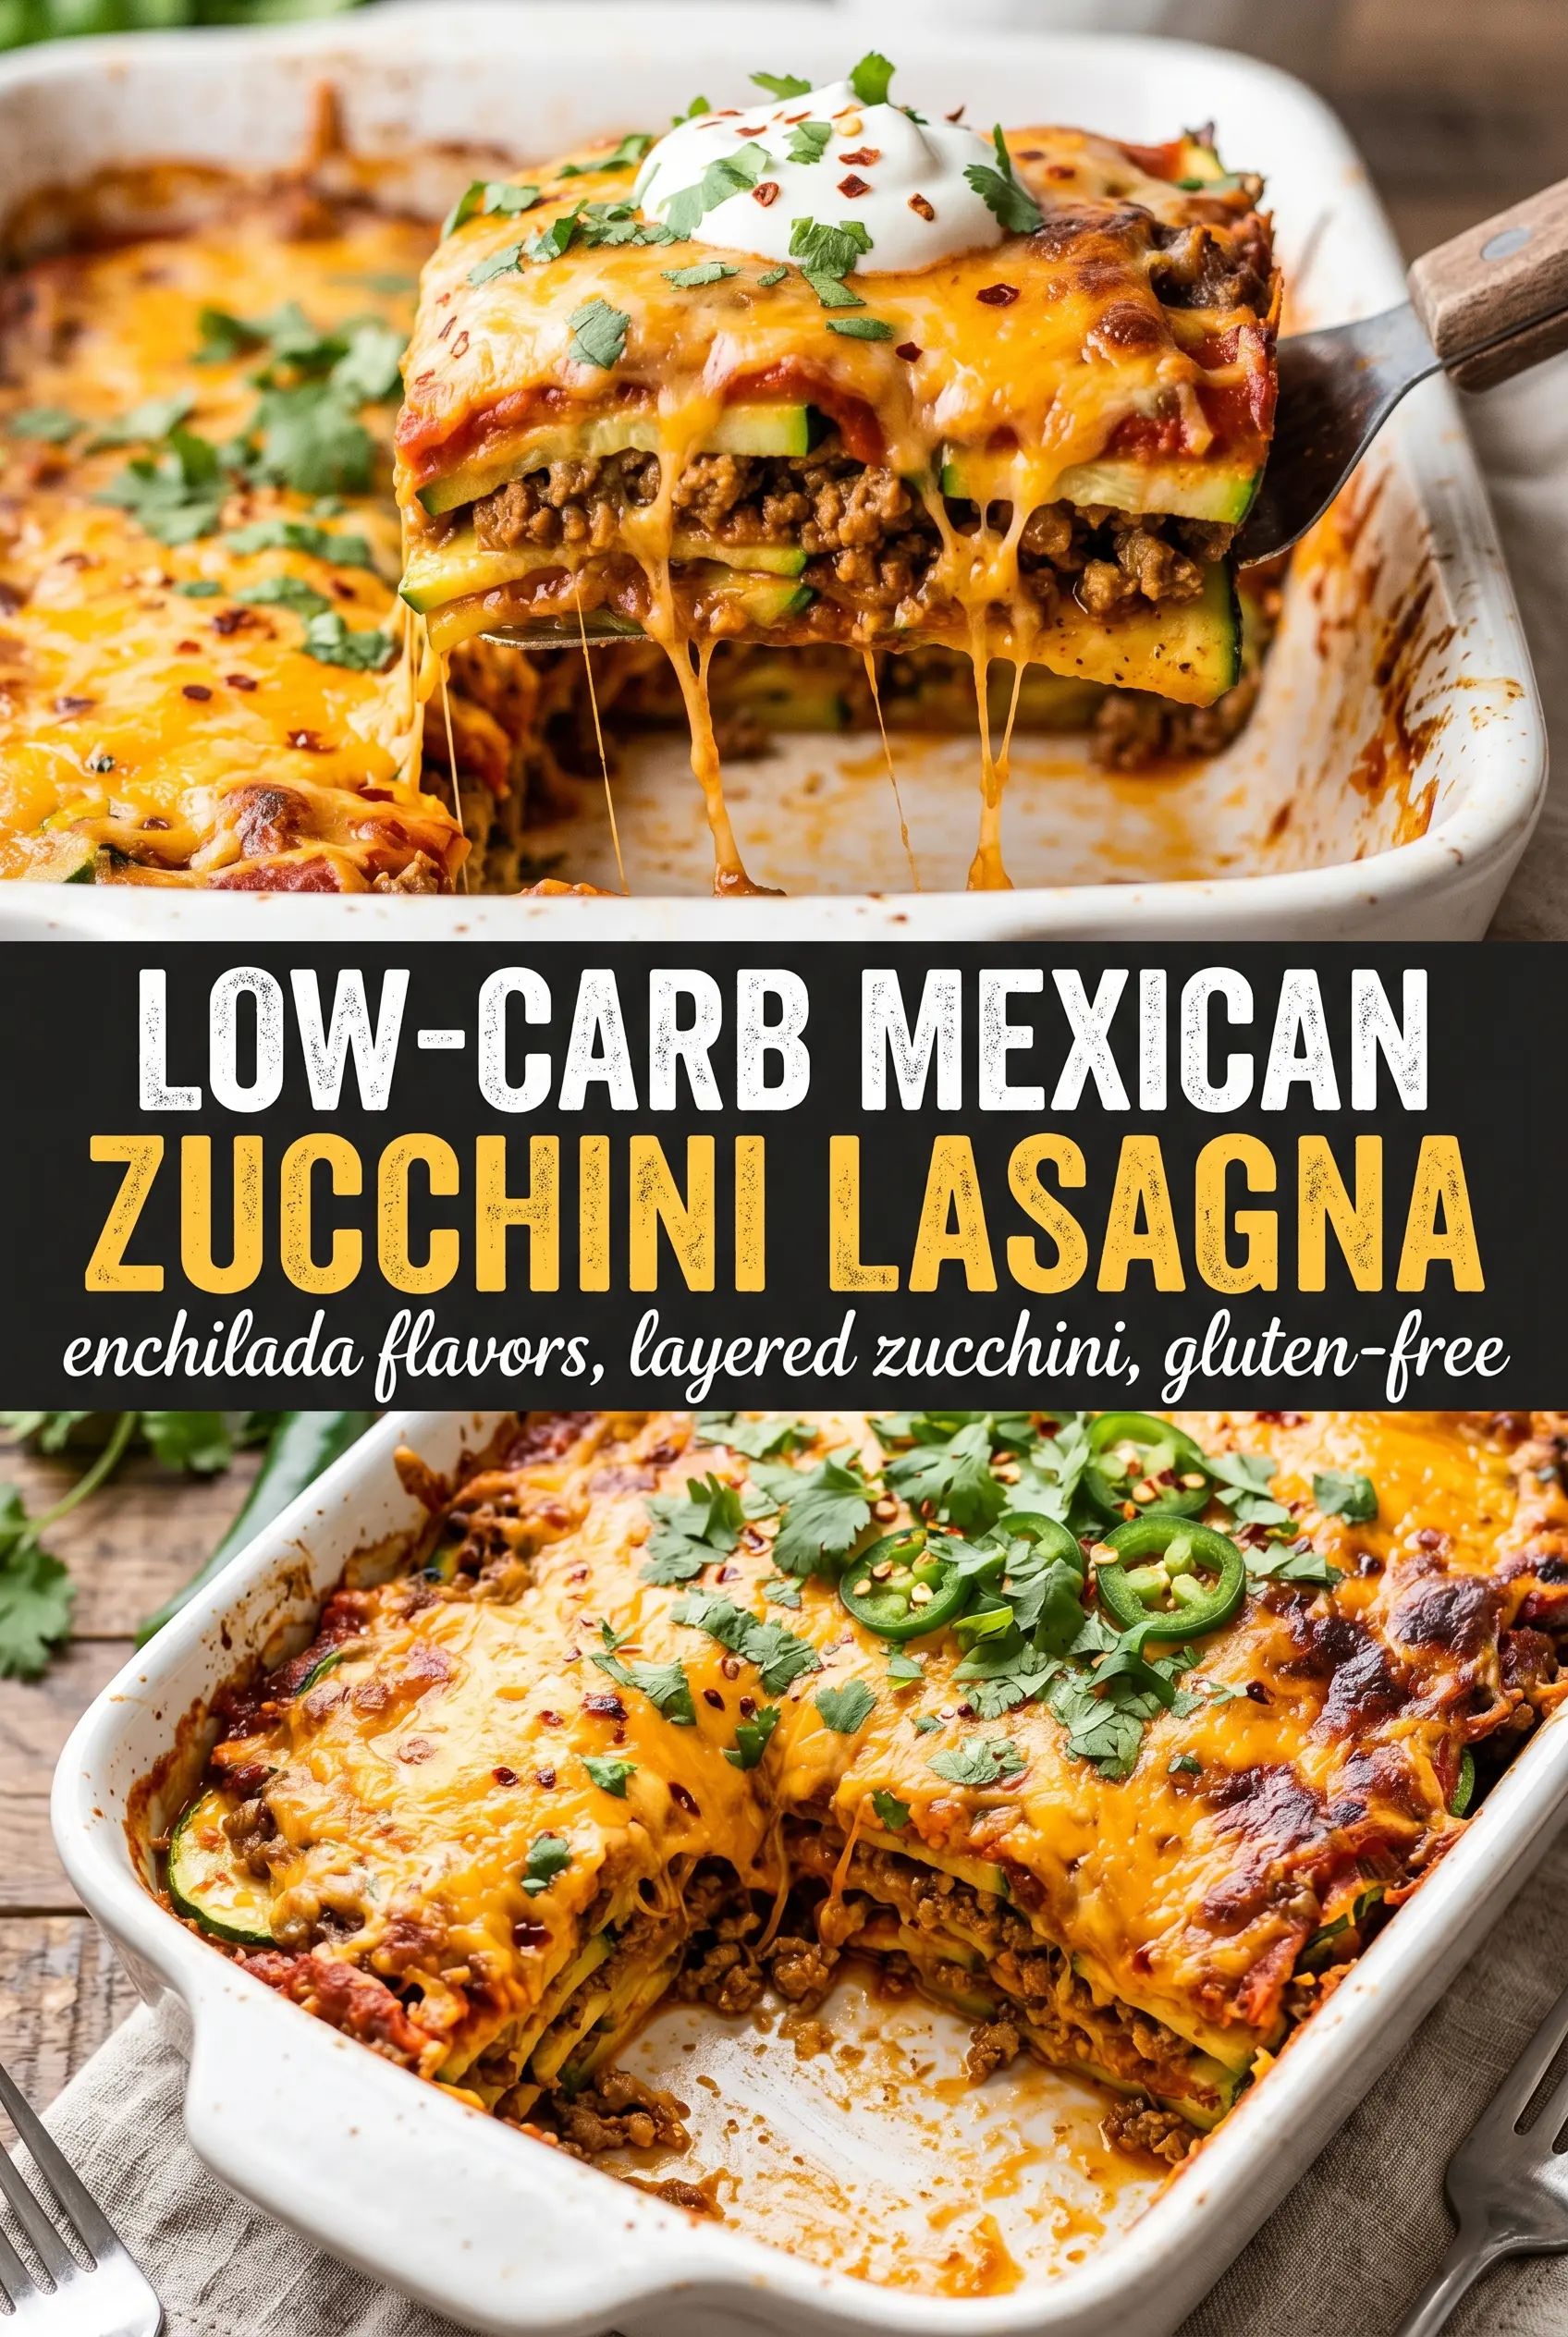
Low-Carb Mexican Zucchini Lasagna
Ingredients
Equipment
Method
- Salt the zucchini planks and let them rest for 20 minutes to sweat out excess water, then pat them dry with a towel for a less watery bake.
- Roast the dried zucchini on a sheet pan at 425°F for 10 minutes, using a light golden look as your cue to reduce moisture further.
- Brown the ground beef until fully cooked, then drain excess fat so the filling isn’t greasy.
- Add the taco seasoning and water, then simmer for 3 minutes, stirring until the mixture looks saucy.
- Stir in the black beans, corn, and salsa, and cook just until heated through and glossy.
- Mix the softened cream cheese and sour cream until smooth, with no visible cream cheese lumps.
- Preheat the oven to 375°F and grease a 9x13 baking dish.
- Assemble the lasagna by spreading a thin layer of cream cheese mixture on the bottom, then layer zucchini planks, beef mixture, and cream cheese mixture; sprinkle on 1 cup Mexican cheese and repeat layers, ending with the remaining cheese on top.
- Cover with foil and bake for 35 minutes so the layers set, then uncover and bake 12–15 minutes until the cheese is melted and golden.
- Rest the baked zucchini lasagna for 15 minutes before slicing so the layers hold together.
- Serve topped with sour cream, pico de gallo, sliced jalapeños, fresh cilantro, and avocado.