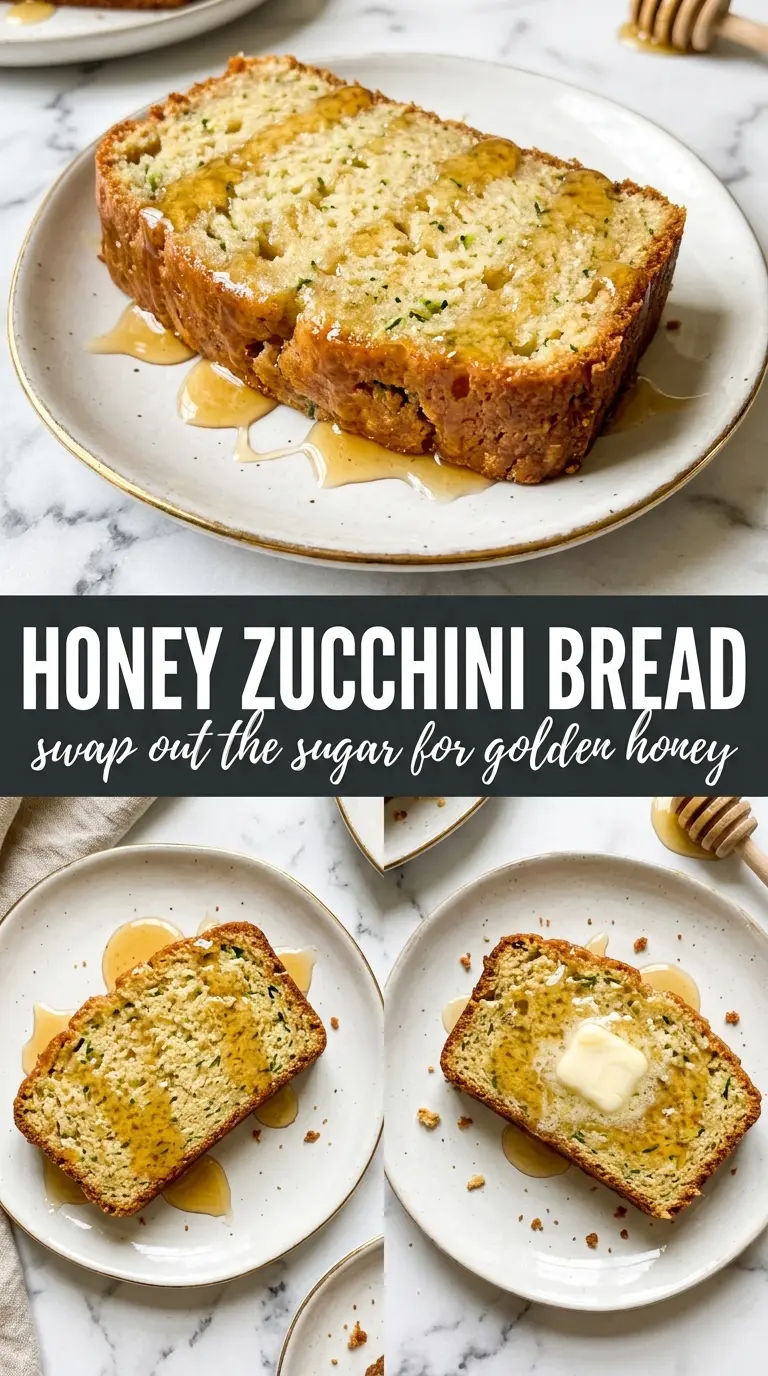
Honey zucchini bread bakes up with a soft, tight crumb, a gentle floral sweetness, and just enough moisture to stay tender for days. The honey doesn’t just sweeten the loaf; it gives the bread a deeper, rounder flavor than plain sugar, and the zucchini keeps the texture light instead of heavy or dense.
The trick is in how the batter is handled. Grated zucchini needs to be squeezed dry so the loaf doesn’t turn gummy in the center, and the honey should be mixed with the eggs, oil, and yogurt until smooth before the dry ingredients go in. That gives you a batter that bakes evenly without streaks of unmixed honey or pockets of wet flour.
Below, I’ve included the small details that matter most here: how dry the zucchini should be, what the honey glaze adds, and the one step that keeps quick bread from turning tough.
The loaf came out moist without being soggy, and the honey glaze sank into the top just enough to make every slice taste like bakery bread. I squeezed the zucchini like you said and the center baked perfectly.
Like this honey zucchini bread? Save it for the glaze-topped loaf that stays tender, slices cleanly, and tastes even better the next day.
Why the Zucchini Has to Be Dry Before It Hits the Batter
Quick bread fails most often when the zucchini brings too much water into the loaf. If you skip the squeeze, the center can look baked on the outside and still turn damp or gummy where the shreds collected. You want zucchini that feels moist, not wet enough to drip when you press it in a towel.
The batter here is built to stay tender, not airy. Honey adds moisture and a softer crumb, so the zucchini needs to pull its weight without adding extra liquid. That balance is what gives you a loaf that slices cleanly instead of slumping apart.
- Zucchini — Grate it on the medium holes, then squeeze it firmly in a clean kitchen towel or several layers of paper towels. You don’t need to wring it bone-dry, but it should no longer puddle in your hand.
- Honey — This is the main sweetener and it brings the flavor you can taste in every slice. Use a good, mild honey if you want the loaf to stay balanced; a strongly floral honey will come through more.
- Greek yogurt — This adds tang and softness without making the batter greasy. Sour cream works in the same amount if that’s what you have, and the loaf will still bake up tender.
- Oil — Oil keeps quick bread moist longer than butter does. Vegetable oil gives the cleanest flavor, but a neutral avocado oil works the same way.
What Each Ingredient Is Actually Doing in This Recipe
- Primary ingredient (the star) — Quality matters most. Choose the best you can find.
- Cooking medium (oil, butter, or broth) — This carries flavors and prevents dryness.
- Seasonings (salt, pepper, spices, herbs) — Layer flavors so nothing overpowers. Build depth gradually.
- Aromatics (garlic, onion, herbs) — Cook with fat to bloom flavors. Become the foundation.
- Supporting ingredients — Complement the main ingredient without overpowering it.
- Sauce or liquid (if applicable) — Brings flavors together. Balance richness with acid.
- Acid (lemon, vinegar, wine, or other) — Brightens and prevents flat-tasting results.
- Final finish (garnish, glaze, or sauce) — Prevents one-dimensional taste and adds visual appeal.
Building the Batter Without Toughening the Loaf
Mix the Dry Ingredients First
Whisk the flour, baking soda, baking powder, salt, cinnamon, and nutmeg together until the color looks even. That step keeps the leavening and spice from clumping in one bite and gives the loaf a more even rise. If you dump them in one bowl and stir later, you’ll often find bitter pockets of baking soda or bland spots in the crumb.
Beat the Wet Ingredients Until Smooth
Whisk the honey, eggs, oil, yogurt, and vanilla until the mixture looks glossy and fully blended. Honey can sit in thick ribbons if you rush this part, and those streaks make the batter harder to judge. Once it looks smooth, stir in the zucchini so the moisture is distributed before the flour goes in.
Fold Just Until the Flour Disappears
Add the dry ingredients and fold gently until you stop seeing dry flour. A few streaks are better than overmixing, because extra stirring develops gluten and makes the loaf chewy instead of tender. If you’re using walnuts, fold them in at the very end so they don’t get crushed into the batter.
Bake Until the Center Springs Back
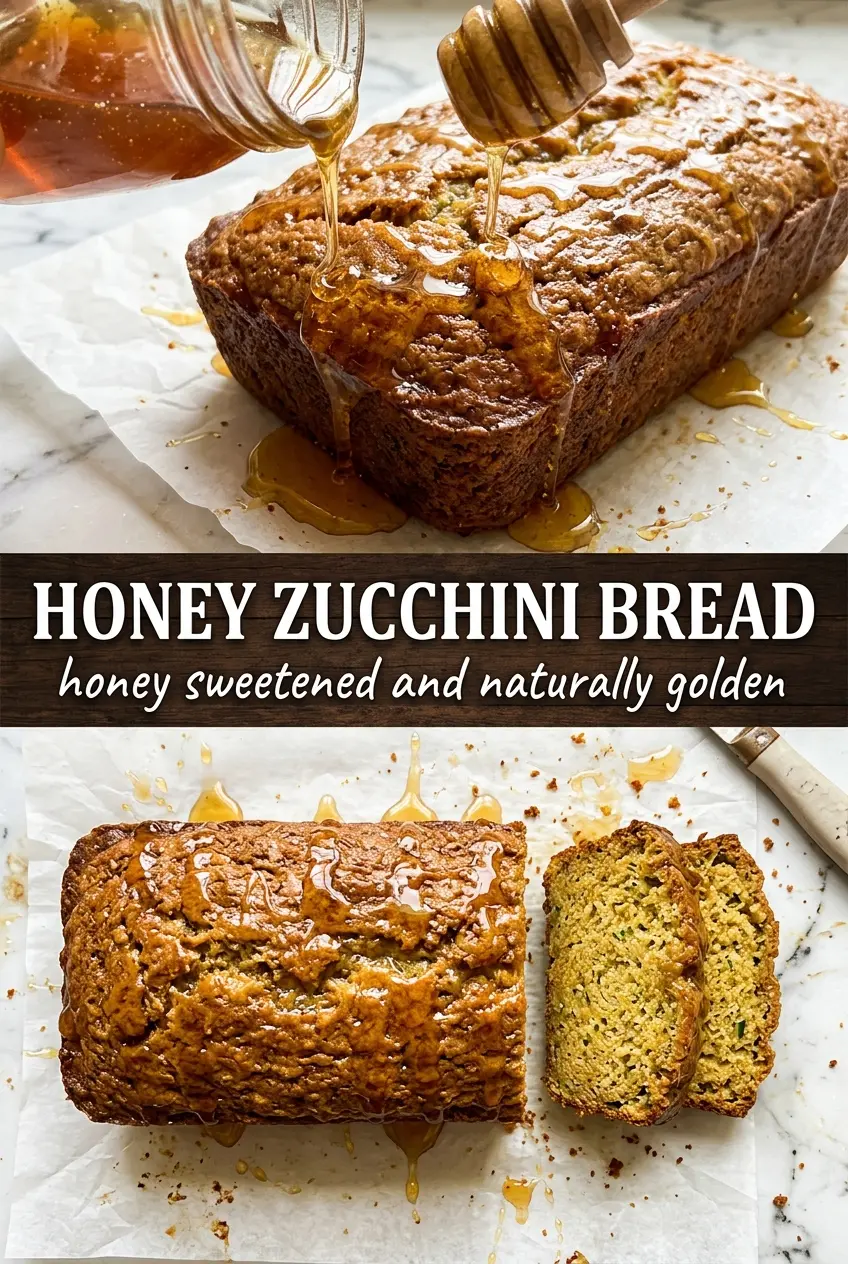
Pour the batter into the loaf pan and bake until the top is golden and a toothpick inserted in the center comes out clean or with a few dry crumbs. Start checking near the lower end of the bake time, because honey browns faster than plain sugar. If the top is getting dark before the middle is done, lay a loose piece of foil over the loaf for the last 10 minutes.
Glaze While the Bread Is Still Warm
Let the loaf cool for 15 minutes before you mix and drizzle the glaze. Warm bread absorbs the honey glaze just enough to make the top glossy without dissolving it completely. If you wait until the loaf is fully cool, the glaze sits on top instead of sinking into the crust.
Small Changes That Keep This Loaf Working in Different Kitchens
Make It Nut-Free
Leave out the walnuts completely and the loaf still bakes up with the same soft crumb. If you want a little extra texture without nuts, add a spoonful of sunflower seeds on top before baking, but keep them out of the batter so they don’t sink.
Gluten-Free Version
Use a 1:1 gluten-free baking flour that already includes xanthan gum. The loaf will still be tender, but it may need a few extra minutes in the oven and should cool fully before slicing so it can set properly.
Reduce the Sweetness a Little
You can cut the glaze in half or skip it altogether if you want a quieter honey note. Don’t reduce the honey in the batter much more than that, or the loaf loses the flavor and moisture that make this version stand out.
Storage and Reheating
- Refrigerator: Store the loaf tightly wrapped for up to 5 days. The crumb stays moist, though the glaze softens a little on the surface.
- Freezer: It freezes well. Wrap slices or the whole cooled loaf in plastic, then foil, and freeze for up to 3 months.
- Reheating: Warm slices in the microwave for 10 to 15 seconds or toast them lightly. Don’t overheat it, or the honey makes the edges turn dry faster than you’d expect.
Questions I Get Asked About This Recipe
Honey Zucchini Bread
Ingredients
Equipment
Method
- Preheat oven to 350°F and grease a 9x5 loaf pan, then set it aside so the batter can go in right away.
- Whisk all-purpose flour, baking soda, baking powder, salt, cinnamon, and nutmeg together until evenly speckled.
- Beat honey, eggs, vegetable oil, Greek yogurt, and vanilla extract until smooth and glossy.
- Stir in the grated zucchini, making sure it’s evenly distributed through the wet mixture.
- Fold the dry ingredients into the wet mixture until just combined, then fold in chopped walnuts if using.
- Pour the batter into the loaf pan and bake at 350°F for 50–58 minutes, until a toothpick comes out clean.
- Cool the loaf for 15 minutes so the crumb sets slightly and the glaze doesn’t soak in too much.
- Mix honey, powdered sugar, and warm water into a smooth glaze, then drizzle over the warm loaf so it pools over the sides.