Honey butter chicken lands on the plate with that sticky, glossy finish that makes people pause before the first bite. The chicken stays juicy, the edges pick up a deep golden sear, and the sauce turns into an amber glaze that clings instead of sliding off. It’s sweet, yes, but the garlic, soy sauce, and vinegar keep it from tasting flat.
What makes this version work is the order. The chicken gets fully seared before the sauce goes in, so the pan has enough fond to give the glaze a deeper, more savory edge. Then the butter, honey, soy sauce, and vinegar simmer just long enough to thicken without burning or turning grainy. That last bit of acid matters more than it looks like it should; it cuts the richness and keeps the sauce bright.
Below, I’ve included the one pan detail that keeps the sauce smooth, plus a few smart swaps if you want to work with what you already have in the kitchen.
The sauce thickened up into the prettiest glaze, and the chicken stayed juicy even after basting. My husband kept picking at the skillet before I could even get it to the table.
Save this honey butter chicken for the nights when you want a glossy skillet dinner with caramelized edges and a garlic-honey glaze.
The Part That Keeps the Glaze from Turning Flat
The biggest mistake with honey butter chicken is rushing the sauce onto chicken that hasn’t developed enough color. If the pan is pale, the glaze tastes sweet but thin. When the chicken sears properly first, the browned bits left in the skillet dissolve into the butter and honey, giving the sauce a savory base that keeps it from tasting like melted candy.
Heat matters here too. Once the honey goes in, the sauce only needs a gentle simmer. A hard boil can push it from glossy to sticky in a bad way, and the butter can separate before it has time to emulsify with the vinegar and soy sauce. Keep the heat moderate and watch for bubbles that move slowly across the pan instead of raging.
What Each Ingredient Is Actually Doing in the Skillet
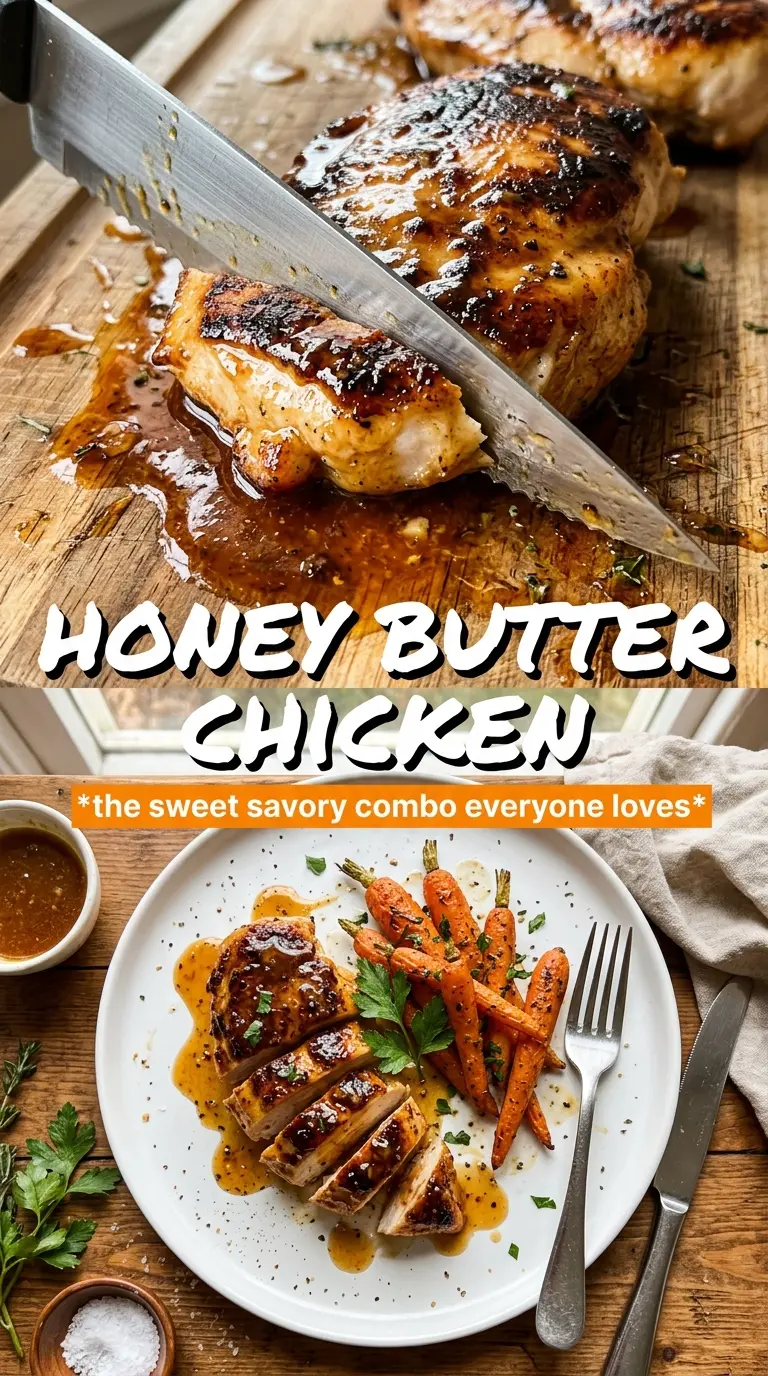
- Chicken breasts — Boneless, skinless breasts give you a fast-cooking base that slices cleanly and soaks up the glaze. If yours are thick in the middle, pound them to an even thickness so the outside doesn’t overcook before the center reaches 165°F.
- Butter — This carries the honey into a glossy sauce and gives it that rich, rounded finish. Salted or unsalted both work; if you use salted butter, go lighter on the flaky salt at the end.
- Honey — This is the body of the glaze, not just the sweetness. Use a standard liquid honey; raw honey works, but a very thick or crystallized jar may need a little extra time to melt smooth in the pan.
- Soy sauce and apple cider vinegar — The soy sauce deepens the sauce and keeps it from tasting one-note, while the vinegar adds the sharp edge that cuts through the butter. Don’t skip the vinegar unless you want a heavier, flatter glaze.
- Garlic — Fresh minced garlic gives the sauce a savory backbone. It only needs about a minute in the butter; longer than that and it can turn bitter once the honey goes in.
- Smoked paprika and thyme — Paprika reinforces the browned, savory notes from the sear, and thyme adds a clean finish that works against the sweetness. Fresh thyme is best for garnish because it stays bright instead of disappearing into the sauce.
The Fastest Way to Get a Glossy Sauce on Juicy Chicken
Searing the Chicken First
Season the chicken well and add it to a hot skillet with the olive oil. You want a deep golden crust on the outside and an internal temperature of 165°F, which usually takes about 5 to 6 minutes per side depending on thickness. If the pan is crowded or the heat is too low, the chicken steams and the glaze never gets that concentrated skillet flavor later. Pull the chicken out once it’s cooked through and let it rest on a plate while you build the sauce.
Building the Honey Butter Glaze
Use the same skillet without wiping it clean. Add the butter and let it melt, then stir in the garlic just until fragrant. The honey, soy sauce, and vinegar go in next, and the sauce should come to a gentle simmer, not a furious boil. If it looks separated at first, keep stirring; it usually comes together once the heat evens out and the sauce thickens slightly.
Returning the Chicken to the Pan
Slide the chicken back into the skillet and turn it through the sauce for a couple of minutes. Spoon the glaze over the top while it cooks so the sauce reduces around the edges and coats every surface. This is where the chicken gets that lacquered look, but don’t leave it in so long that the sauce turns dark and sticky. Once it clings in a shiny layer, it’s ready.
Finishing the Plate
Transfer the chicken to plates and drizzle over any sauce left in the skillet. Finish with fresh thyme leaves and a pinch of flaky sea salt. That last salt hit matters because it wakes up the honey and keeps the finish from tasting soft or dull.
Three Ways to Work This Honey Butter Chicken Into Your Routine
Use chicken thighs for a richer, more forgiving dinner
Boneless skinless thighs stay juicier if you’re worried about overcooking the chicken breasts. They take a few minutes longer, but they handle the sauce beautifully and give you a deeper, more savory bite.
Make it dairy-free without losing the glaze
Use a good plant-based butter with a high fat content. The sauce won’t taste exactly the same, but it will still emulsify and coat the chicken if you keep the simmer gentle.
Swap in tamari for a gluten-free version
Tamari gives you the same salty depth as soy sauce without the wheat. The flavor stays balanced, and the glaze still reduces the same way.
Stretch it into a pan meal
After the sauce thickens, add blanched broccoli, green beans, or sliced zucchini to the skillet for the last minute or two. The vegetables pick up the glaze fast, so this works best with something that’s already partially cooked or naturally quick to soften.
Storage and Reheating
- Refrigerator: Store in an airtight container for up to 4 days. The sauce will thicken as it chills, but it loosens again when warmed.
- Freezer: It freezes well for up to 2 months, though the glaze may lose a little shine after thawing. Freeze the chicken with the sauce in a sealed container and thaw overnight in the refrigerator.
- Reheating: Warm gently in a covered skillet over low heat with a spoonful of water to loosen the sauce. High heat dries out the chicken and can make the honey glaze stick to the pan instead of coating the meat.
Answers to the Questions Worth Asking
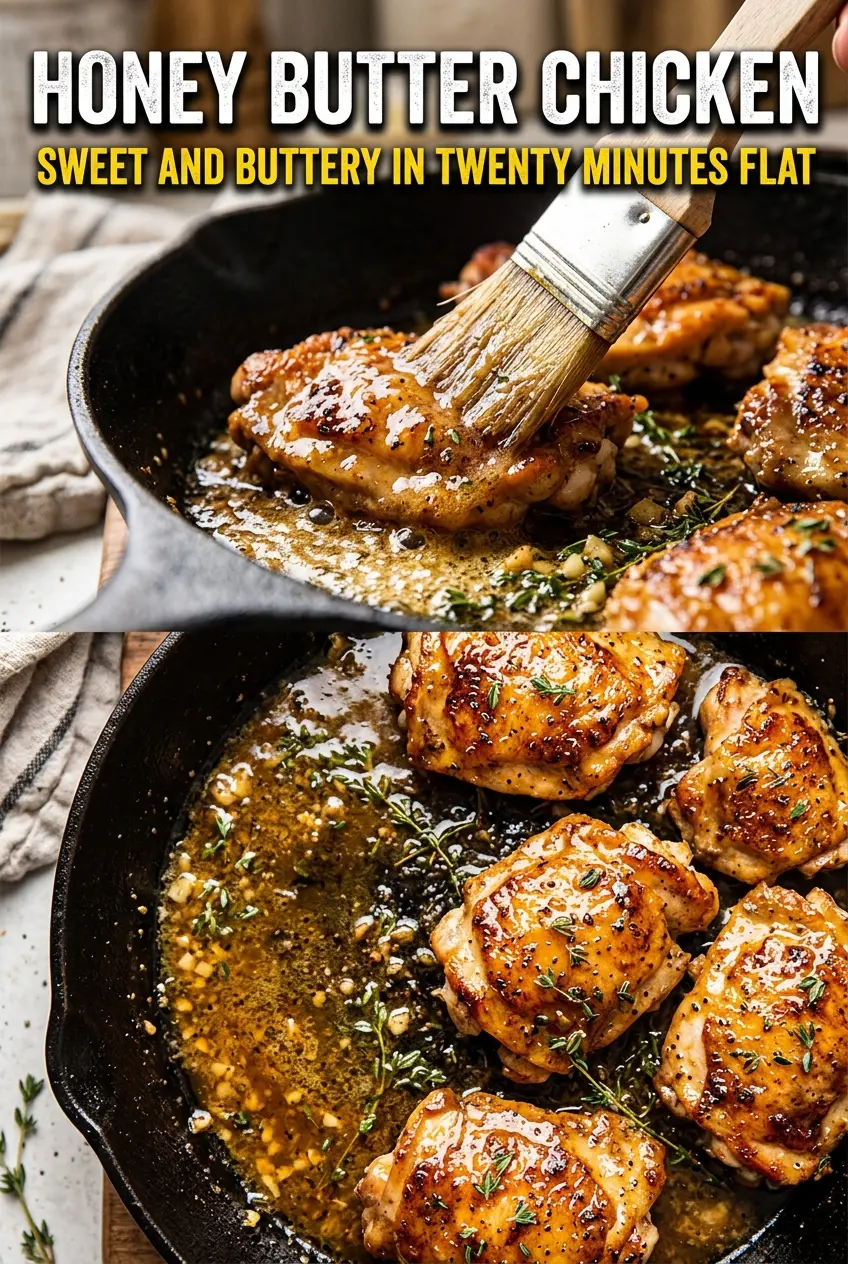
Honey Butter Chicken
Ingredients
Equipment
Method
- Season chicken breasts with salt, pepper, garlic powder, and smoked paprika. Heat olive oil in a large cast iron skillet over medium-high until shimmering, then sear chicken for 5-6 minutes per side until golden; remove when internal temperature reaches 165°F (use a probe for accuracy).
- Set the seared chicken aside on a plate while you build the honey butter sauce in the same skillet.
- Melt butter in the same pan over medium heat. Add minced garlic and cook for 1 minute until fragrant, stirring so it doesn’t brown too quickly.
- Stir in honey, soy sauce, and apple cider vinegar, then bring to a simmer for bubbling that thickens slightly. Return chicken to the pan and cook for 2-3 minutes, turning and basting until the sauce caramelizes and coats the chicken with a glossy amber sheen.
- Plate the chicken and drizzle any remaining sauce over the top. Finish with fresh thyme leaves and flaky sea salt for a fresh, salty garnish.