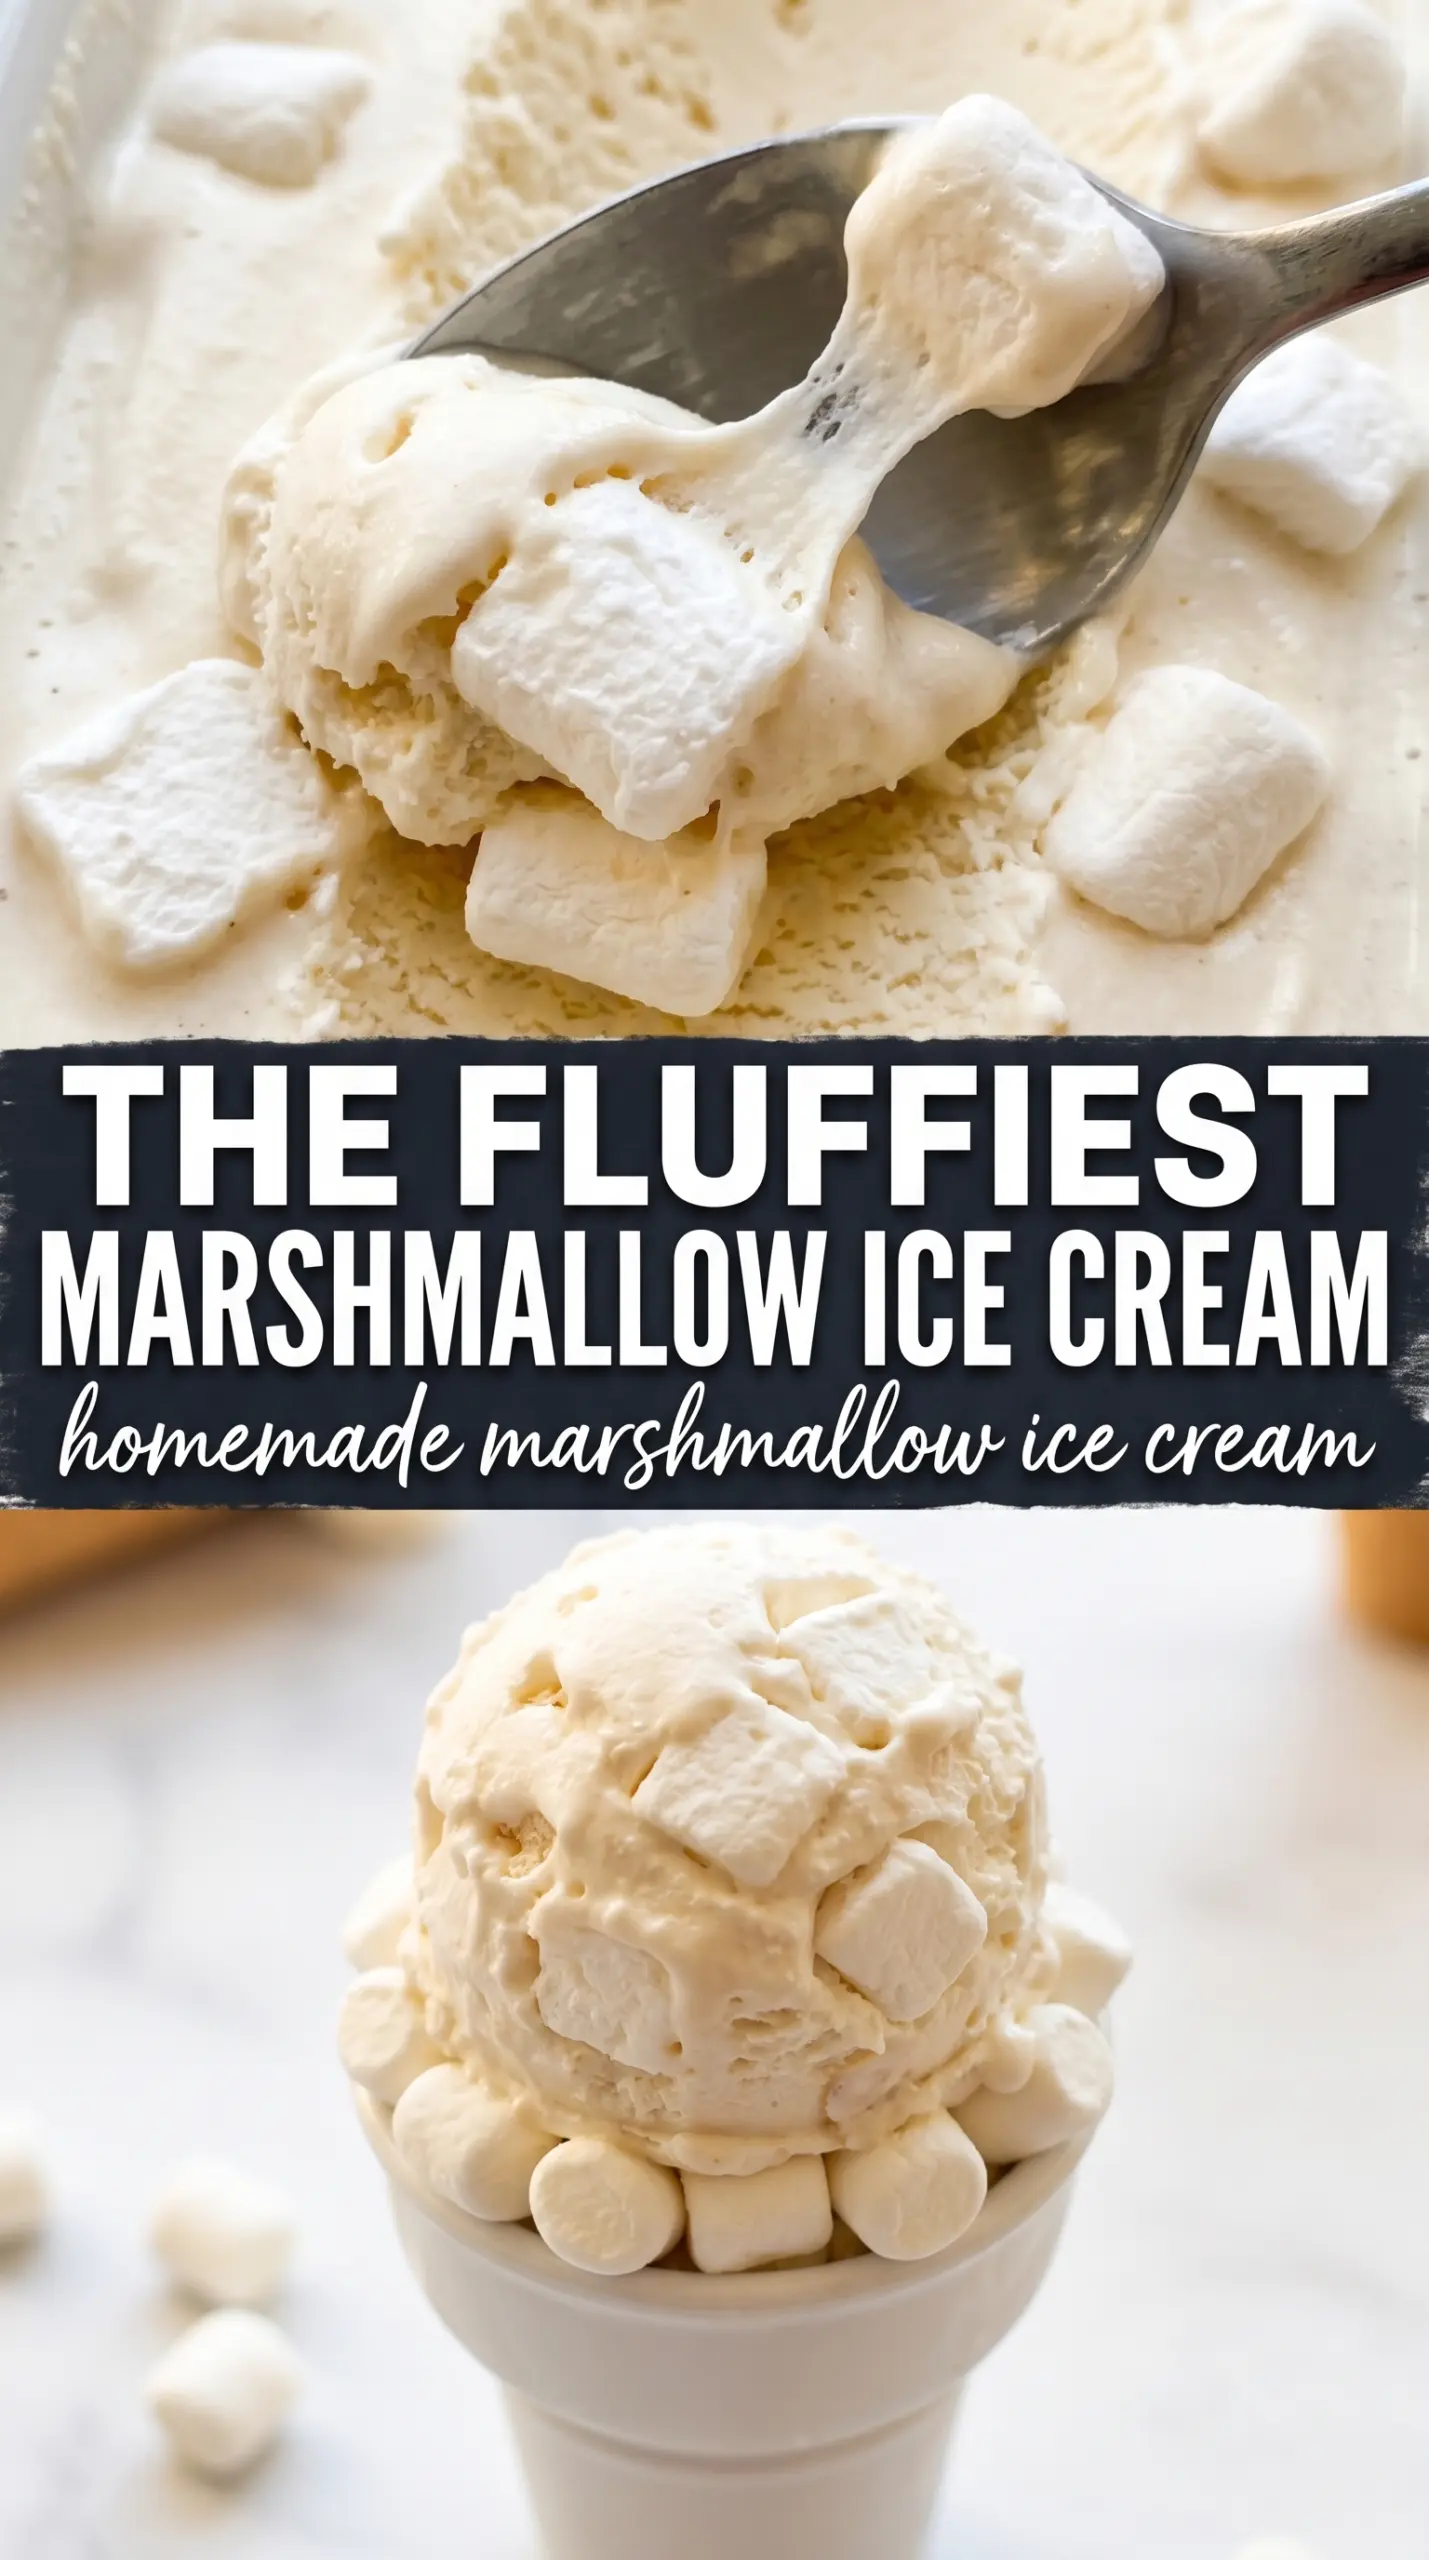
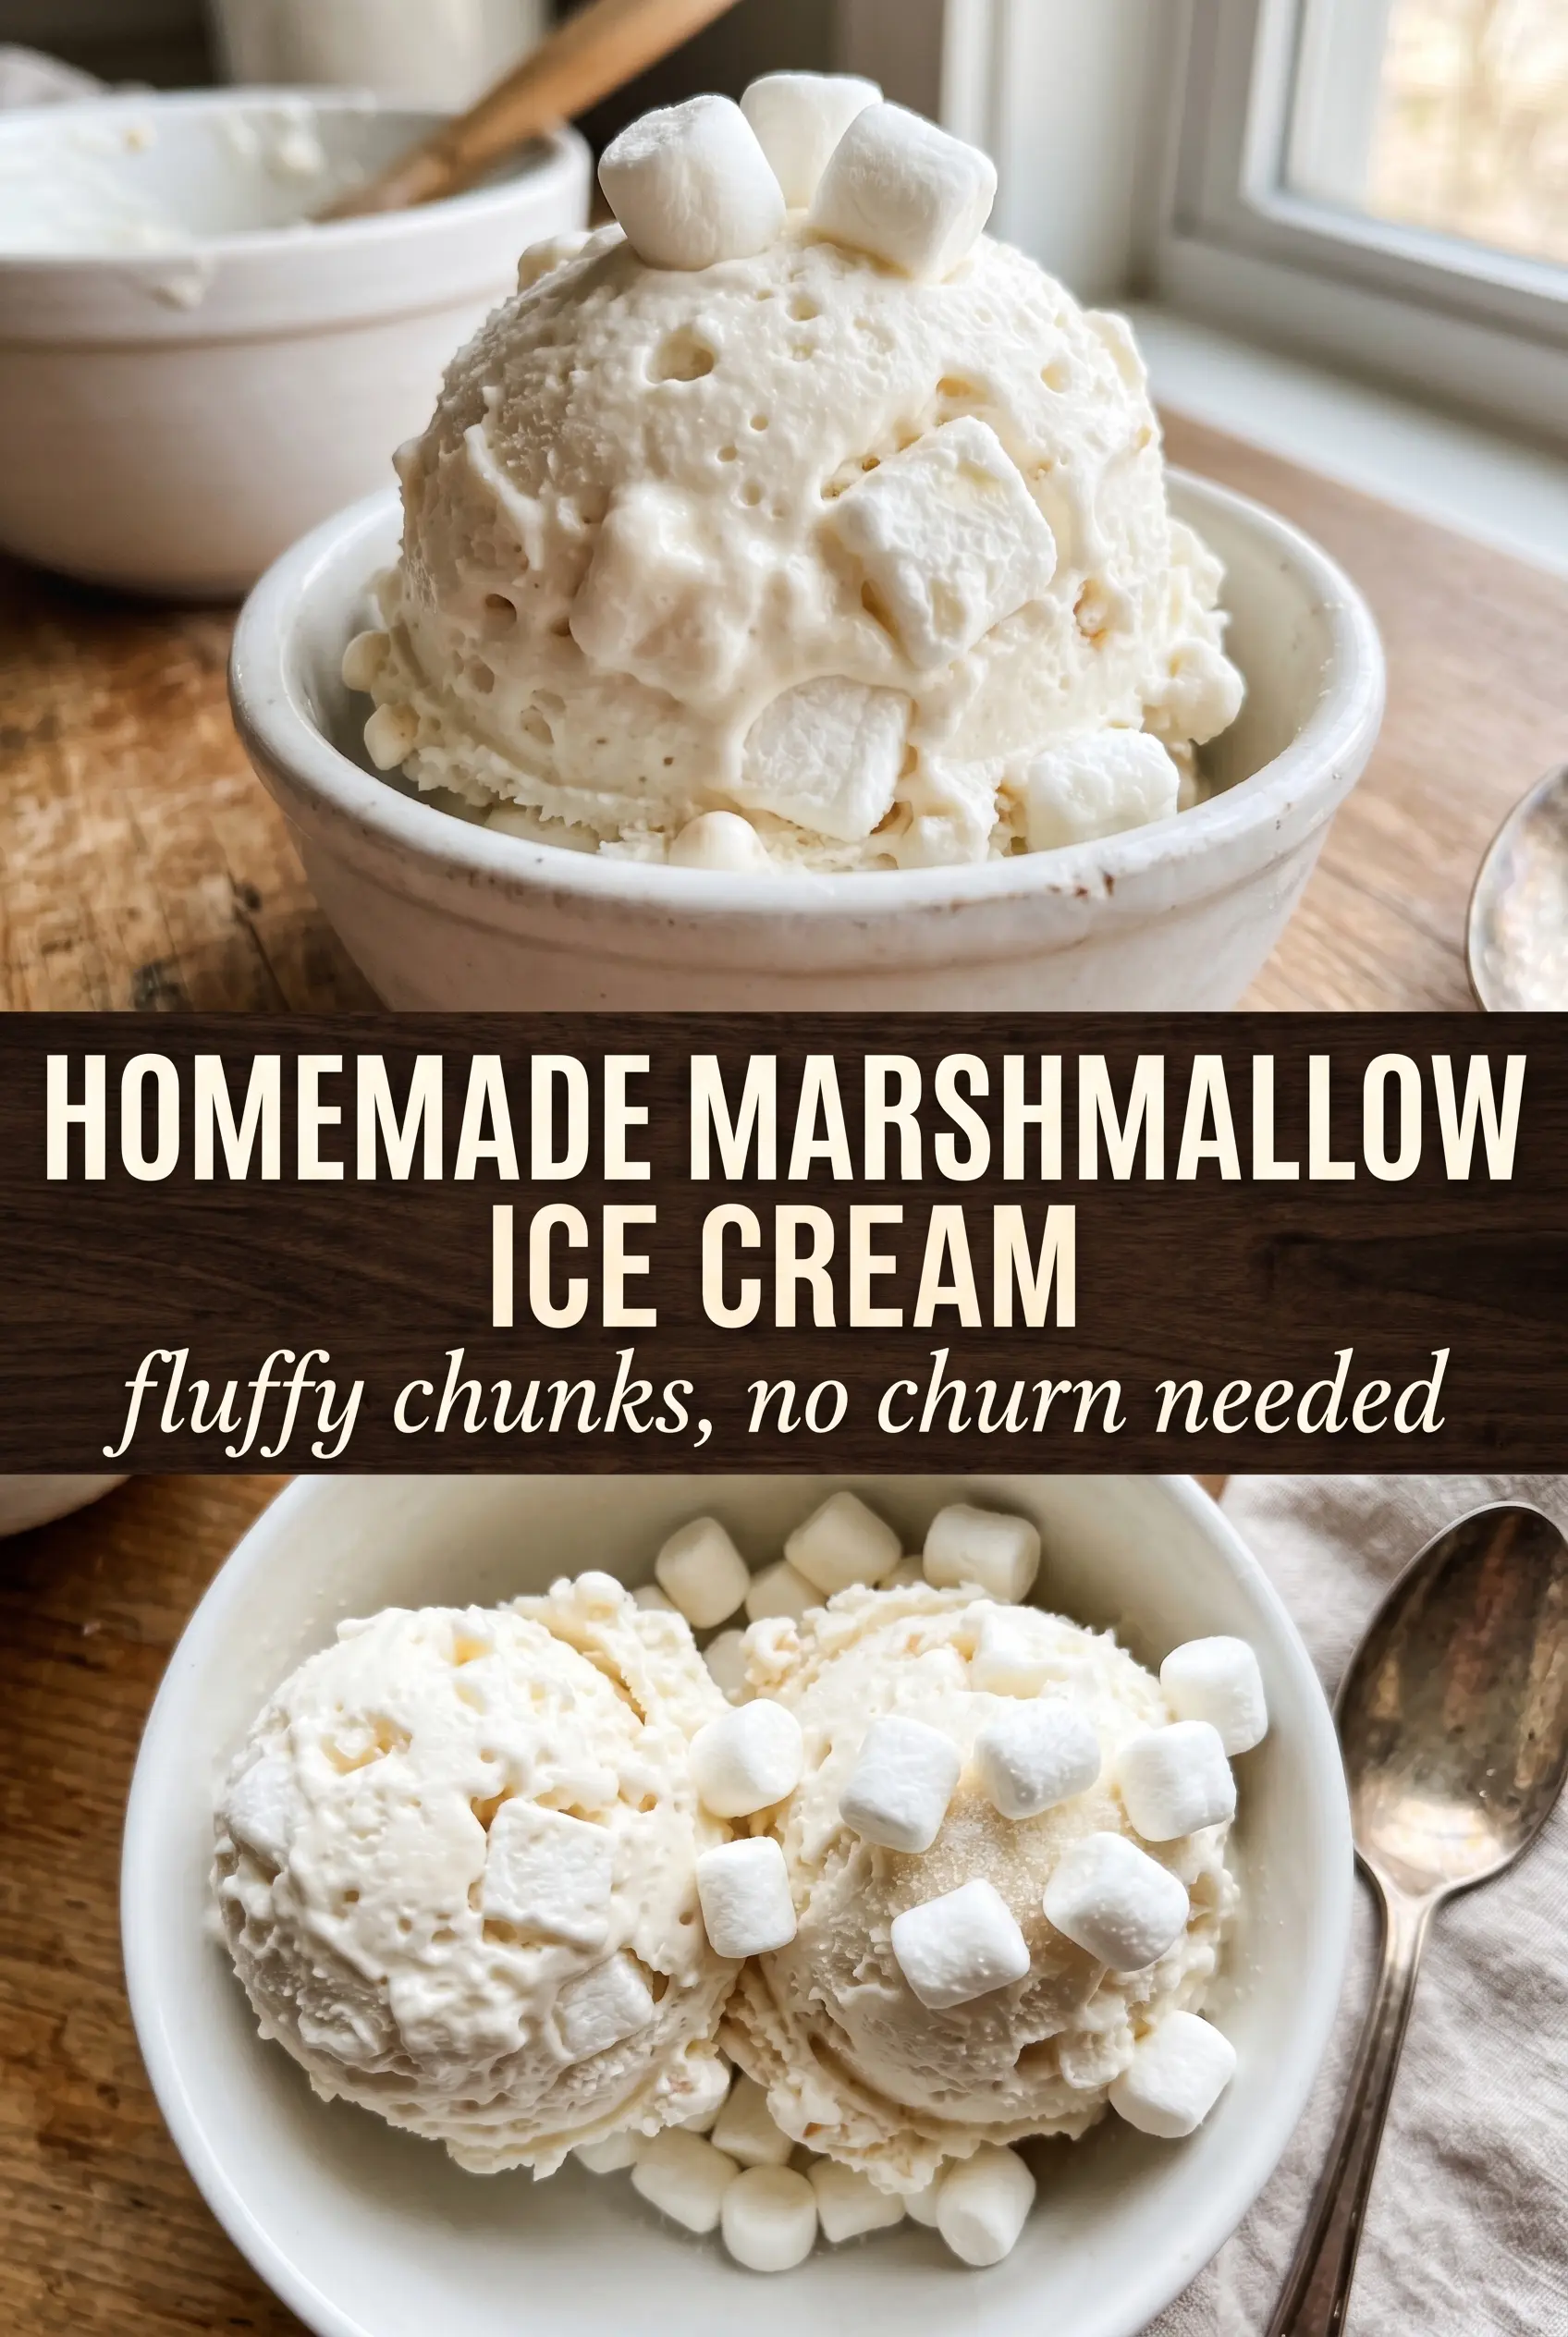
Homemade marshmallow ice cream turns out cloud-soft and lightly chewy, with a clean sweet flavor that tastes like the filling of a perfect summer sandwich board dessert, only colder and silkier. The marshmallow creme gives it that billowy body, while the custard base keeps it rich enough to scoop cleanly instead of freezing into a hard brick.
The trick is treating the marshmallow like part of the base, not a mix-in. It needs to melt fully into the hot custard so the final texture stays smooth, and the egg yolks need gentle heat so they thicken without scrambling. Mini marshmallows go in at the end for little pockets of chew, which keeps every bite from tasting one-note.
Below, you’ll find the one step that keeps the texture from turning icy, plus a few smart ways to lean into toasted marshmallow flavor, adjust the sweetness, or make the ice cream ahead without losing that fluffy finish.
The base turned silky and the marshmallow creme melted in completely, so there were no grainy bits at all. Mine needed the full chill time, but it churned into the fluffiest ice cream I’ve made.
Save this cloud-like marshmallow ice cream for the nights when you want a fluffy, scoopable homemade dessert with real toasted marshmallow appeal.
The Part That Keeps Marshmallow Ice Cream from Turning Grainy
Marshmallow creme is sweet, thick, and sticky, which is exactly why it belongs in a custard base instead of being stirred into finished ice cream. If you add it too late or into a base that’s already cold and partially set, it can leave little streaks and a gummy texture that never smooths out. Melted properly into the warm custard, it blends into the dairy and gives the ice cream that soft, airy body people expect from marshmallow flavor.
The other thing that matters here is temperature control. The custard only needs to reach 175°F, not a hard simmer, because egg yolks thicken gently and stay silky at that point. Push it too far and you’ll get a cooked-egg flavor or tiny curdled bits that show up after freezing. Pulling it off the heat as soon as it coats the spoon keeps the base smooth and lets the marshmallow creme melt in without fighting the heat.
What Each Ingredient Is Actually Doing in This Ice Cream
- Heavy cream — This brings the rich, scoopable texture. There isn’t a true substitute that gives the same body, though you can use part-half-and-half in a pinch and expect a lighter, icier finish.
- Whole milk — The milk keeps the base from feeling overly dense. Lower-fat milk works, but the ice cream loses some creaminess and freezes a little harder.
- Marshmallow creme — This is the ingredient that makes the flavor unmistakable and gives the ice cream its fluffy sweetness. Don’t swap it for melted marshmallows here; they won’t dissolve as smoothly and the texture can turn stringy.
- Egg yolks — They turn the base into a custard, which helps the ice cream freeze with a softer scoop. If you skip them, the result will still taste good, but it won’t have the same velvety finish.
- Mini marshmallows — These add chew and little bursts of soft sweetness at the end. If you want toasted marshmallow flavor, torch them quickly before folding them in, but don’t let them melt completely or they’ll disappear into the base.
- Vanilla extract — Vanilla rounds out the sweetness and keeps the marshmallow flavor from tasting flat. Use a good one here; it doesn’t need to be fancy, just clean and warm.
Cooking the Custard Without Scrambling It
Warming the Dairy
Heat the cream and milk just until steaming, with small bubbles around the edges of the pan. You don’t want a full boil, because that makes the next step harsher on the eggs and gives you less control. The goal is hot dairy that can temper the yolks gradually, not scorch them.
Tempering the Yolks
Whisk the sugar into the egg yolks until they look pale and a little thick, then stream in the hot dairy while whisking constantly. That slow addition keeps the yolks from turning into scrambled eggs. If the mixture starts looking lumpy, stop and whisk harder before adding more liquid.
Thickening to the Right Point
Return everything to the saucepan and cook over medium-low heat, stirring constantly and scraping the bottom and corners of the pan. At 175°F, the custard should lightly coat a spoon and leave a clear trail when you run a finger across it. If it starts steaming heavily or bubbling, pull it down in temperature fast, because that’s when curdles happen.
Melting in the Marshmallow Creme
Stir in the marshmallow creme until the base looks smooth and glossy with no white streaks left behind. This is the moment that determines whether the ice cream tastes fluffy or patchy. If the creme resists at first, keep stirring off the heat; the residual warmth will finish the job without overcooking the custard.
Chilling Before Churning
Stir in the vanilla and salt, then chill the base completely before it goes into the machine. Warm custard churns poorly and can stay loose longer, which leads to a softer, icier freeze. Four hours is the minimum I’d give it, and overnight is even better if you want the cleanest scoop.
Folding in the Mini Marshmallows
Churn until the ice cream is thick and soft-serve-like, then add the mini marshmallows in the last couple of minutes. That timing keeps them from sinking or turning mushy. If you’re using toasted marshmallows, let them cool for a minute first so they don’t melt into sticky streaks the second they hit the churn.
Toasted Marshmallow Swirl
Torch the mini marshmallows for a few seconds until the edges are browned, then fold them in right at the end. You’ll get a deeper, campfire-style note and a little caramel bitterness that keeps the sweetness from running away. Don’t torch them too long or they’ll melt into sticky clumps.
Dairy-Free Version
Use full-fat coconut milk and coconut cream in place of the dairy, then expect a faint coconut note under the marshmallow. The custard base won’t be as classic, but it will still churn into a creamy frozen dessert. You’ll need a dairy-free marshmallow creme that holds the same structure, since that ingredient is doing the heavy lifting.
Less-Sweet Batch
Cut the granulated sugar back slightly if you prefer a milder finish, but don’t reduce it too far or the ice cream will freeze harder. Sugar isn’t just about sweetness here; it also softens the texture. If you want a less sugary taste without changing the structure much, add a pinch more salt instead of making a big sugar cut.
Storage and Reheating
- Refrigerator: Store the churned base only if you need to wait a few hours before freezing; once frozen, this isn’t a refrigerator dessert.
- Freezer: Freeze in an airtight container for up to 2 weeks for the best texture. It keeps longer, but the mini marshmallows can start to get icy and the custard loses some of its softness.
- Reheating: Not applicable. For the best scoop, let it sit at room temperature for 5 to 10 minutes before serving so the edges soften instead of digging in straight from the freezer.
Answers to the Questions Worth Asking
Homemade Marshmallow Ice Cream
Ingredients
Equipment
Method
- Heat the heavy cream and whole milk in a saucepan until steaming, then whisk the hot dairy into the egg yolks beaten with the granulated sugar.
- Return the mixture to the saucepan and cook, stirring constantly, until it reaches 175°F.
- Remove from the heat and whisk in the marshmallow creme until completely melted and smooth.
- Stir in the vanilla extract and salt, then cool the mixture completely before refrigerating.
- Refrigerate the custard for 4 hours to chill thoroughly.
- Churn the chilled custard in an ice cream maker until it reaches a soft, creamy consistency.
- Torch the mini marshmallows briefly for toasted marshmallow flavor, then fold them in during the last 2 minutes of churning.
- Freeze the churned ice cream until firm.