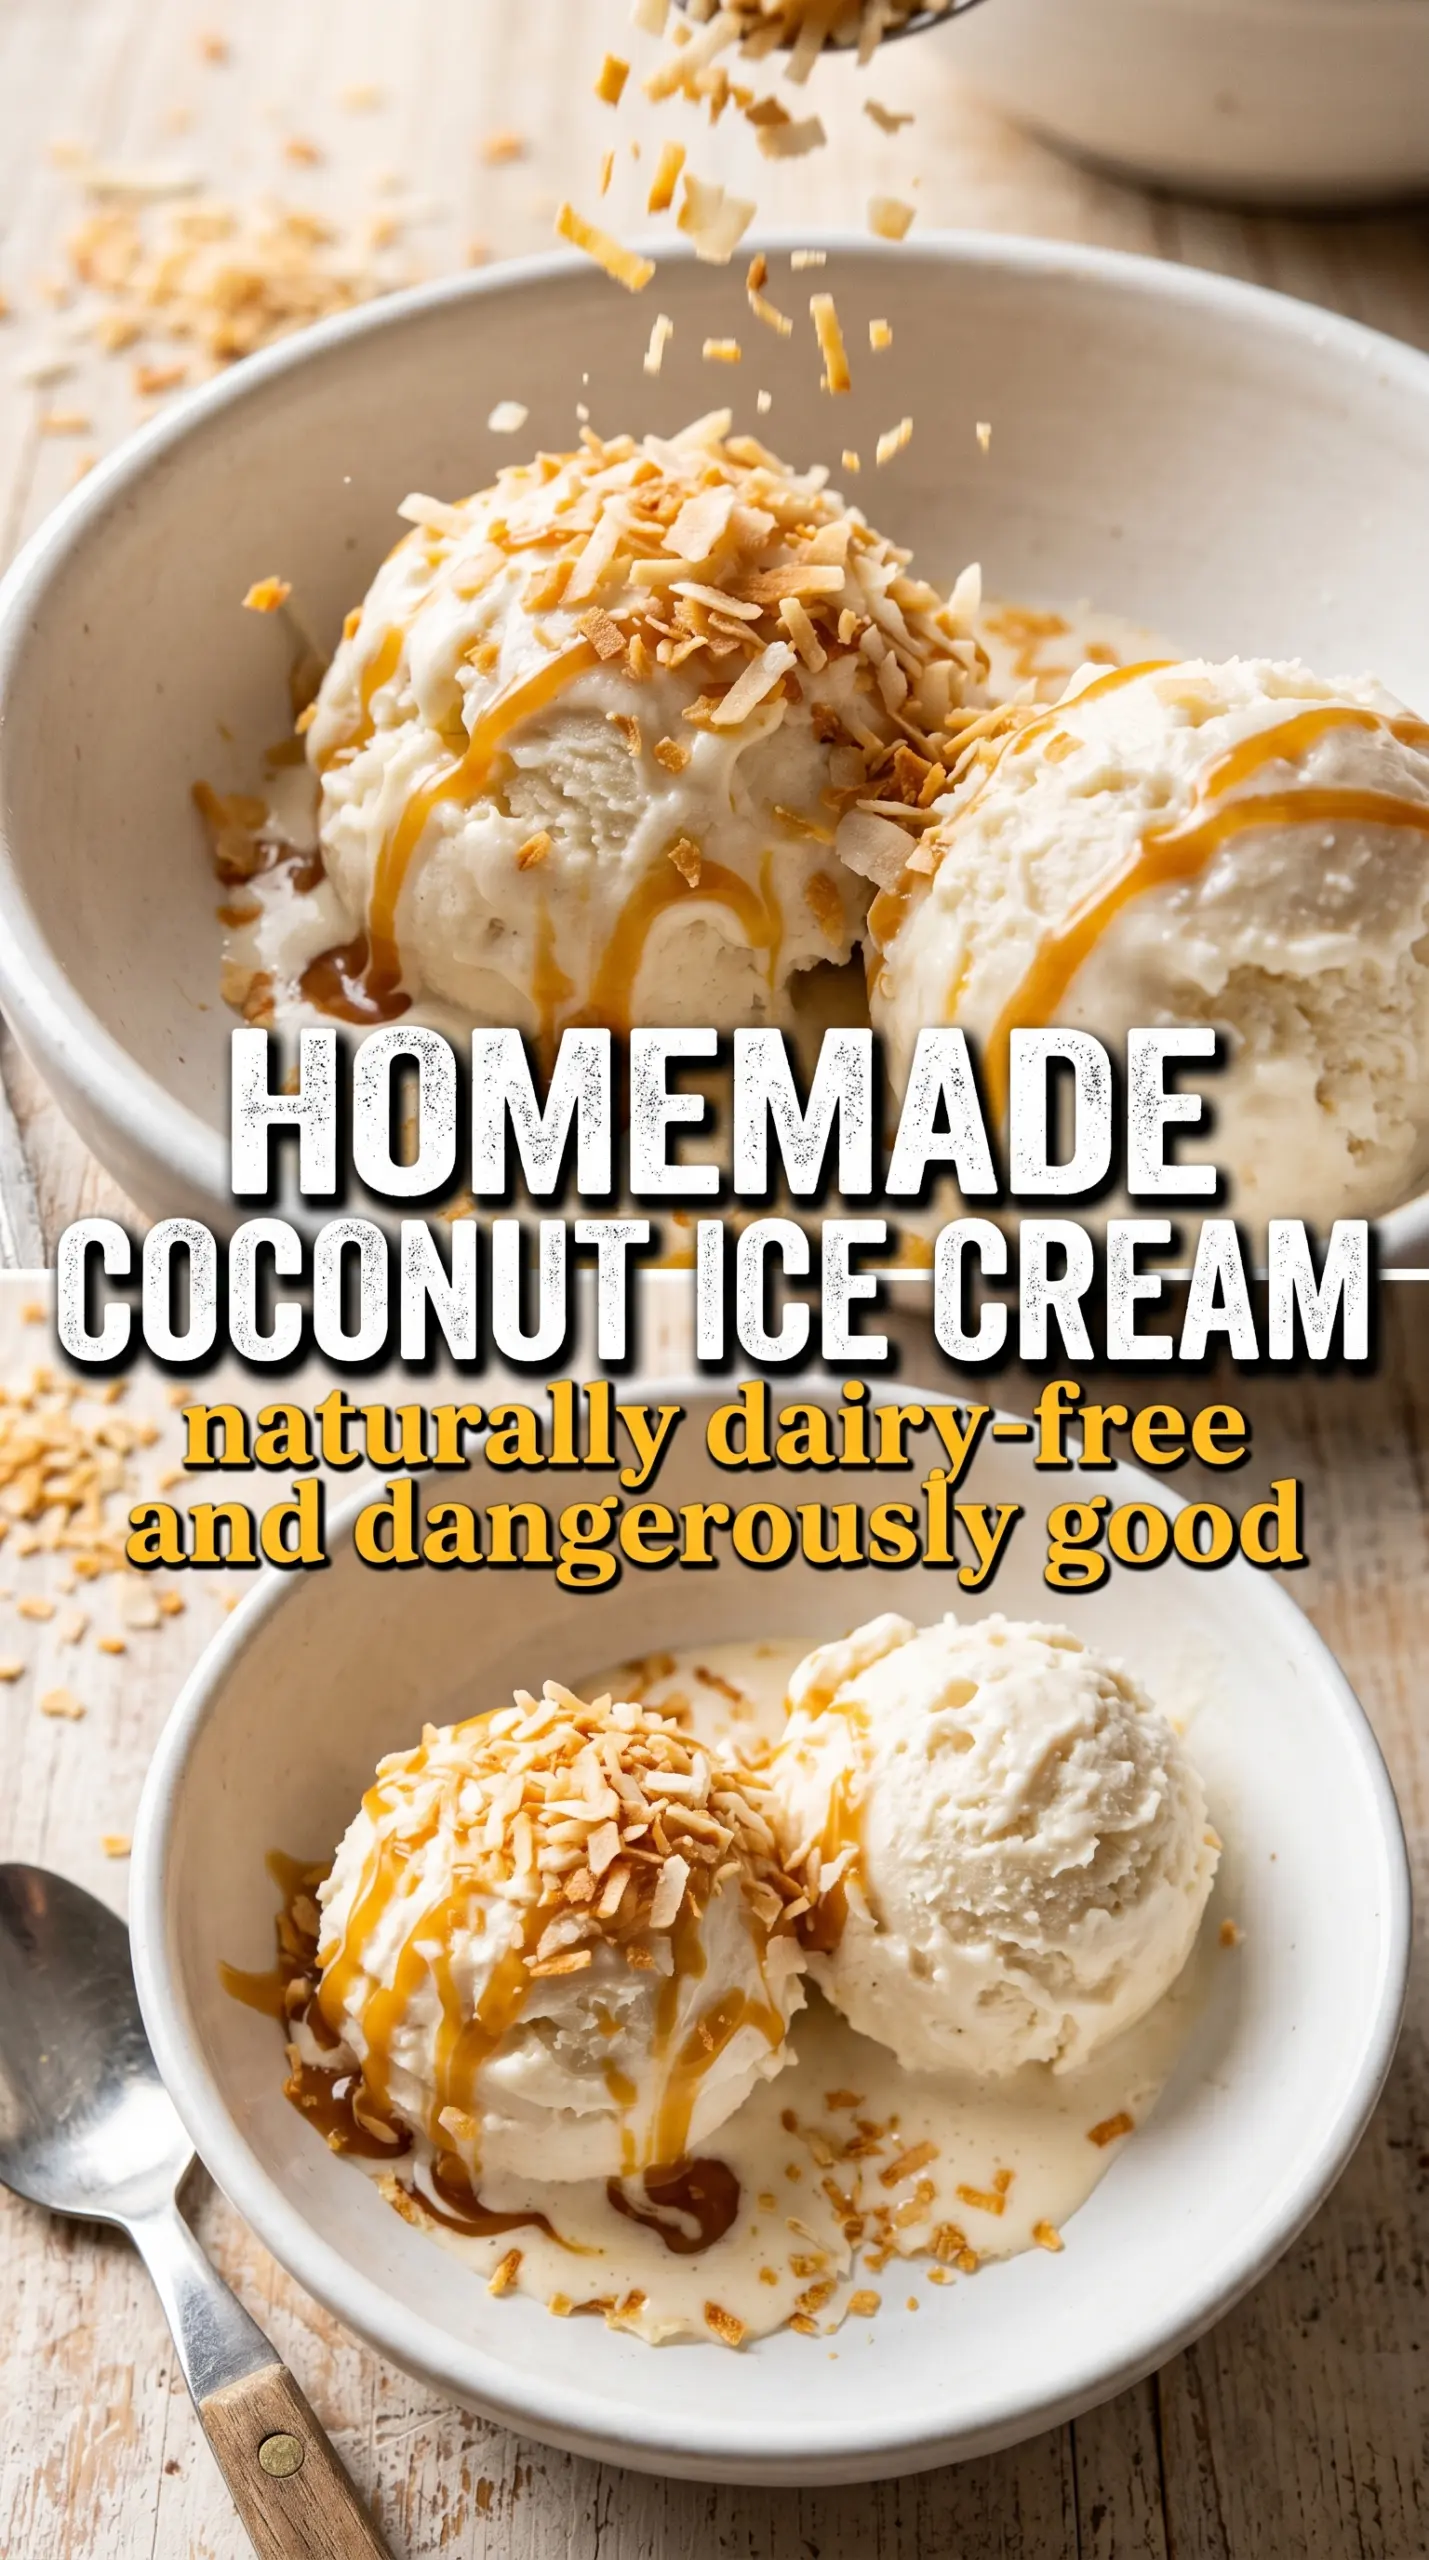
Silky coconut ice cream has a way of turning a simple bowl into something that feels a little luxurious. This version freezes with a dense, scoopable body and a clean coconut flavor that tastes rich without being heavy. The toasted coconut folded in at the end gives each bite a little chew and a deeper, nuttier note that keeps the whole dessert from tasting flat.
The key is treating this like a real custard base, not just sweetened coconut milk. Whisking the egg yolks into the warm coconut mixture slowly keeps them from scrambling, and cooking the custard to 175°F gives you enough body for a creamy churn later. Full-fat coconut milk matters here because the fat is what gives the ice cream that plush texture you want once it’s frozen.
Below, I’ve included the timing cue that keeps the custard smooth, the ingredient swap that works if you want a stronger coconut flavor, and the storage detail that helps this scoop cleanly after a long freeze.
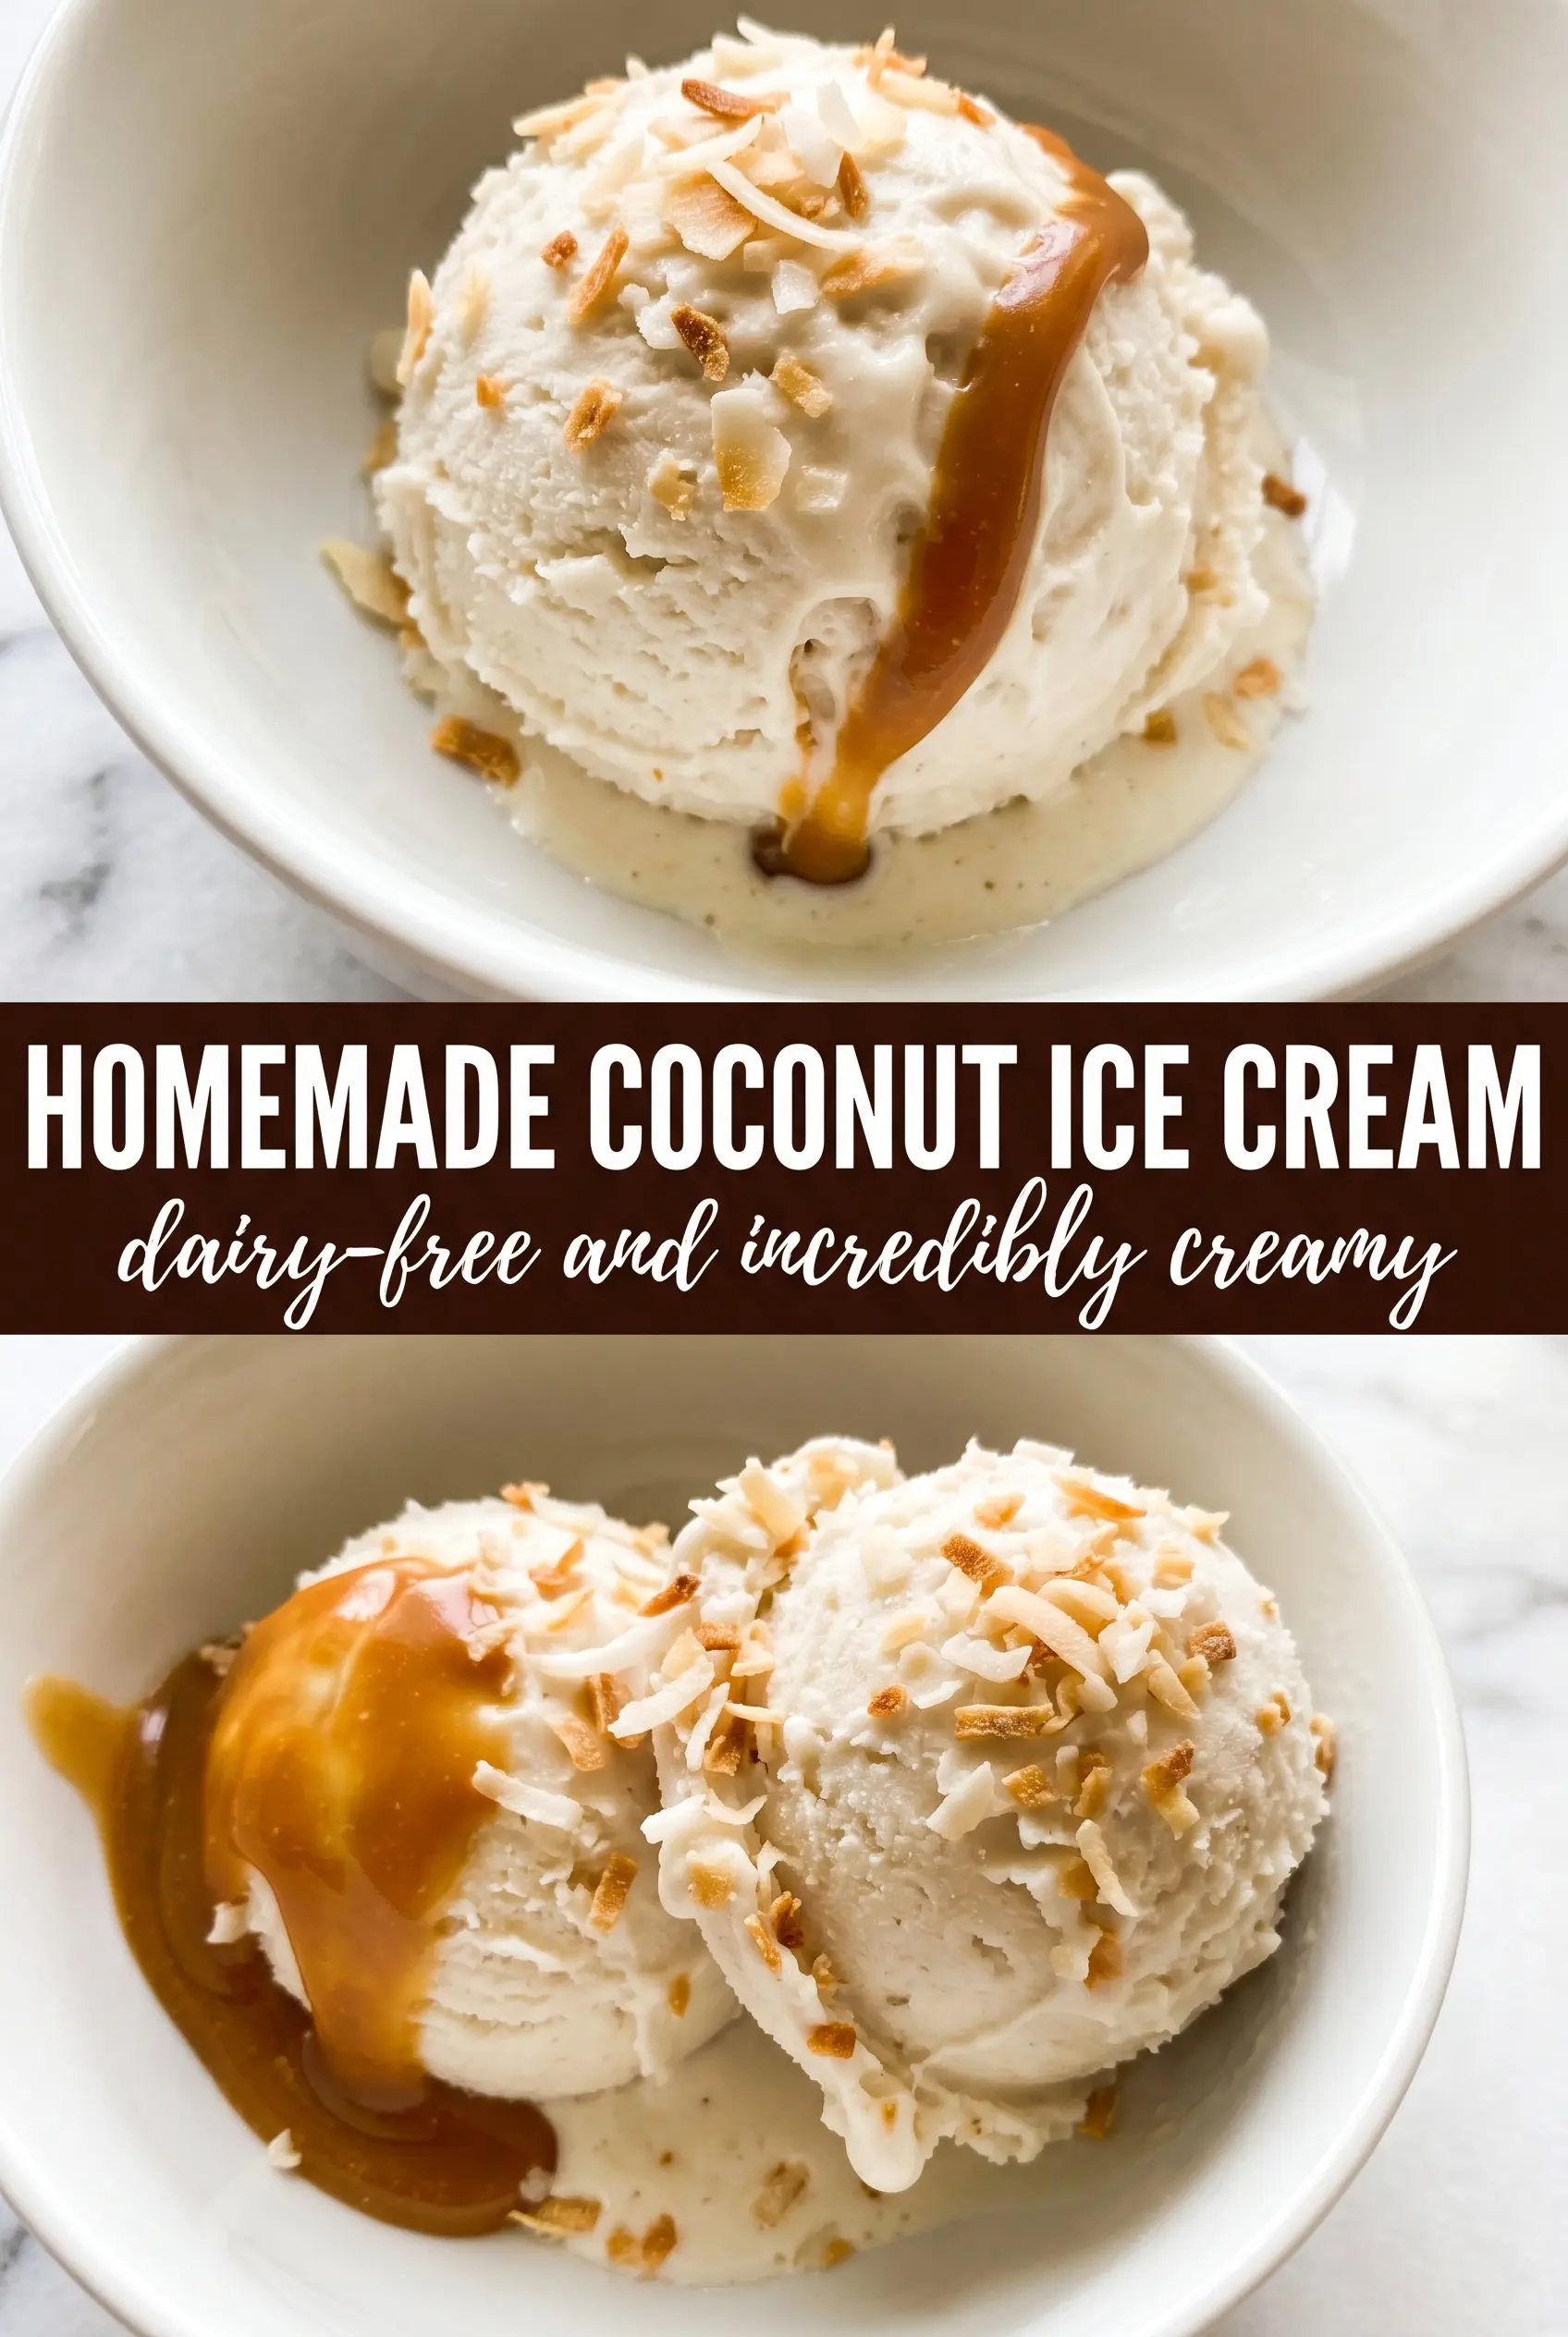
The custard thickened up beautifully and the toasted coconut stayed chewy after freezing. I’ve made a few coconut ice creams before, but this one scooped cleanly straight from the freezer after about 10 minutes on the counter.
Creamy homemade coconut ice cream with toasted flakes is the kind of dessert that disappears fast once it hits the table.
The Custard Stage That Keeps Coconut Ice Cream Creamy Instead of Icy
The biggest mistake with coconut ice cream is rushing the base. If the custard never gets enough thickness on the stove, the final texture turns thin and icy instead of rich and spoonable. Coconut milk brings fat, but it still needs the yolks and gentle heat to build body.
Cook the mixture over medium-low heat and keep stirring across the bottom and corners of the pan. Once it reaches 175°F, it should coat a spoon and leave a clean line when you run a finger through it. If the custard goes past that point by a lot, the yolks can curdle and the texture gets grainy, so pull it off the heat as soon as it thickens.
What Each Ingredient Is Actually Doing in This Coconut Ice Cream
- Full-fat coconut milk — This is the backbone of the recipe. Light coconut milk won’t give you the same body or richness, and the ice cream will freeze harder. Shake the cans before opening, then whisk everything smooth so the fat is evenly distributed.
- Egg yolks — They thicken the custard and help the finished ice cream stay creamy after freezing. Whole eggs won’t give the same velvet texture, and too much heat is what causes the classic scrambled-egg problem. Temper them slowly with the hot coconut milk.
- Toasted sweetened coconut — Toasting matters more than the brand. Untoasted coconut tastes flat and disappears into the base, while toasted flakes add a deeper coconut flavor and a little chew. Fold it in at the end so it stays distinct.
- Coconut extract — This isn’t mandatory, but it pushes the coconut flavor from mild to unmistakable. If you skip it, the ice cream still works, but it tastes softer and more understated. Use a light hand, because too much extract can turn sharp.
Building the Base Without Scrambling the Yolks
Warming the Coconut Milk
Start by heating the coconut milk and sugar just until the sugar dissolves and steam rises from the pot. You don’t want a hard boil here; that drives off moisture and makes the next step harder to control. Stir often so the sugar doesn’t sink and scorch on the bottom.
Tempering the Yolks
Whisk the yolks until smooth in a separate bowl, then add the hot coconut mixture in a thin stream while whisking constantly. That slow addition raises the temperature gently, which keeps the yolks silky instead of turning them into little bits of cooked egg. If the bowl feels too hot to hold still, slow down and keep whisking.
Cooking the Custard
Pour the tempered mixture back into the saucepan and cook over medium-low heat, stirring without stopping. The custard is ready when it reaches 175°F and lightly coats the back of a spoon. If it starts looking grainy or curdled, the heat is too high; lift the pan off the burner and stir for a few seconds before returning it to the heat at a lower setting.
Straining and Chilling
Strain the custard into a clean bowl, then stir in the vanilla, coconut extract, and salt. Straining catches any tiny cooked bits before they make the texture rough. Let it cool completely, then refrigerate for at least 4 hours so the base is cold enough to churn into a smooth, dense ice cream.
Three Ways to Make It Your Own Without Losing the Creamy Texture
Dairy-Free Coconut Ice Cream
This recipe is already dairy-free as written, which is one reason it churns into such a rich scoop. Keep the full-fat coconut milk and don’t swap in lighter coconut milk or almond milk, since both freeze icier and lose that dense body.
Stronger Toasted Coconut Flavor
Toast the coconut until it’s deep golden at the edges, not pale tan. That extra color brings out a nutty note that cuts through the sweetness and makes the coconut taste deeper in the finished ice cream.
No Ice Cream Maker
If you don’t have an ice cream maker, freeze the chilled base in a shallow pan and stir it every 30 minutes until it starts to set, then fold in the toasted coconut near the end. The texture won’t be quite as smooth as churned ice cream, but it will still be creamy if you stay on top of the stirring.
Storage and Reheating
- Refrigerator: Store the chilled custard base for up to 2 days before churning. Once churned, this isn’t a refrigerator dessert, and it needs the freezer to hold its texture.
- Freezer: Freeze the churned ice cream in a sealed container for up to 2 weeks for the best texture. After that, it can start to pick up ice crystals, especially if the container is opened often.
- Reheating: Let the ice cream sit at room temperature for 5 to 10 minutes before scooping. If you try to force it straight from the freezer, the surface shatters and the scoop turns ragged instead of clean.
Questions I Get Asked About This Recipe
Homemade Coconut Ice Cream
Ingredients
Equipment
Method
- Heat the coconut milk and granulated sugar in a saucepan over medium heat until the mixture steams and the sugar dissolves, stirring to combine. Visual cue: tiny bubbles and a glossy look around the edges.
- Whisk the egg yolks in a bowl until smooth. Visual cue: the yolks look uniform and lightly thickened.
- Slowly whisk the hot coconut milk into the egg yolks to temper them. Visual cue: the mixture turns pale and creamy without scrambling.
- Return the mixture to the saucepan and cook over medium-low heat, stirring constantly, until it reaches 175°F and coats the back of a spoon. Visual cue: a line remains when you swipe a finger through the custard.
- Strain the custard into a clean container, then stir in vanilla extract, coconut extract, and salt. Visual cue: the mixture becomes silky and fragrant.
- Cool completely, then refrigerate at least 4 hours until thoroughly chilled. Visual cue: the surface is cold and the custard is set.
- Churn the chilled custard in an ice cream maker until it reaches a soft-serve texture. Visual cue: it looks airy but still ivory and thick.
- Fold in the toasted shredded sweetened coconut during the last 2 minutes of churning, then transfer to a container. Visual cue: toasted flakes are evenly distributed with some on top.
- Freeze until firm. Visual cue: the ice cream holds a scoop shape with minimal wobble.