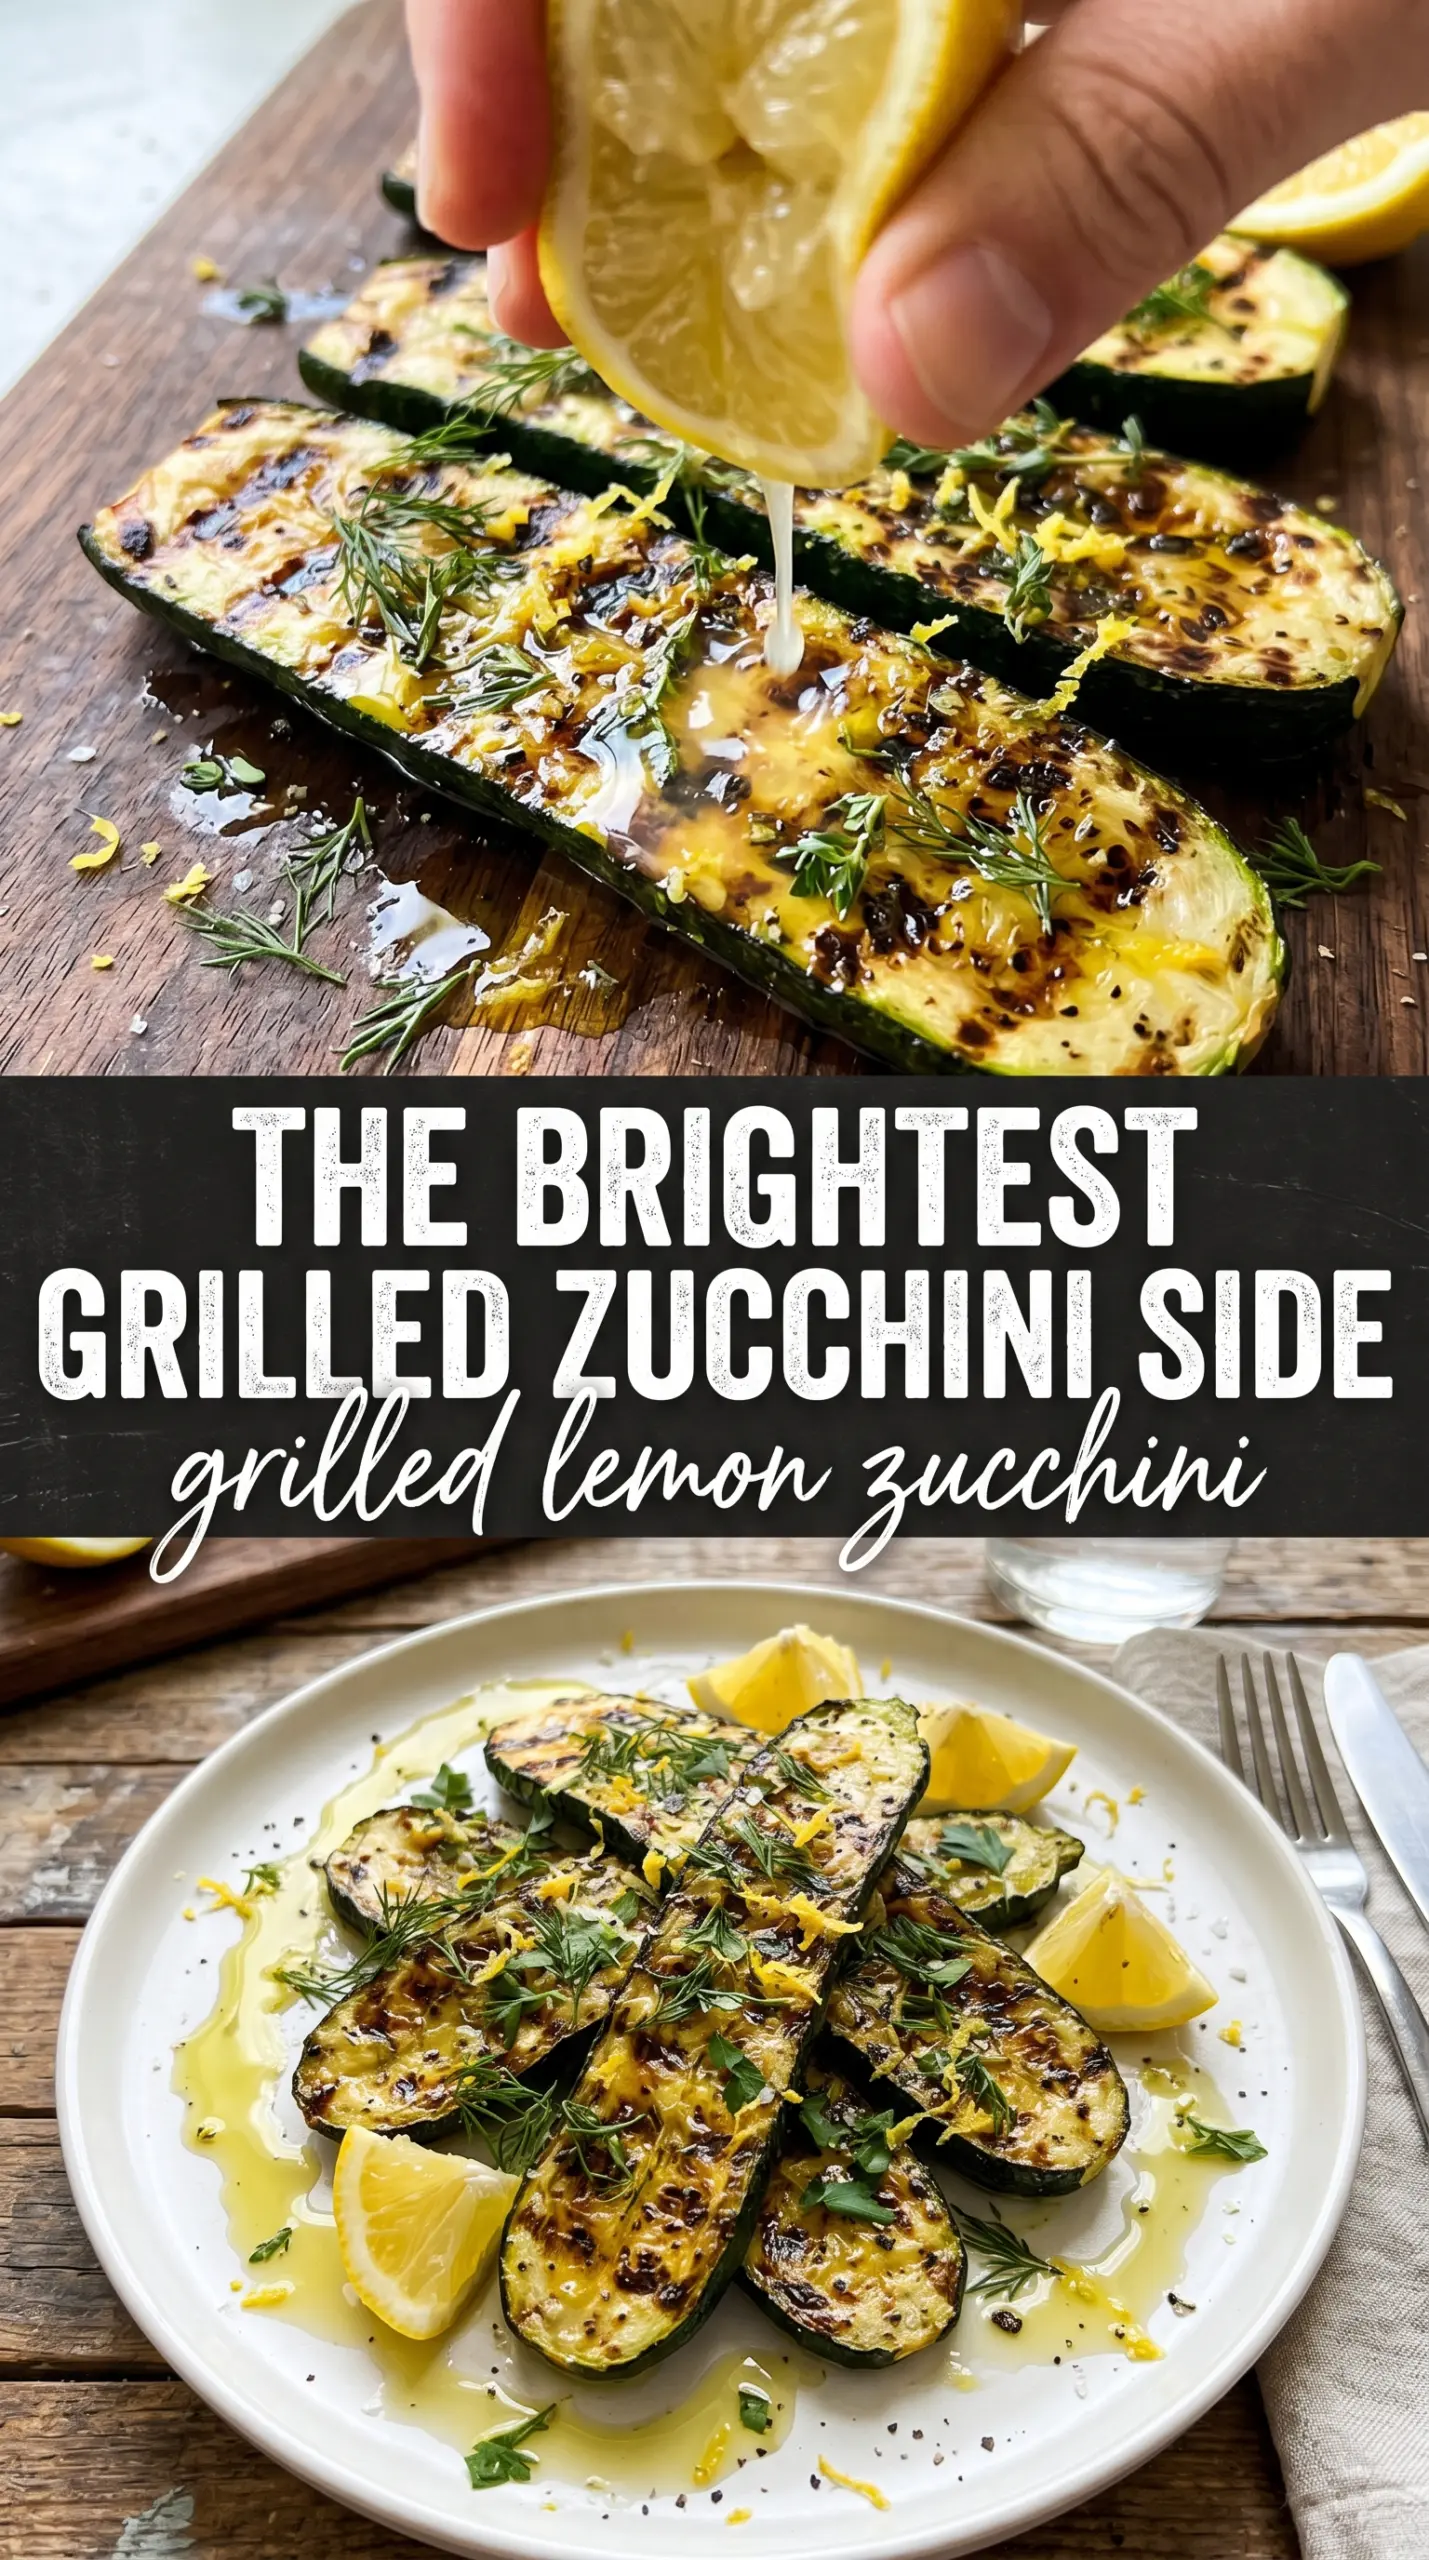
Grilled zucchini gets a lot better when it’s treated like something worth paying attention to. The slices pick up a quick char on the outside, stay tender in the middle, and finish with enough lemon and garlic to taste bright instead of watery. This version keeps the zucchini in thick planks so it actually grills cleanly and doesn’t collapse into the grates before it has a chance to brown.
The trick is in the timing and the seasoning. Salt and lemon both pull moisture from the zucchini, so the coating goes on in two stages: most of it before grilling for flavor, then the rest right after the vegetables come off the heat. That final brush gives you a fresher lemon punch than cooking the citrus the whole way through, and the herbs stay more fragrant.
Below, I’ll show you how to keep the zucchini from turning limp, which cuts work best on the grill, and what to do if you want to make this side ahead for a crowd.
The zucchini held its shape on the grill and the lemon-garlic brush at the end kept it from tasting flat. I served it with chicken and my husband kept picking at the tray before dinner.
Love how the grilled zucchini stays crisp-tender with that lemon-herb finish? Save this bright side dish for your next barbecue or weeknight grill night.
The Grill Marks Are Doing More Than Looking Good
Zucchini can go wrong fast on a grill. Slice it too thin and it shrivels before it browns. Overcrowd the grates and it steams instead of sears. This recipe works because the planks are wide enough to get direct contact with the heat, which gives you those dark grill marks before the inside turns soft.
The other piece people miss is moisture control. Zucchini holds a lot of water, and a heavy marinade can make the surface slippery. A light coating of oil plus lemon zest, garlic, and herbs gives you flavor without flooding the vegetable, so the exterior caramelizes instead of turning slick and pale.
- Thicker zucchini planks — 1/3-inch slices or long halves are sturdy enough to move around on the grill. Thin coins work for a skillet, but they’re too fragile here.
- Lemon zest — This gives you the bright citrus flavor without extra liquid. Fresh juice alone can taste sharp and a little flat once it hits the heat.
- Oil — Olive oil protects the zucchini from sticking and helps the edges brown. A neutral oil works in a pinch, but you’ll lose some of the savory depth.
- Reserved finishing sauce — Brushing on more of the lemon mixture after grilling is what keeps the flavor vivid. If you use it all before the grill, the lemon tastes dulled down by the heat.
What Each Ingredient Is Actually Doing Here
- Zucchini — Medium zucchini has the best balance of water and structure. Very large ones can be seedy and soft in the center, which makes them harder to grill without falling apart.
- Olive oil — This helps the zucchini brown and keeps the seasonings moving across the surface. Don’t skip it unless you’re changing to a grill pan and using a brush with a lighter hand.
- Lemon zest and juice — Zest brings the aroma, juice brings the bite. That combination is what makes the dish taste fresh instead of just acidic.
- Garlic and thyme or oregano — Garlic gives the zucchini some backbone, while dried herbs hold up better on the grill than delicate fresh leaves. If you want to use fresh thyme, add it at the end with the parsley.
- Flaky salt — This is a finishing move, not a seasoning substitute. A small pinch right before serving sharpens the lemon and makes the char taste more deliberate.
Getting the Zucchini Tender Before It Turns Limp
Mix the Lemon Oil First
Stir the olive oil, lemon zest, lemon juice, garlic, thyme, salt, and pepper together before anything touches the grill. This keeps the seasoning evenly distributed, and the zest has time to perfume the oil instead of clumping on the vegetables. If the mixture separates a bit, that’s fine — just whisk it again before brushing. The goal is a thin, coating marinade, not a pool of liquid.
Brush, Don’t Soak
Paint most of the lemon mixture over the zucchini with a brush or your hands, then leave some behind for the finish. You want the surface lightly coated, not dripping, because excess liquid will keep the grill marks from forming. Lay the pieces in a single layer on the grates and don’t move them too soon. If they stick, give them another 30 seconds; once the sugars brown, they release cleanly.
Grill for Color and Tenderness
Cook the zucchini over medium-high heat for 3 to 4 minutes per side. Look for deep grill marks and edges that are softened but still hold their shape. If the heat is too low, the zucchini will dry out before it browns; too high, and the outside chars before the center is tender. Pull it when the slices bend slightly but don’t flop.
Finish While It’s Hot
As soon as the zucchini comes off the grill, brush on the reserved lemon mixture. The heat wakes up the garlic and herbs, and the remaining oil helps everything cling. Top with parsley, extra lemon zest, and a pinch of flaky salt just before serving. If you wait too long, the vegetables cool and the final coating doesn’t soak in as well.
How to Adapt This for Different Meals and Diets
Dairy-Free and Naturally Gluten-Free
This recipe already fits both of those needs without any special swaps. The only thing to watch is cross-contamination on the grill if you’re cooking alongside breaded or marinated foods.
Oven or Grill Pan Version
If you don’t have an outdoor grill, use a hot grill pan or roast the zucchini on a sheet pan at 425°F. You’ll lose a little of that smoky edge, but the lemon and herbs still carry the dish, and the high heat keeps the slices from going soft.
Make It More Garlicky
Use 4 cloves instead of 3 and reserve a little extra minced garlic for the finish. Just keep the pieces small so they don’t burn on the grill; raw garlic bits are more likely to char and turn bitter than the oil-infused flavor you want here.
Make It Ahead for a Cookout
You can slice the zucchini and mix the lemon oil a few hours ahead, but don’t brush it on until just before grilling. If the zucchini sits in the acidic mixture too long, it starts to soften and won’t hold the same clean grill marks.
Storage and Reheating
- Refrigerator: Store leftovers in an airtight container for up to 3 days. The zucchini softens a bit, but the flavor stays good.
- Freezer: I don’t recommend freezing this. Zucchini turns watery after thawing, and the grill texture disappears.
- Reheating: Warm it in a skillet over medium heat for a minute or two just until heated through. The microwave makes it limp fast, so skip that unless you don’t mind a softer result.
Answers to the Questions Worth Asking
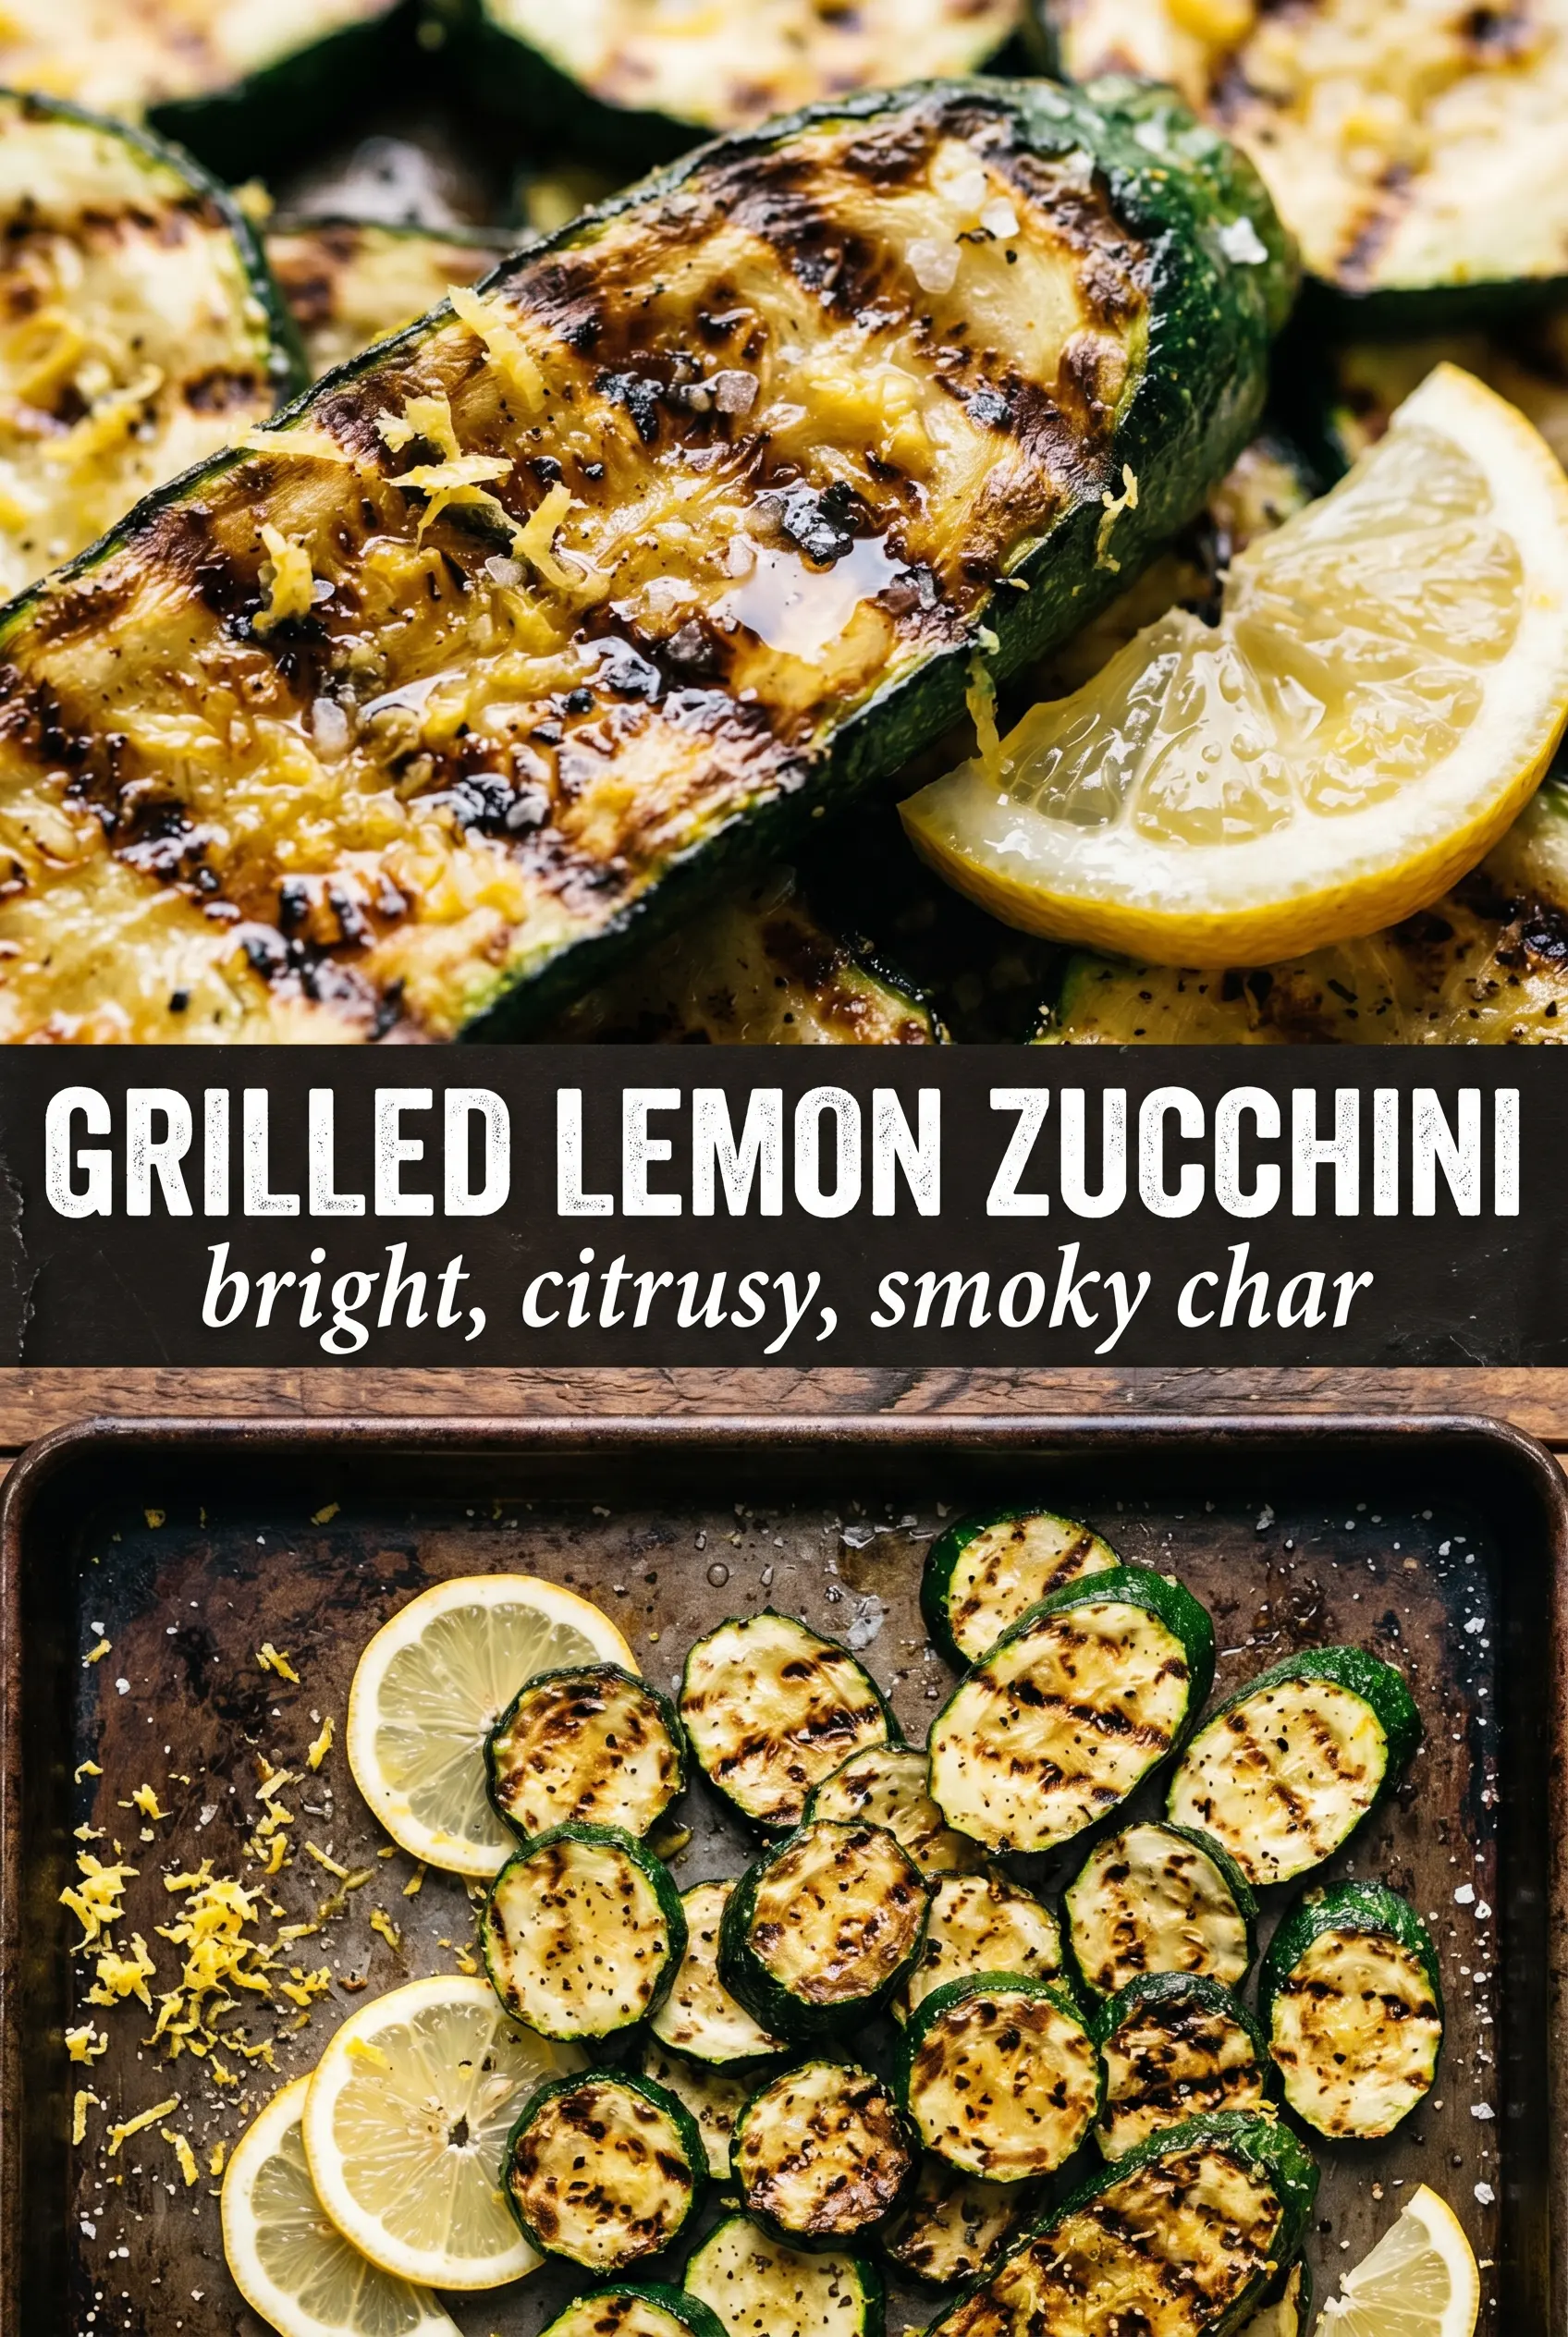
Grilled Lemon Zucchini
Ingredients
Equipment
Method
- Mix olive oil, lemon zest, lemon juice, garlic, dried thyme or oregano, salt, and black pepper together until evenly combined.
- Brush zucchini with most of the lemon mixture, and reserve some for finishing.
- Preheat the grill to medium-high and oil the grates so the zucchini won’t stick.
- Grill zucchini 3–4 minutes per side until char marks form and zucchini is tender.
- Remove from the grill and immediately brush with the reserved lemon mixture while the zucchini is hot.
- Garnish with fresh parsley, extra lemon zest, and a pinch of flaky salt before serving.