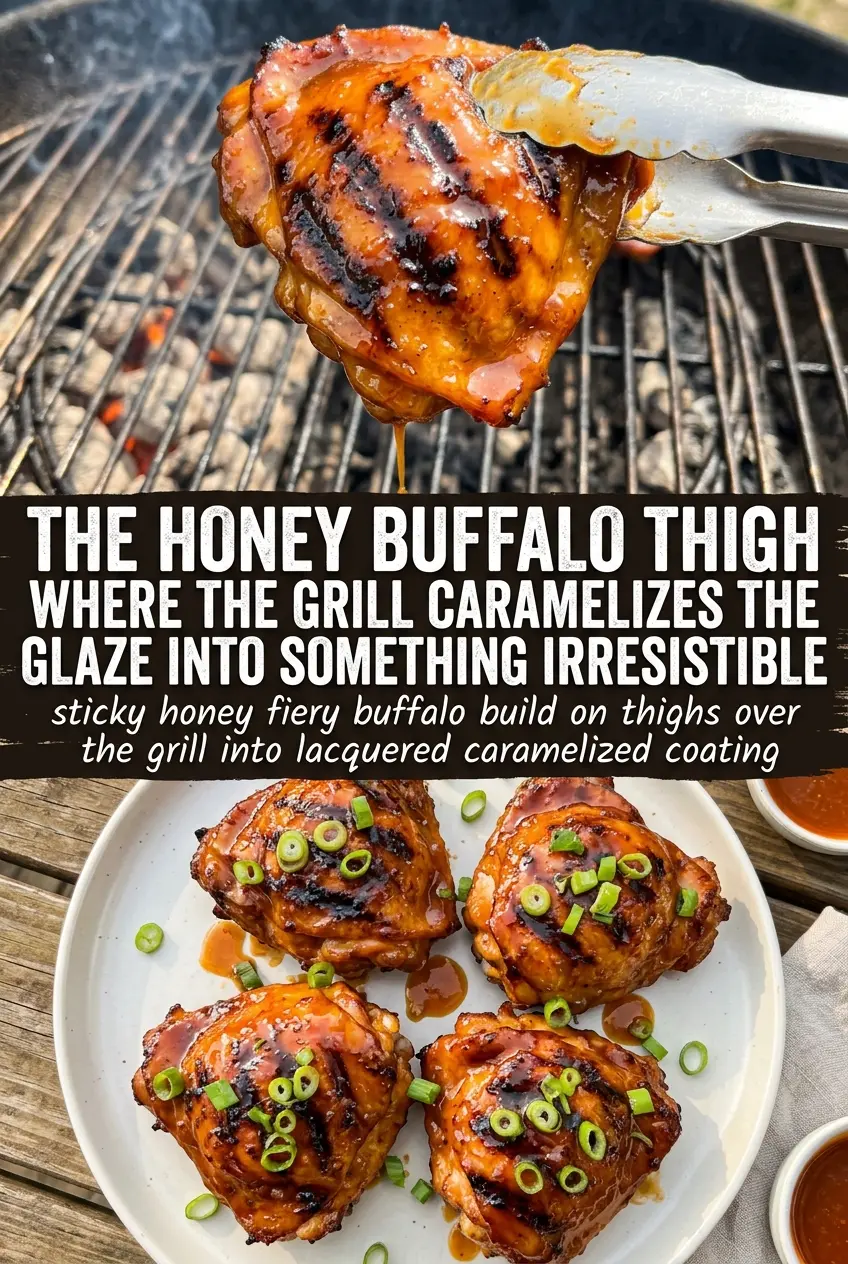
Crispy-skinned chicken thighs with a sticky honey-buffalo glaze hit that sweet spot between bold heat and caramelized char. The skin picks up smoke and goes crackly at the edges, while the sauce clings in a glossy layer that tastes like it belongs on the grill all summer long. Bone-in thighs hold up to the flame better than lean cuts, so you get juicy meat under all that glaze instead of dry chicken by the time the sauce is done.
The trick is in the order. The sauce gets mixed first, then some of it is reserved before it touches the raw chicken, so you always have a clean batch for basting at the grill. Butter softens the buffalo heat, honey gives it that sticky finish, and a little vinegar keeps the glaze from turning flat or candy-sweet. Skin-on thighs matter here because they render slowly and protect the meat while the sugars in the sauce darken.
Below you’ll find the timing that keeps the skin crisp, the glaze sticky, and the chicken cooked through without burning the sugars on the grill. I’ve also included the swaps that still work when you need to adjust for heat level or ingredients on hand.
The skin got crispy on the grill and the honey buffalo sauce thickened into a real glaze instead of sliding right off. I served it with celery and blue cheese, and my husband asked if we could make it again the next night.
Save these grilled honey buffalo chicken thighs for the nights when you want crispy skin, sticky glaze, and almost no cleanup.
The Part That Keeps the Sauce Sticky Instead of Burned
Honey buffalo glaze sounds simple, but it turns on you fast if you brush it on too early and too often. Sugar burns before chicken thighs finish cooking, especially over medium heat on a grill with hot spots. The safer move is to reserve part of the sauce before the chicken touches it, then baste during the last stretch of cooking when the skin is already crisp and the meat is nearly done.
Bone-in, skin-on thighs give you a built-in buffer. The skin renders and protects the meat, while the bones keep the chicken juicy through the extra few minutes it takes for the glaze to thicken. If the grill is running hotter than you expected, slide the thighs to a cooler zone after the skin has crisped so the sauce can darken without turning bitter.
What the Sauce Ingredients Are Really Doing Here

- Buffalo sauce — This brings the heat and tang, and it needs to be a sauce you’d actually like on wings because it stays front and center. A cheap bottle is fine here as long as the flavor is balanced and not mostly vinegar.
- Honey — This is what makes the glaze cling and caramelize instead of just tasting hot and sharp. There isn’t a perfect substitute if you want the same sticky finish, but maple syrup works in a pinch; it will taste a little deeper and less classic buffalo.
- Butter — Butter rounds out the heat and helps the sauce coat the chicken in a glossy layer. Melted butter is enough; there’s no need to brown it first since that would only add another variable to a sauce that already changes quickly on the grill.
- Apple cider vinegar — A small splash keeps the glaze from becoming one-note sweet. If you skip it, the sauce can taste flat after it cooks down, especially once the honey starts to tighten on the skin.
- Chicken thighs — Bone-in, skin-on thighs are the right cut for this because they stay juicy and handle direct grill heat better than breasts. If you swap to boneless thighs, shorten the cook time and watch the glaze closely because they’ll finish faster and the sugars can catch sooner.
Grilling in the Right Order So the Skin Crisps First
Mixing the Glaze Without Wasting Half of It
Whisk the buffalo sauce, honey, melted butter, and vinegar until the mixture looks smooth and a little loose. Reserve about a third of it before any chicken goes in so you’ve got a clean basting sauce later. That matters because raw chicken contamination is the kind of mistake that sneaks into the final brush-on glaze if you skip the split.
Letting the Chicken Start at the Surface
Season the thighs with salt and pepper, then brush them with some of the sauce and let them sit for 30 minutes. That short marinating window is enough to season the surface without making the skin soggy. If you leave them in the sauce much longer, the skin loses the chance to render properly and you’ll fight steaming instead of crisping on the grill.
Rendering the Skin Before the Glaze Takes Over
Set the thighs skin-side down over medium heat and leave them alone for 8 to 10 minutes. You’re looking for deep golden skin that releases from the grates on its own; if it sticks, it needs another minute. Once the skin is crisp, flip the thighs and move into the second side so the meat can cook through while the exterior keeps building color.
Finishing With Baste, Not Burn
Brush on the reserved sauce during the last minutes of grilling, then keep turning and basting until the internal temperature hits 165°F and the glaze looks sticky and lacquered. If the sauce starts to darken too fast, shift the thighs to indirect heat or lower the flame slightly. The goal is a shiny coating that clings, not a dry, blackened crust.
How to Adapt These Thighs for Different Heat Levels and Dinners
Milder Honey Buffalo Thighs
Use a mild buffalo sauce and add a little extra honey. You’ll lose some sharp heat, but the glaze stays sticky and the chicken still tastes bold enough to serve with cool blue cheese dressing.
Gluten-Free Game Day Plate
This recipe is naturally gluten-free as long as your buffalo sauce and blue cheese dressing are certified gluten-free. That check matters because some bottled sauces use additives or thickeners that don’t always fit a gluten-free kitchen.
Boneless Thighs for Faster Grilling
Boneless thighs work when you need dinner on the table faster, but they cook in less time and can dry out if you chase the same timing used for bone-in pieces. Start checking early, and pull them the moment the glaze is sticky and the center reaches temperature.
Oven Finish When the Grill Isn’t Cooperating
If your grill runs uneven or the weather gets in the way, crisp the thighs skin-side down in a hot oven-safe skillet, then finish in a 425°F oven while brushing with the reserved sauce. You won’t get the same smoke, but you’ll still get rendered skin and a glossy glaze.
Storage and Reheating
- Refrigerator: Store in an airtight container for up to 4 days. The skin softens, but the flavor holds well.
- Freezer: Freeze cooked thighs for up to 2 months. Wrap tightly and freeze with the sauce; the texture is better when the glaze protects the meat.
- Reheating: Reheat in a 350°F oven, uncovered, until hot. A microwave will make the skin leathery and can loosen the glaze, so use the oven if you want the best texture.