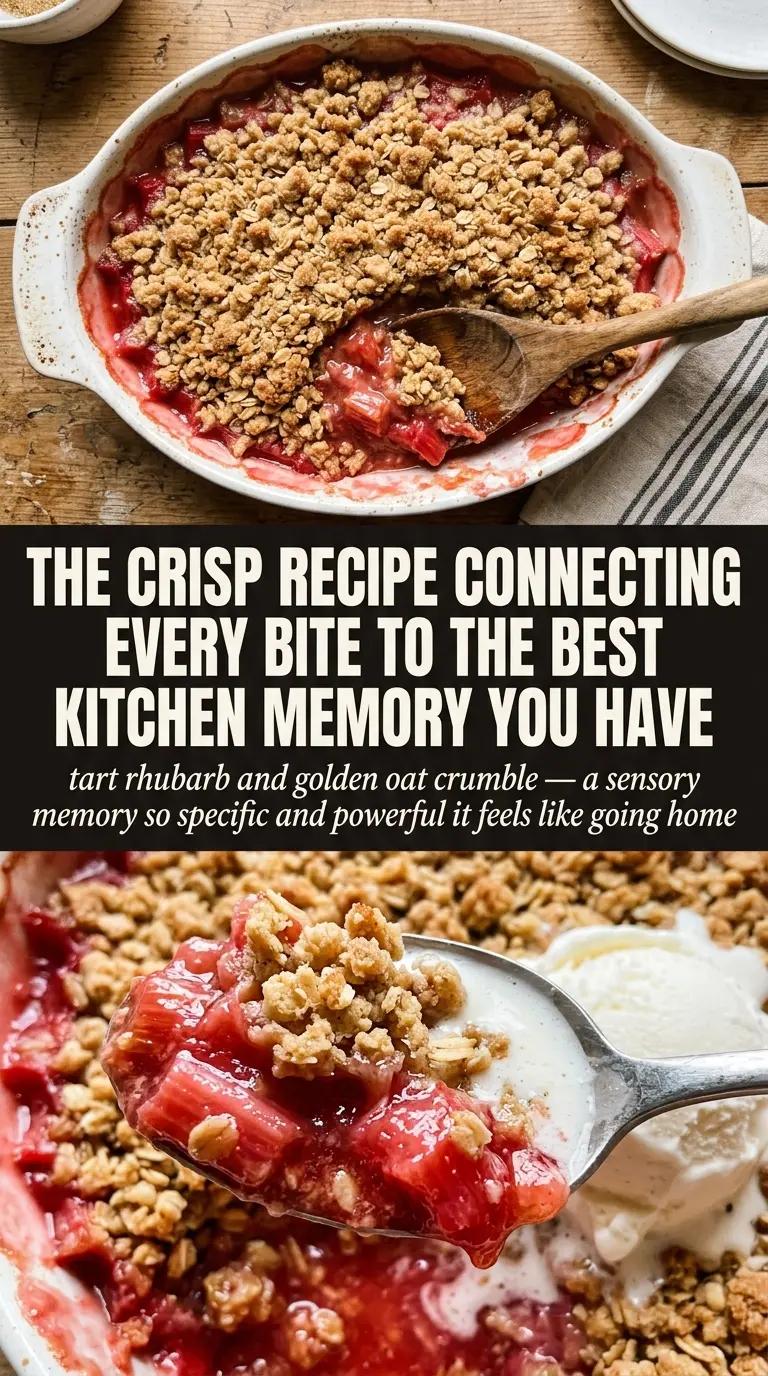
Tender rhubarb tucked under a thick, buttery oat topping is the kind of dessert that disappears fast at the table. The filling turns glossy and tart-sweet as it bakes, while the top bakes into a craggy, golden layer that stays crisp at the edges and softens just enough where it meets the fruit. Served warm, it has that old-fashioned comfort dessert feel that never needs dressing up.
What makes this version work is the balance between the fruit and the topping. Rhubarb brings plenty of sharpness, so the sugar isn’t just there for sweetness; it draws out the juices and helps create the syrupy filling underneath. The flour in the filling keeps that juice from turning watery, and the softened butter in the topping gives you those bigger, buttery crumbs instead of a sandy layer that bakes flat.
Below, you’ll find the small details that keep the crisp from turning soupy, plus a few ways to adapt it if your rhubarb is especially tart or you want to make it ahead for company.
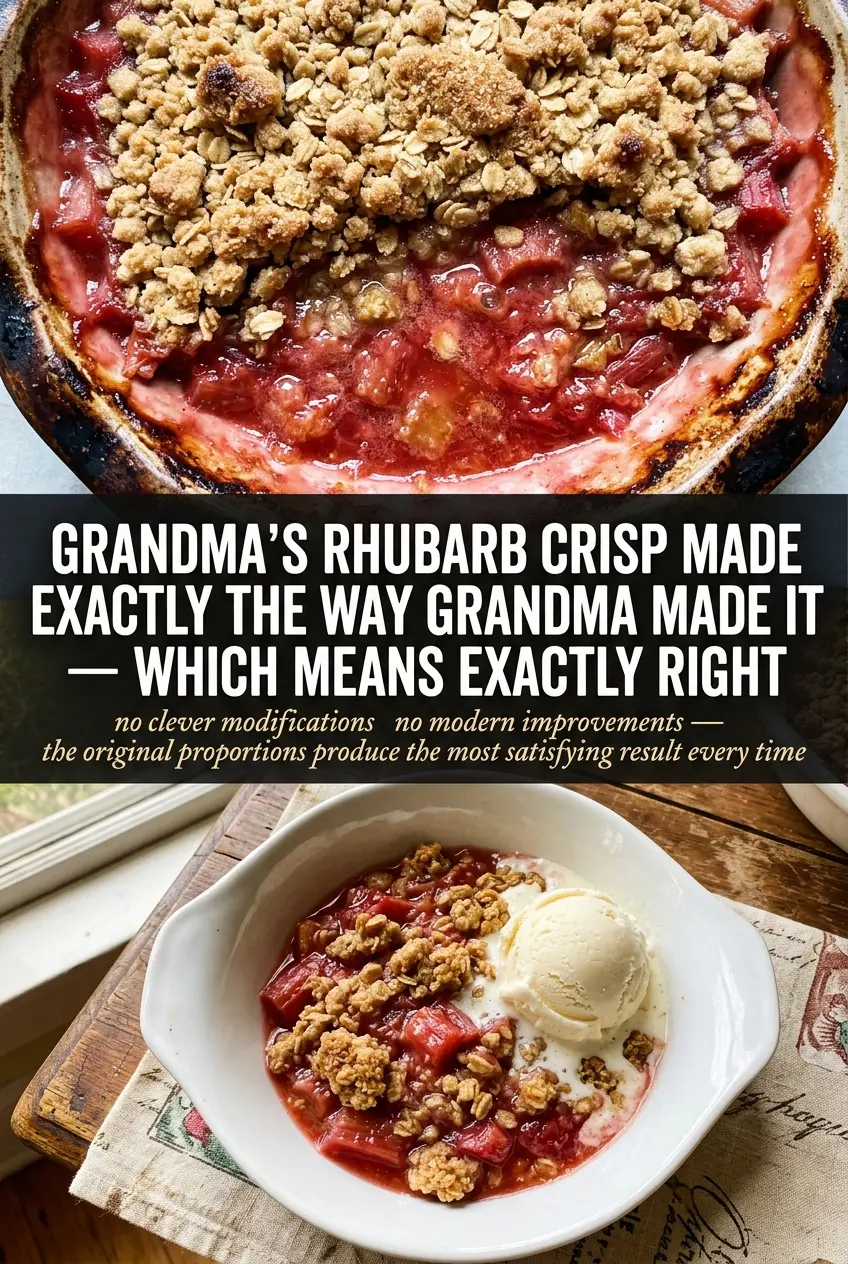
The rhubarb baked down into a perfect jammy layer and the oat topping stayed crisp even after we scooped it warm. I used the full 10 minutes of cooling and the filling set up just right.
Save this rhubarb crisp for the nights when you want that buttery oat topping and jammy fruit filling without a fussy dessert.
The Reason Rhubarb Crisp Gets Soupy, Not Crisp
Rhubarb gives off a lot of liquid as it bakes, and that is where many crisps go wrong. If the filling isn’t thickened before it hits the oven, the bottom turns into a thin pool that never quite sets. The flour in the filling does the quiet work here: it catches that juice, turns it glossy, and helps it settle into a spoonable layer instead of a watery one.
The other thing that matters is the topping texture before baking. You want clumps, not a uniform paste. Softened butter cut into the dry ingredients with a fork gives you those uneven crumbs that brown at different rates, which is what makes the top both crisp and tender instead of dense.
What Each Ingredient Is Actually Doing In This Crisp
- Rhubarb — Fresh rhubarb gives the filling its sharp, bright flavor and soft texture. Cut it into 1/2-inch pieces so it bakes evenly; larger chunks stay stringy, and smaller pieces can disappear into mush.
- Sugar — This balances rhubarb’s tartness and helps pull out the juices that become the syrupy base. If your stalks are especially red and mild, you can trim the sugar slightly, but don’t cut it too much or the fruit will taste flat.
- Flour in the filling — This is the thickener that keeps the juices from running all over the pan. Cornstarch can work in a pinch, but flour gives a softer, old-fashioned set that fits this dessert better.
- Old-fashioned oats — These hold their shape and bake into a hearty, crisp topping. Quick oats will work, but they’ll make the topping tighter and less textured.
- Butter, softened — Softened butter coats the dry ingredients evenly and helps form chunky crumbs. Melted butter makes a denser topping that bakes up more like a paste than a crisp.
- Cinnamon — Just enough to round out the tart fruit without taking over. It adds warmth, not spice-cookie flavor.
Building the Layers So the Crisp Bakes Evenly
Preparing the Rhubarb Base
Toss the rhubarb with the sugar and flour until every piece looks lightly coated and glossy. That coating matters because it starts thickening the juices before the fruit even goes into the oven. Spread it in an even layer in a greased 9×13-inch dish so the filling bakes at the same rate across the pan. If you mound it too high in the center, the middle will stay loose while the edges overcook.
Mixing the Crumb Topping
Combine the flour, brown sugar, oats, softened butter, and cinnamon with a fork until the mixture looks clumpy and sandy at the same time. Stop before it turns into a smooth dough; you want uneven bits that will brown differently in the oven. If the butter is too soft and the topping starts looking greasy, chill the bowl for a few minutes and break it up again with the fork.
Baking Until the Filling Bubbles
Spread the topping evenly over the fruit and bake at 350°F until the top is deep golden brown and the filling is bubbling around the edges, usually 40 to 45 minutes. That bubbling is the sign the flour has cooked into the juices. If the top is browning too fast before the fruit bubbles, lay a loose piece of foil over the dish for the last part of baking. Pull it from the oven only when the filling has visible bubbles in more than one spot.
Letting It Set Before Serving
Give the crisp 10 minutes to cool before scooping. That short rest lets the filling settle so it doesn’t spill like soup onto the plate. Warm is the goal, not piping hot. Serve it while the topping still has some crunch and the fruit has thickened enough to hold its shape under the spoon.
How to Adapt This Crisp When You Need a Different Pan or Diet
Make It Gluten-Free
Swap the all-purpose flour in both the filling and topping for a good 1:1 gluten-free baking blend. The texture stays close to the original, though the topping can be a little more delicate, so let it cool before serving. Use certified gluten-free oats if cross-contamination matters.
Use Frozen Rhubarb
Frozen rhubarb works well if you thaw it first and drain off extra liquid. If you bake it straight from frozen, the pan can turn watery before the topping has a chance to brown. Add a few extra minutes if needed and watch for the filling to bubble in the center.
Cut the Sugar a Little
If your rhubarb is young and mild, you can reduce the sugar in the filling by about 1/4 cup. Go lower than that and the filling turns sharply tart and loses the syrupy texture that makes crisp work. Keep the topping sugar the same so the crust still browns properly.
Make It Ahead for Company
You can assemble the fruit layer and topping separately a few hours in advance, then put them together just before baking. That keeps the topping from softening while it waits. Baked crisp also reheats well, which makes it easy to serve warm after dinner without rushing.
Storage and Reheating
- Refrigerator: Store covered for up to 4 days. The topping softens a bit, but the flavor stays good.
- Freezer: Freeze baked crisp in a tightly wrapped dish for up to 2 months. Thaw overnight in the refrigerator before reheating, or the center can stay cold while the top dries out.
- Reheating: Warm in a 325°F oven until heated through and the topping crisps up again, about 15 to 20 minutes. The microwave works in a pinch, but it softens the topping and takes away the texture that makes crisp worth making.
Questions I Get Asked About This Recipe
Grandma's Rhubarb Crisp
Ingredients
Equipment
Method
- Preheat your oven to 350°F and grease a 9x13-inch baking dish so the crisp releases easily.
- Combine fresh rhubarb, sugar, and all-purpose flour in a bowl, toss until the pieces are evenly coated, then spread the mixture into the prepared baking dish.
- Mix all-purpose flour, brown sugar, old-fashioned oats, softened butter, and cinnamon with a fork until the mixture looks crumbly.
- Spread the oat topping evenly over the rhubarb mixture so the filling is fully covered.
- Bake for 40-45 minutes at 350°F until the topping is golden brown and the filling is bubbling around the edges.
- Let the crisp cool for 10 minutes before serving warm so the syrup thickens slightly and the topping stays crisp.