Fruity Pebbles protein ice cream turns cereal milk nostalgia into a frozen dessert with a surprisingly creamy spoonful and a bright, playful crunch. The cereal doesn’t just sit on top here; it gets soaked into the base first, which gives the whole batch that unmistakable sweet, fruity milk flavor before it ever hits the freezer.
The texture depends on a few small choices. Cream cheese keeps the base smooth instead of icy, the protein powder gives it body, and the quick cereal soak pulls flavor into the milk without leaving the ice cream gritty. If you’ve ever made protein ice cream that froze hard or tasted chalky, this version fixes both problems by leaning on fat, sweetness, and a completely blended base.
Below you’ll find the exact method I use, plus the one swap that matters most if you’re using almond milk, and a few ways to keep the cereal pieces crunchy instead of soggy.
The cereal milk flavor came through perfectly, and the base turned out smooth instead of icy after the freeze. I mixed in extra Fruity Pebbles at the end and they stayed crunchy for the first few bites, which my kids loved.
Save this Fruity Pebbles protein ice cream for the nights when you want cereal milk flavor, a creamy scoop, and a fun high-protein dessert.
The trick to keeping Fruity Pebbles flavor from disappearing in the freezer
Most cereal ice creams run into the same problem: the flavor tastes bold in the mixing bowl and then turns muted after freezing. The fix here is to pull the cereal flavor into the milk first, then build the base from that cereal milk instead of relying on dry cereal alone. That gives the ice cream a more integrated, milky sweetness that still tastes like Fruity Pebbles after it hardens.
The other thing that matters is the base itself. Protein powder can freeze up chalky if it’s left thin, which is why the cream cheese earns its place. It adds enough richness to keep the texture scoopable, and the sugar keeps the frozen base from setting up like a brick.
What each ingredient is doing in this cereal ice cream
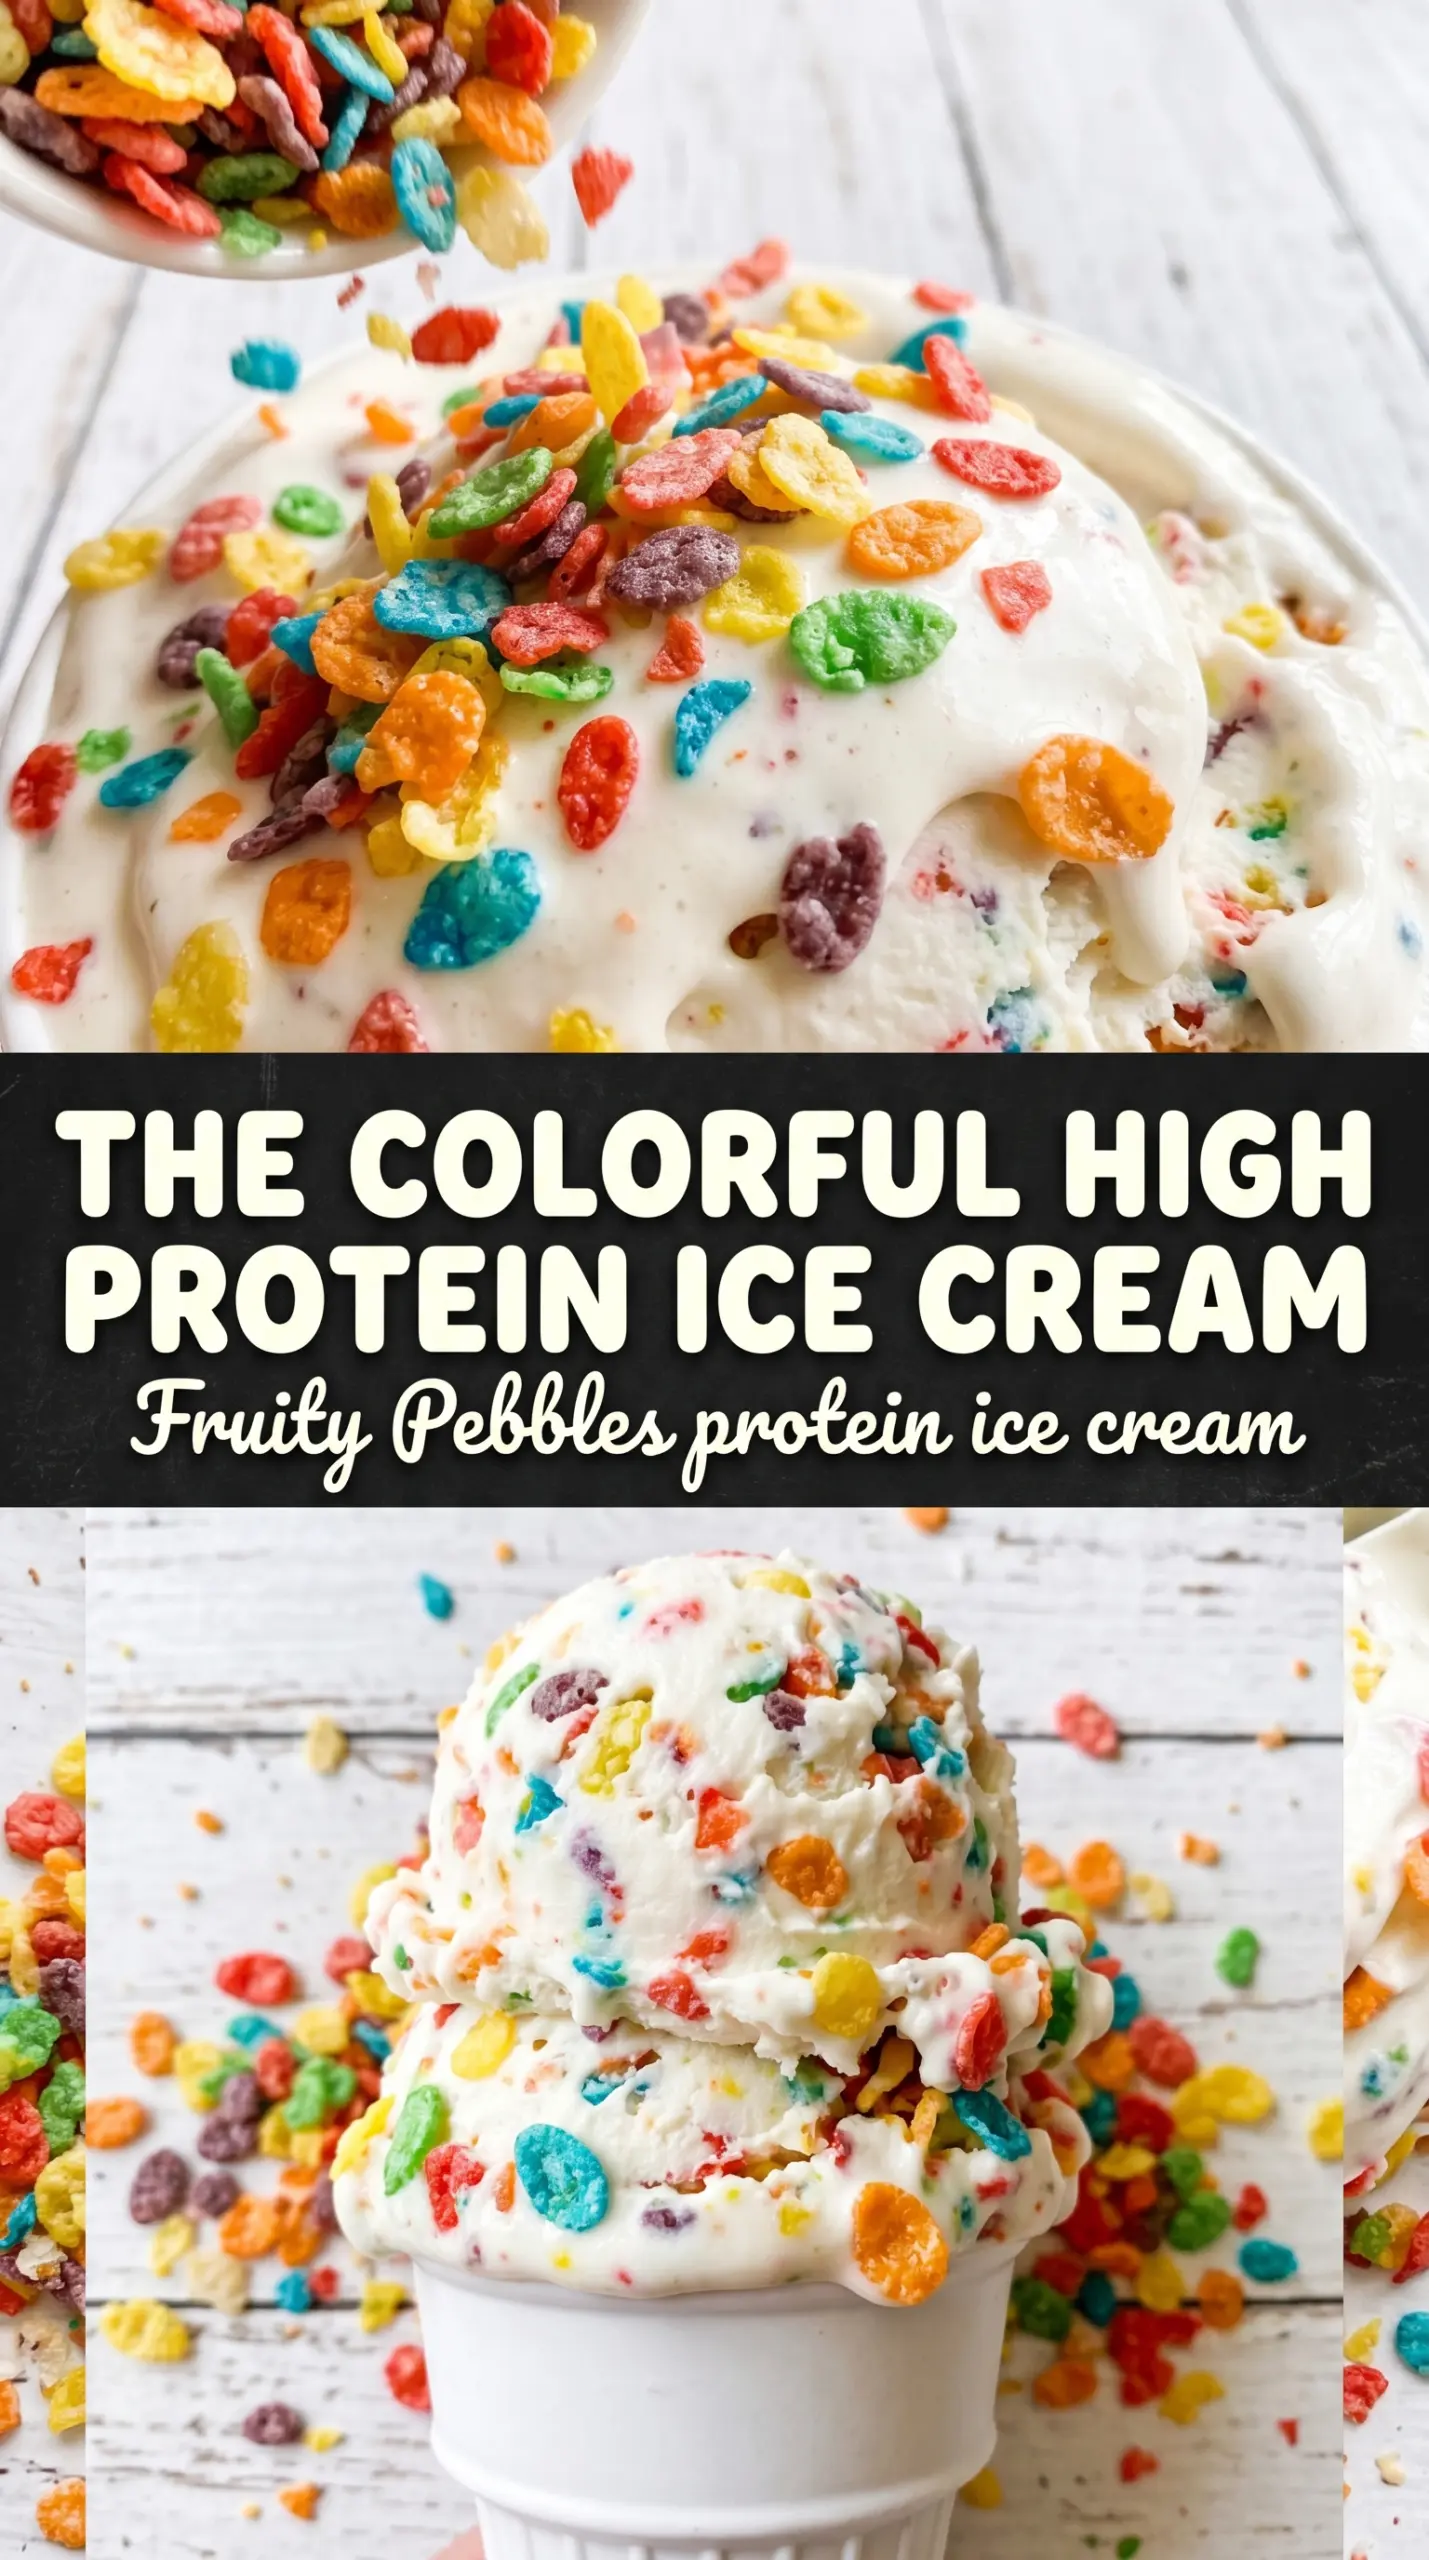
- Fruity Pebbles cereal — The soaked portion makes the cereal milk base, and the fresh mix-in adds texture at the end. Don’t skip the second addition; without it, the ice cream loses the crunchy cereal contrast.
- Vanilla protein powder — This gives the ice cream its structure and the high-protein boost. A smooth vanilla powder works best here; chalky powders stay chalky after freezing, so use one you already like in shakes.
- Cream cheese — This is the ingredient that keeps the base creamy instead of icy. Full-fat cream cheese gives the best result, but a lower-fat version will still work if it’s fully softened and blended completely smooth.
- Milk — Whole milk makes the richest, softest ice cream, while unsweetened almond milk keeps it lighter but a little firmer. If you use almond milk, expect a slightly icier finish and let the pint sit longer before scooping.
- Sugar — Just enough sugar helps the base freeze softer and brings back some of the sweetness lost when the cereal is strained out. If you cut it too much, the texture gets harder and the fruity flavor feels flatter.
- Vanilla extract — This rounds out the cereal milk flavor and keeps the base from tasting one-note. Use real vanilla if you have it; the flavor is noticeable in such a simple recipe.
How to build the base so it freezes creamy, not icy
Soaking the cereal first
Stir the first half-cup of Fruity Pebbles into the milk and let it sit for about 5 minutes. The goal is to tint and flavor the milk, not to turn the cereal to mush, so don’t walk away for too long. Once the milk tastes sweet and fruity, strain the cereal out and press gently so you keep the flavor without extra soggy bits in the base.
Blending until the texture disappears
Add the cereal milk, protein powder, softened cream cheese, sugar, vanilla, and salt to a blender and run it until the mixture looks completely smooth. If you still see little specks of cream cheese, keep blending; those tiny lumps freeze into grainy pockets later. Taste it before freezing. It should be a touch sweeter than you want the finished ice cream because freezing dulls sweetness.
Freezing and finishing at the right moment
Pour the mixture into your Ninja Creami pint or another freezer container and freeze it solid. If you’re using a standard container, it needs to be firm all the way through before scooping, but let it stand at room temperature for about 5 minutes so it softens just enough to release cleanly. Add the fresh Fruity Pebbles right before serving so they stay crisp instead of dissolving into the base.
How to adapt this if you want it lighter, richer, or dairy-free
Use whole milk for the creamiest result
Whole milk gives the softest, richest scoop and helps the cereal milk flavor feel closer to melted ice cream. If you want the closest thing to a classic ice cream texture, this is the version to make.
Make it dairy-free with almond milk and a dairy-free cream cheese
Unsweetened almond milk works, but the finished ice cream sets firmer and tastes a little lighter. Use a dairy-free cream cheese that blends smooth, and add a few extra minutes of resting time before scooping so the texture loosens up.
Swap the protein powder if yours tastes too strong
If your vanilla protein powder has a strong aftertaste, use one you already enjoy mixed with milk on its own. This recipe doesn’t hide a bad powder, and that flavor gets more noticeable once the base is frozen.
Add more cereal at the end for a stronger crunch
The mix-in amount gives you a balanced bite, but you can add a little more if you want obvious cereal pieces in every spoonful. Just stir them in right before serving so the color and crunch hold up.
Storage and Reheating
- Refrigerator: Not a good make-ahead fridge dessert. The base will loosen, then separate and lose the frozen texture you want.
- Freezer: Store it tightly covered for up to 2 weeks. After that, the cereal flavor starts to fade and the texture gets icier.
- Reheating: Let it sit at room temperature for 5 to 10 minutes before scooping. Don’t microwave it; that melts the edges before the center softens.
Questions I Get Asked About This Recipe
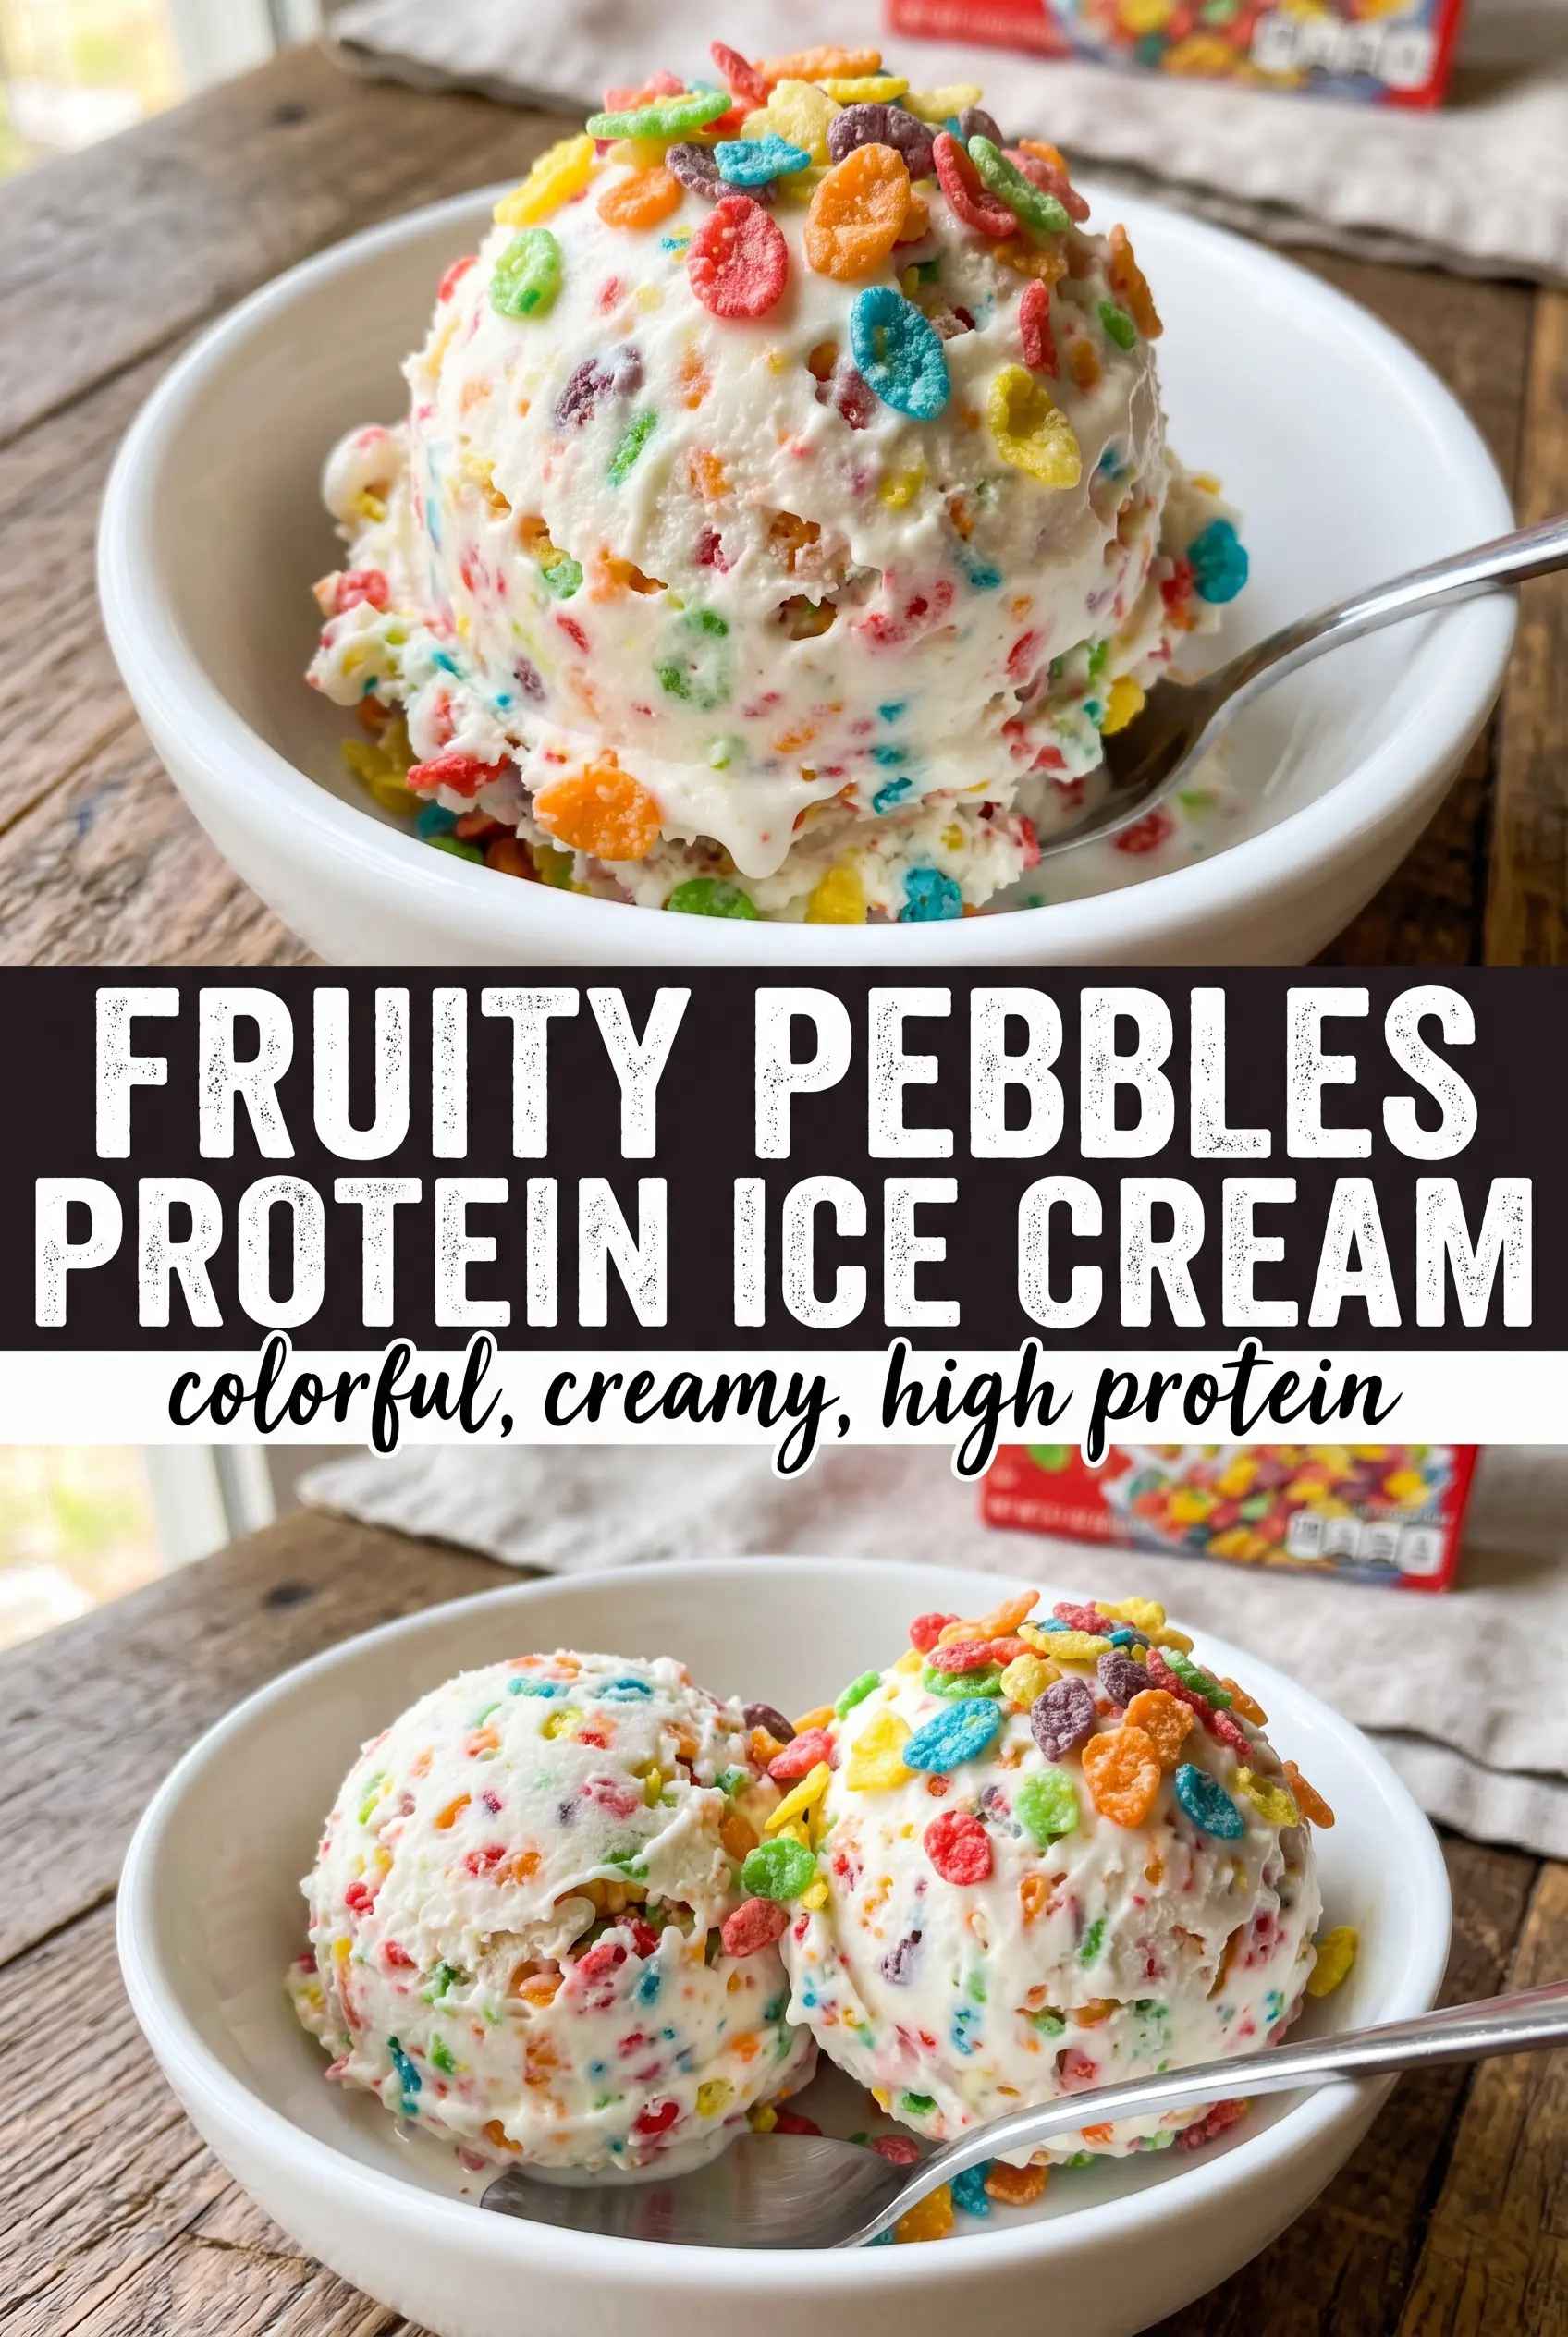
Fruity Pebbles Protein Ice Cream
Ingredients
Equipment
Method
- Soak 1/2 cup Fruity Pebbles cereal in 1 cup milk for 5 minutes, then strain to remove the cereal (save the flavored milk). The mixture should look pale and lightly speckled before straining.
- Blend the strained cereal milk with vanilla protein powder, cream cheese, sugar, vanilla extract, and salt until completely smooth. Stop and scrape the blender if needed so there are no visible cream-cheese lumps.
- Pour the blended base into a Ninja Creami pint (or freezer container) and freeze for 4 hours (or until solid). The surface should look fully set with no liquid movement when you tilt the pint.
- Process in the Ninja Creami on Lite Ice Cream, or let the frozen container sit 5 minutes before scooping. The texture should come out thick and creamy rather than icy.
- Mix in 1/4 cup fresh Fruity Pebbles just before serving. Fold gently so the cereal stays bright and crunchy throughout the pink-and-orange base.