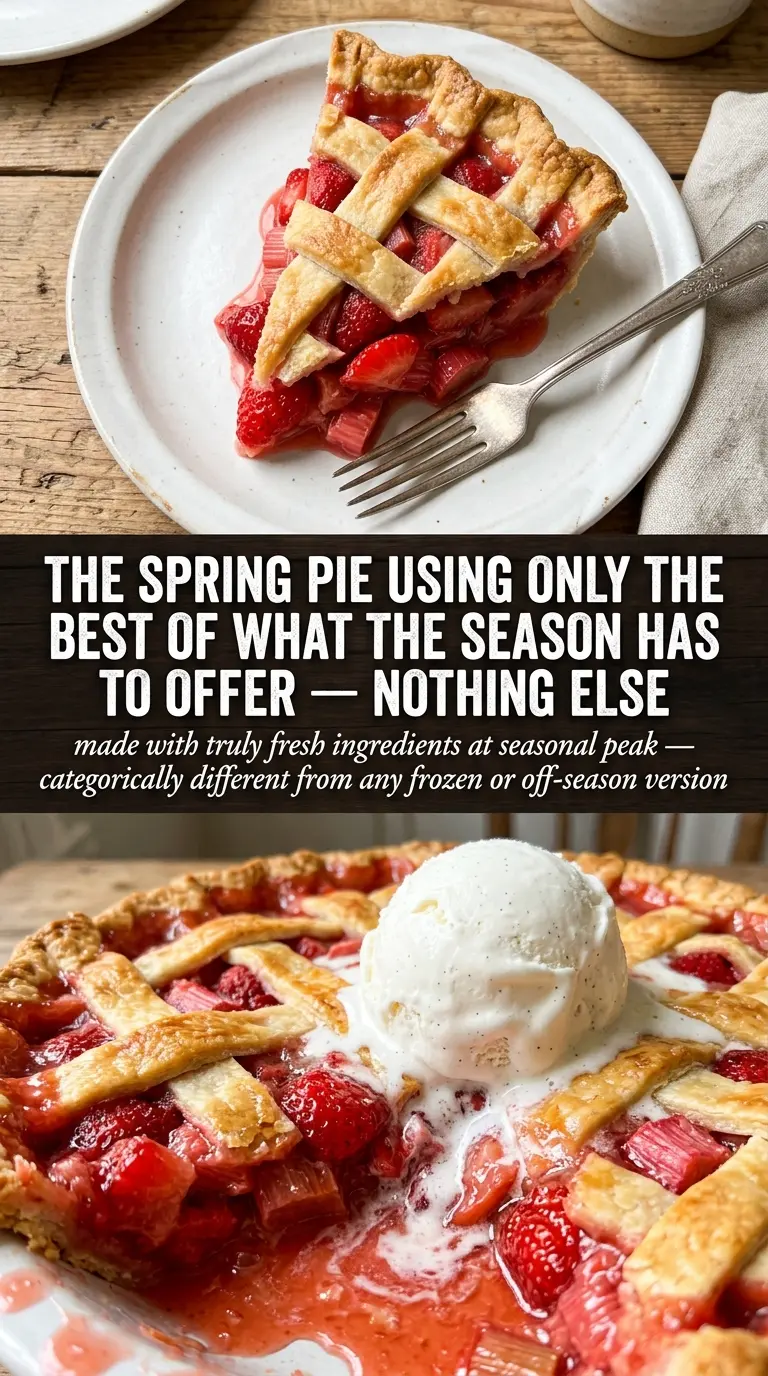
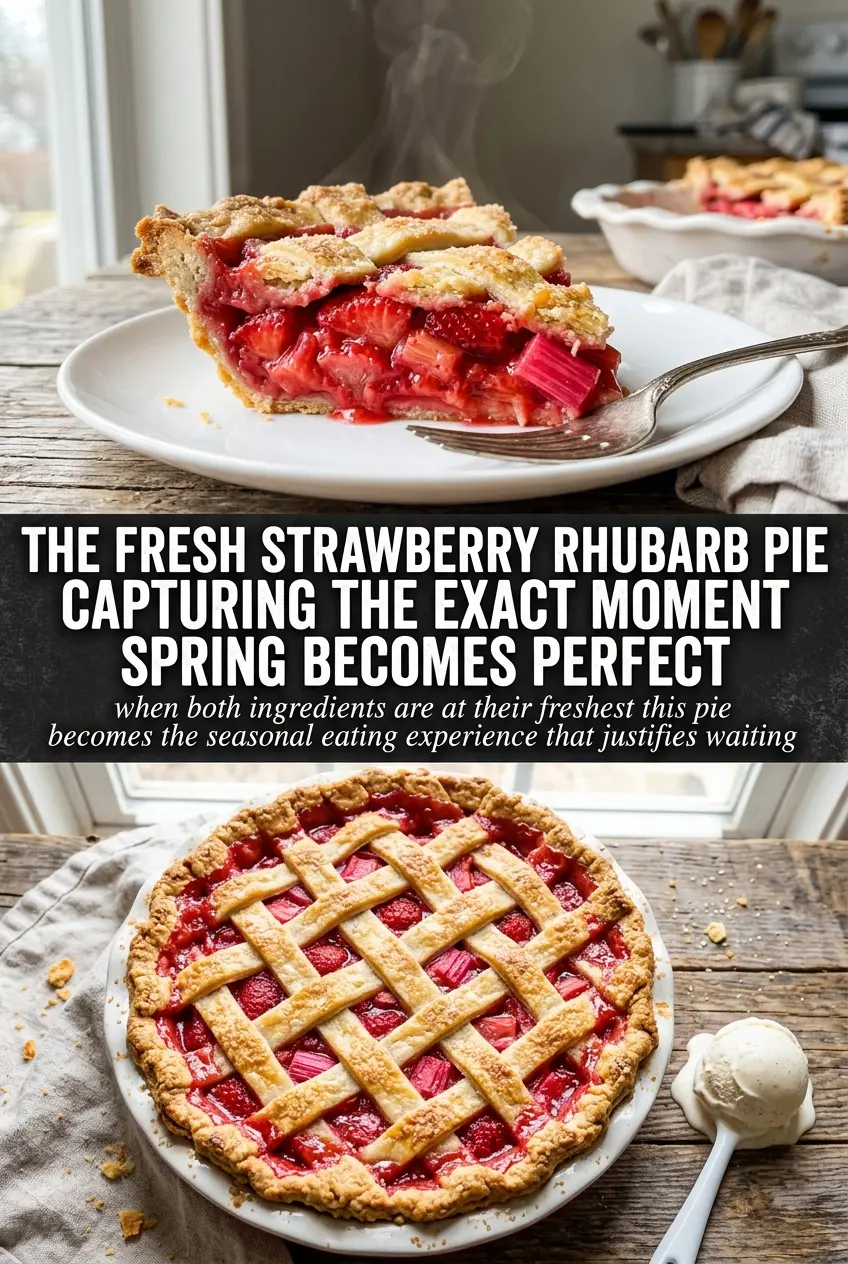
Fresh strawberry rhubarb pie delivers that rare balance of tart, juicy, and buttery that makes one slice disappear before the pan has even cooled. The filling sets up with a clean spoonful instead of running all over the plate, while the crust stays flaky and crisp enough to hold the fruit without going soggy underneath. When it comes out right, the lattice glows with pink and red juice bubbling through the vents, and the whole kitchen smells like a bakery worth waiting for.
The trick is getting enough cornstarch into the fruit mixture and giving it a short rest before it goes into the crust. That brief sit helps the sugar pull out juice early, which means the filling starts thickening before the oven heat even does its work. Strawberries bring sweetness and perfume, while rhubarb keeps the pie from tasting flat or overly sugary, so neither one gets lost.
Below, I’ve included the small details that matter most: how to keep the bottom crust from turning damp, what to look for when the filling is done, and a few smart swaps if your fruit is especially juicy or your crust is store-bought.
The filling set up beautifully after the full cool-down, and the crust stayed crisp even on the second day. I used the lattice top and the strawberry-rhubarb juices bubbled right through without overflowing.
Save this strawberry rhubarb pie for the kind of dessert that needs a flaky lattice crust and a filling that slices clean after cooling.
The Reason Strawberry Rhubarb Pie Holds Its Shape Instead of Running
Fruit pies fail most often because the filling starts out too loose and never gets the chance to tighten before the crust browns. Rhubarb gives off a lot of juice, and strawberries collapse fast, so the starch has to be there from the beginning rather than added as an afterthought. That 10-minute rest before baking is what helps the sugar draw liquid out of the fruit so the cornstarch can start working immediately once the pie heats up.
The other thing that matters is the bake itself. A hot start helps set the bottom crust and kick the filling into bubbling, then the lower heat finishes the pie without burning the top. If you pull it too early, the center will look set at the edges but still cut loose and watery in the middle.
- Hot oven start — The first 20 minutes at 400°F helps the crust firm up before the fruit releases too much more juice.
- Full bubbling — Don’t judge doneness by crust color alone. The filling needs to bubble in the center, not just at the edges, or the cornstarch hasn’t fully thickened.
- Long cool time — The pie finishes setting as it cools. Cutting early is the fastest way to get a runny slice, no matter how perfect it looked coming out of the oven.
What the Rhubarb, Strawberries, and Cornstarch Are Each Doing Here
- Fresh rhubarb — This is the tart backbone of the pie. Frozen rhubarb works in a pinch, but it usually leaks more liquid, so thaw it first and drain off any excess before mixing.
- Fresh strawberries — Use ripe berries with good color and flavor. Pale strawberries turn dull in the oven and leave the pie tasting flat instead of bright.
- Cornstarch — This is the thickener doing the heavy lifting. Flour can work, but it makes the filling look cloudier and usually needs more cooking time to lose that raw taste.
- Butter — A small dot on top of the fruit adds richness and helps the filling taste rounder. It’s not essential, but it smooths out the tart edge of the rhubarb.
- Pie crust — Homemade crust brings the best flavor and flake, but a good store-bought crust still makes a solid pie. The one place you don’t want to cut corners is keeping the dough cold before it goes into the oven.
Building the Filling and Baking It Until the Center Bubbles
Mixing the Fruit the Right Way
Combine the rhubarb, strawberries, sugar, cornstarch, and salt in a large bowl and let the mixture sit for 10 minutes. You’ll notice juice pooling at the bottom, which is exactly what you want. That liquid is what helps the cornstarch dissolve evenly instead of clumping in pockets. If your fruit is especially juicy, don’t shorten this rest; the extra moisture is part of why the filling thickens properly in the oven.
Filling and Sealing the Crust
Pour the fruit into the bottom crust and dot the top with butter before adding the second crust or lattice. Trim the edges, then crimp them well so the filling doesn’t leak out while it boils. Brush the top with beaten egg and sprinkle with sugar for shine and crunch. If you’re using a solid top crust, cut vents large enough for steam to escape or the filling can burst through a weak spot at the edge.
The Bake That Sets the Pie
Bake at 400°F for 20 minutes, then reduce the heat to 350°F and bake for another 30 to 35 minutes. Watch for deep golden crust and thick, active bubbling in the center of the pie, not just along the rim. If the edges brown too quickly, cover them with foil while the middle finishes. Pull the pie once the filling is visibly thick and bubbling through the lattice, because that is the sign the starch has fully activated.
Cooling Before the First Slice
Let the pie cool completely for at least 3 hours. This is the stage people skip, and it’s also the reason their slices slump apart on the plate. The filling keeps setting as it loses heat, and rushing it traps you with hot, loose fruit. A fully cooled pie slices cleanly and holds the lattice pattern without collapsing.
How to Adapt This Pie When the Fruit or Crust Changes
Make it with frozen fruit
Frozen rhubarb and strawberries can work, but thaw them first and drain off the excess liquid before mixing. If you skip that step, the filling usually turns looser and needs extra baking time to set.
Use a lattice top for the cleanest bake
A lattice top lets steam escape and helps the filling reduce without trapping too much moisture. It also gives you more visual control, since you can see the fruit bubbling when the pie is finished.
Make it gluten-free
Use your favorite gluten-free pie crust and keep the filling exactly the same. Cornstarch is already gluten-free, so the texture stays close to the original as long as the crust bakes through fully and turns deeply golden.
Reduce the sugar for a sharper pie
If you like a tarter filling, cut the sugar back slightly, but don’t reduce it too far. Sugar isn’t just about sweetness here; it also helps the fruit release juice in a controlled way and supports the final texture.
Storage and Reheating
- Refrigerator: Cover and refrigerate for up to 4 days. The crust softens a little, but the flavor stays excellent.
- Freezer: Freeze baked pie, wrapped well, for up to 2 months. Thaw overnight in the refrigerator before reheating.
- Reheating: Warm slices in a 325°F oven for about 10 to 15 minutes. The microwave makes the crust soggy and the filling overly soft, so the oven is the better choice.
Answers to the Questions Worth Asking
Fresh Strawberry Rhubarb Pie
Ingredients
Equipment
Method
- Preheat oven to 400°F. Line a 9-inch pie plate with the bottom crust.
- Combine rhubarb, strawberries, sugar, cornstarch, and salt in a bowl and let sit for 10 minutes. The mixture should look slightly juicy as the cornstarch starts to thicken.
- Pour the fruit mixture into the pie crust and dot with butter. Distribute the fruit evenly so the filling bakes consistently.
- Top with the second crust (whole or lattice), then trim and crimp the edges. Brush the crust with beaten egg wash for a glossy finish.
- Sprinkle with sugar and cut vents if using a solid top crust. You should see vent openings so steam can escape during baking.
- Bake for 20 minutes at 400°F, until the crust begins to set and turn lightly golden. Look for early bubbling at the edges of the filling.
- Reduce heat to 350°F and bake for 30-35 minutes more until the crust is golden and filling is bubbling. The surface should show active bubbling through the lattice or vents.
- Cool the pie completely for at least 3 hours before slicing. The filling should be thick enough to hold jewel-toned shape when cut.