
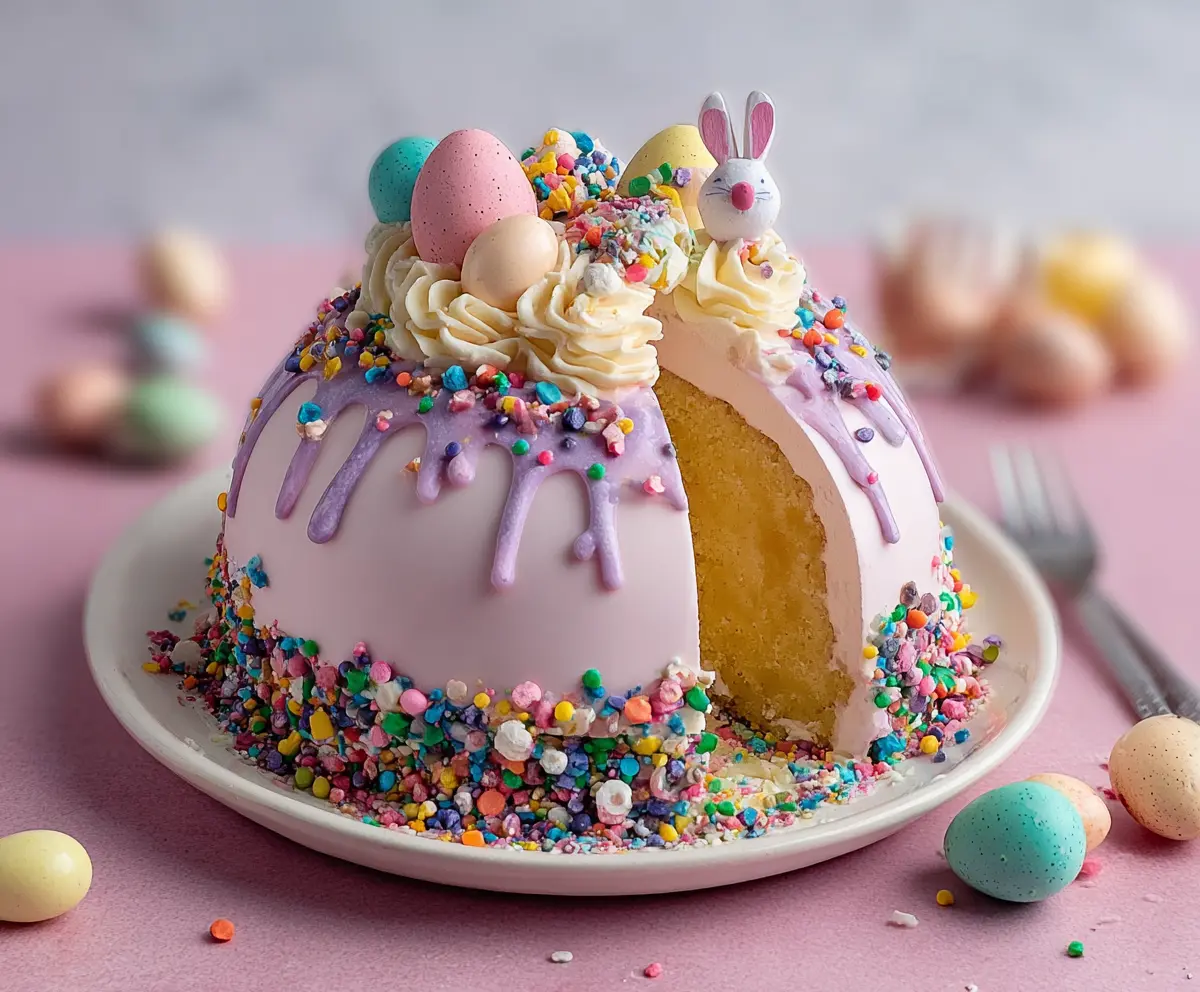
This Epic Easter Egg Smash Cake is all about fun! With layers of fluffy cake and colorful icing, it’s perfect for celebrating with family and friends. Plus, it has hidden treats inside!
You can’t beat the excitement of smashing into a cake to find surprises. I mean, who doesn’t love a little chaos on their plate? 🥳 Grab a slice and enjoy the sweetness—it’s a hit every time!
Key Ingredients & Substitutions
All-purpose flour: This is essential for structure. If you’re looking to make it gluten-free, consider using a 1:1 gluten-free flour blend. I’ve had success with brands like Bob’s Red Mill.
Unsalted butter: In baking, unsalted butter allows better control over salt levels. If you’re dairy-free, coconut oil or vegan butter can work as substitutes, just note it may alter the texture slightly.
Rainbow sprinkles: Use traditional jimmies for a uniform texture or go for nonpareils for extra color. If sprinkles aren’t your thing, chocolate chips or nuts are tasty alternatives.
Food coloring: Gel colors are great for achieving vibrant shades without altering the frosting’s consistency. If you want a natural option, beet juice can give you a beautiful pink, but it might change the flavor.
Mini speckled candy eggs: You can use any small chocolate or candy eggs available. Don’t worry if you can’t find speckled; regular chocolate eggs or even fruit gummies can work for a fun twist!
How Do I Achieve a Fluffy Buttercream Frosting?
Making fluffy buttercream is easier than it sounds! Start with softened butter; this is crucial. Beat the butter for a few minutes until creamy before adding the sugar. Gradually adding sugar prevents a cloud of powder and allows for better incorporation.
- Use a stand mixer or hand mixer on medium speed to keep air in the frosting.
- Monitor the texture; it should be light and airy, like whipped cream. Add more cream if it’s too thick.
- For the perfect pink hue, remember to add gel food coloring a little at a time until you reach your desired shade.
What’s the Best Way to Create a Perfect Pink Chocolate Shell?
Creating the pink chocolate shell can be tricky but really rewarding. First, melt your white chocolate gently to avoid scorching it; the microwave works well if you do it in short bursts. Once melted, add the pink coloring and stir until it’s evenly mixed.
- For the shell, using a balloon is a fun method! Inflate it and dip it into the chocolate to create your shape.
- Let the chocolate set in the fridge for at least 30 minutes for a sturdy shell that will hold shape when you place it on the cake.
- Be gentle when unmolding to avoid cracking; a light twist can help release it easily.
These tips should help you create a stunning Easter Egg Smash Cake that not only looks impressive but tastes delicious too! Enjoy your baking!
How to Make an Epic Easter Egg Smash Cake
Ingredients You’ll Need:
For the Cake:
- 2 ½ cups all-purpose flour
- 2 ½ tsp baking powder
- ½ tsp salt
- 1 cup unsalted butter, softened
- 1 ¾ cup granulated sugar
- 4 large eggs
- 1 tbsp vanilla extract
- 1 cup whole milk
- ½ cup rainbow sprinkles (jimmies or confetti)
For the Buttercream Frosting:
- 1 ½ cups unsalted butter, softened
- 5 cups powdered sugar, sifted
- 2 tsp vanilla extract
- 3-4 tbsp heavy cream or milk
- Pink gel food coloring
For the Pink Chocolate Shell:
- 10 oz white candy melts or white chocolate
- Pink food coloring (oil-based or powder, for chocolate)
For the White Chocolate Drip:
- 4 oz white chocolate
- 1 tbsp heavy cream
Decorations:
- Mini speckled candy Easter eggs (purple, turquoise, yellow, pink, green)
- Crushed colorful candy pieces or extra rainbow sprinkles
- White buttercream rosettes for topping
How Much Time Will You Need?
Getting this cake ready will take about 1 hour and 30 minutes for preparation and baking, plus about 1 hour for cooling and chilling. So, in total, you’re looking at around 3 hours. Patience rewards you with a spectacular treat!
Step-by-Step Instructions:
1. Make the Cake Batter:
First, preheat your oven to 350°F (175°C). Grease and flour two 8-inch round cake pans so your cake doesn’t stick. In a medium bowl, whisk together the flour, baking powder, and salt. Set that aside.
Next, in a large bowl, beat the softened butter and sugar until it’s light and fluffy—about 3-4 minutes should do it. Then, add the eggs, one at a time, beating well after each addition, and mix in the vanilla extract.
Now, alternately add the dry ingredients and the milk to the butter mixture, starting and ending with the flour mix. Stir just until combined. Gently fold in the rainbow sprinkles, and divide the batter evenly between the two pans.
Bake for 25-30 minutes or until a toothpick inserted in the center comes out clean. Once they’re baked, let the cakes cool in the pans for 10 minutes, then turn them out onto wire racks to cool completely.
2. Prepare the Buttercream Frosting:
For the frosting, beat the butter until it’s creamy. Gradually add the powdered sugar, one cup at a time, beating well after each addition to avoid a sugar cloud. Add in the vanilla and about 3 tablespoons of cream, beating until it’s light and fluffy. If it’s too thick, add more cream.
Reserve about 1 cup of this frosting white or uncolored for decoration. Then, take the remaining frosting and dye it pink using gel food coloring until you reach your desired shade.
3. Assemble the Cake:
Once the cakes are completely cool, level them if needed to ensure they stack evenly. Spread a layer of the pink buttercream on top of one cake layer, then place the second layer on top. Carve the cake into a dome shape for a fun look. Chill the cake in the fridge for about 30 minutes to help firm it up.
4. Make the Pink Chocolate Shell:
Next, melt the white candy melts or white chocolate using a microwave or double boiler. Stir in some pink food coloring gently until it’s evenly colored. Place a balloon or a dome mold on a tray and brush or pour the melted pink chocolate over it, creating an even shell. Let it set completely in the fridge.
Once set, carefully unmold the chocolate shell and place it gently over the cake.
5. Decorate:
Spread the pink buttercream frosting over the domed cake shape to smooth it out beautifully. Melt the white chocolate with heavy cream in a microwave, letting it cool slightly until it’s pourable, and drizzle it over the edges of the cake for a delicious drip effect.
Pipe the reserved white buttercream rosettes on top of the cake inside the shell edge, then add the mini speckled candy Easter eggs and sprinkle crushed colorful candy and rainbow sprinkles around the base and over the top rosettes.
6. Serve:
Once finished, place the cake on a large plate. For the epic “smash,” gently crack the chocolate shell (this is fun!) to reveal the colorful, sprinkle-filled cake inside. Slice and serve with joy!
Enjoy your spectacular and festive Epic Easter Egg Smash Cake!
Can I Use a Different Type of Flour for This Cake?
Absolutely! You can experiment with cake flour for a lighter texture, or use a gluten-free flour blend if you need a gluten-free option. Just make sure to follow the specific instructions on the flour packaging for best results!
How Can I Make the Cake Ahead of Time?
You can bake the cake layers a day in advance! Allow them to cool completely, then wrap them tightly in plastic wrap and store them in the refrigerator. Just frost them the day you plan to serve for the freshest taste!
What If I Don’t Have Rainbow Sprinkles?
No worries! You can substitute with chocolate chips, chopped nuts, or even dried fruit. Get creative with whatever colorful treats you have on hand to maintain that festive look!
How Should I Store Leftovers?
Store any leftover cake in an airtight container in the fridge for up to 3 days. You can also freeze slices for up to a month; just wrap them tightly in plastic wrap and then in aluminum foil to prevent freezer burn!