Enchilada skillet brings all the comfort of saucy enchiladas without the rolling, stacking, or extra dishes. The tortillas soften right in the red sauce, the beef and beans give it enough heft to stand on its own, and the melted cheese on top seals the whole thing together in one bubbling pan. It’s the kind of dinner that tastes like it took more effort than it did.
The part that makes this version work is the order. Browning the beef first gives you flavor before anything else goes in, and blooming the cumin and chili powder with the onion and garlic wakes them up instead of letting them taste flat. Once the tortilla strips hit the sauce, they don’t need long — just enough time to turn tender and soak up the enchilada flavor without disappearing into mush.
Below, I’ve included the little things that matter most: how to keep the skillet from getting watery, which cheese melts best, and what to change if you want to stretch it a little further for a bigger crowd.
The tortillas softened perfectly in the sauce, and the skillet stayed thick instead of getting soupy. My husband went back for seconds before I even sat down.
Save this enchilada skillet for a one-pan Tex-Mex dinner with saucy beef, tender tortillas, and a bubbly cheese top.
The Difference Between Saucy and Soupy in a One-Pan Enchilada Skillet
The biggest mistake here is treating the skillet like a casserole and adding everything at once. That’s how you end up with a loose pan of sauce and tortillas that fall apart before the cheese ever has a chance to melt. The goal is a thick, spoonable filling that clings to the tortilla strips instead of swimming around them.
Draining the beef matters because the enchilada sauce already brings plenty of moisture. The diced tomatoes add brightness, but they also add liquid, so you want the skillet to simmer long enough for the sauce to tighten around the beans, corn, and tortillas. If it still looks wet after the tortillas soften, let it cook another minute or two before adding cheese. The broiler finishes the dish; it shouldn’t be used to fix a watery base.
What the Beans, Tortillas, and Cheese Are Each Doing Here
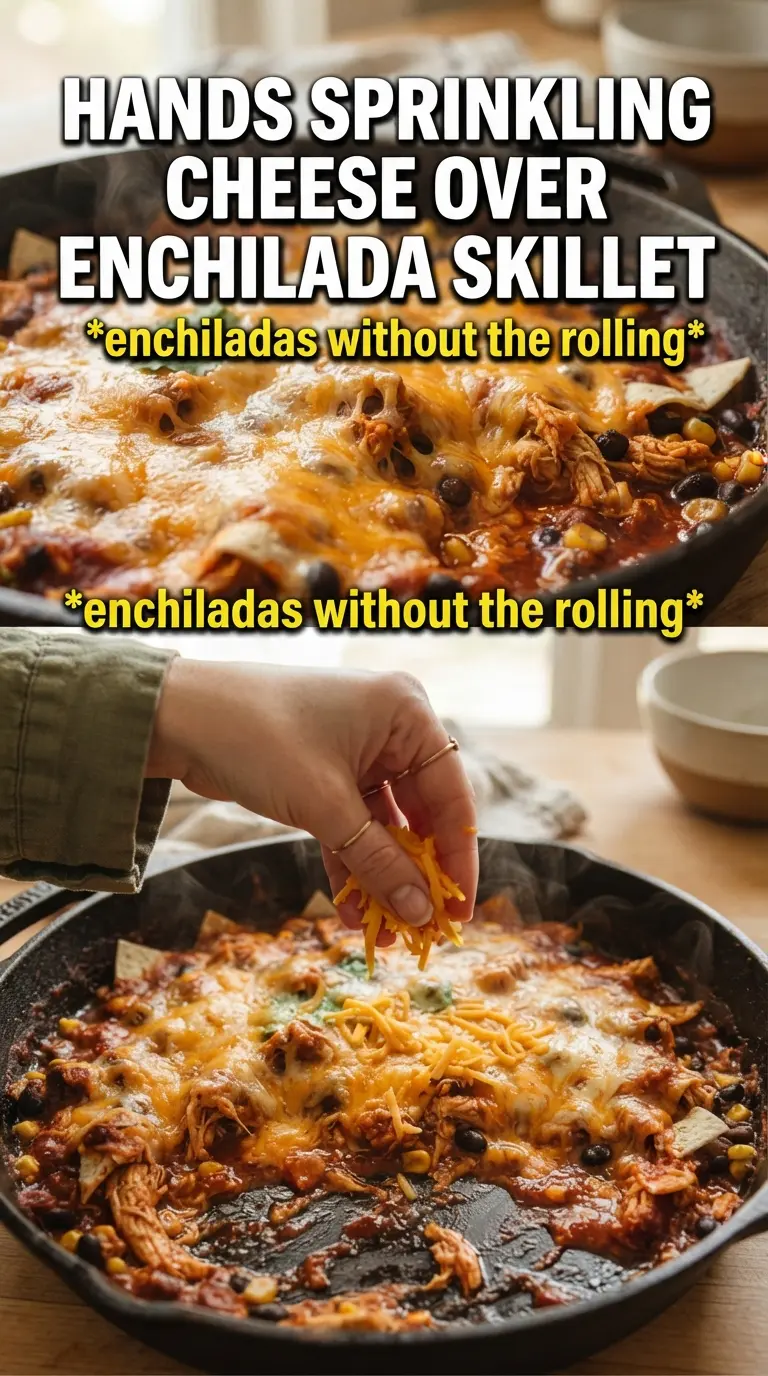
- Ground beef — This gives the skillet its savory backbone. A lean-to-medium ground beef works best because it leaves enough flavor in the pan without making the dish greasy. If you use a fattier blend, drain it well before adding the onion.
- Red enchilada sauce — This is the main seasoning, so use one you actually like eating. A good canned sauce saves time and keeps the color and consistency right. If your sauce is thin, simmer a minute longer before adding cheese so the final dish doesn’t feel loose.
- Corn tortillas — Corn tortillas soften into the sauce in a way flour tortillas won’t. They keep a little structure and give the skillet that enchilada texture without turning gummy. Cut them into strips so they distribute evenly and absorb the sauce quickly.
- Cheddar and mozzarella — Cheddar gives sharp flavor, while mozzarella brings the stretch and melt. The blend is what makes the top look and taste finished. Pre-shredded cheese works, but freshly shredded melts a little smoother if you have the time.
- Black beans and corn — These bulk up the skillet without making it heavy. They also balance the richness of the beef and cheese. Drain both well so you’re adding texture, not extra liquid.
Building the Skillet So the Tortillas Soften Without Falling Apart
Brown the beef first
Cook the beef in a large oven-safe skillet until it’s no longer pink and the browned bits start sticking to the bottom. That fond is flavor, so don’t rush past it. Once the fat is drained, the pan should look coated but not oily. If you leave too much grease behind, the finished skillet tastes heavy instead of saucy.
Wake up the spices in the onion
Add the diced onion and cook it until it starts to turn translucent, then stir in the garlic, cumin, and chili powder. You want the spices fragrant within a minute. If the garlic starts to brown, the heat is too high and it’ll turn bitter, so keep the pan at medium and keep things moving.
Let the sauce thicken around the tortillas
After the beans, corn, enchilada sauce, and tomatoes go in, fold in the tortilla strips and press them under the sauce. They should soften in 8 to 10 minutes, but the skillet needs a gentle simmer, not a hard boil. A hard boil breaks the tortillas down too fast and leaves you with a mushy texture. When the sauce looks glossy and the strips are tender, you’re ready for cheese.
Finish under the broiler
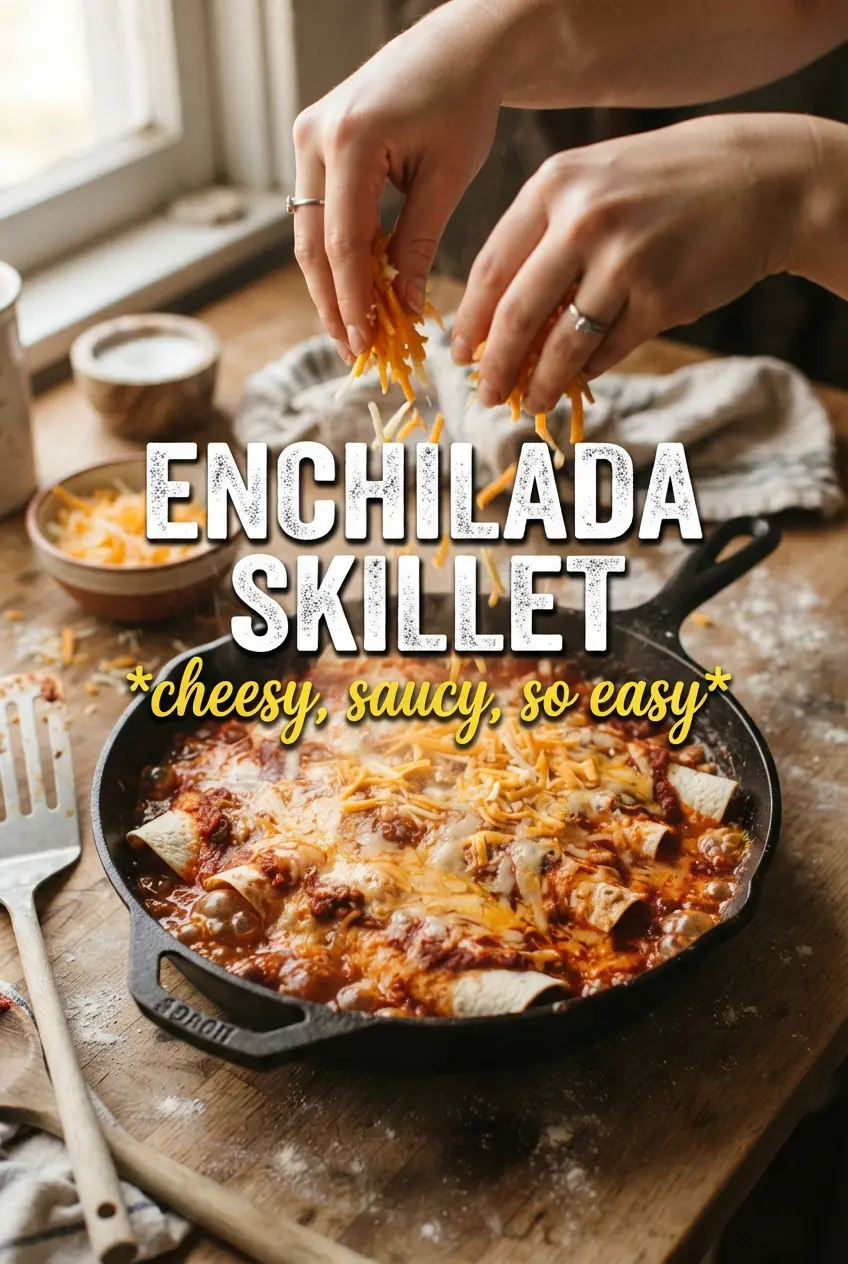
Scatter the cheese evenly over the top and broil just until it bubbles and takes on a few golden spots. Stand close and watch it the whole time, because this goes from perfect to burnt fast. Finish with sour cream, avocado, and cilantro after it comes out of the oven so the fresh toppings stay cool and bright.
How to Adapt This Enchilada Skillet for Different Nights
Swap in ground turkey
Ground turkey works well if you want a lighter skillet, but it needs a little help. Add an extra pinch of salt and don’t skip the onion and spices, because turkey has less built-in flavor than beef. The texture stays good, but the finished dish will taste leaner and a little less rich.
Make it vegetarian
Skip the beef and use an extra can of black beans or a mix of black beans and pinto beans. The skillet still gets plenty hearty, especially with the tortillas and cheese holding it together. Add the beans after the onion and spices so they absorb flavor before the sauce goes in.
Make it gluten-free as written
This skillet is naturally gluten-free if your enchilada sauce is certified gluten-free and you use corn tortillas. That combo keeps the texture right without any extra work. Check the sauce label carefully, since that’s the ingredient most likely to hide wheat.
Storage and Reheating
- Refrigerator: Store in an airtight container for up to 4 days. The tortillas soften a little more as it sits, but the flavor holds up well.
- Freezer: It freezes fairly well for up to 2 months, though the tortillas will be softer after thawing. Cool it completely before freezing and pack it in portions for easier reheating.
- Reheating: Warm it covered in a skillet over low heat or in the oven at 325°F until hot. The common mistake is blasting it in the microwave until the cheese gets oily and the edges dry out.
Questions I Get Asked About This Enchilada Skillet
Enchilada Skillet
Ingredients
Equipment
Method
- Brown the ground beef in a large oven-safe skillet over medium-high heat, then drain excess fat. Keep the skillet hot so the beef can brown instead of steam.
- Sauté the onion for 3 minutes. Add the garlic, cumin, and chili powder and cook for 1 minute, until fragrant.
- Add the black beans, corn, red enchilada sauce, and diced tomatoes, and stir to combine. Season with salt and pepper to taste.
- Fold in the tortilla strips and press them into the sauce. Simmer for 8-10 minutes, stirring occasionally, until the tortillas soften.
- Scatter the shredded cheddar and mozzarella over the top. Broil for 3-4 minutes at high heat until bubbly and golden.
- Serve the enchilada skillet with sour cream, avocado, and cilantro. Let it sit 2 minutes so the sauce thickens slightly.