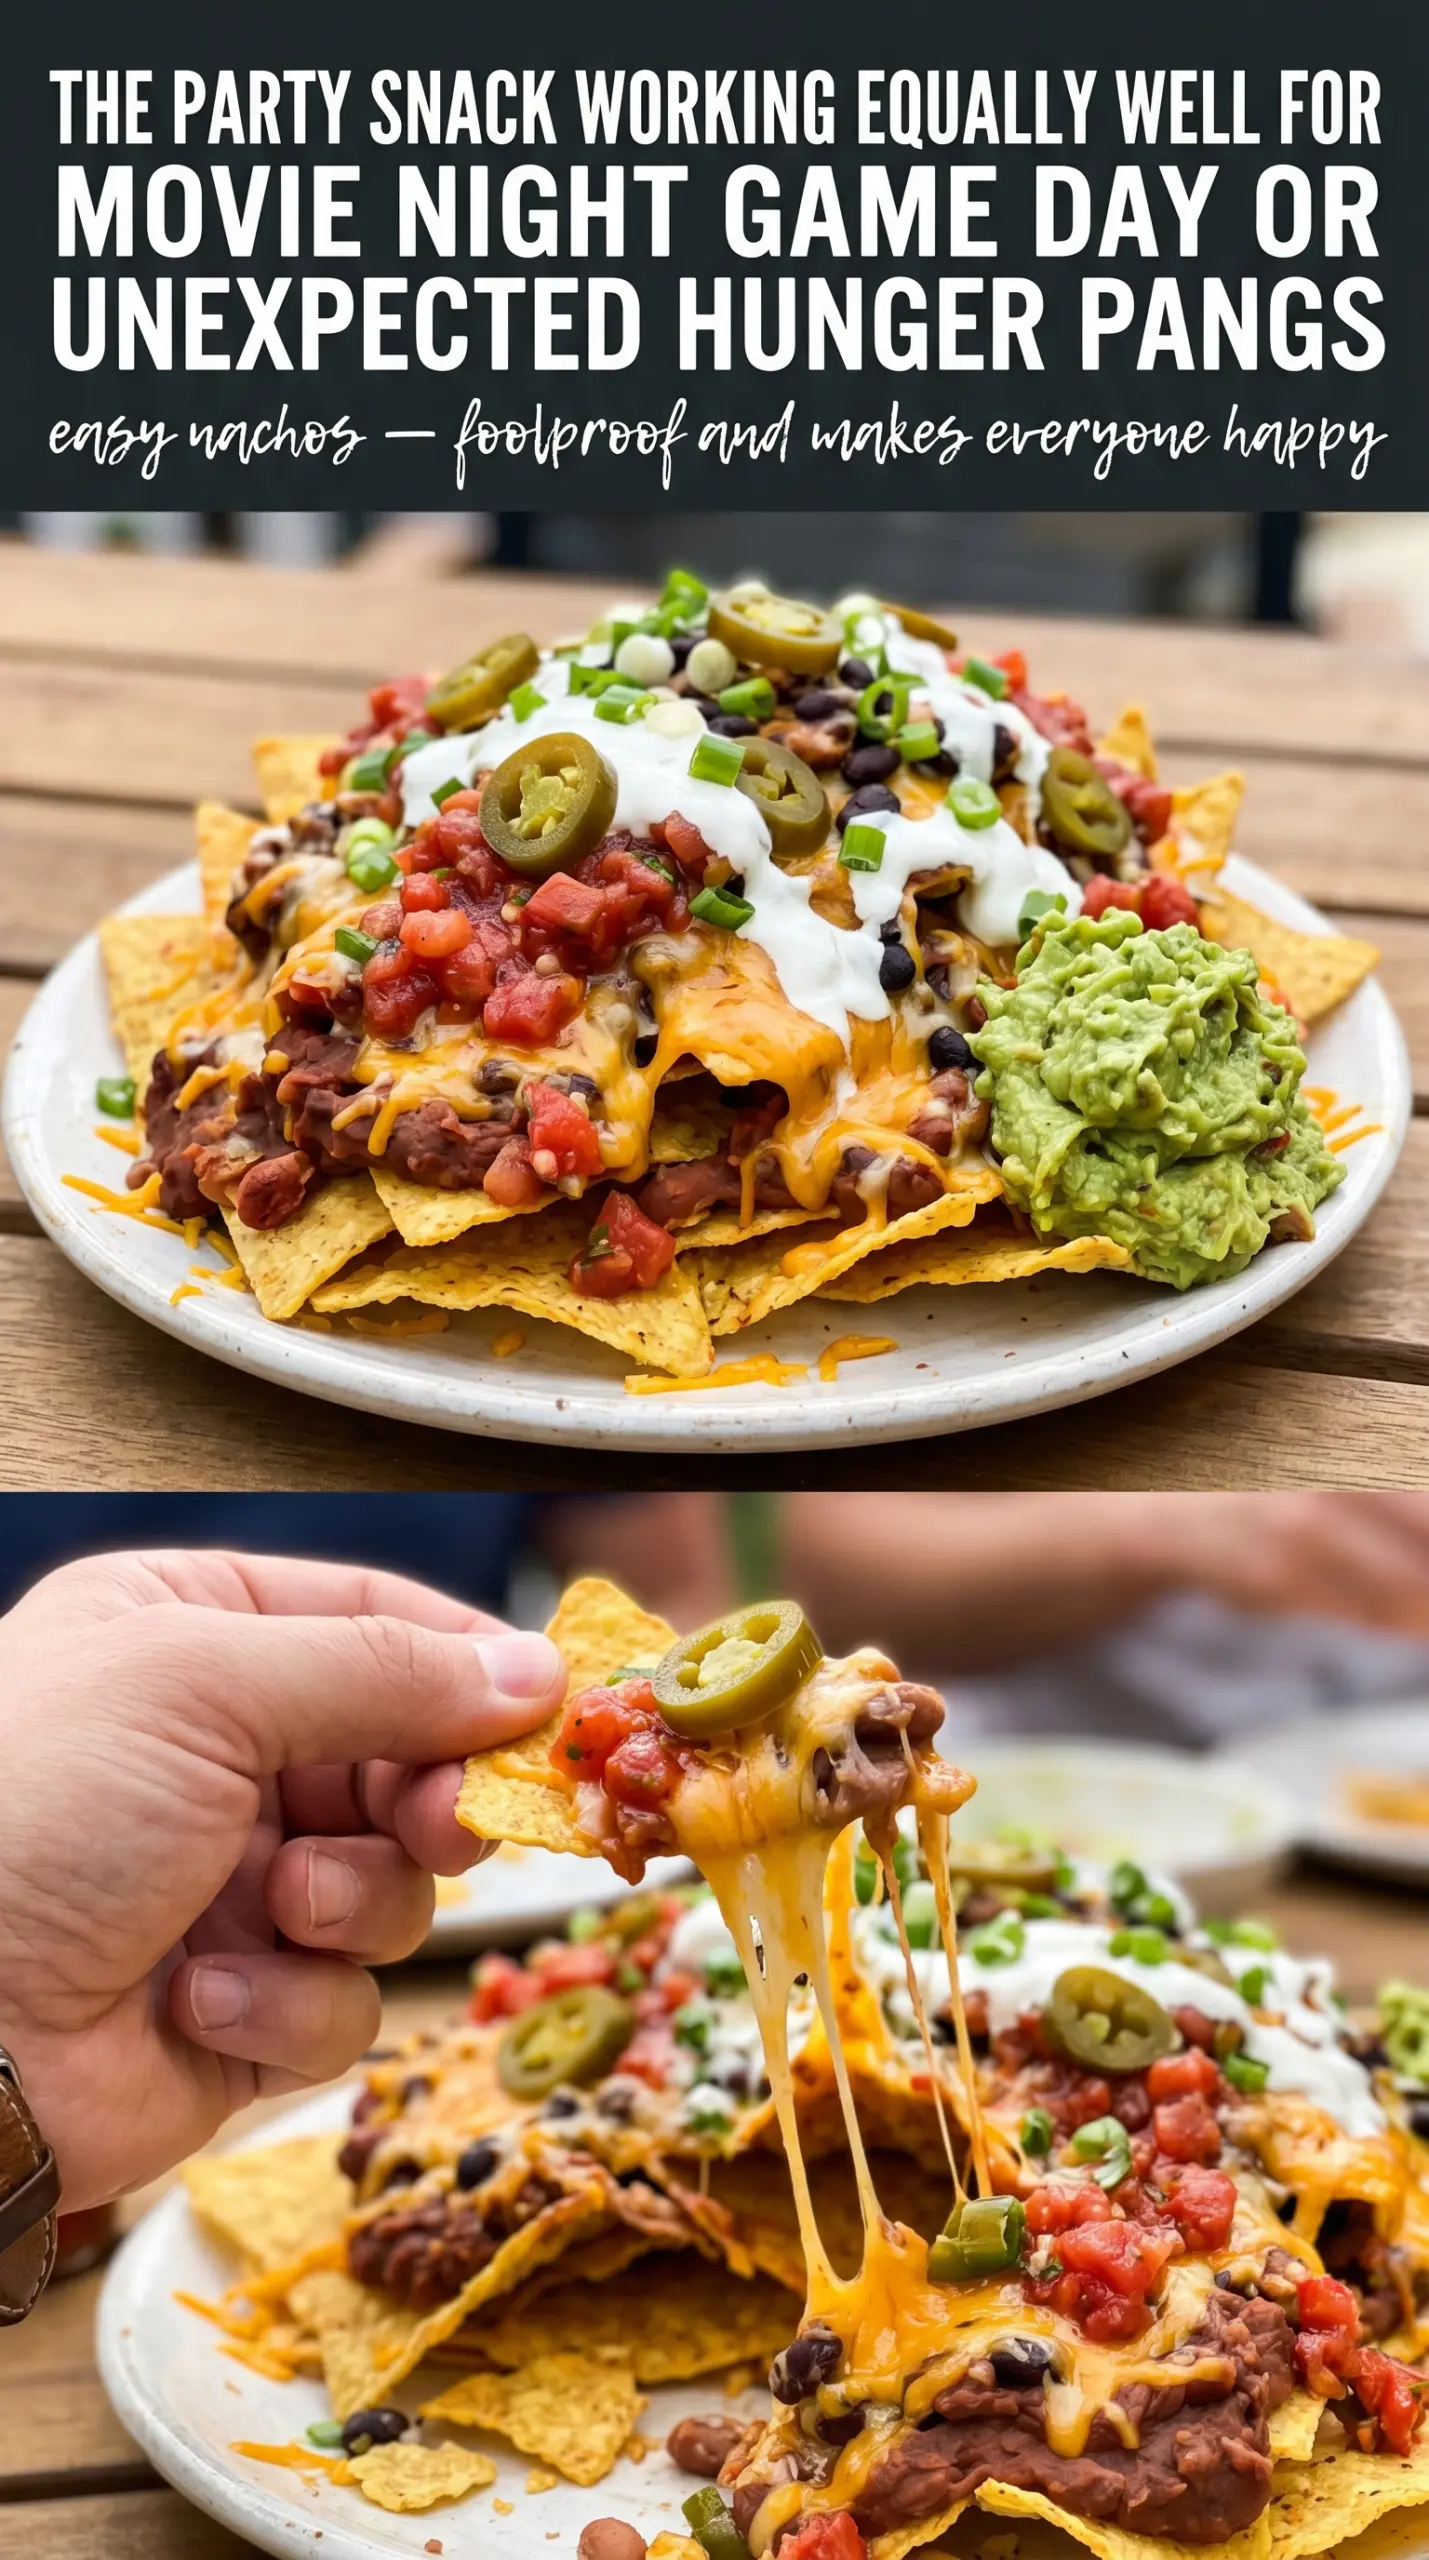
Layered nachos win when every chip gets a little of everything: melted cheese, seasoned beef, a few beans, and enough fresh toppings to cut through the richness. The best trays don’t sag into a soggy pile before the first bite. They stay crisp at the edges, gooey in the middle, and easy to scoop without a fork.
The trick is building in layers instead of dumping everything on top of the chips at once. A base layer of cheese helps anchor the toppings, and finishing under the broiler gives you those bubbling spots that taste like the pan spent twice as long in the oven as it really did. Cold toppings go on after broiling, when the cheese has already melted and the chips still have some structure left.
Below you’ll find the timing that keeps the chips from going soft, plus a few ways to adapt the tray for a crowd, a lighter table, or whatever you have in the fridge.
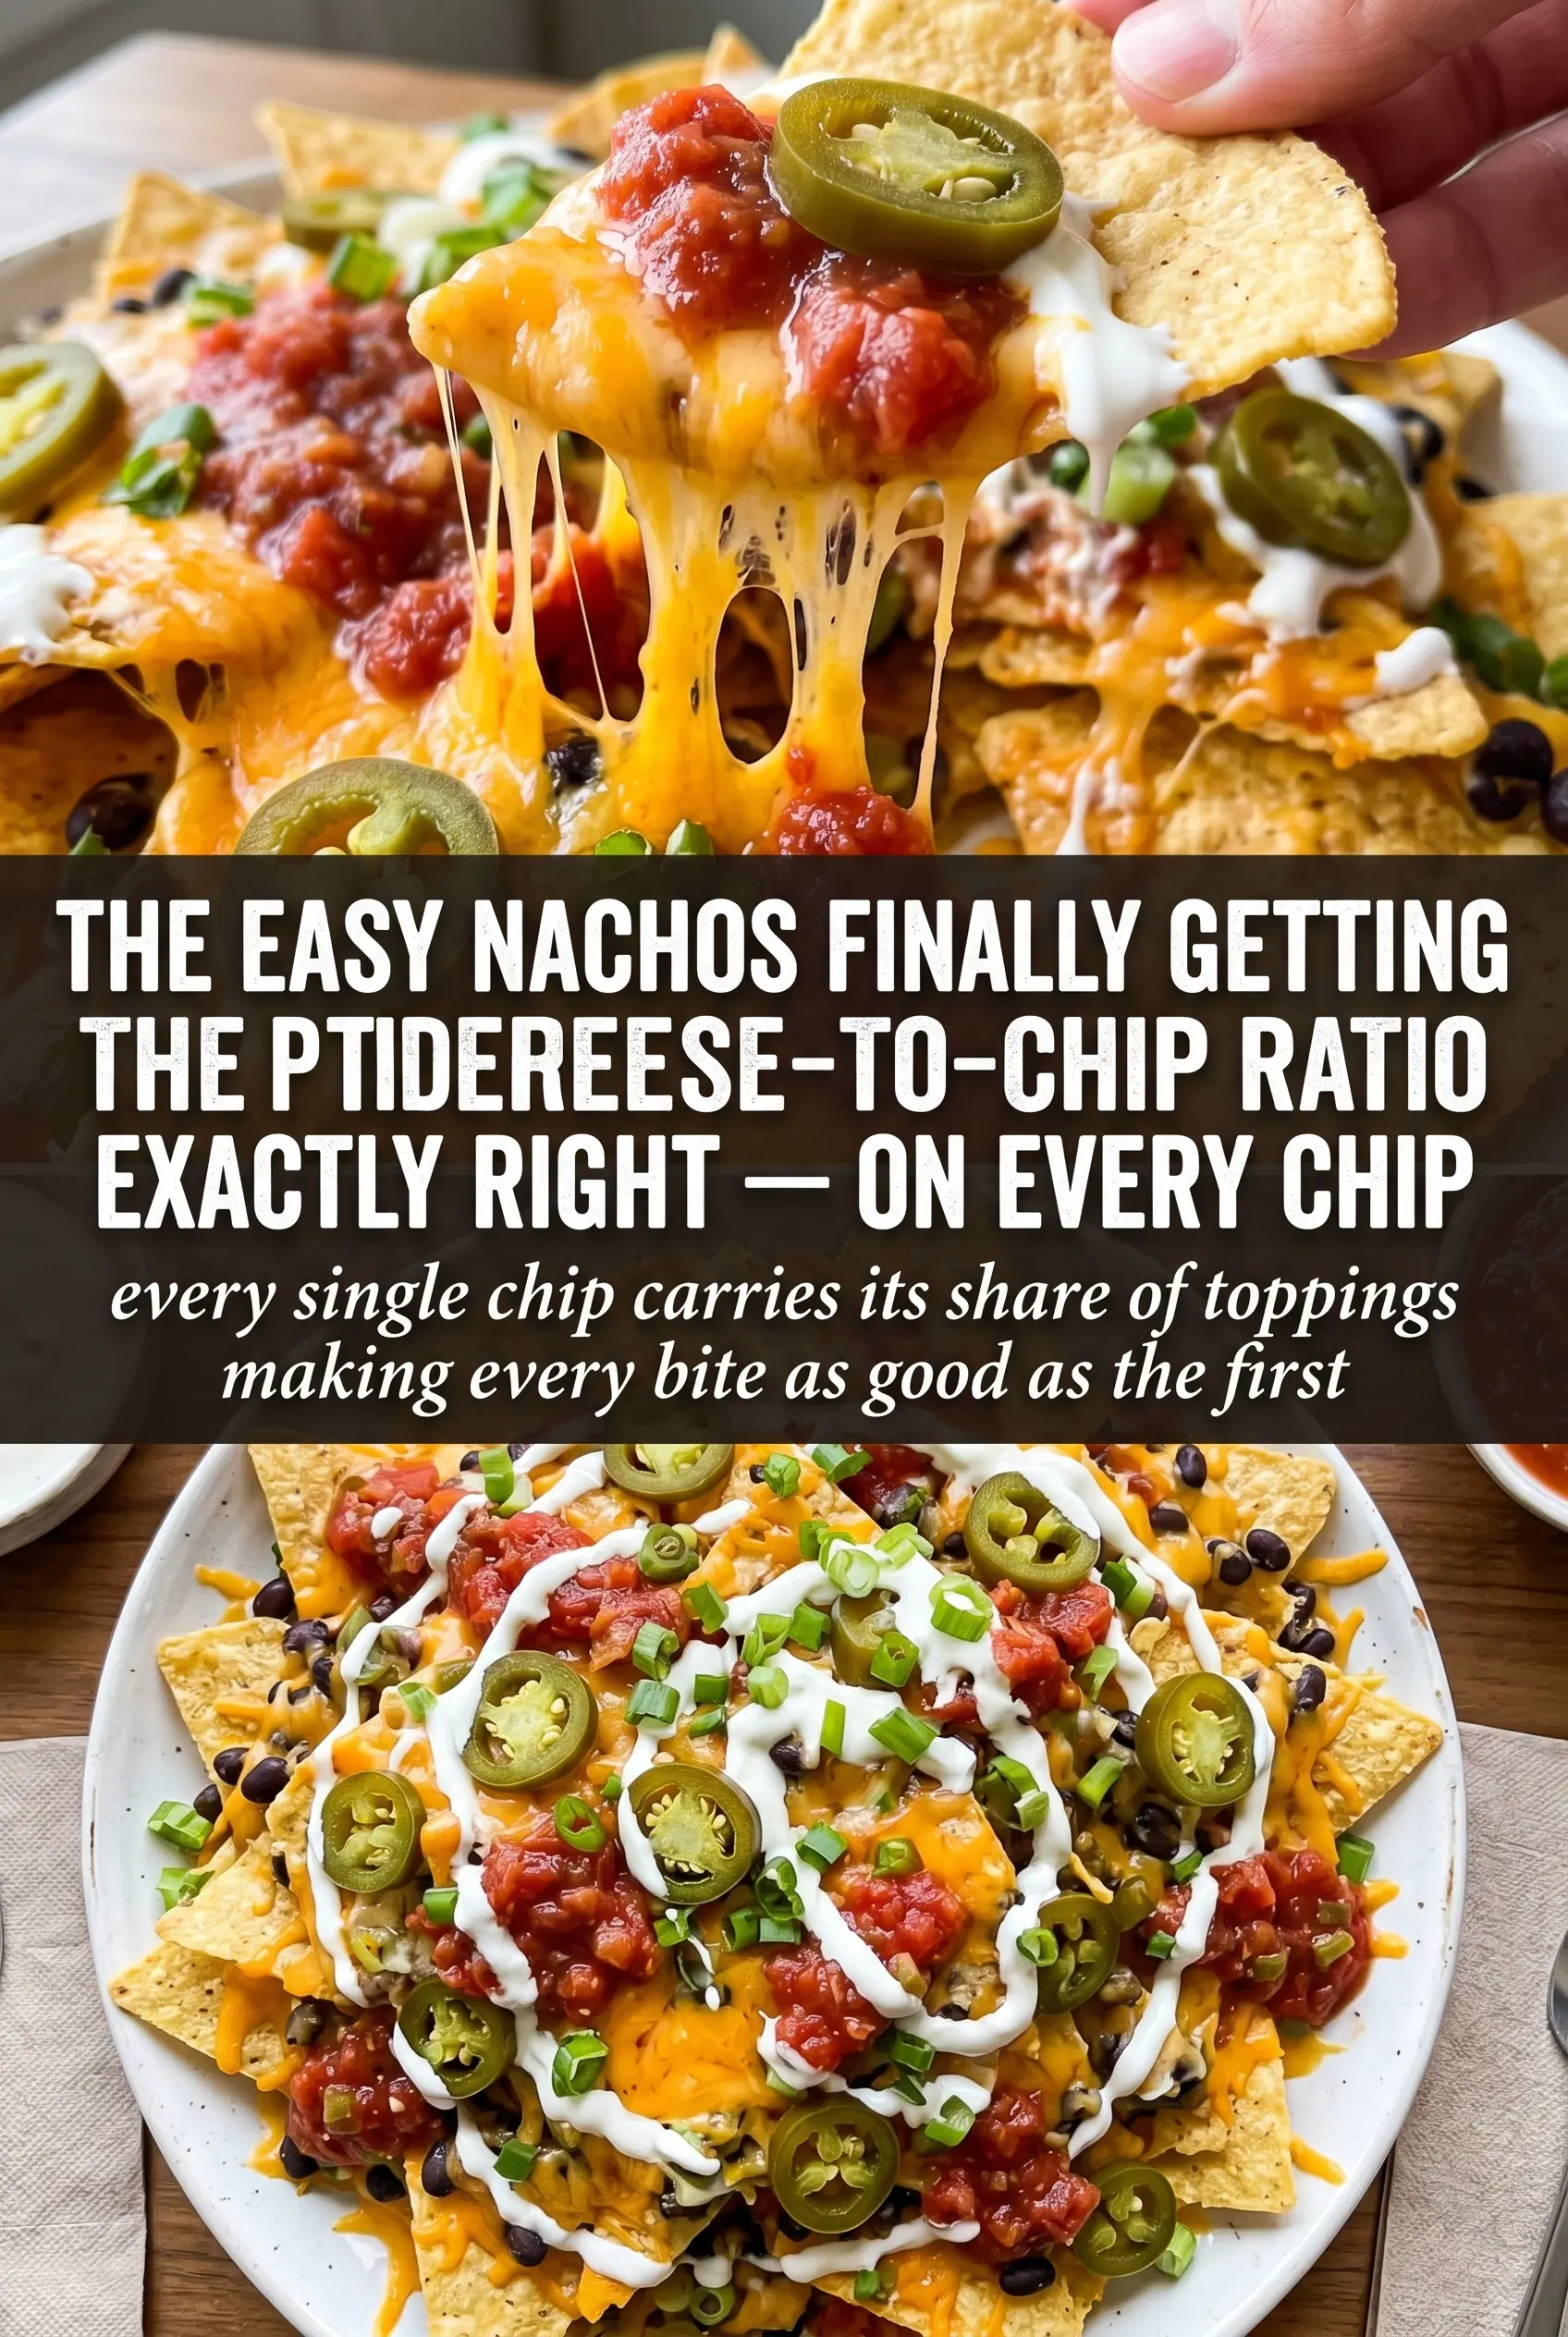
The layers kept the chips crisp underneath, and the cheese melted into those little pockets instead of sliding off. I added the toppings right after broiling like you said, and the whole tray disappeared fast.
Layered beef nachos with melted cheese, crisp chips, and fresh toppings are the kind of tray people hover around until it’s gone.
The Reason Nachos Stay Crisp Instead of Turning Steamy
Nachos fail when the chips spend too long buried under wet toppings or when all the cheese goes on in one heavy layer. The chips trap steam, the cheese turns oily, and the whole tray softens before it reaches the table. This version fixes that by using a two-step build: a little cheese first, then the fillings, then the rest of the cheese to hold everything in place.
Broiling instead of baking for a long stretch matters here. You want quick heat that melts the cheese fast without drying out the beef or giving the chips time to absorb moisture. The other thing that helps is adding the cold toppings after the tray comes out, not before. Sour cream, guacamole, salsa, and tomatoes belong on top at the end, where they stay bright and don’t soak the whole pan.
What Each Topping Is Doing in the Final Tray
- Tortilla chips — Use sturdy chips with some thickness. Thin chips break under the weight of the toppings and go soft faster. If all you have are delicate chips, spread them in a narrower layer and keep the filling lighter.
- Mexican cheese blend — This melts smoothly and gives you the best balance of stretch and flavor. Pre-shredded cheese is fine here because the broiler time is short, but shred your own if you want a cleaner melt with less anti-caking powder.
- Ground beef — This is the main savory layer, and it needs to be browned well before the seasoning goes in. If the beef is greasy, drain it before adding the taco seasoning or the chips will pick up that extra oil.
- Black beans — These add body and a little texture without making the tray heavier. Rinse and drain them well so the liquid in the can doesn’t leak onto the chips.
- Jalapeños, tomatoes, olives, cilantro, lime — These finish the tray with heat, acidity, salt, and freshness. The lime wedge matters more than people think; a squeeze right before eating wakes up the cheese and beef.
- Sour cream, guacamole, salsa — These are best added after broiling so they stay cool and distinct. If you spread them on before baking, they lose their texture and can make the top messy instead of layered.
How to Build the Tray So Nothing Ends Up Soggy
Brown the Beef Until It Has Real Color
Cook the beef in a skillet over medium-high heat and break it up as it browns. You’re looking for browned bits, not just gray meat, because that deeper color is where the flavor comes from. If there’s a lot of fat in the pan, drain it before the seasoning goes in so the meat coats instead of swimming.
Season It Before It Hits the Chips
Add the taco seasoning according to the packet directions and let it cook long enough to absorb into the meat. The filling should look saucy but not wet. If it seems loose, keep it on the heat for another minute or two; watery beef will steam the chips from underneath.
Layer for Melt, Not Just for Looks
Spread the chips in an even layer on a large baking sheet, then add half the cheese first. That first layer acts like glue. Add the beef, beans, and jalapeños, then finish with the rest of the cheese so the toppings get sealed in as it melts.
Broil Fast and Watch Closely
Broil for 3 to 5 minutes, and stay nearby the whole time. The line between melted and scorched is short under a broiler. Pull the tray when the cheese is bubbling and the edges have a few browned spots; that’s the moment the nachos taste finished without getting dry.
Finish While the Cheese Is Still Hot
Add tomatoes, olives, sour cream, guacamole, salsa, cilantro, and lime wedges right after the tray comes out. The heat from the cheese softens the cold toppings just enough. If you wait too long, the cheese sets and the toppings stop sticking where you want them.
How to Adapt These Nachos for a Crowd, a Lighter Tray, or a Different Pantry
Make Them Vegetarian
Skip the beef and double the beans, or add seasoned sautéed mushrooms for a meatier bite. The tray still eats like nachos, but it will be a little lighter and the cheese will be more prominent, so don’t skimp on the seasoning in the beans.
Make Them Gluten-Free
Use certified gluten-free tortilla chips and check the taco seasoning packet for hidden wheat ingredients. The rest of the toppings are naturally gluten-free, so this swap is mostly about reading labels with care.
Turn Them Into a Bigger Party Tray
Use two sheet pans instead of trying to pile everything onto one. A crowded pan traps steam and gives you uneven melting, while two thinner layers stay crisp and can be broiled faster.
Storage and Reheating
- Refrigerator: Store the beef and toppings separately for up to 3 days. Assembled nachos don’t keep well because the chips soften fast.
- Freezer: The beef freezes well for up to 2 months. Freeze it by itself, not on the chips, since chips lose their texture after thawing.
- Reheating: Reheat the beef in a skillet or microwave until hot, then build a fresh tray and broil it again. Don’t try to re-crisp already assembled nachos in the oven; the chips will dry out before the cheese warms through.
Questions I Get Asked About This Recipe
Easy Nachos
Ingredients
Equipment
Method
- Brown the ground beef in a skillet over medium-high heat, then add the taco seasoning and cook according to package directions. Stir until the beef is evenly coated and cooked through.
- Spread the tortilla chips on a large baking sheet in an even layer so they form a single, crispy base.
- Sprinkle half the shredded Mexican cheese blend over the chips to create a melty first layer.
- Add the seasoned beef, black beans, and sliced jalapeños in a layer across the chips so toppings are visible.
- Top with the remaining shredded Mexican cheese blend to fully cover the nachos.
- Broil the nachos for 3-5 minutes until the cheese is melted and bubbly, keeping the sheet pan close to the broiler for even melting. Watch for golden edges on the chips.
- Remove from the oven and immediately top with diced tomatoes, sliced black olives, sour cream, guacamole, and salsa. Add toppings right away so they stay bright and distinct.
- Garnish with fresh cilantro and serve with lime wedges.