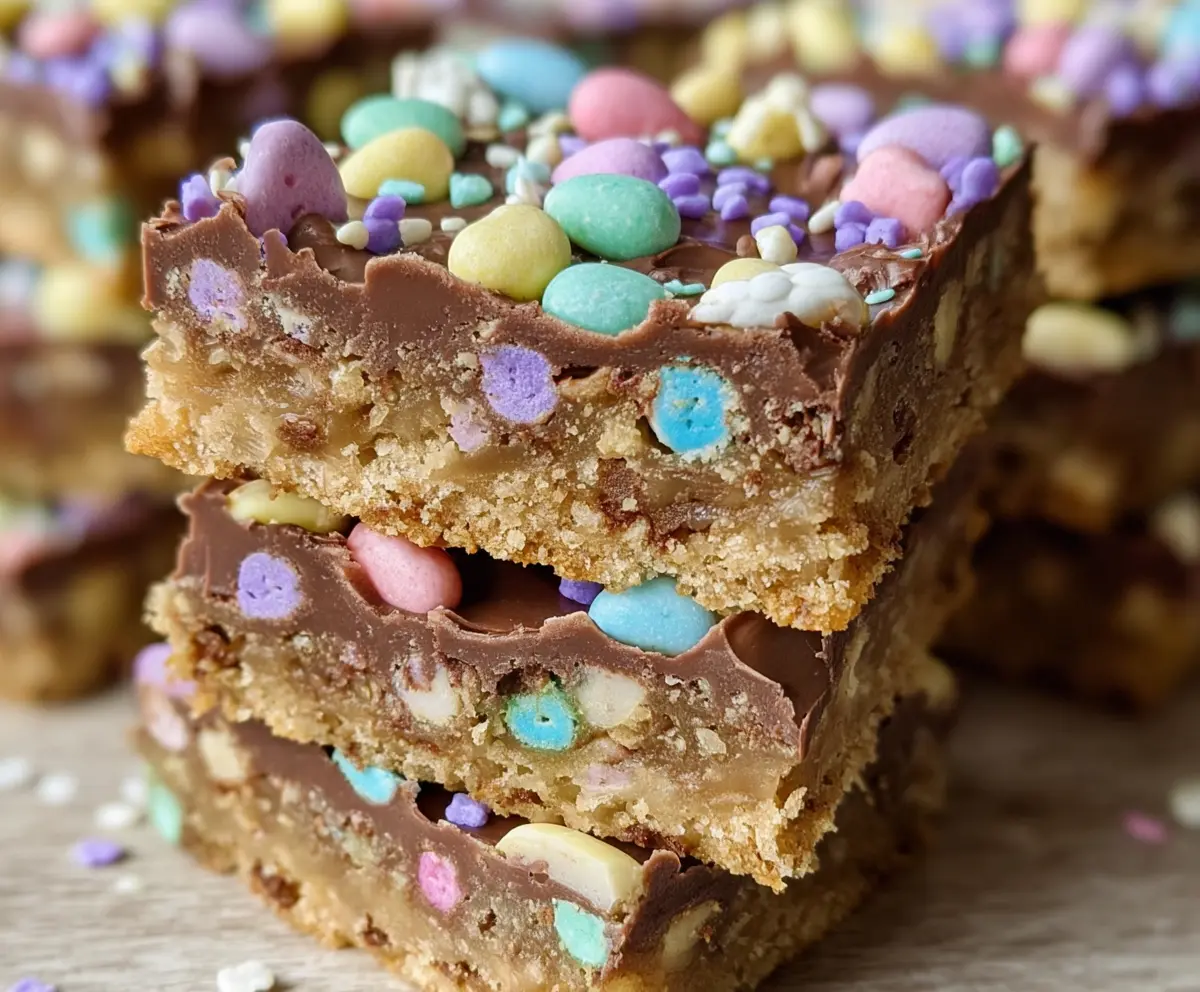
Easter Goody Bars are delicious treats packed with fun flavors! They are made with crispy rice cereal, mini marshmallows, and colorful candies that scream “celebration!”
These bars are super easy to make, and they taste like a sweet party in every bite. I love cutting them into squares and sharing them with friends. Perfect for an Easter treat! 🐰💖
Key Ingredients & Substitutions
Graham Cracker Crumbs: These form the base of your bars. If you’re out of graham crackers, try using digestive biscuits or crushed vanilla wafers. They give a similar sweet crunch to the crust.
Nuts: Pecans and walnuts add a nice crunch. If you have allergies or want to skip them, try using sunflower seeds or just increase the amount of graham cracker crumbs instead.
Butter: You can use unsalted butter for better control over saltiness. If you need a dairy-free option, coconut oil or vegan butter works well as alternatives.
Chocolate Chips: Semisweet chocolate is classic, but if dark chocolate is your preference, go for that! White chocolate is optional, so you can leave it out if you’re not a fan.
Candy-Coated Chocolates: Instead of mini eggs, any colorful candy like M&M’s can add that fun pop of color. For a healthier option, try dried fruits or nuts.
Sprinkles: Feel free to use any holiday-themed sprinkles. It’s all about the fun color and celebration, so pick what you love!
How Do I Make Sure My Bars Set Firmly?
Getting your bars to set just right is crucial for that perfect bite! After you follow the baking steps, let the chocolate cool at room temperature, but don’t skip the fridge time.
- Allow the baked crust to cool slightly before adding the chocolate, so it doesn’t melt too quickly.
- Press the chocolate down gently with a spatula to help it adhere to the crust.
- Refrigerate for at least 1 hour. This helps the chocolate firm up nicely to make cutting easier.
Once chilled, use a sharp knife to cut into squares, wiping the knife between cuts for clean edges. Enjoy your festive treats!
How to Make Easter Goody Bars
Ingredients You’ll Need:
For The Crust:
- 2 cups graham cracker crumbs
- 1 cup chopped nuts (such as pecans or walnuts)
- 1 cup butter, melted
- 1 cup packed light brown sugar
For The Toppings:
- 2 cups semisweet chocolate chips
- 1 cup white chocolate chips (optional)
- 1 cup mini pastel-colored candy-coated chocolates or pastel candy-coated mini eggs (such as Cadbury Mini Eggs)
- 1/2 cup sprinkles in pastel Easter colors (purple, pink, blue, yellow, etc.)
How Much Time Will You Need?
This whole recipe takes about 15 minutes to prepare and 30 minutes to bake and cool, plus an additional 1 hour in the fridge to set. In total, you’re looking at around 2 hours before these delicious bars are ready to enjoy!
Step-by-Step Instructions:
1. Prepare Your Baking Pan:
Start by preheating your oven to 350°F (175°C). Take a 9×13-inch baking pan and either line it with parchment paper or lightly grease it to prevent the bars from sticking. This will help you remove the bars easily later!
2. Make The Crust Mixture:
In a medium-sized bowl, mix together the graham cracker crumbs, chopped nuts, melted butter, and brown sugar. Stir everything really well until the mixture is evenly moistened. It should look like wet sand and hold together when pressed.
3. Form The Crust:
Press the crumb mixture evenly into the bottom of your prepared baking pan. Use the back of a measuring cup or your fingers to make sure it’s packed down tightly and evenly across the whole surface. This will help it hold together nicely after baking!
4. Bake The Crust:
Pop the pan in the oven and bake for 10-12 minutes, or until the crust is golden and set. Once it’s done, remove it from the oven and let it cool for a few minutes.
5. Add The Chocolate:
While the crust is still warm, sprinkle the semisweet chocolate chips and white chocolate chips (if using) evenly over the top. Let them sit for a few minutes to soften and melt slightly.
6. Spread The Chocolate:
After a few minutes, gently spread the melted chocolate over the crust using the back of a spoon or a spatula. Aim for a smooth, even layer to coat the whole surface.
7. Top With Candies and Sprinkles:
While the chocolate is still soft, sprinkle the pastel candy-coated chocolates and pastel sprinkles evenly on top. Press them down lightly with your fingers to help them stick to the chocolate surface. This adds a fun and colorful look!
8. Cool and Set:
Let the bars cool completely at room temperature first, then place them in the fridge for at least 1 hour. This chilling time allows the chocolate to set firmly, making them easier to cut.
9. Cut and Serve:
Once set, take the bars out of the fridge. Use a sharp knife to cut them into squares or bars. Now they’re ready to share and enjoy during your Easter celebrations!
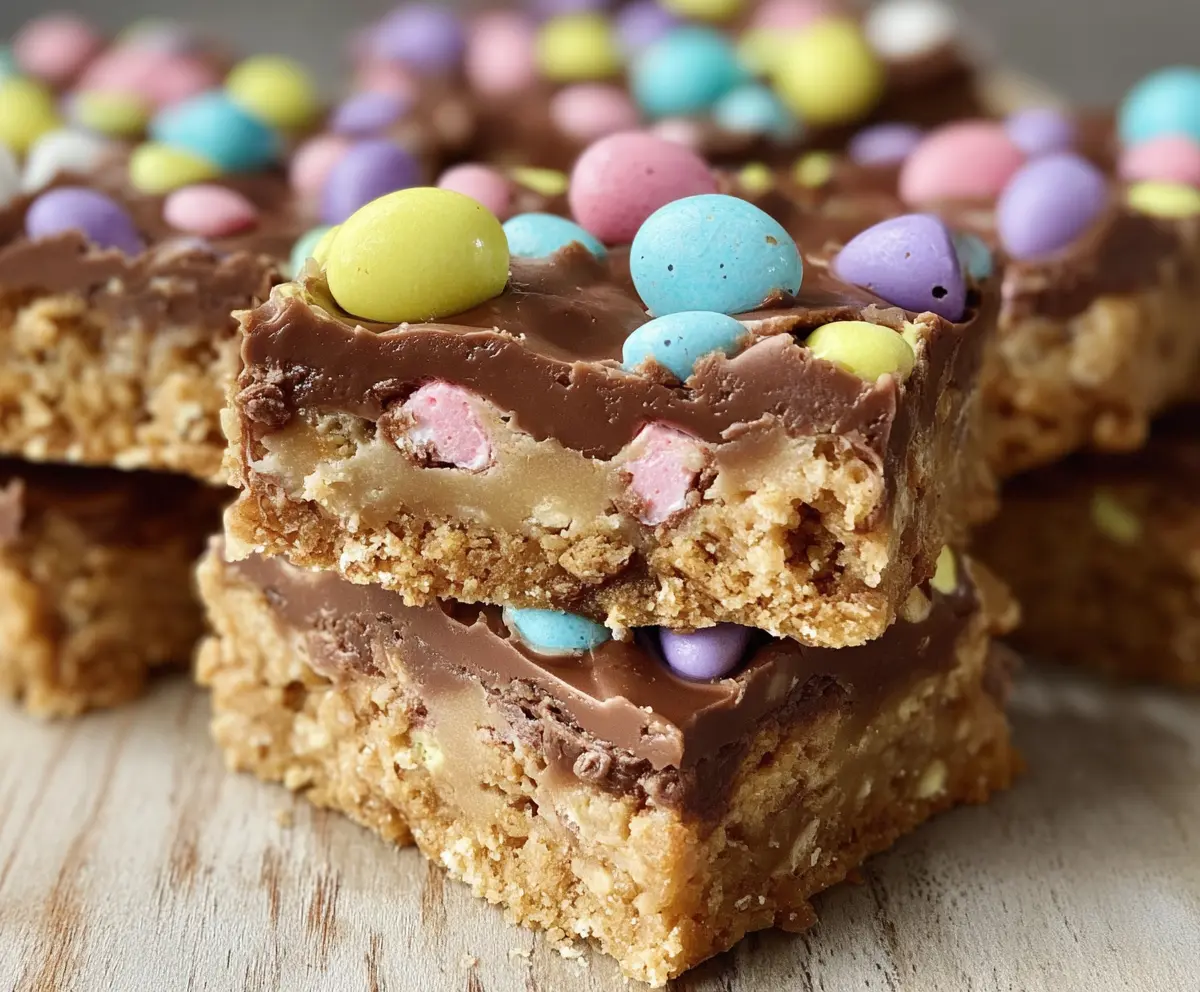
These Easter Goody Bars are a delightful blend of crunchy, creamy, and colorful treats, making them a perfect addition to your holiday dessert table!
Can I Use Gluten-Free Graham Crackers?
Absolutely! You can substitute regular graham crackers with gluten-free graham crackers or any gluten-free cookie crumbs. This will help keep the bars suitable for a gluten-free diet while maintaining great flavor and texture.
How Do I Store Leftover Easter Goody Bars?
Store any leftovers in an airtight container at room temperature for up to 3 days. If you’d like to keep them longer, you can refrigerate them for up to a week. If you want even more protection, consider freezing them for up to 2 months!
Can I Make These Bars Egg-Free?
Yes! This recipe is already egg-free, so you’re good to go! It relies on the combination of melted butter and chocolate, which helps bind the bars without eggs.
What If I Don’t Have Nuts on Hand?
No problem! You can simply increase the amount of graham cracker crumbs to replace the nuts, or substitute with seeds like sunflower or pumpkin seeds for some extra crunch without nuts.