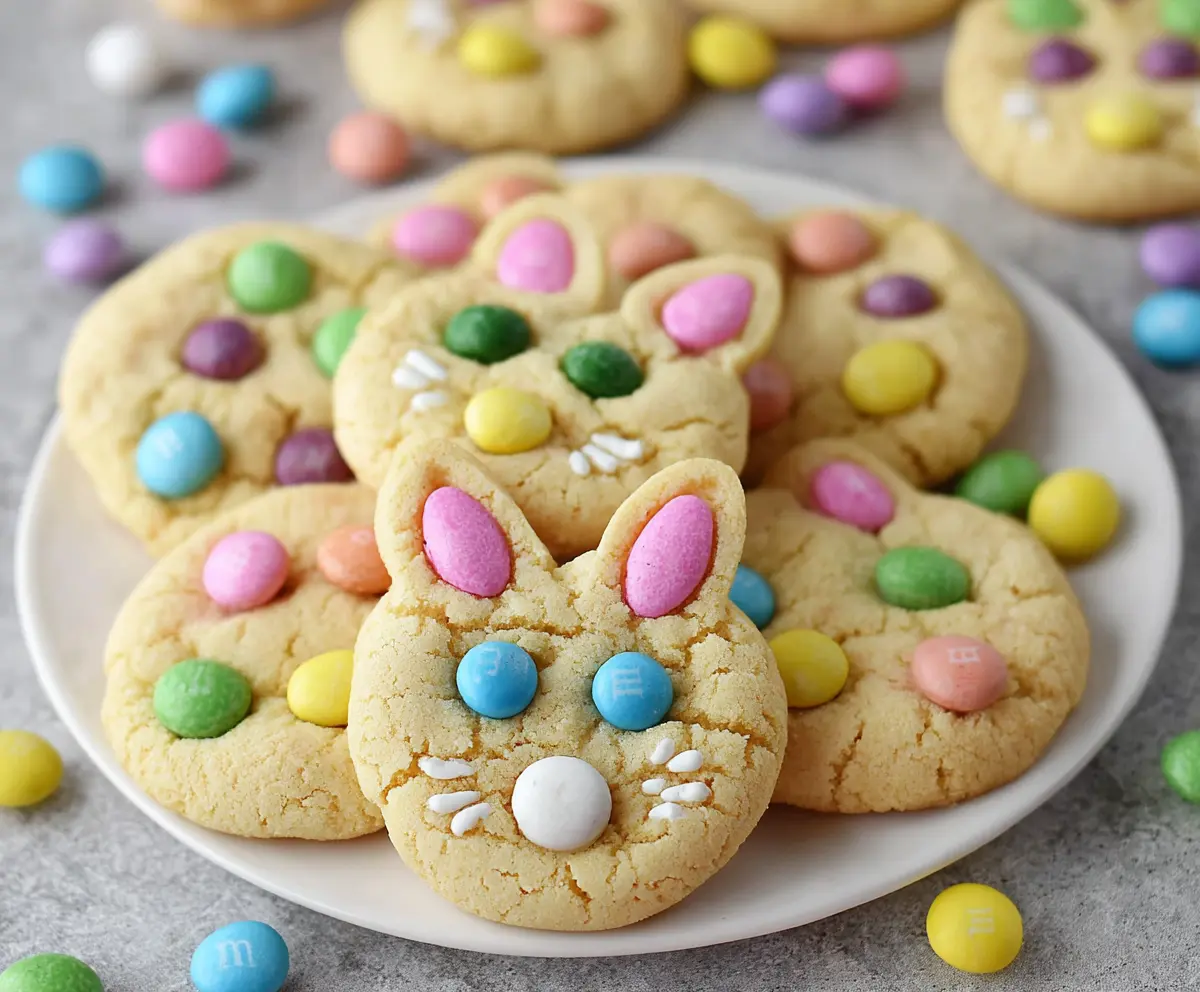
These fun Easter Bunny M&M’s Cookies are sweet and colorful treats perfect for the holiday! They’re soft, chewy, and packed with crunchy M&M’s that make every bite delightful.
Who can resist cookies with cute little bunny faces? I like to make these with my kids—they love picking out the M&M’s! They’re great for sharing during egg hunts or just enjoying at home.
Key Ingredients & Substitutions
Unsalted Butter: This is important for flavor and texture. If you don’t have it, you can use salted butter. Just reduce the added salt slightly for balance. I prefer unsalted for better control of flavors.
Sugars: A mix of granulated and brown sugar gives these cookies a wonderful sweetness and chewiness. If you only have granulated sugar, you can use 1 1/2 cups of it, but the cookies may be less chewy.
Eggs: Eggs help bind the dough and add moisture. If you’re vegan, use flax eggs (1 tablespoon ground flaxseed mixed with 2.5 tablespoons water per egg). They keep the texture nice and add a bit of nutty flavor!
Flour: All-purpose flour is standard, but you can substitute with a gluten-free blend if needed. Make sure it contains xanthan gum for proper texture.
M&M’s: These add color and fun! You can use chocolate chips if you prefer a smoother texture, or even chopped nuts or dried fruit for a different twist!
How Do You Get Your Cookies to Hold Their Shape?
One tricky part is getting bunny-shaped cookies to hold their form while baking. The key is to chill the dough briefly before baking. Here’s a quick guide:
- After mixing the dough, cover it and refrigerate for 30 minutes.
- Once chilled, scoop out the dough and shape it into rounds with pointy ears for the bunnies.
- Press M&M’s into the dough right before baking!
Chilling allows the butter to firm up so the cookies won’t spread too much, keeping that cute bunny shape. Plus, it helps improve the cookie texture! Enjoy these festive treats!
How to Make Easter Bunny M&M’s Cookies
Ingredients You’ll Need:
For the Cookie Dough:
- 1 cup (2 sticks) unsalted butter, softened
- 1 cup granulated sugar
- 1/2 cup brown sugar, packed
- 2 large eggs
- 1 teaspoon vanilla extract
- 2 1/2 cups all-purpose flour
- 1 teaspoon baking soda
- 1/2 teaspoon salt
- 1 cup multicolored M&M’s, plus extra for decoration
For Decorating:
- White decorating icing or white gel frosting (for whiskers and nose)
How Much Time Will You Need?
This recipe takes about 15 minutes of prep time and 10-12 minutes for baking. You’ll need some additional cooling time, so overall, plan for about 30-45 minutes before you can enjoy these delightful cookies!
Step-by-Step Instructions:
1. Preheat and Prepare
First, preheat your oven to 350°F (175°C). Line your baking sheets with parchment paper or silicone mats to prevent sticking. This will help your cookies bake evenly!
2. Cream the Butter and Sugars
In a large mixing bowl, take your softened butter and mix it with the granulated sugar and brown sugar. Use an electric mixer or a good old-fashioned wooden spoon until the mixture is light and fluffy. This step is key for nice cookies!
3. Add Eggs and Vanilla
Next, beat in the eggs one at a time, making sure each is well mixed before adding the next. Then stir in the vanilla extract. This adds a wonderful flavor to your cookies!
4. Mix the Dry Ingredients
In a separate bowl, whisk together the flour, baking soda, and salt. This ensures that all your dry ingredients are well combined and will help your cookies rise perfectly.
5. Combine Wet and Dry Ingredients
Gradually add the dry mixture to the wet mixture, mixing until just combined. Be careful not to overmix, as this can make your cookies tough.
6. Fold in the M&M’s
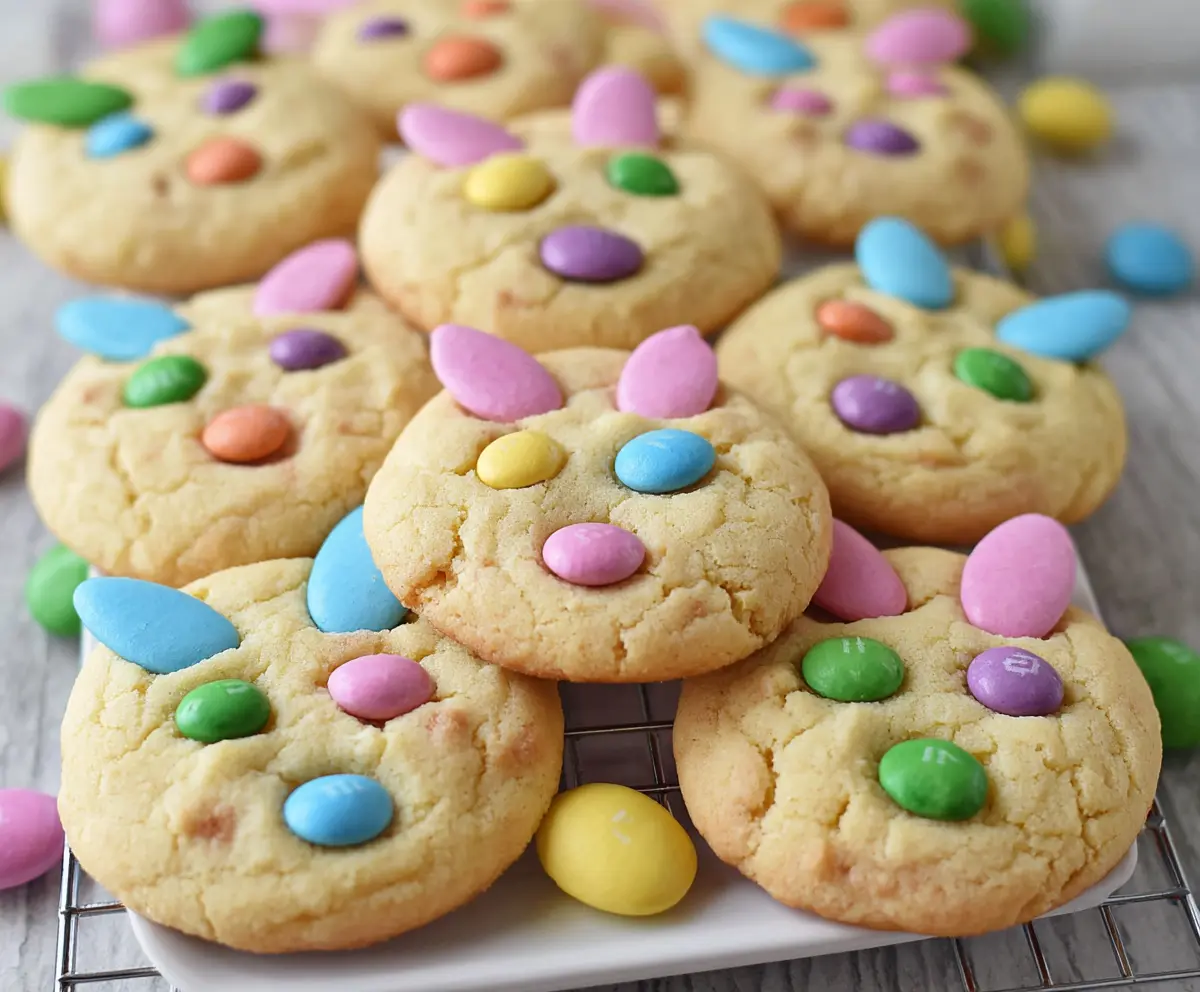
Gently fold in 1 cup of multicolored M&M’s, ensuring they are evenly distributed throughout the dough. The colors will make your cookies look super festive!
7. Shape the Cookies
Scoop the cookie dough into rounded tablespoons and place them on your prepared baking sheets. For a fun touch, shape some of the dough into bunny forms with two small ears by pulling the dough slightly to create the ears.
8. Decorate the Cookies
Press extra M&M’s on each dough round to decorate. For the bunny ears, use pink or red M&M’s to add a cute inner ear color. Get creative!
9. Bake the Cookies
Bake in your preheated oven for 10-12 minutes or until the edges are lightly golden and the centers are still soft. Keep an eye on them to prevent overbaking!
10. Cool and Decorate
Once baked, allow the cookies to cool on the baking sheet for about 5 minutes. Then, transfer them to a wire rack to cool completely. After they cool, use white decorating icing to pipe on bunny whiskers and a small nose on the bunny-shaped cookies. For eyes, press in blue or green M&M’s!
11. Serve and Enjoy!
Your festive Easter Bunny M&M’s Cookies are ready to be served! Enjoy these delightful treats with friends and family during your Easter celebrations!
Can I Use Different Types of M&M’s?
Absolutely! While multicolored M&M’s add a festive touch, you can definitely use your favorite variety, like peanut or crispy M&M’s. Just keep in mind that different types may alter the texture and flavor a bit!
How to Store Leftover Cookies?
Store any leftover cookies in an airtight container at room temperature for up to 5 days. You can also freeze them for up to 3 months; just make sure to layer them with parchment paper to prevent sticking.
Can I Make the Dough Ahead of Time?
Yes! You can prepare the cookie dough ahead of time and refrigerate it for up to 2 days. Just let it sit at room temperature for about 10-15 minutes before baking to make it easier to scoop and shape.
How Can I Make These Cookies Chewy?
For extra chewy cookies, consider chilling the dough for at least 30 minutes before baking. Additionally, you can slightly underbake them, pulling them out while the centers are still soft. They will continue to firm up as they cool!