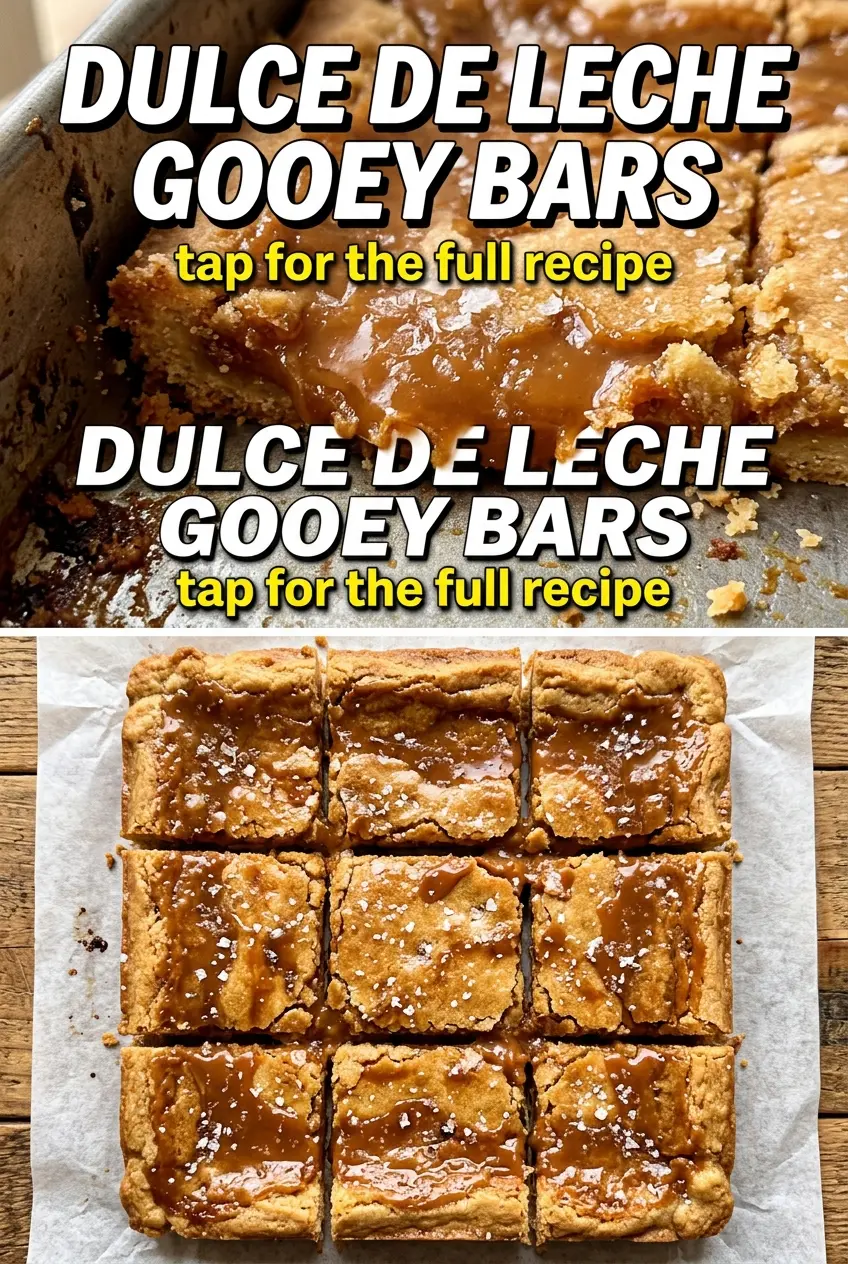
Golden shortbread, glossy dulce de leche, and a thin cap of dark chocolate make these bars the kind of dessert people hover over before they’ve even cooled. The base stays sturdy enough to hold a clean square, but the middle softens into that caramel pull you only get when the layers bake together just long enough. A little fleur de sel on top keeps the sweetness from flattening out and gives each bite a sharper finish.
What makes these bars work is the contrast in texture. The crust is mixed until crumbly, then pressed firmly so it bakes into a tight, sandy base instead of turning into a cookie that falls apart. The dulce de leche goes on while the crust is still warm, which helps it spread without tearing the surface. After that, the chocolate only needs enough heat to set into a glossy top, not so much that it slides into the caramel layer.
Below, I’ve included the small details that keep the layers distinct, plus the one thing that makes cutting these bars so much cleaner. If you’ve ever had caramel bars ooze everywhere the second the knife touched them, this version fixes that.
The crust held together beautifully and the dulce de leche layer stayed thick instead of running all over the pan. I chilled them like you said and got neat squares with that perfect salty chocolate finish.
Save these gooey dulce de leche bars for the day you want a caramel-and-chocolate dessert with a salty finish and clean, bakery-style squares.
The Reason the Crust Stays Tender Instead of Turning Tough
The shortbread layer is where a lot of caramel bars go wrong. If you overwork the flour and butter, it turns dense and bready instead of tender, and the finished bars lose that melt-in-your-mouth base that makes the whole dessert work. You want a mixture that looks sandy and clumpy, not smooth like cookie dough.
Pressing the crust firmly into the pan matters just as much as the mixing. A loose crust will crumble when you cut the bars, while a compact layer bakes into a sturdy foundation that can handle the heavy dulce de leche on top. The goal is structure without toughness. That comes from stopping as soon as the dough holds together when pinched.
What Each Ingredient Is Actually Doing in This Dish
- All-purpose flour — This gives the base enough structure to support the caramel layer without becoming cakey. A 1:1 gluten-free blend can work here if it contains xanthan gum, but the texture will be a little more fragile.
- Butter — Softened butter in the crust creates that tender shortbread texture, while the extra butter with the chocolate helps it melt into a spreadable layer. Use real butter here; margarine won’t give the same clean flavor or set.
- Granulated sugar — Just enough sugar helps the crust brown and gives the base a delicate crunch. Too much and the bottom can taste overly sweet against the dulce de leche.
- Dulce de leche — This is the center of the bars, so quality matters. A thick, spoonable jarred version is easiest to spread evenly. If yours is very stiff, warm the unopened can or jar gently in hot water first so it loosens without turning runny.
- Dark chocolate chips — Dark chocolate keeps the bars from tasting flat. Chips are fine, but chopped chocolate melts a little more smoothly and gives a cleaner finish.
- Fleur de sel — This is the finishing move, not a garnish you can skip carelessly. The flaky salt gives each square a sharper edge and keeps the caramel from tasting one-note.
Building the Layers Without Losing the Gooey Center
Mixing the Shortbread Base
Work the flour, butter, sugar, and salt just until the mixture turns crumbly and starts clumping when pressed. If it looks like smooth dough, it’s already been mixed too far. Press it into the pan with even pressure, especially into the corners, because thin spots bake faster and can go dry before the rest of the base is ready.
Adding the Dulce de Leche While the Crust Is Warm
Spread the dulce de leche over the crust as soon as it comes out of the oven. Warm crust helps the caramel glide into an even layer, but it also means you need to work with a light hand so you don’t tear the surface. An offset spatula is useful here because it moves the caramel without dragging crumbs through it.
Finishing the Chocolate Layer
Melt the chocolate chips with butter until just smooth, then spread or drizzle it over the caramel. Don’t overheat the chocolate. If it gets too hot, it can separate and turn grainy instead of setting into a clean top. Once it’s on the bars, the second bake only needs to firm the surface, not cook the layers through.
Cooling for Clean Squares
Cooling is what turns these from a pan of caramel bars into neat, sliceable dessert squares. Let them come to room temperature first, then chill until the center feels set when you press lightly on the top. If you cut too soon, the dulce de leche will ooze out and the chocolate layer will crack unevenly. A chilled knife gives the cleanest edges.
How to Adapt These Bars for Different Kitchens and Different Tastes
Make Them Gluten-Free
Swap the flour for a 1:1 gluten-free baking blend that includes xanthan gum. The crust will still hold together, but it may be a touch more delicate at the edges, so let the bars chill fully before slicing.
Use Milk Chocolate for a Sweeter Bar
Milk chocolate softens the contrast and makes the bars taste more like a classic candy bar. The tradeoff is that the finish will be sweeter and less sharp, so I’d keep the fleur de sel on top.
Add Toasted Nuts for More Crunch
A handful of chopped toasted pecans or walnuts over the dulce de leche gives you a crackly bite that plays well against the soft center. Add them before the chocolate sets so they adhere to the top.
Make Them Ahead
These bars actually cut better after a night in the fridge, so they’re excellent for making the day before a party. Slice them cold, then let them sit at room temperature for a few minutes before serving so the caramel layer softens again.
Storage and Reheating
- Refrigerator: Store in an airtight container for up to 5 days. The chocolate stays firm and the caramel layer becomes denser when chilled.
- Freezer: Freeze the cut bars between layers of parchment for up to 2 months. Thaw in the refrigerator so the top doesn’t sweat and turn tacky.
- Reheating: These aren’t meant to be reheated. If you want a softer texture, let a bar sit at room temperature for 10 to 15 minutes before serving.
Questions I Get Asked About This Recipe
Dulce de Leche Gooey Bars
Ingredients
Equipment
Method
- Mix all-purpose flour, softened butter, granulated sugar, and salt until crumbly, then press firmly into an 8x8 baking dish.
- Bake at 350°F for 12-15 minutes until golden.
- Spread dulce de leche over the warm crust in an even layer.
- Melt dark chocolate chips with butter and drizzle or spread over the dulce de leche.
- Bake at 350°F for 8-10 minutes until the chocolate is set.
- Cool completely on the counter before cutting.
- Refrigerate for at least 30 minutes.
- Cut into 16 squares and sprinkle with fleur de sel, then serve at room temperature or chilled.