Double Crunch Honey Garlic Chicken Breasts deliver the kind of crackly, golden crust that stays loud even under a glossy layer of sticky sauce. The coating fries up with real texture, not a soft breaded shell, and the honey garlic glaze clings in all the right places without turning the chicken soggy right away. It’s the sort of dinner that disappears fast because every bite gives you crunch first, then sweet-salty garlic, then juicy chicken.
The double dredge is what makes this work. The first pass helps the egg grip, and the second flour coating builds those rough, craggy edges that fry into an extra crisp crust. Pounding the chicken to even thickness matters too, because thick spots finish late while thinner edges dry out. The sauce stays simple on purpose: honey for shine, soy sauce for salt, garlic for bite, and a little vinegar to keep the sweetness from flattening out.
Below, I’m walking through the part that matters most — how to get the coating crunchy before the sauce goes on, plus the small pan-frying details that keep the crust from slipping off. I’ve also included a few swaps and a couple of fixes for the issues people usually run into with fried chicken at home.
The crust stayed shatter-crisp even after I spooned the sauce over it, and pounding the breasts evenly meant everything cooked through at the same time.
Like this double crunch honey garlic chicken? Save it to Pinterest for the nights when you want ultra-crispy chicken with a sticky garlic glaze.
The Crust Needs Space to Fry Before the Sauce Touches It
The biggest mistake with this dish is rushing the coating into sauce too early. The chicken needs to come out of the skillet deeply golden, not just lightly colored, because the sauce softens the crust the moment it hits the heat. A thin, pale coating turns limp fast. A properly fried double dredge starts with enough structure to hold on for a few minutes under glaze.
Oil temperature matters more than most people think. Too cool, and the flour soaks up grease instead of crisping; too hot, and the outside browns before the chicken cooks through. The target is a steady 350°F, which gives you a crust that fries evenly and releases cleanly from the pan without tearing.
- Double dredging builds the rough, craggy surface that fries into real crunch. The second pass picks up dry flour from the egg layer, and those little ridges are what turn crisp in the oil.
- Pounded chicken breasts cook evenly, which keeps you from burning the coating while waiting for the center to reach temperature.
- Cast iron holds heat better than a thin skillet, so the oil stays steadier when the chicken goes in.
What Each Ingredient Is Actually Doing in the Crispy Coat and Sticky Glaze
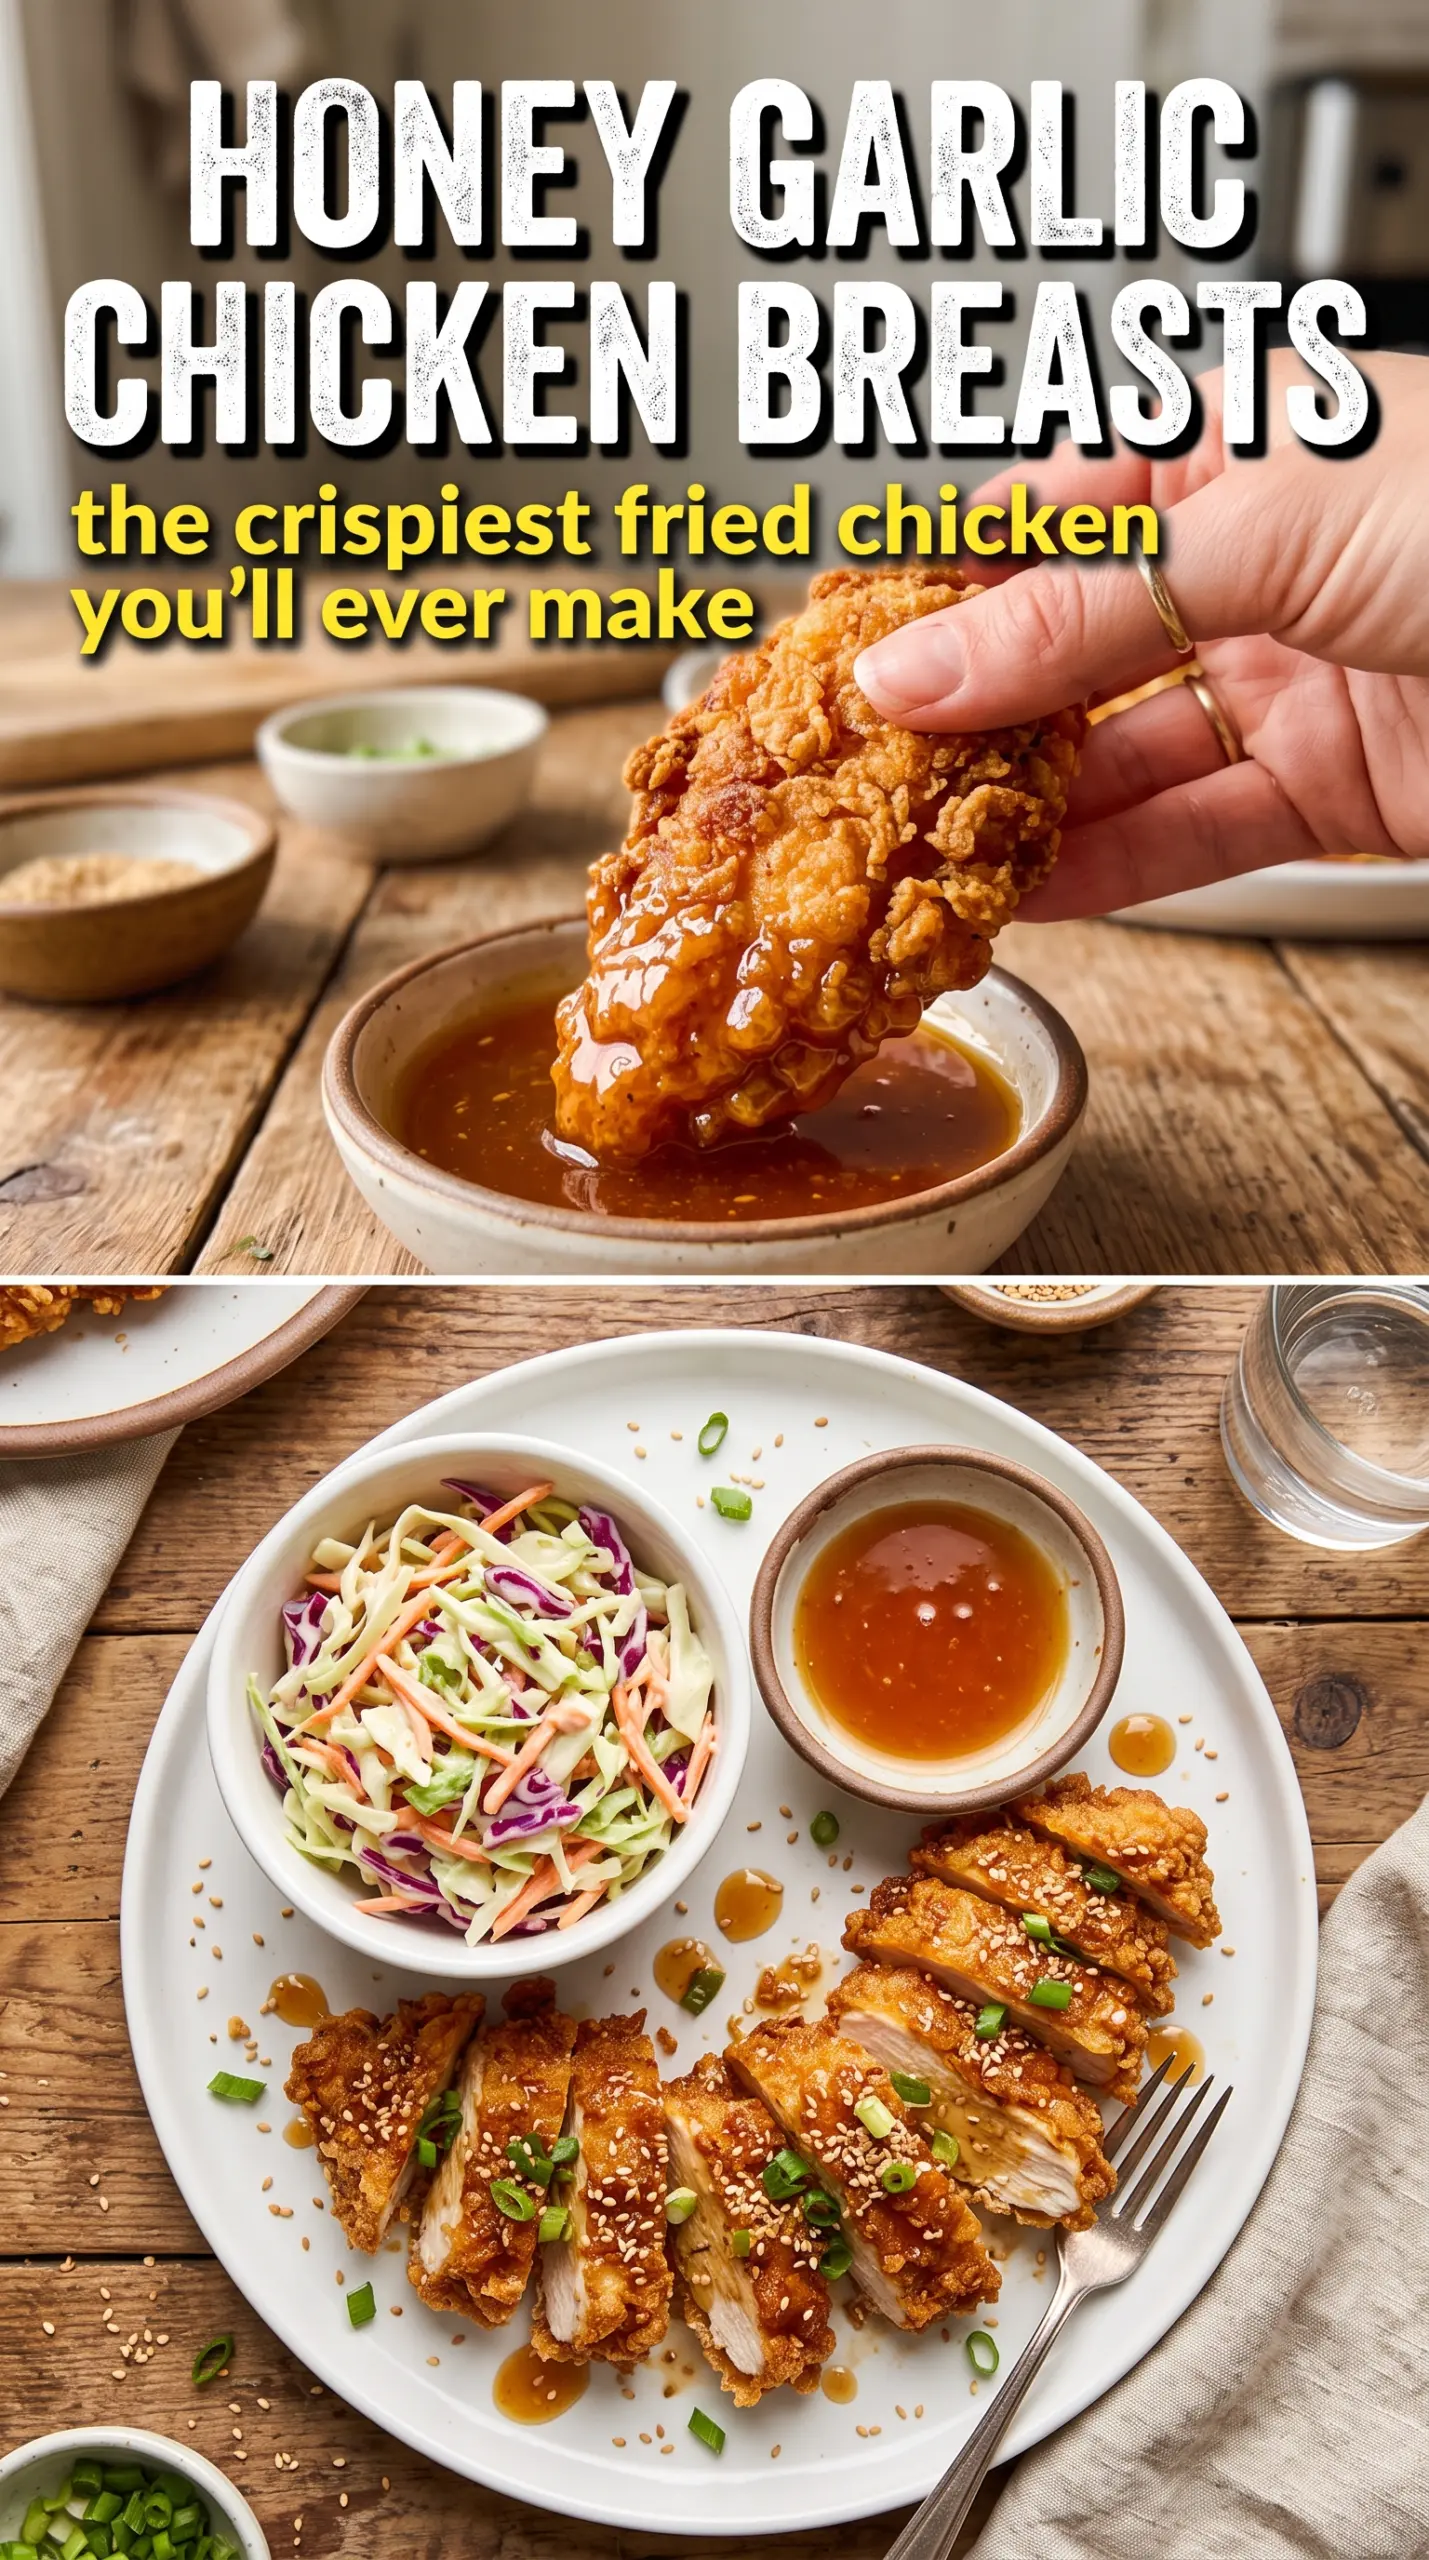
- Boneless skinless chicken breasts give you a thick, lean base that slices cleanly and holds up to the strong glaze. Pound them to even thickness so the whole piece fries at the same pace.
- All-purpose flour is what creates the crunch here. There isn’t a better swap if you want the same brittle, fried coating; cornstarch alone gives a lighter shell, not this kind of breaded crust.
- Eggs act as the glue between the two flour layers. If the chicken looks patchy after the first dredge, the egg coat should look wet and even before it goes back into the flour.
- Honey gives the sauce its shine and stickiness. Maple syrup can work in a pinch, but it tastes different and runs thinner, so the glaze won’t cling quite as well.
- Soy sauce and vinegar keep the sweetness in check. The soy brings salt and depth, while the vinegar cuts through the honey so the sauce tastes bright instead of one-note.
- Butter and garlic round out the sauce. The garlic should just simmer until fragrant; if it goes long enough to brown hard, it turns bitter and takes over the whole dish.
Frying, Glazing, and Serving Before the Crunch Softens
Building the Double Dredge
Mix the flour with the garlic powder, onion powder, paprika, salt, and pepper first so every bite of crust tastes seasoned. Dredge the chicken in flour, press it lightly, then dip it in the beaten egg and go back into the flour again. The second coating should look shaggy and thick. That rough surface is what fries into those crisp ridges people fight over.
Frying to a Deep Golden Finish
Heat about 1/2 inch of oil in a cast iron skillet to 350°F before the chicken goes in. Lay the pieces in gently and leave them alone long enough to form a crust; if you move them too soon, the coating can tear. Fry until both sides are deep golden and the thickest part reaches 165°F. If the outside browns too fast, the oil is too hot and the center won’t keep up.
Making the Glaze in a Few Fast Minutes
Simmer the honey, garlic, soy sauce, butter, and vinegar in a small saucepan over medium heat until it thickens just slightly, about 3 to 4 minutes. You’re looking for a glossy sauce that lightly coats a spoon, not a hard candy texture. Pull it off the heat as soon as it smells fragrant and looks unified; overcooking here makes it too tight and sticky to pour cleanly.
Coating and Serving Right Away
Pour the sauce over the hot chicken or spoon it across the top right before serving. Garnish with sesame seeds and sliced green onions, then get it to the table immediately while the crust still has some snap. If the chicken sits under sauce for too long, the texture will soften, and this dish loses half its appeal.
How to Change the Chicken Without Losing the Crunch
Make it gluten-free with a crust that still fries well
Use a 1:1 gluten-free flour blend that includes xanthan gum if possible. The coating won’t be quite as rugged as all-purpose flour, but it will still fry into a crisp shell. Skip almond flour here; it browns too fast and doesn’t give the same dry, crackly texture.
Make it dairy-free without changing the sauce structure
Swap the butter in the glaze for a neutral-tasting dairy-free butter or a tablespoon of oil. You’ll lose a little roundness, but the sauce still thickens and clings because the honey does most of the work.
Use chicken thighs for a juicier bite
Boneless thighs work well if you want a richer, softer center. They usually need a few extra minutes in the pan, so watch the crust carefully and lower the heat if the coating is darkening too quickly.
Storage and Reheating
- Refrigerator: Store leftovers for up to 3 days. The crust softens in the fridge, but the chicken still reheats well.
- Freezer: Freeze the fried chicken before saucing if you want the best texture. Thaw in the fridge, reheat until crisp, then add fresh sauce.
- Reheating: Reheat in a 375°F oven or air fryer until hot and re-crisped. The microwave makes the coating soggy, which is the one mistake that flattens this dish completely.
Answers to the Questions Worth Asking
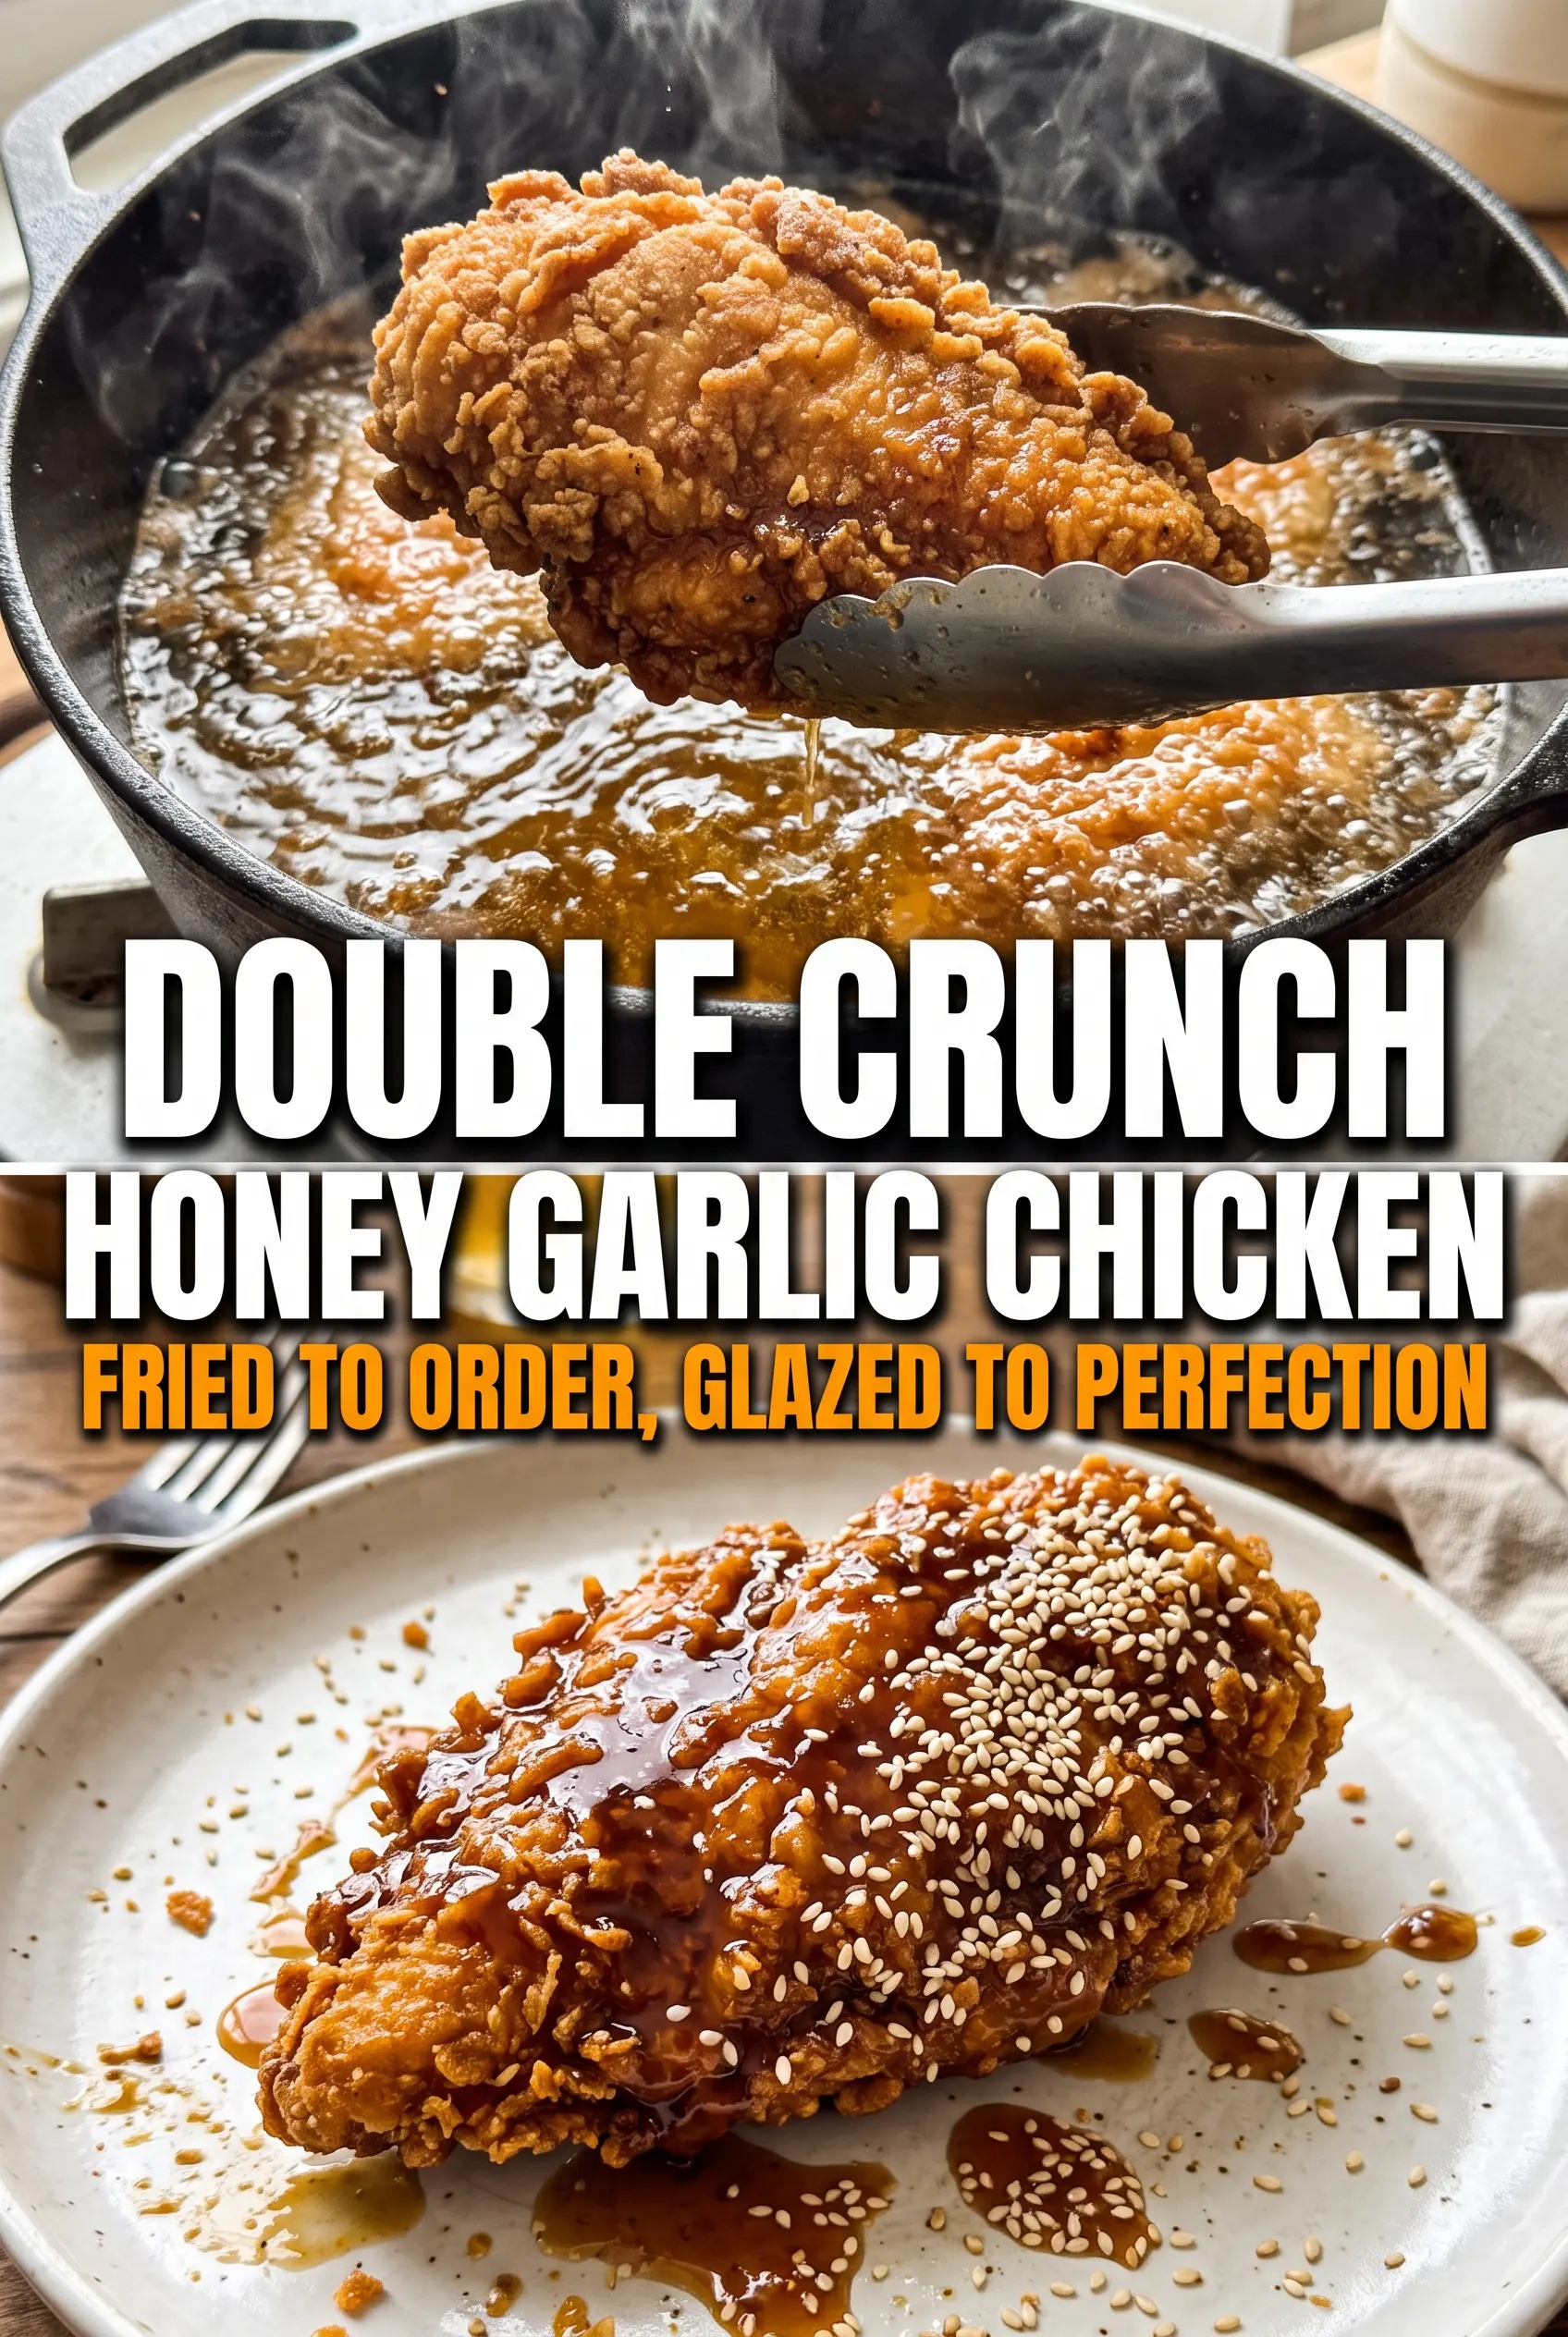
Double Crunch Honey Garlic Chicken Breasts
Ingredients
Equipment
Method
- Mix the all-purpose flour with garlic powder, onion powder, smoked paprika, salt, and pepper in a shallow bowl until evenly colored.
- Dredge the boneless skinless chicken breasts in the seasoned flour, shaking off excess.
- Dip the flour-coated chicken into the beaten large eggs.
- Dredge the egg-dipped chicken back into the seasoned flour again for a thick double-crunch coat.
- Heat about 1/2 inch of vegetable oil in a large cast iron skillet over medium-high heat until it reaches 350°F.
- Pan-fry the chicken for 5-6 minutes per side until golden and crunchy, flipping once for even browning.
- Continue cooking until the internal temperature reaches 165°F, then drain the chicken briefly on a rack or paper to remove excess oil.
- Simmer the honey, minced garlic, soy sauce, butter, and apple cider vinegar in a saucepan over medium heat for 3-4 minutes until slightly thickened.
- Pour the honey garlic sauce over the hot, crispy chicken so the coating shatters at the first bite.
- Garnish with sesame seeds and sliced green onions, then serve immediately.