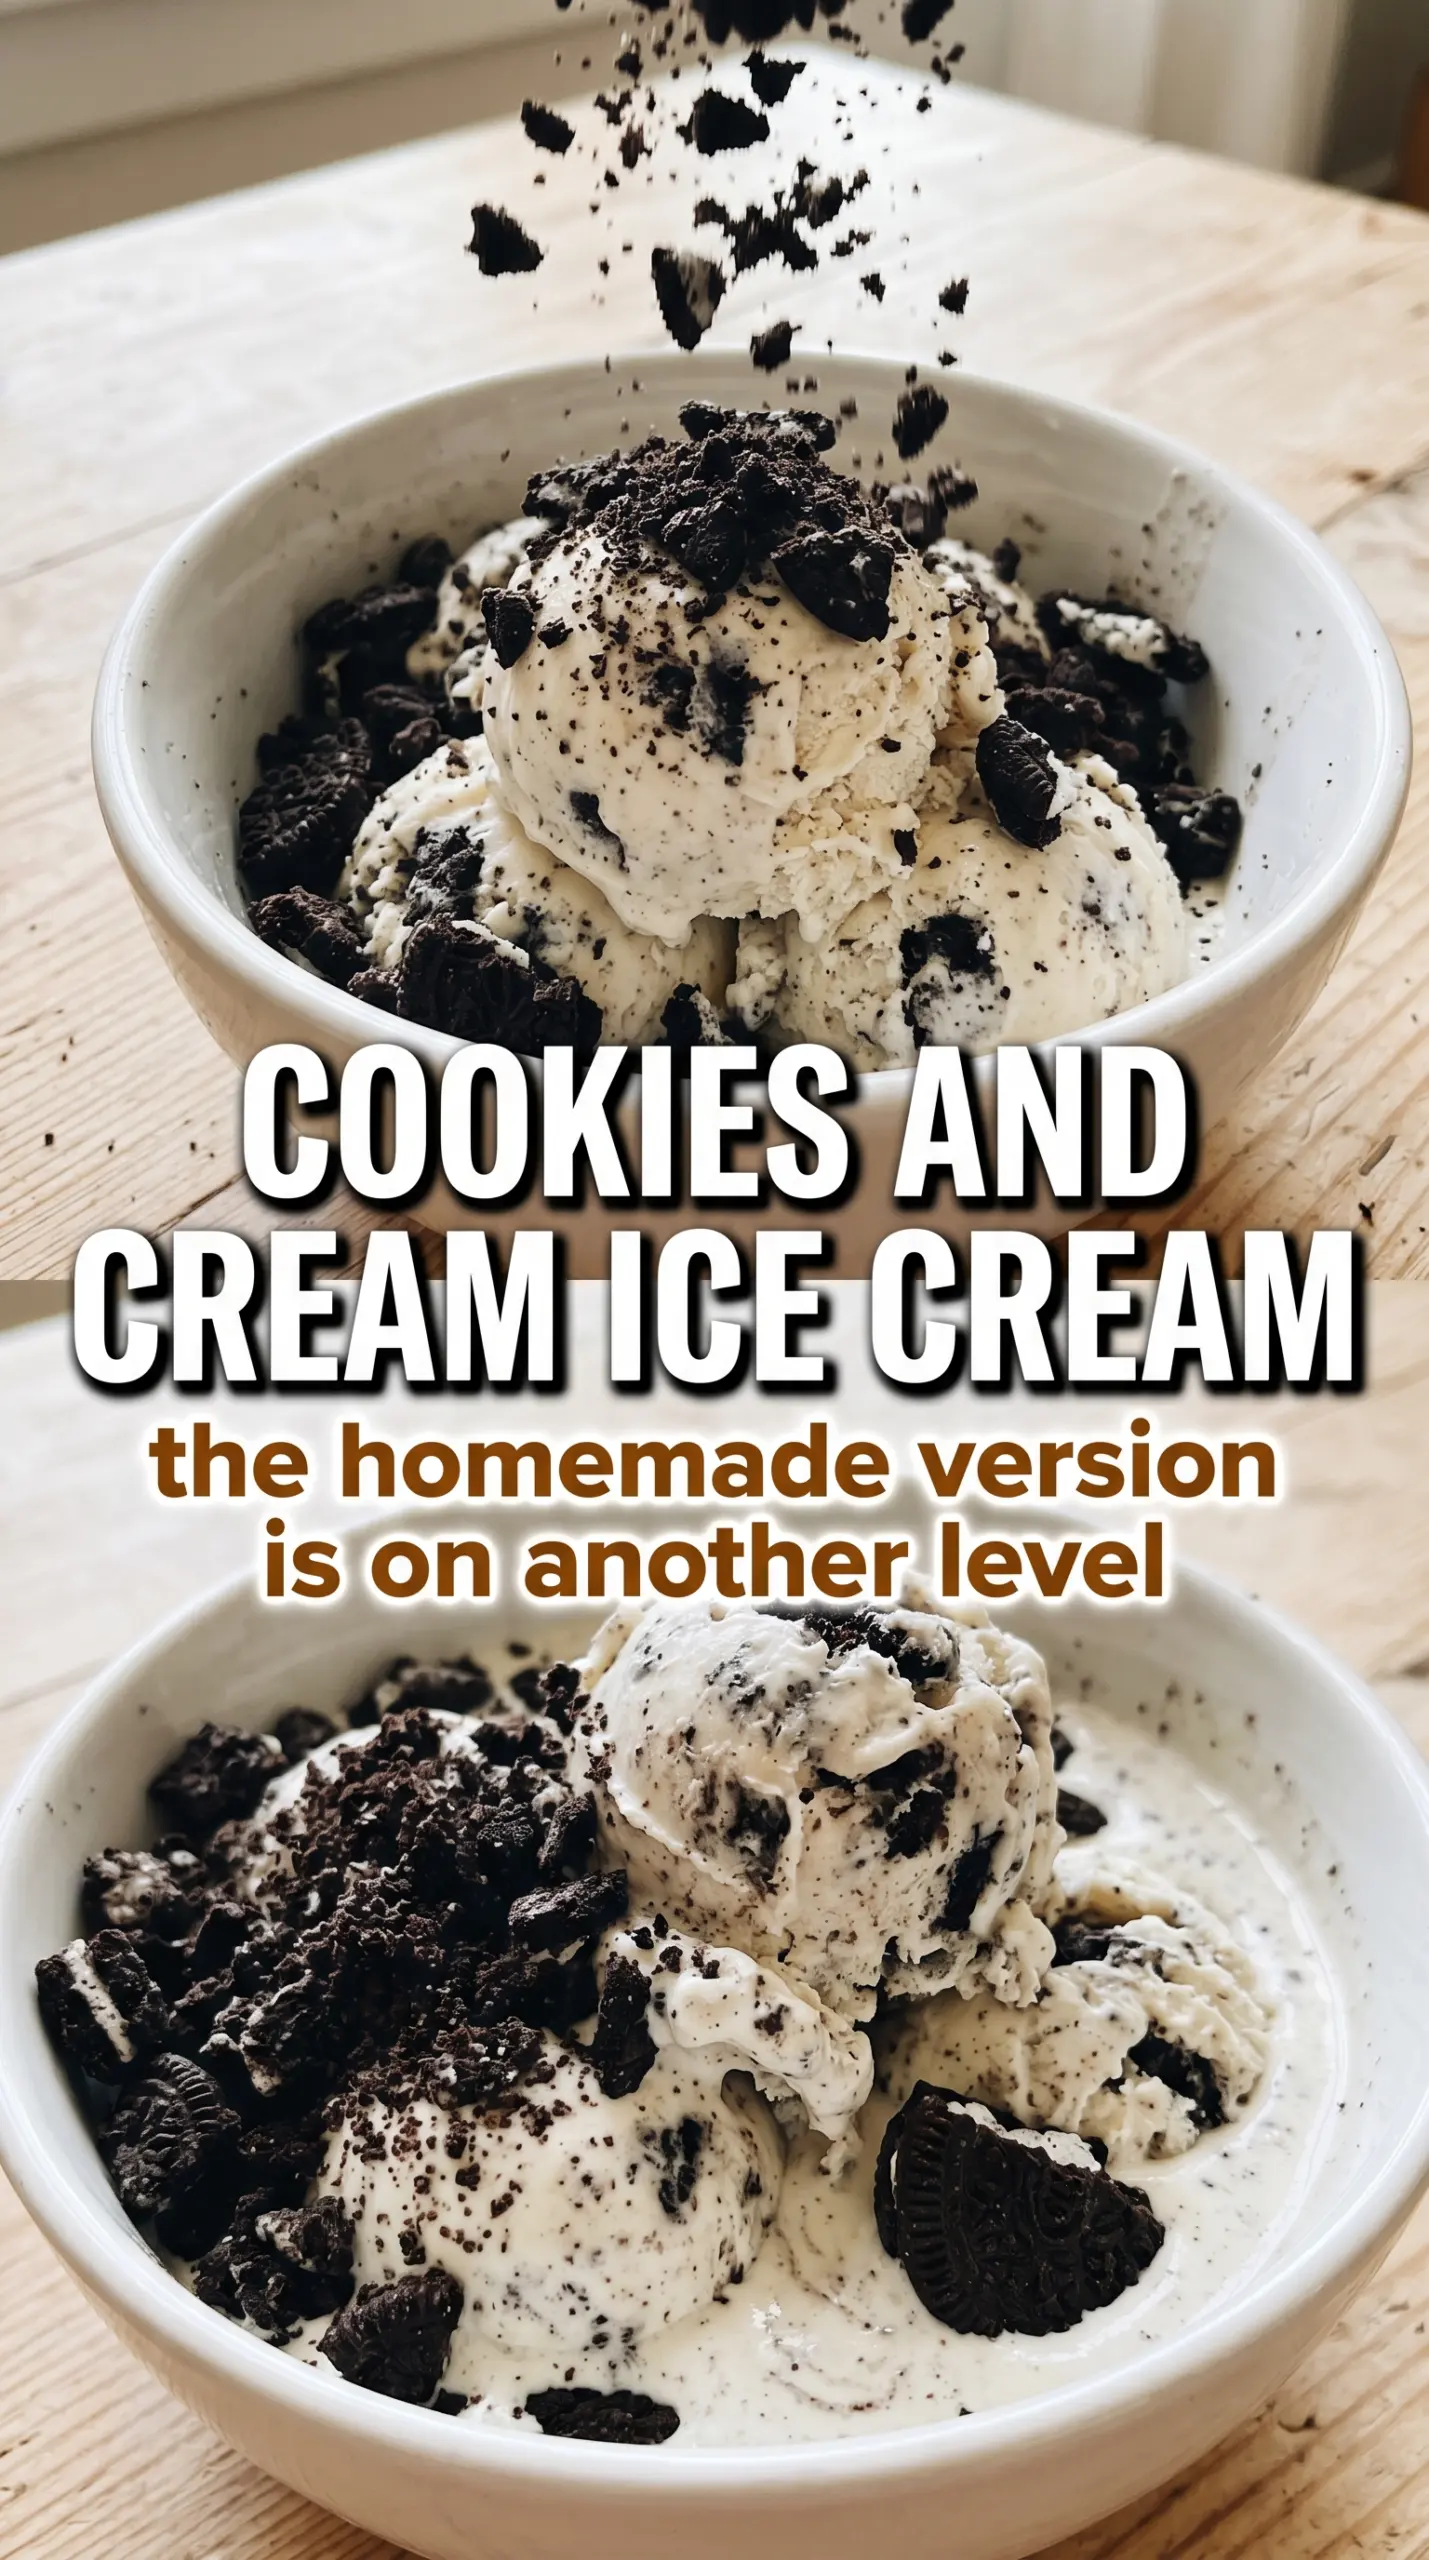
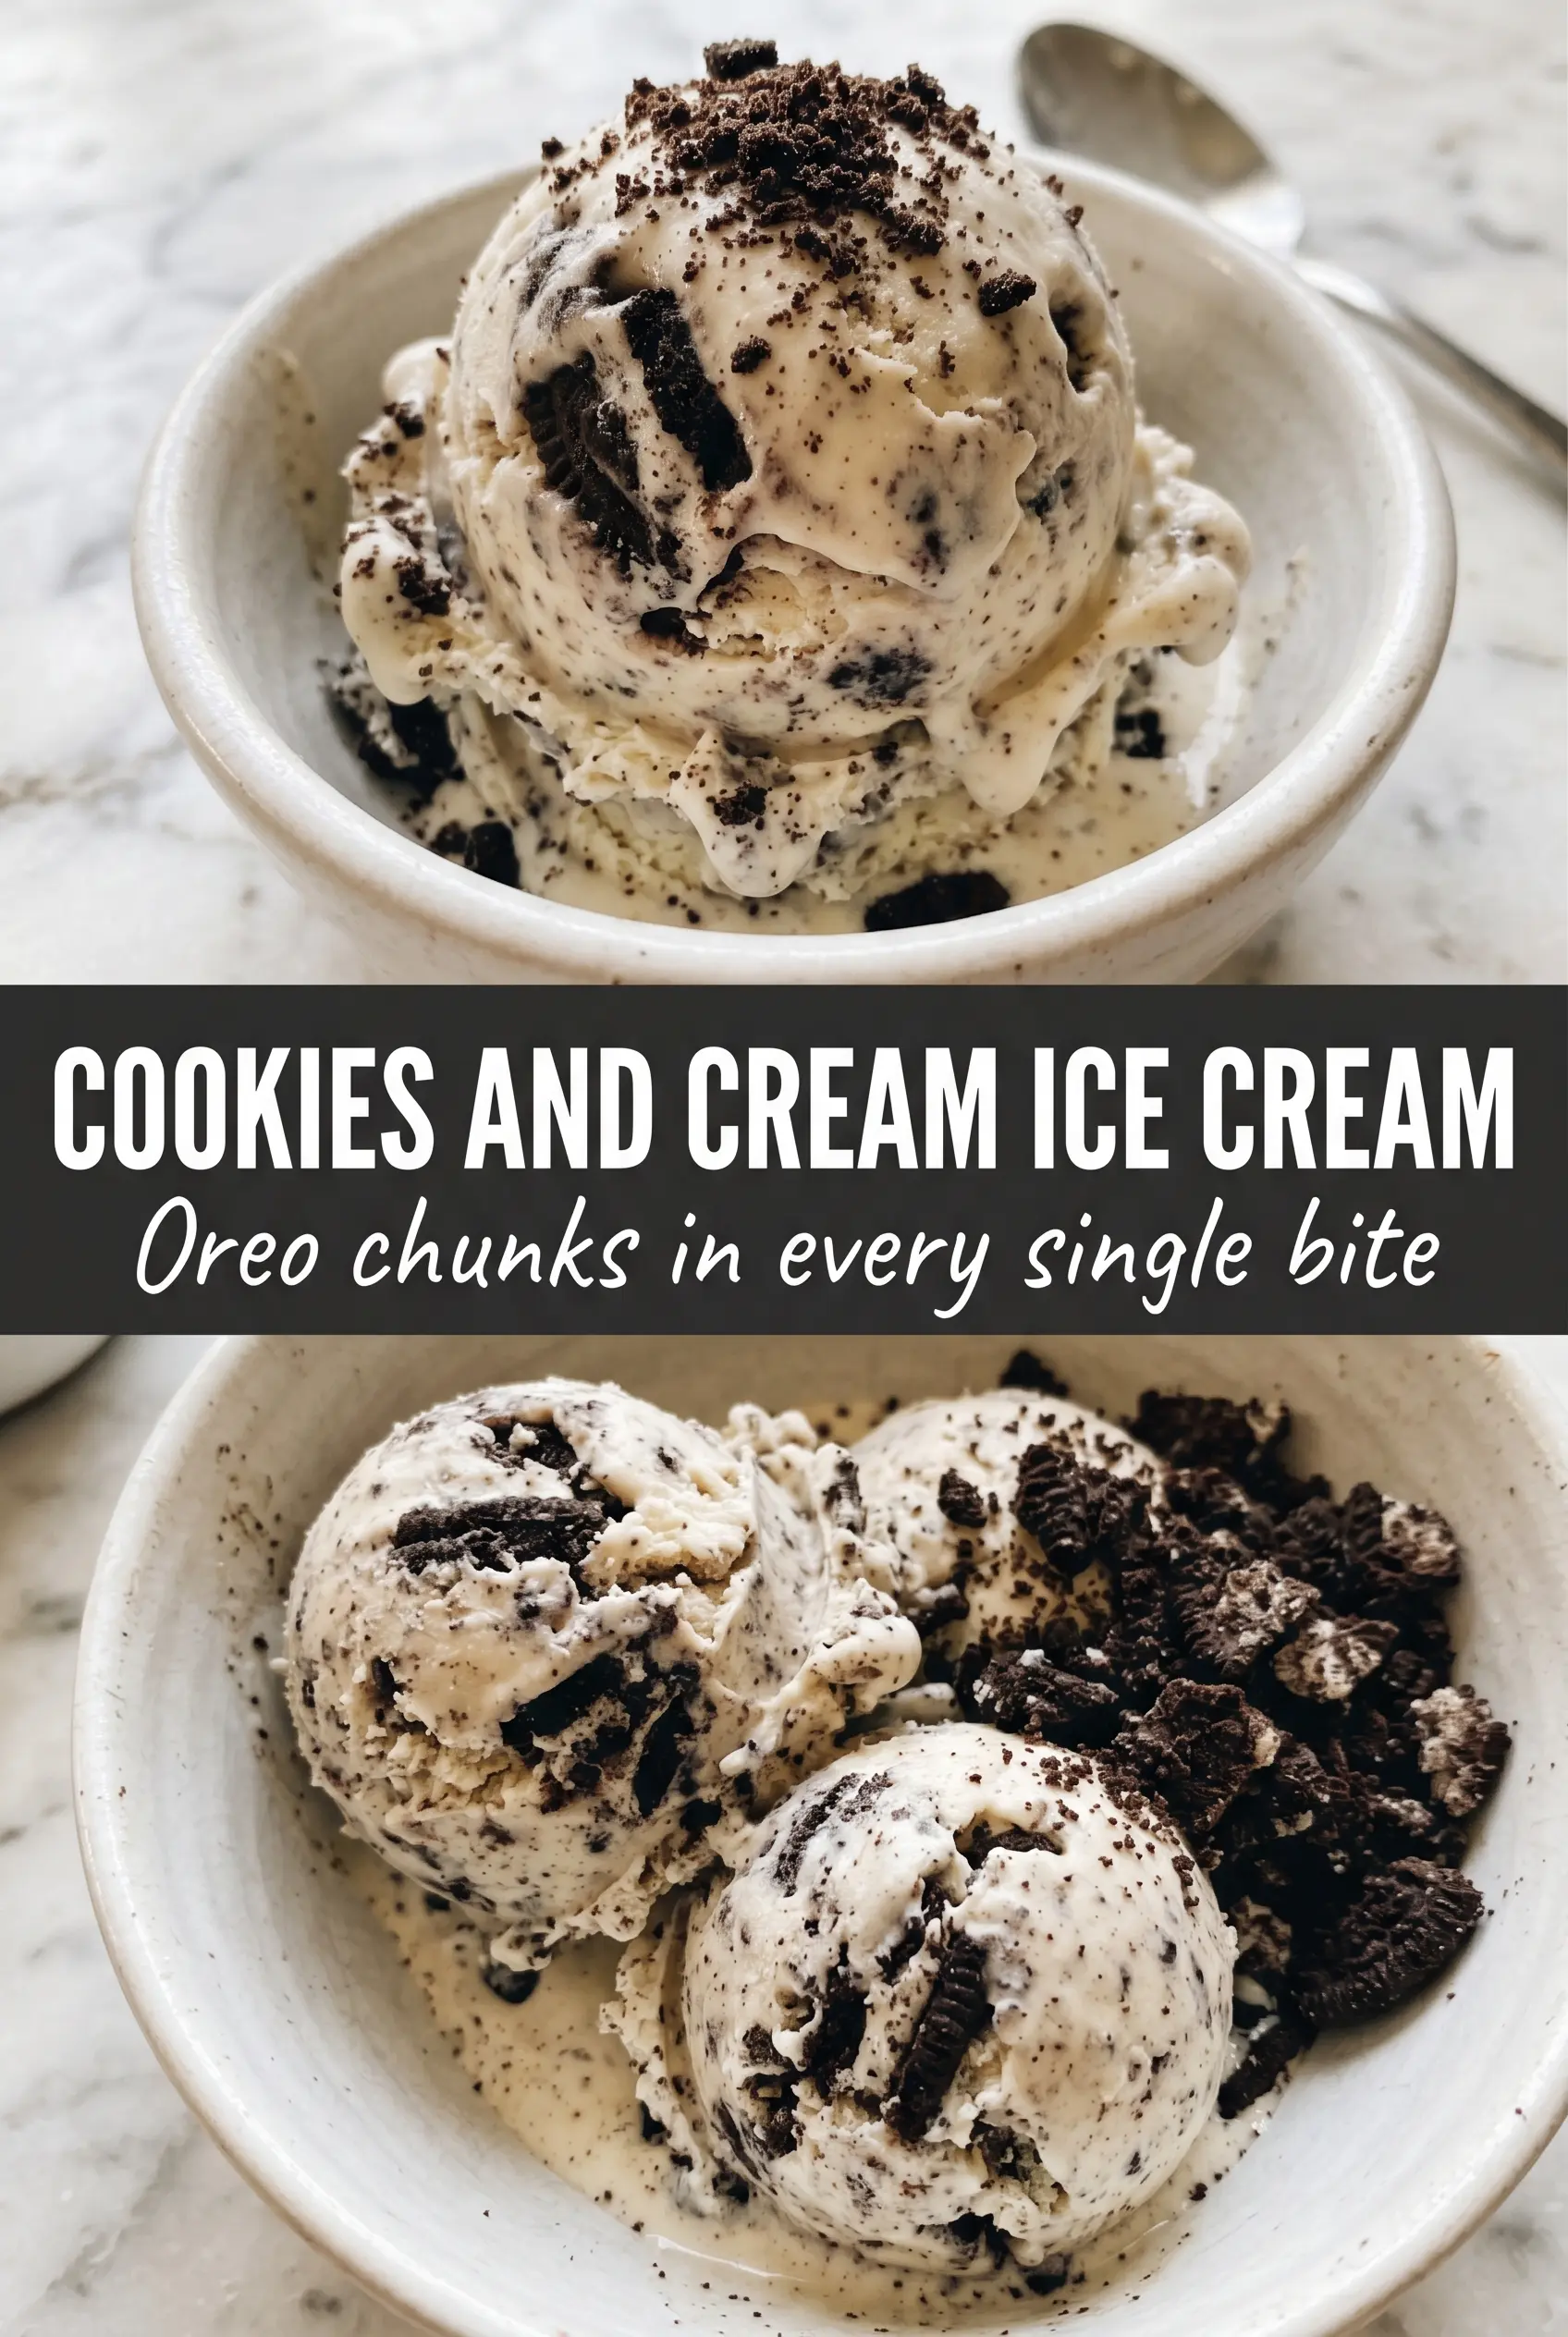
Cookies and cream ice cream turns out best when the base tastes like real custard, not just sweet cream with cookie crumbs folded through it. The texture should be dense and silky enough to scoop cleanly, with big chocolate cookie pieces that stay distinct instead of disappearing into a gray blur. When it’s done right, every spoonful gives you cold vanilla richness first, then a hit of cocoa and crunch.
The trick is treating the custard like custard. Slow heating keeps the egg yolks from scrambling, and cooking only to 175°F gives you enough body without crossing into eggy territory. I also like to strain the base before chilling; even a perfectly careful custard can pick up a few tiny bits, and straining keeps the finished ice cream smooth.
Below, I’ll walk through the part that matters most: how to keep the base creamy, how to get the cookie pieces distributed evenly, and what to do if you want a softer scoop straight from the freezer.
The custard came out smooth and the cookie pieces stayed chunky instead of turning soggy. I added the cookies in the last minute like you said, and it froze with that perfect cookies-and-cream bite.
Love the chunky cookie bites and creamy custard base? Save this cookies and cream ice cream recipe for the next time you want a homemade freezer treat that actually scoops well.
The Custard Line You Can’t Cross
Ice cream base failure usually starts with impatience. If you pour the hot dairy into the yolks too fast, you’ll get scrambled bits. If you cook the custard too hard, it goes from velvety to grainy in a minute. The goal here is a slow ribbon of heat and constant stirring, which lets the eggs thicken the base without turning it into sweetened scrambled eggs.
175°F is the sweet spot for this recipe. At that point the custard coats the back of a spoon and leaves a clear line when you run your finger through it, but it still looks smooth and fluid. Pulling it off the heat there gives you body in the freezer without that heavy, overcooked egg flavor some homemade ice creams get.
- Egg yolks — These are what turn the base from thin cream into real custard. Whole eggs won’t give you the same rich, scoopable texture, and skipping the yolks leaves you with a softer, icier finish.
- Heavy cream — This brings fat, which keeps the ice cream lush instead of icy. Lower-fat cream won’t hold the same texture after freezing.
- Whole milk — This keeps the base from getting too heavy. You can swap in 2% in a pinch, but the finished ice cream will freeze a little harder.
- Chocolate sandwich cookies — Roughly crushing them is the move. Fine crumbs just tint the base; bigger pieces give you that classic cookies-and-cream bite.
What Each Ingredient Is Doing in the Bowl
- Granulated sugar — It sweetens, but it also lowers the freezing point so the ice cream stays scoopable. Cutting it too far makes the texture harder and more icy.
- Vanilla extract — This rounds out the cookie flavor and keeps the base from tasting flat. Use a good one here; you taste it in every bite.
- Salt — Just a little wakes up the chocolate cookies and keeps the custard from tasting one-note. It doesn’t make the ice cream salty; it makes it taste complete.
Cooking the Base Before the Ice Cream Maker Does the Rest
Tempering the Yolks
Whisk the sugar into the yolks until the mixture looks pale and thick, then stream in the hot cream and milk slowly while whisking constantly. That steady drizzle matters because it raises the yolk temperature without shocking them. If you dump the dairy in all at once, the edges can set into little cooked flecks before you get the pot back on the stove.
Thickening the Custard
Return the mixture to the saucepan and cook over medium-low heat, stirring and scraping the bottom the whole time. You want the custard to thicken enough to coat a spoon, not bubble like pudding. If it starts steaming hard or boiling, pull it back; once eggs overcook, you can’t smooth them out again.
Chilling for a Clean Freeze
Strain the custard into a bowl, stir in the vanilla and salt, then cool it completely before it goes into the fridge. Warm custard churns poorly and takes longer to freeze, which can leave you with a softer, icier base. Give it the full chill time so the fat firms up and the texture stays tight when it hits the machine.
Adding the Cookies at the End
Wait until the last couple of minutes of churning to add the crushed cookies. If they go in too early, the paddle shreds them and the base turns muddy instead of speckled. Late addition keeps some chunks intact while letting a few crumbs melt into the ice cream for that classic cookies-and-cream swirl.
How to Adjust This Without Losing the Creamy Scoop
Make It Dairy-Free
Use full-fat coconut milk in place of the cream and milk, but expect a faint coconut note in the finished ice cream. The custard will still churn beautifully, though the texture reads a little softer than the dairy version. Keep the cookie quantity the same if your cookies are dairy-free too.
Use Gluten-Free Sandwich Cookies
A good gluten-free chocolate sandwich cookie works here with almost no adjustment. Crush them the same way and add them at the end so they keep their shape. The texture stays classic, though some brands soften faster in the freezer, so serve this one after a short sit on the counter.
For a Bigger Cookie Bite
Use more roughly broken cookies and reserve a handful to fold in by hand after churning. That gives you larger, more obvious chunks in every scoop instead of mostly crumbs. The ice cream gets a little denser with extra mix-ins, so freeze it in a shallow container for easier scooping.
Storage and Freezing
- Refrigerator: The base can sit covered for up to 2 days before churning, and that rest actually helps the texture.
- Freezer: The finished ice cream keeps well for about 2 weeks. After that, the cookies can soften and the surface may pick up ice crystals.
- Reheating: Let it sit at room temperature for 5 to 10 minutes before scooping. If it’s rock hard, the freezer is too cold or the base was under-sweetened.
Questions I Get Asked About This Recipe
Cookies and Cream Ice Cream
Ingredients
Equipment
Method
- Heat the heavy cream and whole milk in a saucepan over medium heat until steaming, not boiling, then reduce to a gentle heat.
- Whisk the steaming cream mixture slowly into the egg yolks and granulated sugar, keeping the stream steady so the yolks don’t scramble.
- Return the mixture to the saucepan and cook over medium-low heat, stirring constantly, until the custard reaches 175F.
- Strain the custard through a fine mesh sieve into a clean bowl, then stir in the vanilla extract and salt.
- Cool the custard completely to room temperature, then refrigerate at least 4 hours until very cold.
- Churn the chilled custard in an ice cream maker according to the manufacturer’s instructions.
- In the last 2 minutes of churning, add the roughly crushed chocolate sandwich cookies, letting some chunks stay intact and some dissolve for a cookies-and-cream swirl effect.
- Transfer the churned ice cream to a container and freeze until firm.