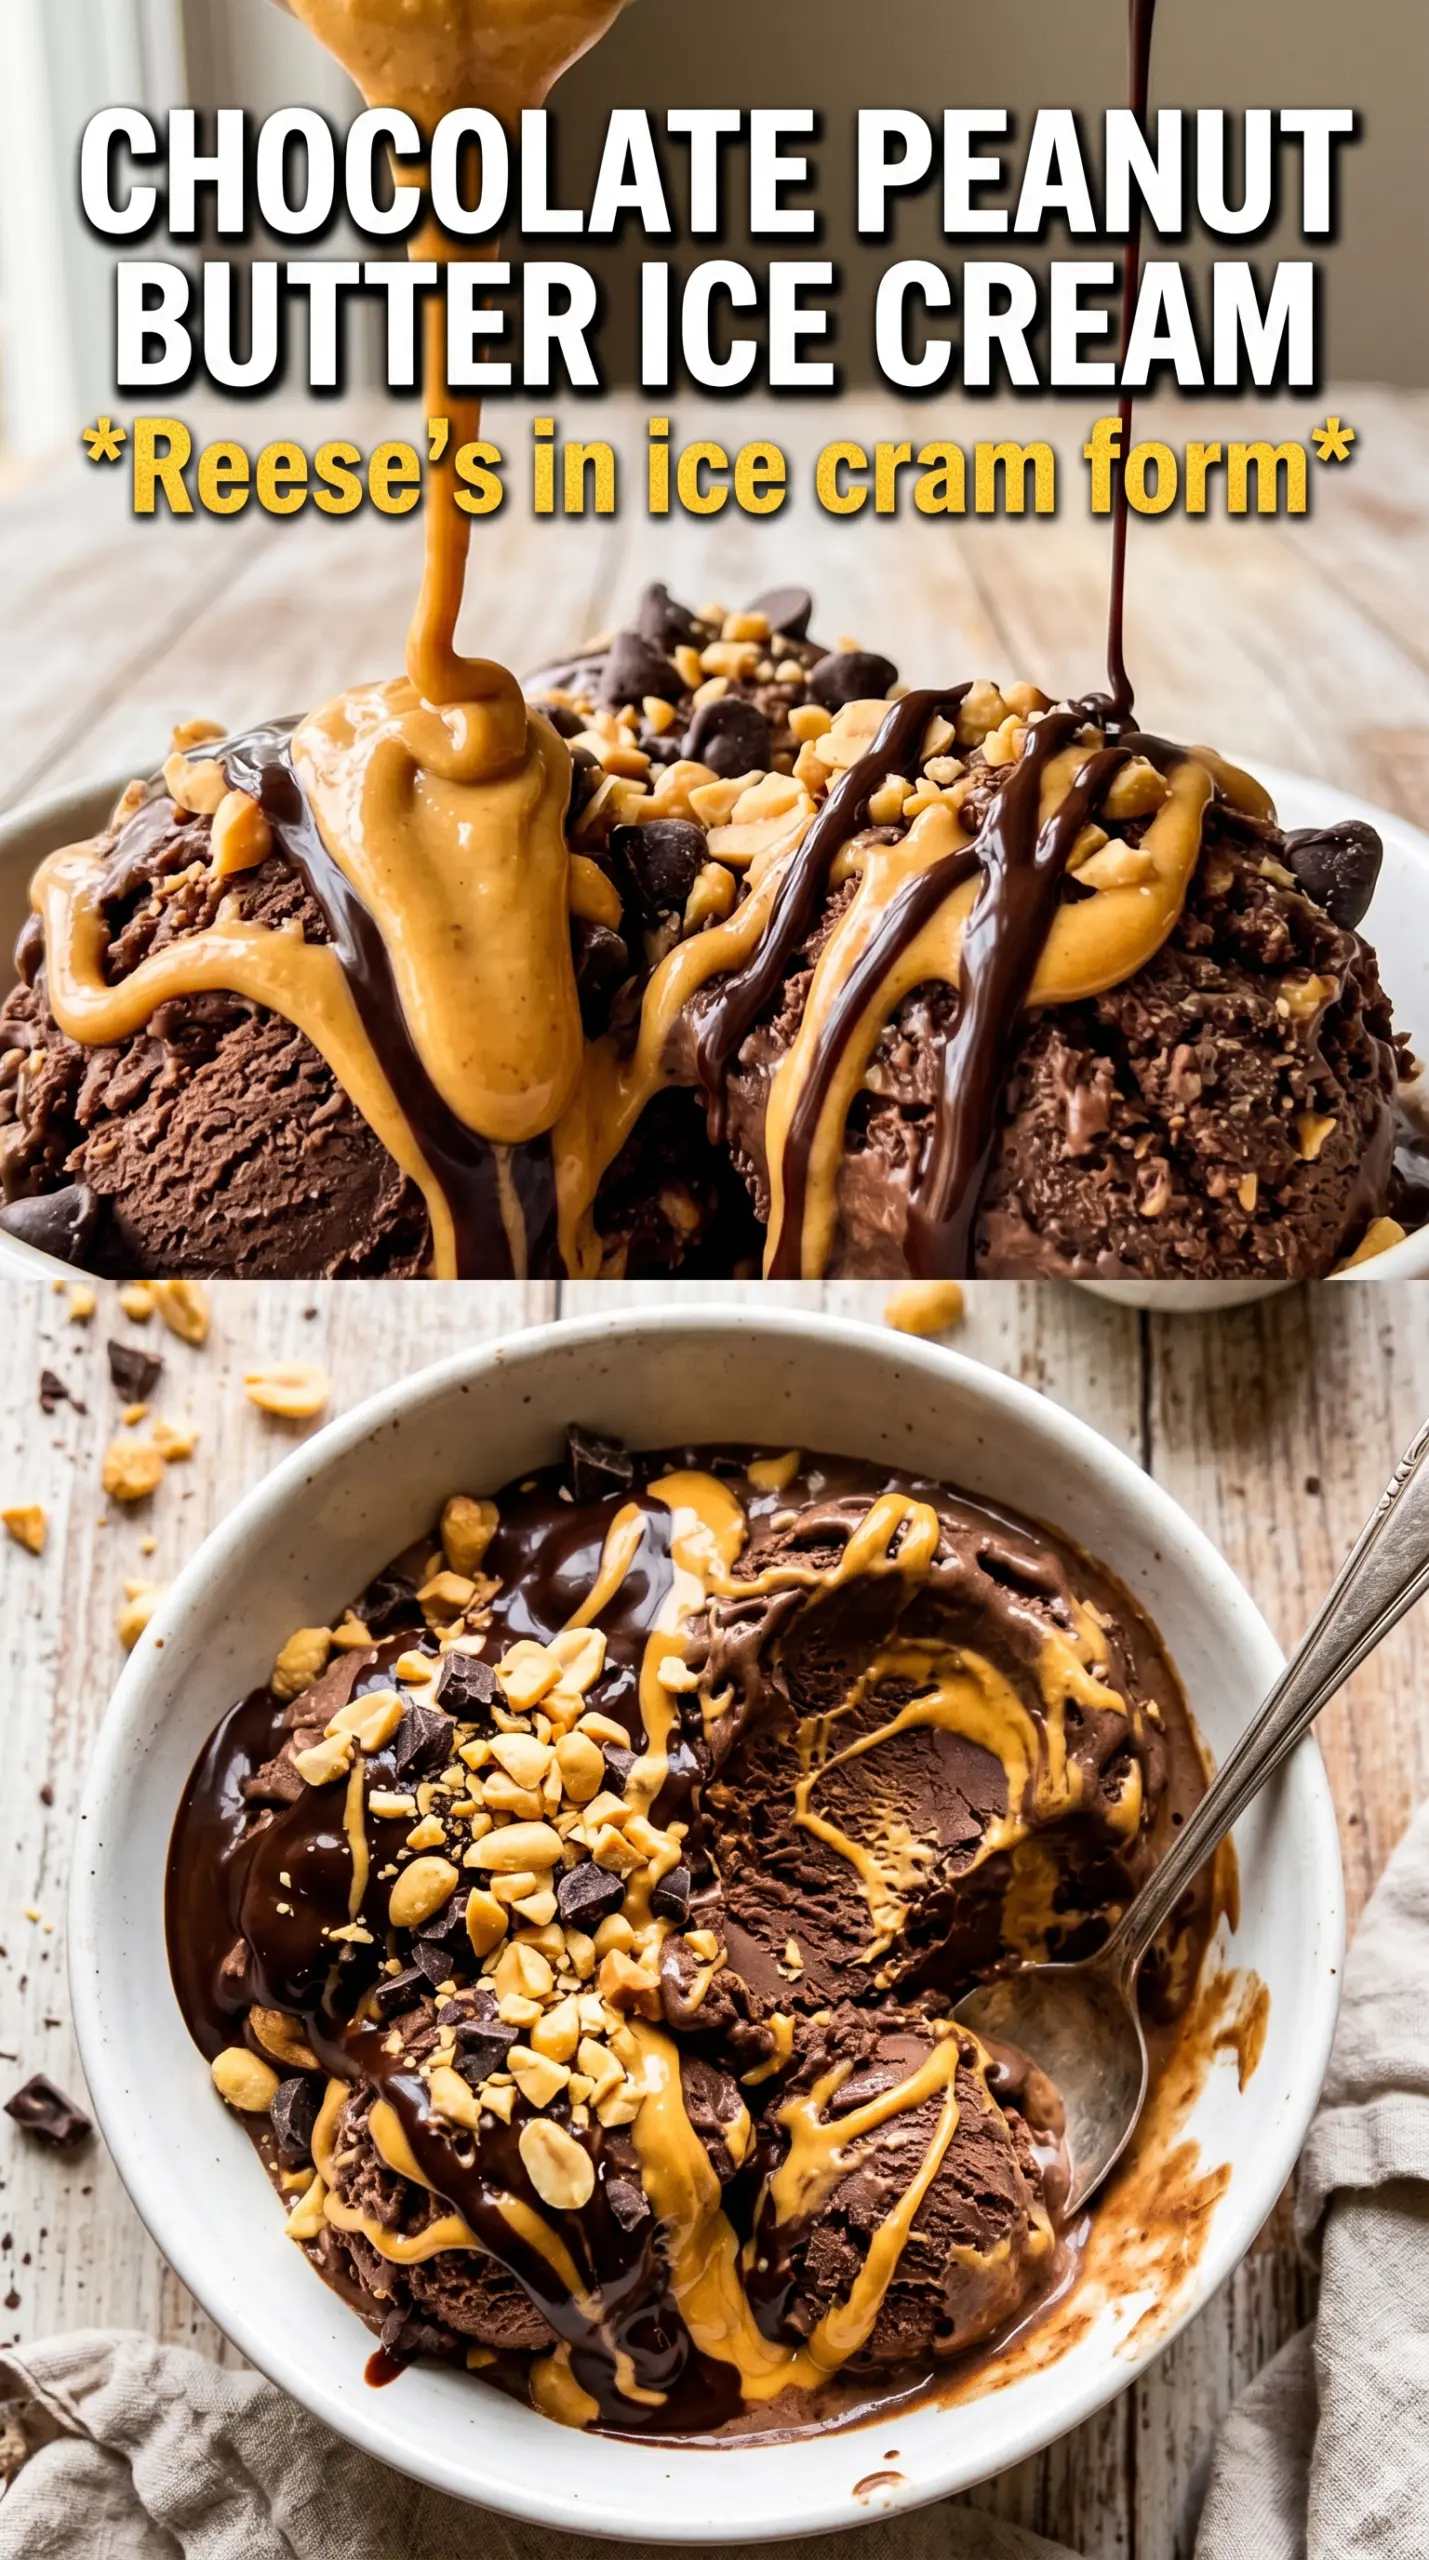
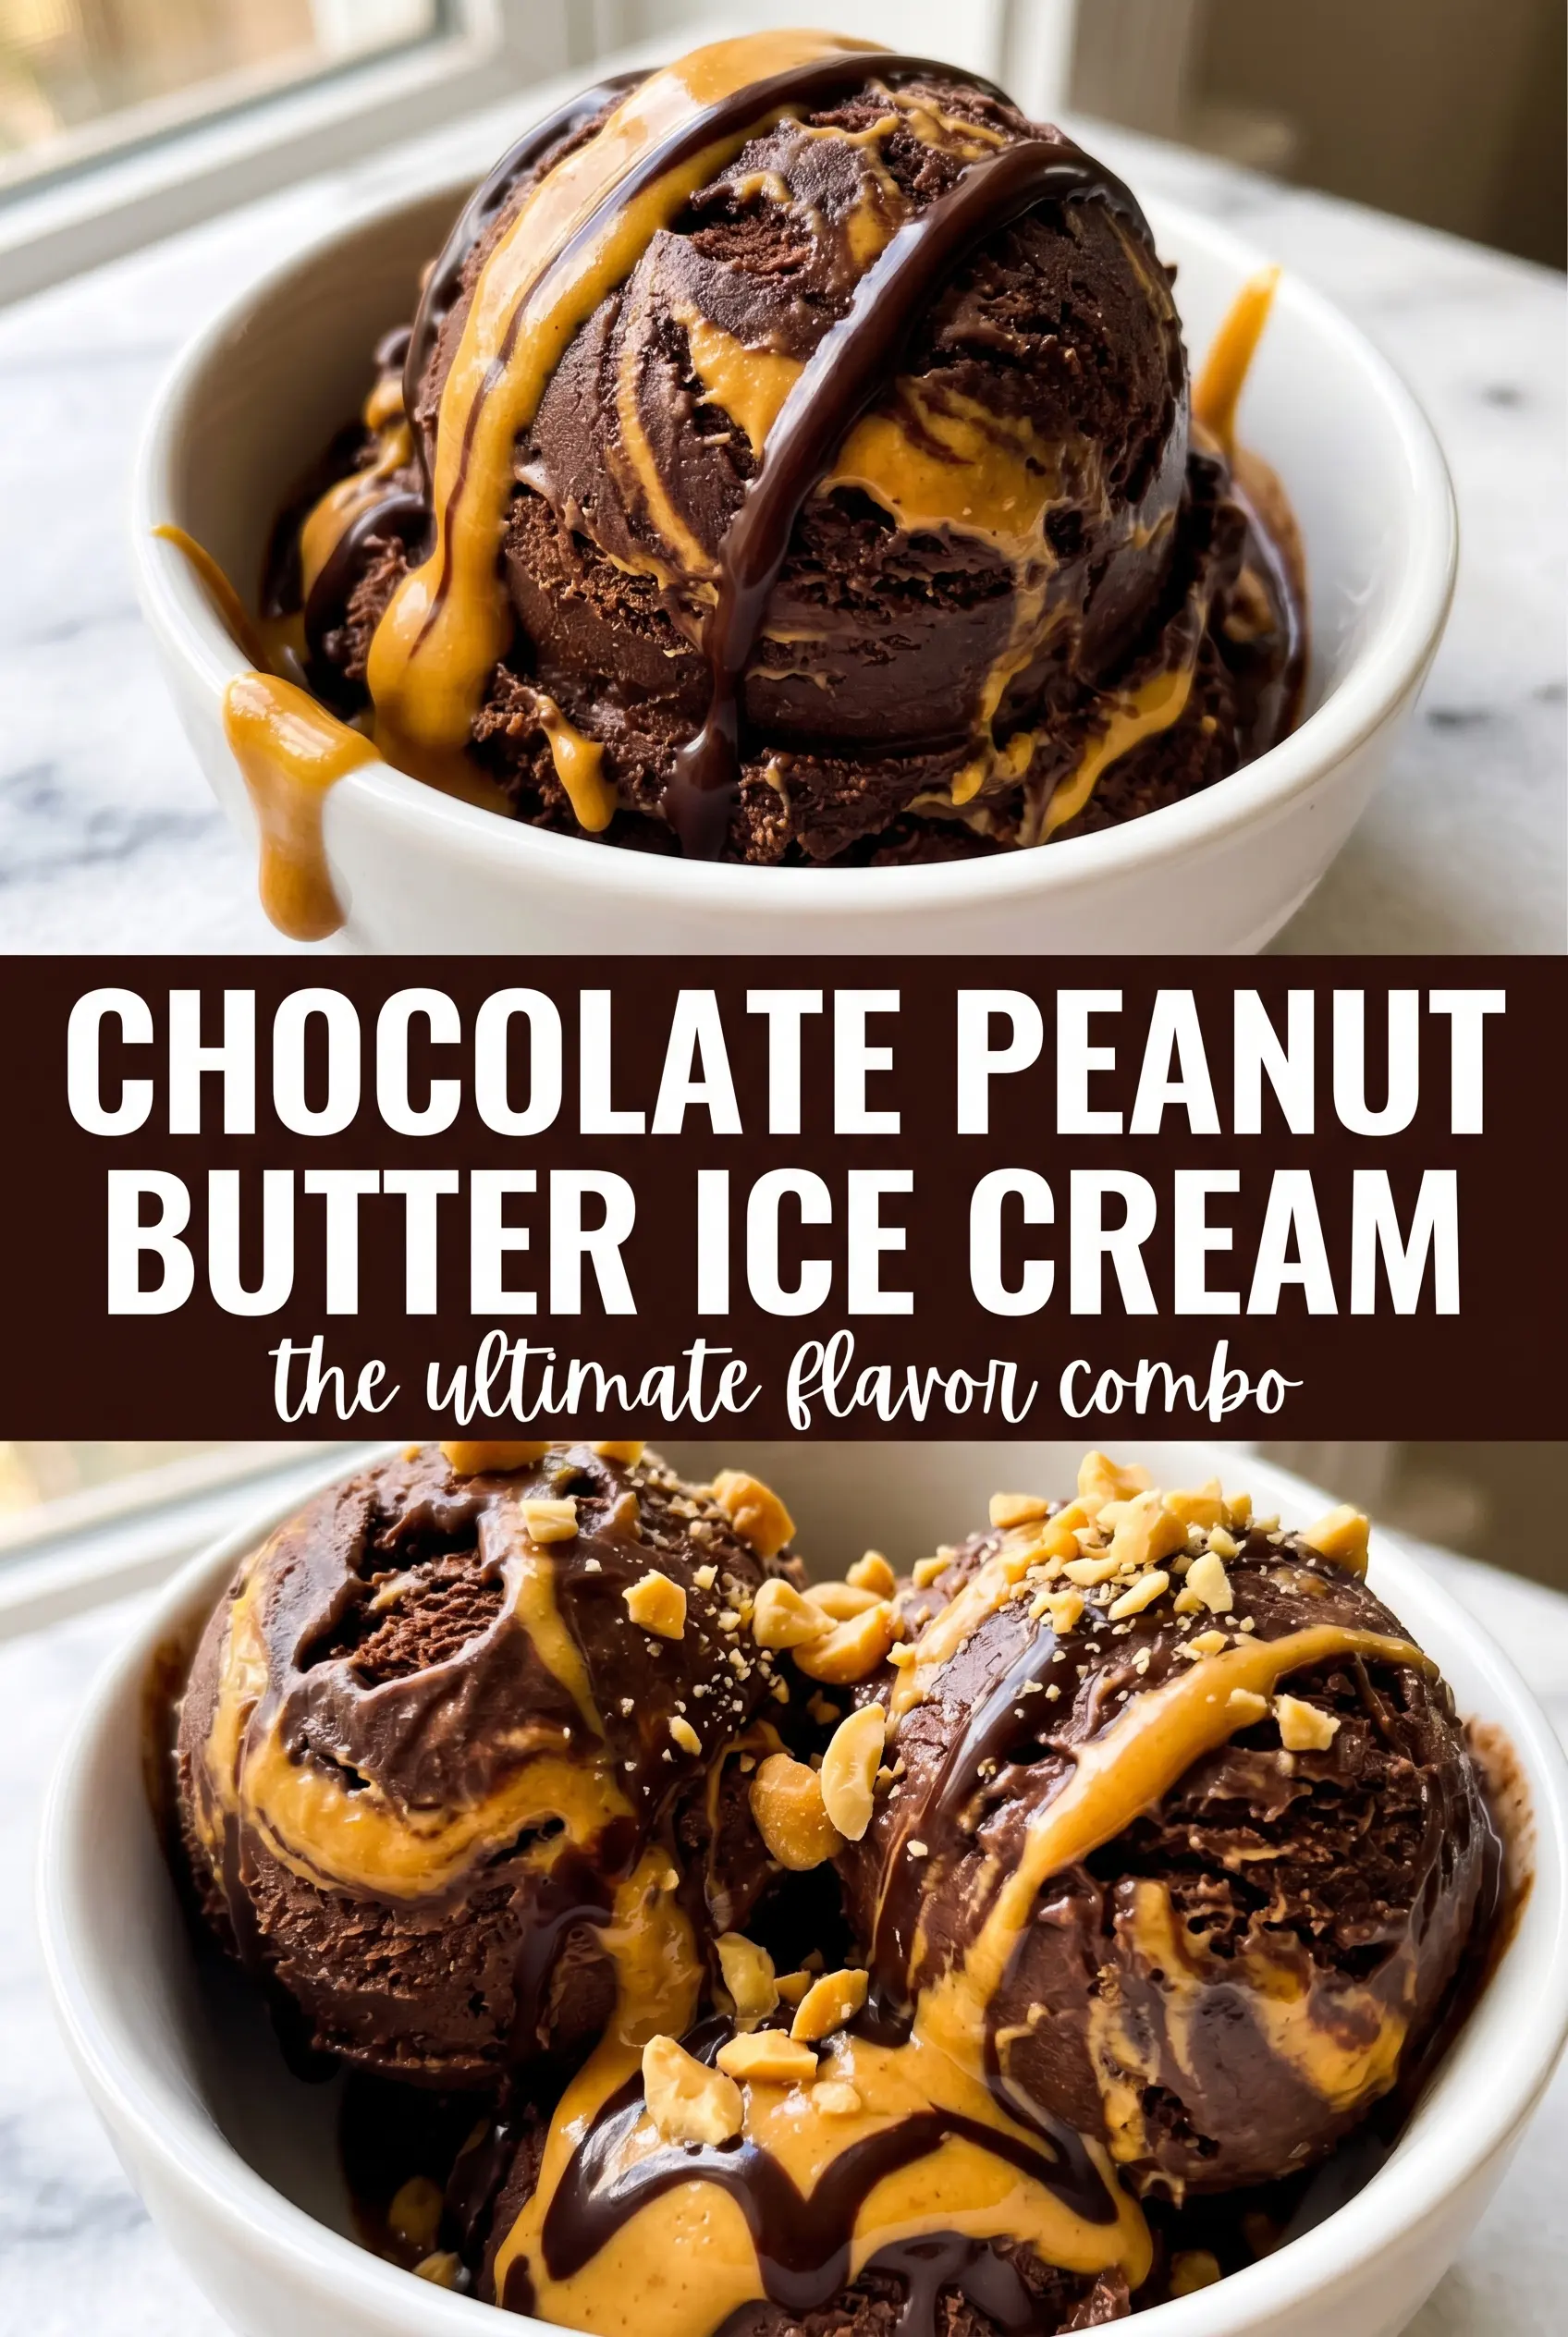
Deep chocolate ice cream with thick ribbons of creamy peanut butter is the kind of dessert that disappears fast, even when you think you’ve made enough. The base is rich and custardy with a clean chocolate finish, and the peanut butter stays in bold swirls instead of blending into the mix. Every scoop gives you that classic chocolate-and-peanut-butter hit, but with a smoother, more luxurious texture than anything from a carton.
The difference here is in the base and the swirl. Cocoa gets whisked into the dairy first, then melted dark chocolate deepens the flavor so the ice cream tastes like chocolate, not just sweet cream with powder in it. Tempering the egg yolks slowly keeps the custard silky, and warming the peanut butter just enough to drizzle makes it ribbon through the churned ice cream instead of clumping on contact.
Below, I’ll walk through the one place people usually rush this recipe and end up with a grainy custard or muddy swirl. You’ll also see the easiest way to layer the peanut butter so it stays dramatic all the way to the last scoop.
The chocolate base turned out super smooth, and the peanut butter stayed in those perfect ribbons instead of mixing in completely. I chilled it overnight and the texture was scoopable right out of the freezer after 10 minutes on the counter.
Love the thick chocolate base and peanut butter ribbon? Save this Chocolate Peanut Butter Ice Cream for when you want a homemade scoop with dramatic swirls.
The Custard Base Has to Cook Gently, Not Fast
The biggest mistake with chocolate ice cream is pushing the custard too hard on the stove. Egg yolks thicken beautifully, but they curdle fast once the mixture gets too hot, and chocolate makes it harder to see the texture change. Cook over medium-low heat and keep stirring until the base reaches 175°F and lightly coats the back of a spoon.
Straining the custard matters here because cocoa and melted chocolate can leave tiny bits behind, and those little bits turn into a sandy texture after freezing. If the mixture looks slightly foamy at the end, that’s fine. What you don’t want is bubbling or a grainy feel when you rub a little between your fingers.
What Each Ingredient Is Actually Doing in the Bowl
- Heavy cream — This gives the ice cream its plush body and keeps the chocolate base from freezing into a brick. There isn’t a good substitute if you want the same scoopable texture, though half-and-half will work in a pinch if you accept a lighter, icier result.
- Whole milk — Milk keeps the base from becoming too dense. Lower-fat milk makes the custard thinner and the finished ice cream less creamy.
- Unsweetened cocoa powder + dark chocolate — The cocoa brings depth, while the chopped chocolate gives the base a fuller, rounder chocolate taste. Using both matters; cocoa alone can taste flat, and chocolate alone can taste sweeter than you want.
- Egg yolks — These are what turn the base into a real custard. Whisk them with the sugar until pale so they thicken evenly when the hot dairy goes in.
- Peanut butter — Warm it just until pourable so it ribbons through the churned ice cream instead of breaking into clumps. Creamy peanut butter works best here; natural peanut butter can seize or separate if it’s too oily or too stiff.
Building the Chocolate Base and Layering the Swirl
Whisking the Chocolate Into the Dairy
Start by whisking the cocoa into the cream and milk so it hydrates before the heat hits. That keeps dry cocoa from floating on top or turning lumpy. Once the mixture is steaming, add the chopped chocolate and whisk until it melts completely and the base looks glossy. If you still see flecks, give it another minute before moving on.
Tempering the Yolks Without Scrambling Them
Whisk the yolks and sugar until the mixture turns pale and thickens slightly. Then stream in the hot chocolate cream slowly while whisking constantly. This step is what protects the eggs from curdling. If you dump the hot dairy in all at once, you’ll get bits of cooked egg instead of a smooth custard.
Cooking to the Right Point
Return everything to the saucepan and cook slowly, stirring all the way across the bottom and around the edges. You want the custard to thicken enough to coat a spoon and hit 175°F, no hotter. Pull it off the heat as soon as it’s there, then strain in case any egg caught on the pan. Add the vanilla and salt after straining so they stay bright and fresh.
Churning and Swirling the Peanut Butter
Chill the custard completely before churning; warm base won’t freeze properly in the machine. Once it reaches soft-serve consistency, layer it into a container and drizzle warm peanut butter between each layer. Drag a knife through just a few times to create ribbons. If you overmix, the swirl disappears and the peanut butter blends into the base.
Chocolate-Peanut Butter Cup Swirl
Fold in chopped peanut butter cups during the last minute of churning, then still layer in the warm peanut butter. You get little candy pieces for texture along with the signature ribbon effect, which makes the scoops feel more like a full dessert than plain ice cream.
Dairy-Free Version
Use full-fat coconut milk in place of the cream and milk, and choose a dairy-free dark chocolate. The texture will be a little softer and the flavor will pick up a faint coconut note, but the custard still freezes well and the peanut butter swirl stays bold.
Extra-Fudge Chocolate Base
Increase the chopped dark chocolate slightly and reduce the cocoa by a tablespoon if you want a denser, more truffle-like result. The ice cream will taste richer and less sharp, but it also freezes a touch firmer, so let it sit at room temperature for a few minutes before scooping.
Storage and Reheating
- Refrigerator: Not applicable for the finished ice cream; keep the churned base chilled only before freezing.
- Freezer: Store tightly covered for up to 2 weeks. The texture is best in the first several days, before ice crystals start to build at the edges.
- Reheating: Not needed. For the best scoop, let the container sit on the counter for 5 to 10 minutes. If it freezes rock hard, the freezer was too cold or the base was under-churned.
Questions I Get Asked About This Recipe
Chocolate Peanut Butter Ice Cream
Ingredients
Equipment
Method
- Whisk cocoa into heavy cream and whole milk in a Dutch oven, then heat until steaming and ribbons of steam are visible. Add chopped dark chocolate and whisk until melted and smooth, with no cocoa clumps.
- Whisk egg yolks and granulated sugar until pale and slightly thickened. Slowly whisk in the hot chocolate cream so the mixture stays glossy and smooth.
- Return the mixture to the Dutch oven and cook, stirring, until it reaches 175F and coats the back of a spoon. Strain the custard, then whisk in vanilla extract and salt; cool completely until it is no longer warm.
- Refrigerate the custard at least 4 hours, until cold throughout, with a visible set at the surface if it thickens slightly. Pour into an ice cream maker and churn until thick and scoopable.
- Layer churned ice cream into a container and drizzle warm creamy peanut butter between each layer. Swirl with a knife for distinct peanut butter ribbons running through the dark base.
- Freeze the layered ice cream at least 2 hours until firm. Stop when the surface looks matte and the ice cream holds shape when scooped.