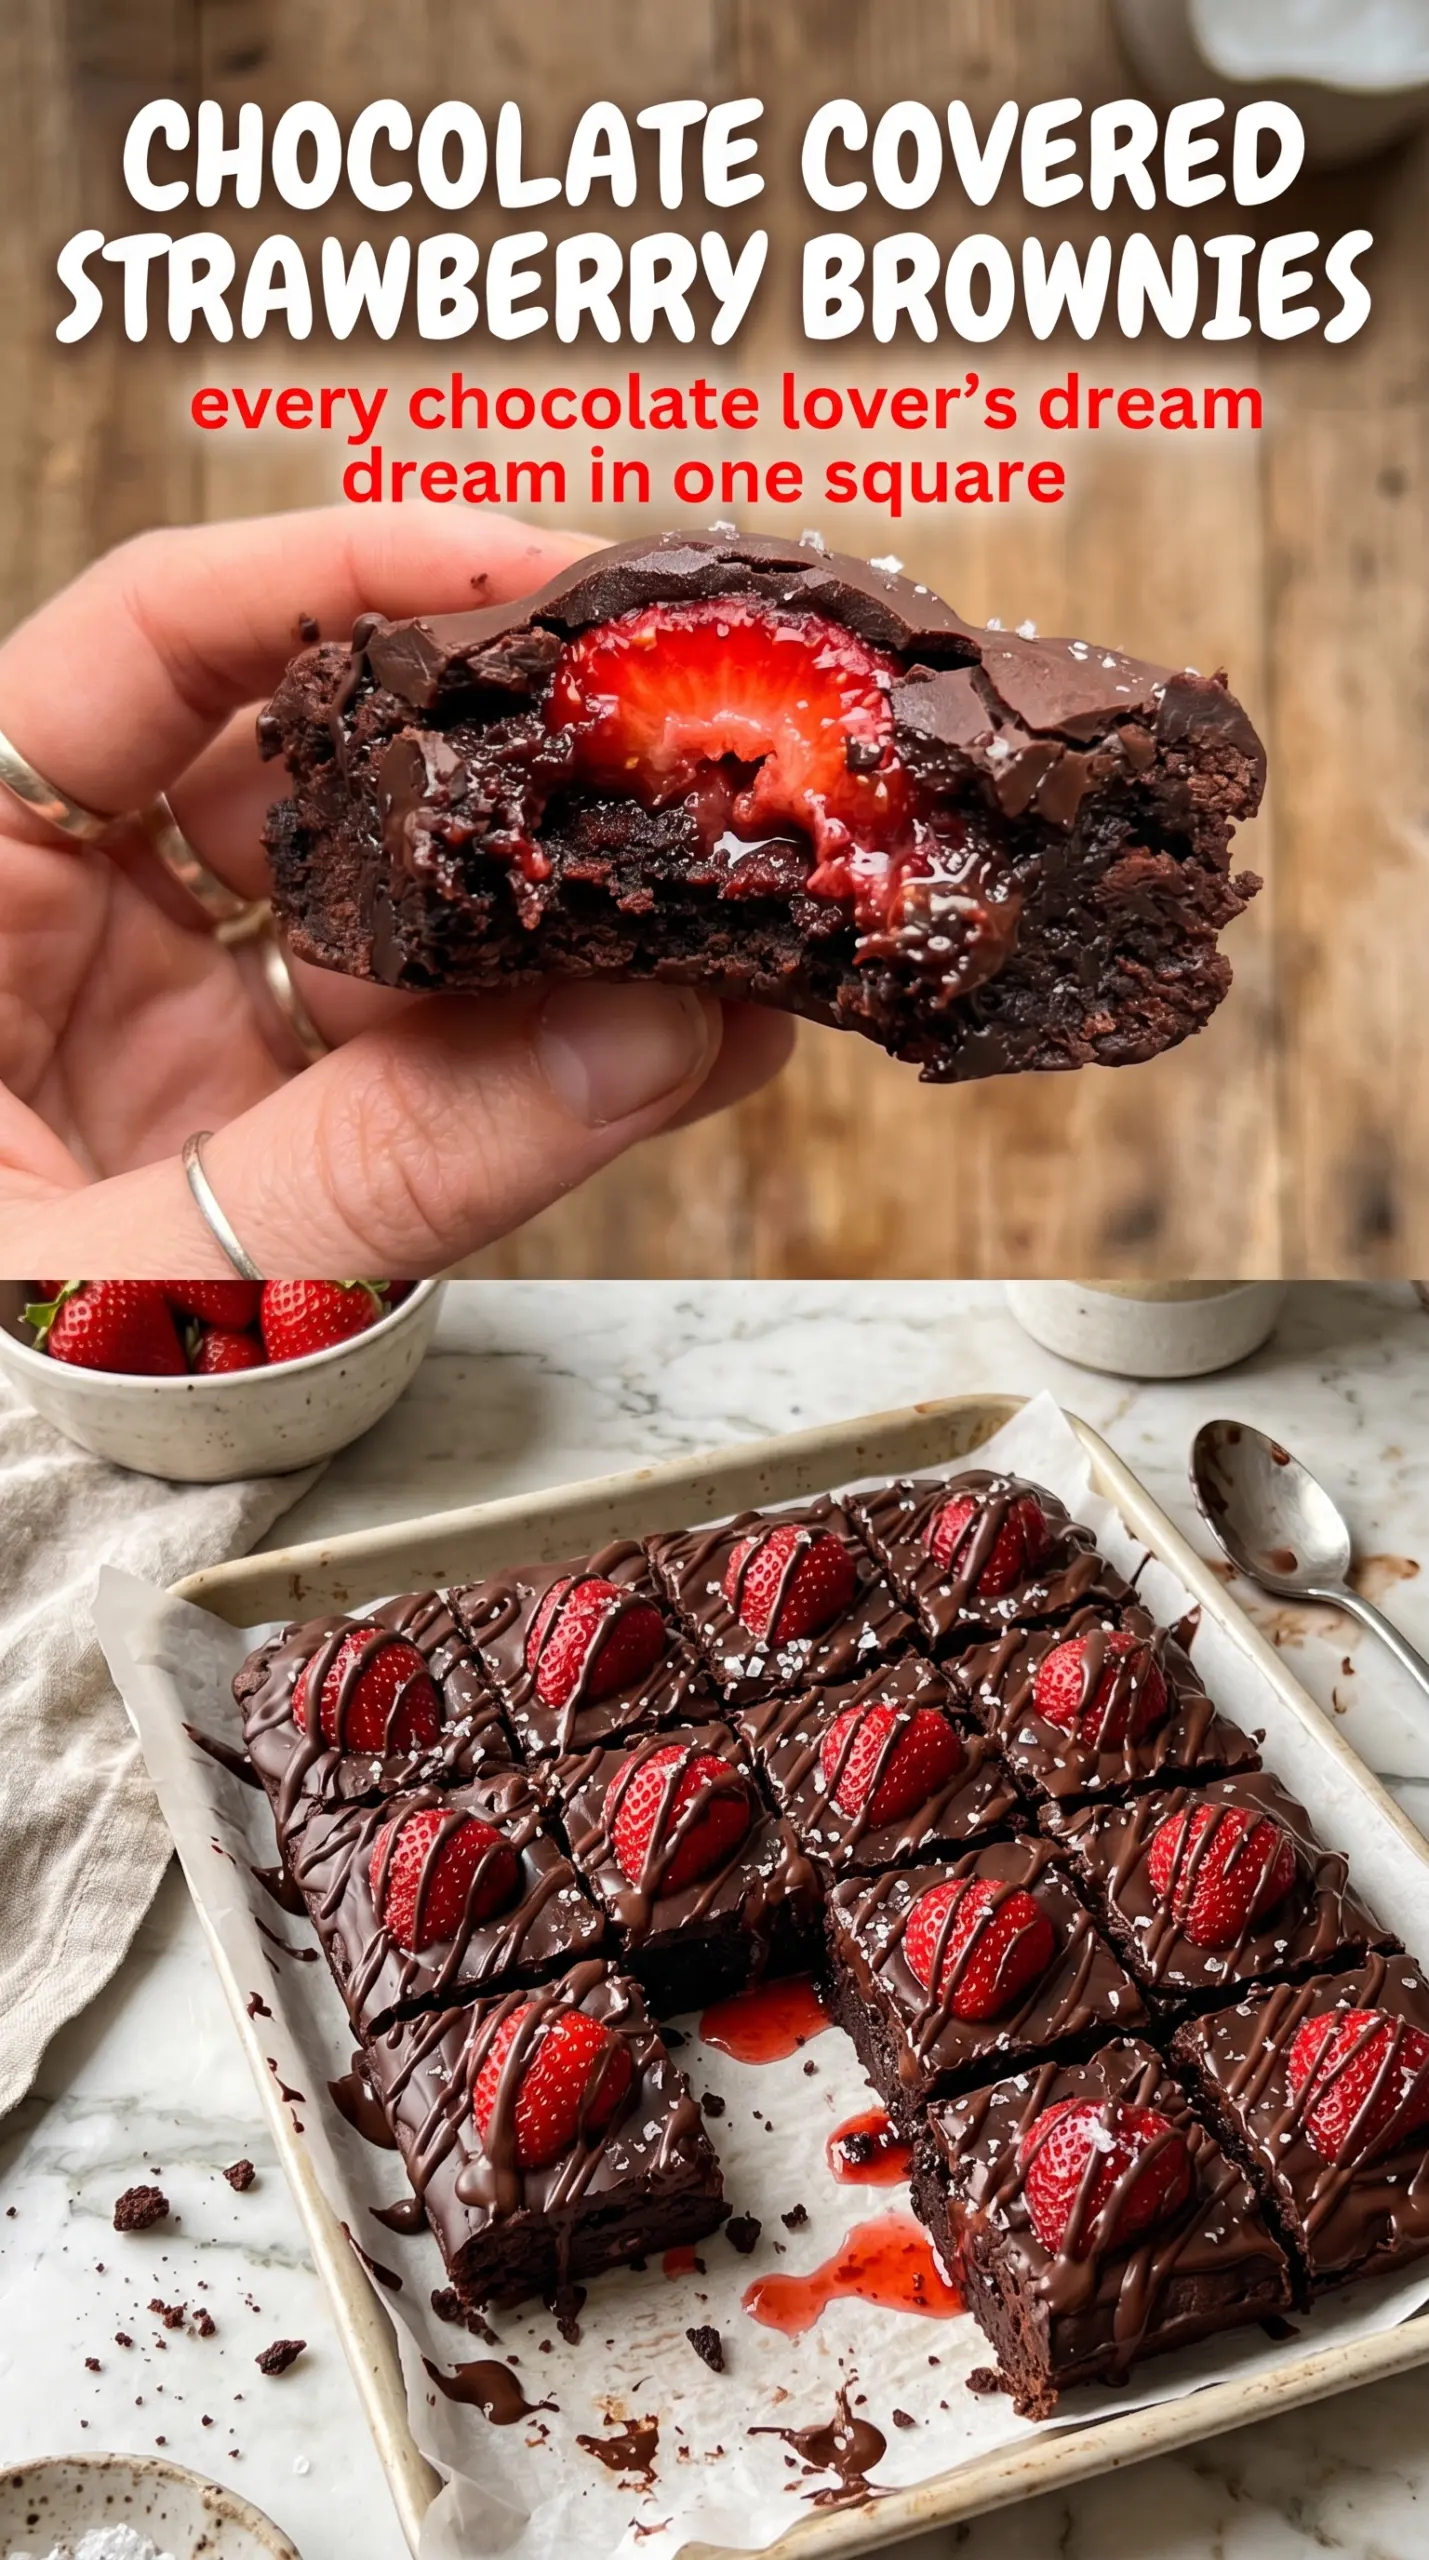
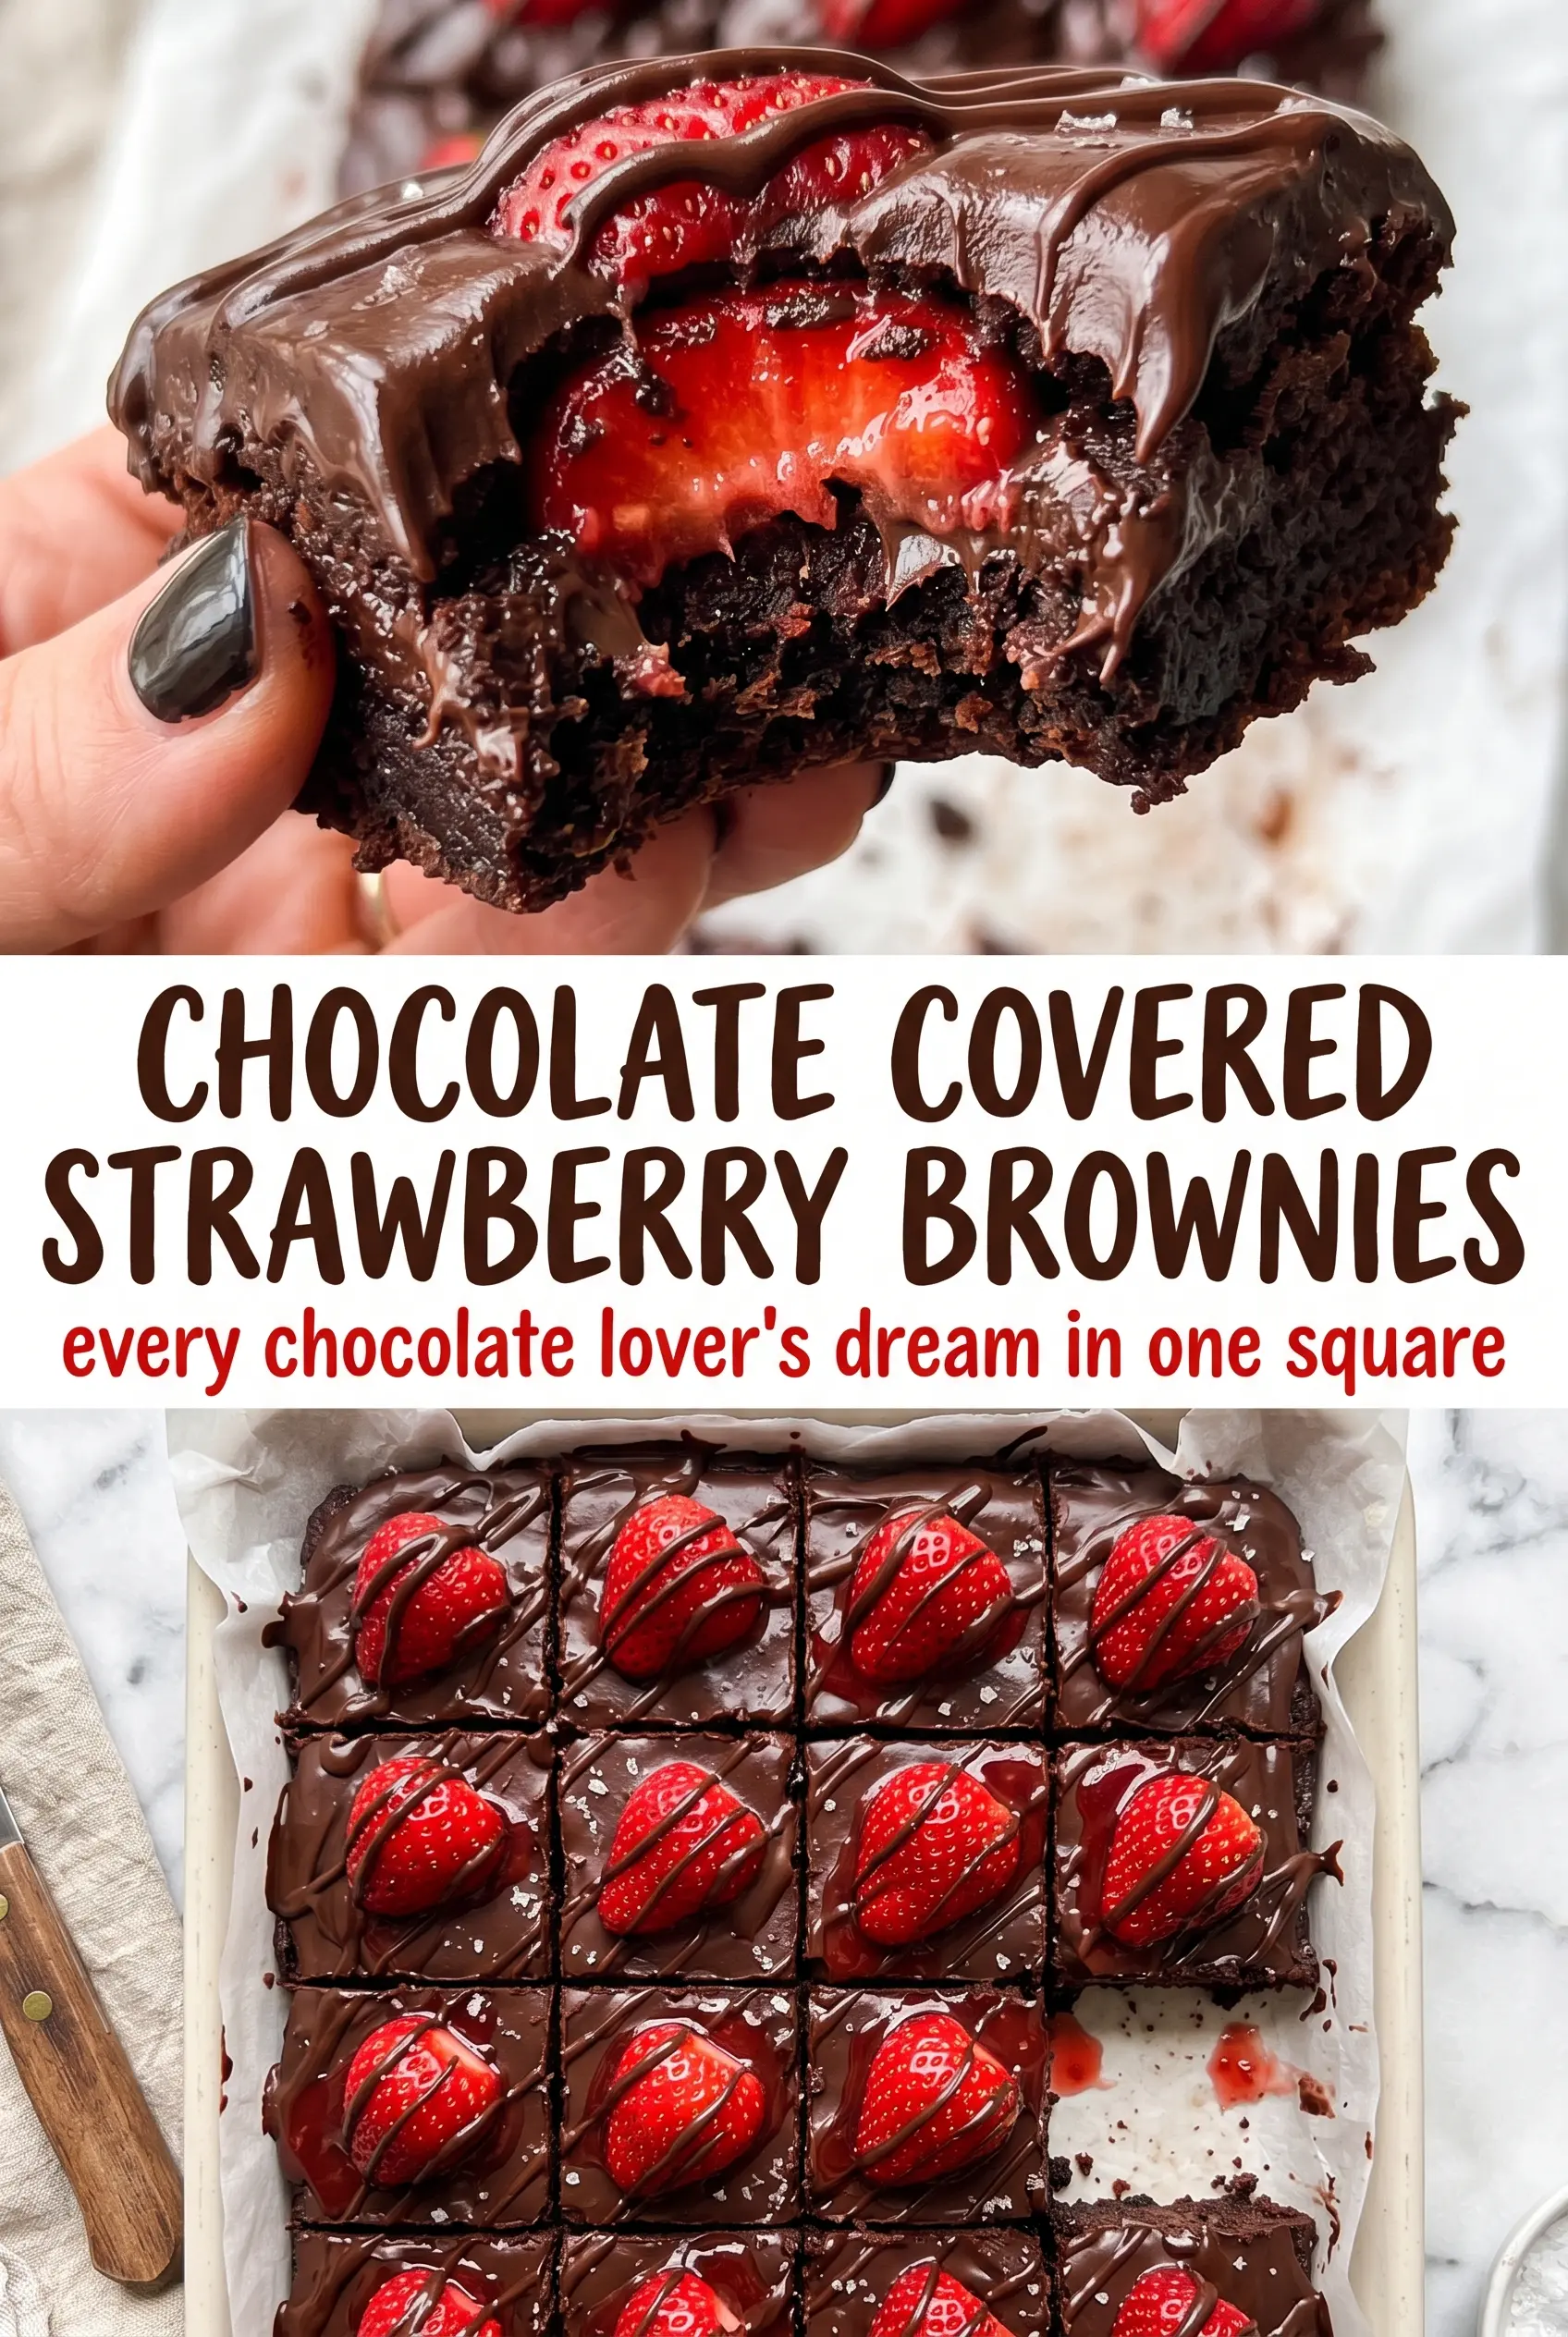
Fudgy chocolate brownies get a glossy chocolate shell and little bursts of fresh strawberry in every bite, which is exactly why these disappear fast once they hit the table. The brownie layer stays dense and rich, while the topping adds a clean snap that makes each square feel a little more special than a standard pan of brownies.
The trick is keeping the strawberries diced small and folding them in gently so they don’t bleed too much juice into the batter. The brownies bake best when they’re pulled at the point where the center still has a few moist crumbs; that keeps the crumb soft instead of dry, and it gives the chocolate topping a sturdy base to sit on.
Below you’ll find the detail that matters most: how to keep the berries from making the batter wet, how to melt the topping until it’s smooth and shiny, and what to do if you want a neater cut after chilling.
The brownies came out fudgy instead of cakey, and the strawberry pieces stayed bright without turning the whole pan soggy. The chocolate layer set up with a nice snap after an hour in the fridge.
Chocolate Covered Strawberry Brownies are the kind of dessert that needs a spot on your Pinterest board for the next time you want fudgy brownies with a glossy chocolate finish.
The Secret to Keeping the Strawberries from Turning the Brownies Wet
Fresh strawberries bring the whole dessert to life, but they also bring moisture, and that’s where most brownie recipes get into trouble. If the fruit is cut too large or mixed in too aggressively, the batter can turn streaky and the baked brownies can land in that awkward middle ground between fudgy and damp.
The fix is straightforward. Dice the strawberries small, fold them in at the very end, and stop as soon as they’re distributed. The batter should still look thick and glossy when it goes into the pan. That thicker batter supports the fruit and helps the brownies bake up with defined edges and a dense center instead of collapsing around the berries.
What Each Ingredient Is Actually Doing in This Pan
- Dark chocolate and butter — These build the base flavor and give the brownies that deep, fudgy bite. Use good dark chocolate if you can; the flavor carries through the whole pan, while the butter keeps the crumb rich instead of dry.
- Cocoa powder — This pushes the chocolate flavor into darker, more brownie-like territory without adding extra fat. Natural or Dutch-process both work here, but whatever you use should be fresh, because old cocoa tastes flat fast.
- Eggs — They hold the batter together and set the structure so the brownies slice cleanly after cooling. Whisk them in well with the sugar so the top bakes up with that thin crackly sheen people love.
- Fresh strawberries — These need to be diced, not chopped into big chunks. Small pieces distribute better and release less juice into the batter, which keeps the center fudgy instead of wet.
- Chocolate chips and coconut oil — This combination makes the topping smooth enough to spread and helps it set with a neat finish. If you don’t want a coconut note, use a neutral oil in the same amount, but the topping may set a little softer.
Building the Batter, Baking It Just Enough, and Finishing Cleanly
Melting the Chocolate Base
Melt the butter and dark chocolate together until the mixture is smooth and fully combined, with no streaks left behind. The goal is warm, not hot; if the mixture is steaming, it can start cooking the eggs when you whisk them in. Let it sit for a minute if needed, then move on once it feels comfortably warm to the touch.
Folding in the Dry Ingredients
Once the sugar, eggs, and vanilla are whisked in, fold in the flour, cocoa powder, baking powder, and salt just until the batter disappears. Overmixing at this stage tightens the crumb and turns brownies cakier than they should be. The batter should look thick and smooth, with only a few visible streaks before the strawberries go in.
Adding the Strawberries and Baking
Gently fold in the diced strawberries, then spread the batter into a greased 8×8-inch pan. Bake until the edges are set and a toothpick in the center comes out with a few moist crumbs, not wet batter. If you wait for a completely clean toothpick, the brownies will overbake and lose that dense, fudgy middle.
The Chocolate Finish
Cool the brownies completely before spreading on the melted chocolate chip topping. If the brownies are still warm, the topping will slide and separate instead of setting into a neat shell. After that, refrigerate until the surface is firm, then cut with a sharp knife for clean squares.
Three Ways to Make These Brownies Fit Your Kitchen
Gluten-Free Brownies
Swap the flour for a 1:1 gluten-free baking blend that includes xanthan gum. The texture stays close to the original, though the crumb may be a touch more tender, so give the brownies the full cooling time before cutting.
Dairy-Free Version
Use a plant-based butter and dairy-free chocolate for both the batter and the topping. The brownies will still bake up fudgy, but the flavor will lean a little more toward cocoa than dairy-rich chocolate, which is a fair trade if you need to keep them dairy-free.
Extra-Neat Slices for Gifting
Chill the finished pan a little longer than the recipe calls for, then wipe the knife clean between cuts. The topping will break in a sharper line and the strawberry pieces will stay tucked in the center instead of dragging through the slices.
Storage and Reheating
- Refrigerator: Store in an airtight container for up to 4 days. The topping stays firm and the brownie center stays fudgy.
- Freezer: Freeze cut squares with parchment between layers for up to 2 months. Thaw in the refrigerator so the chocolate topping doesn’t sweat.
- Reheating: These are best served cold or at cool room temperature, not warmed. If you want a softer bite, let a square sit out for 10 to 15 minutes; microwaving melts the topping and makes the strawberries loose.
Answers to the Questions Worth Asking
Chocolate Covered Strawberry Brownies
Ingredients
Equipment
Method
- Preheat oven to 350°F and set out a greased 8x8-inch baking pan. Bake at the same temperature to ensure even rise and set edges.
- Melt butter and dark chocolate together until smooth and glossy. The mixture should look uniform with no visible chocolate chunks.
- Whisk in sugar, eggs, and vanilla until the batter thickens slightly and turns smoother. Scrape the sides so everything is fully combined.
- Fold in flour, cocoa powder, baking powder, and salt until just combined. Stop when the dry streaks disappear to keep the brownies fudgy.
- Gently fold in diced fresh strawberries. You should see strawberry pieces evenly distributed through the batter.
- Pour the batter into the greased 8x8-inch baking pan and spread into an even layer. Tap the pan once to help settle the strawberries.
- Bake for 28-30 minutes at 350°F until a toothpick comes out with just a few crumbs. The center should look set but not dry.
- Cool completely before adding the topping. The surface should be room temperature so the chocolate coating spreads smoothly.
- Melt chocolate chips with coconut oil until pourable and glossy. The mixture should flow smoothly without graininess.
- Spread the melted topping over the cooled brownies in an even layer. Let any drips settle so the coating looks clean and shiny.
- Refrigerate for at least 1 hour until the chocolate is set. The top should look firm and slightly glossy when ready.
- Cut into 16 squares and serve. Use a sharp blade and wipe between cuts for neat edges.