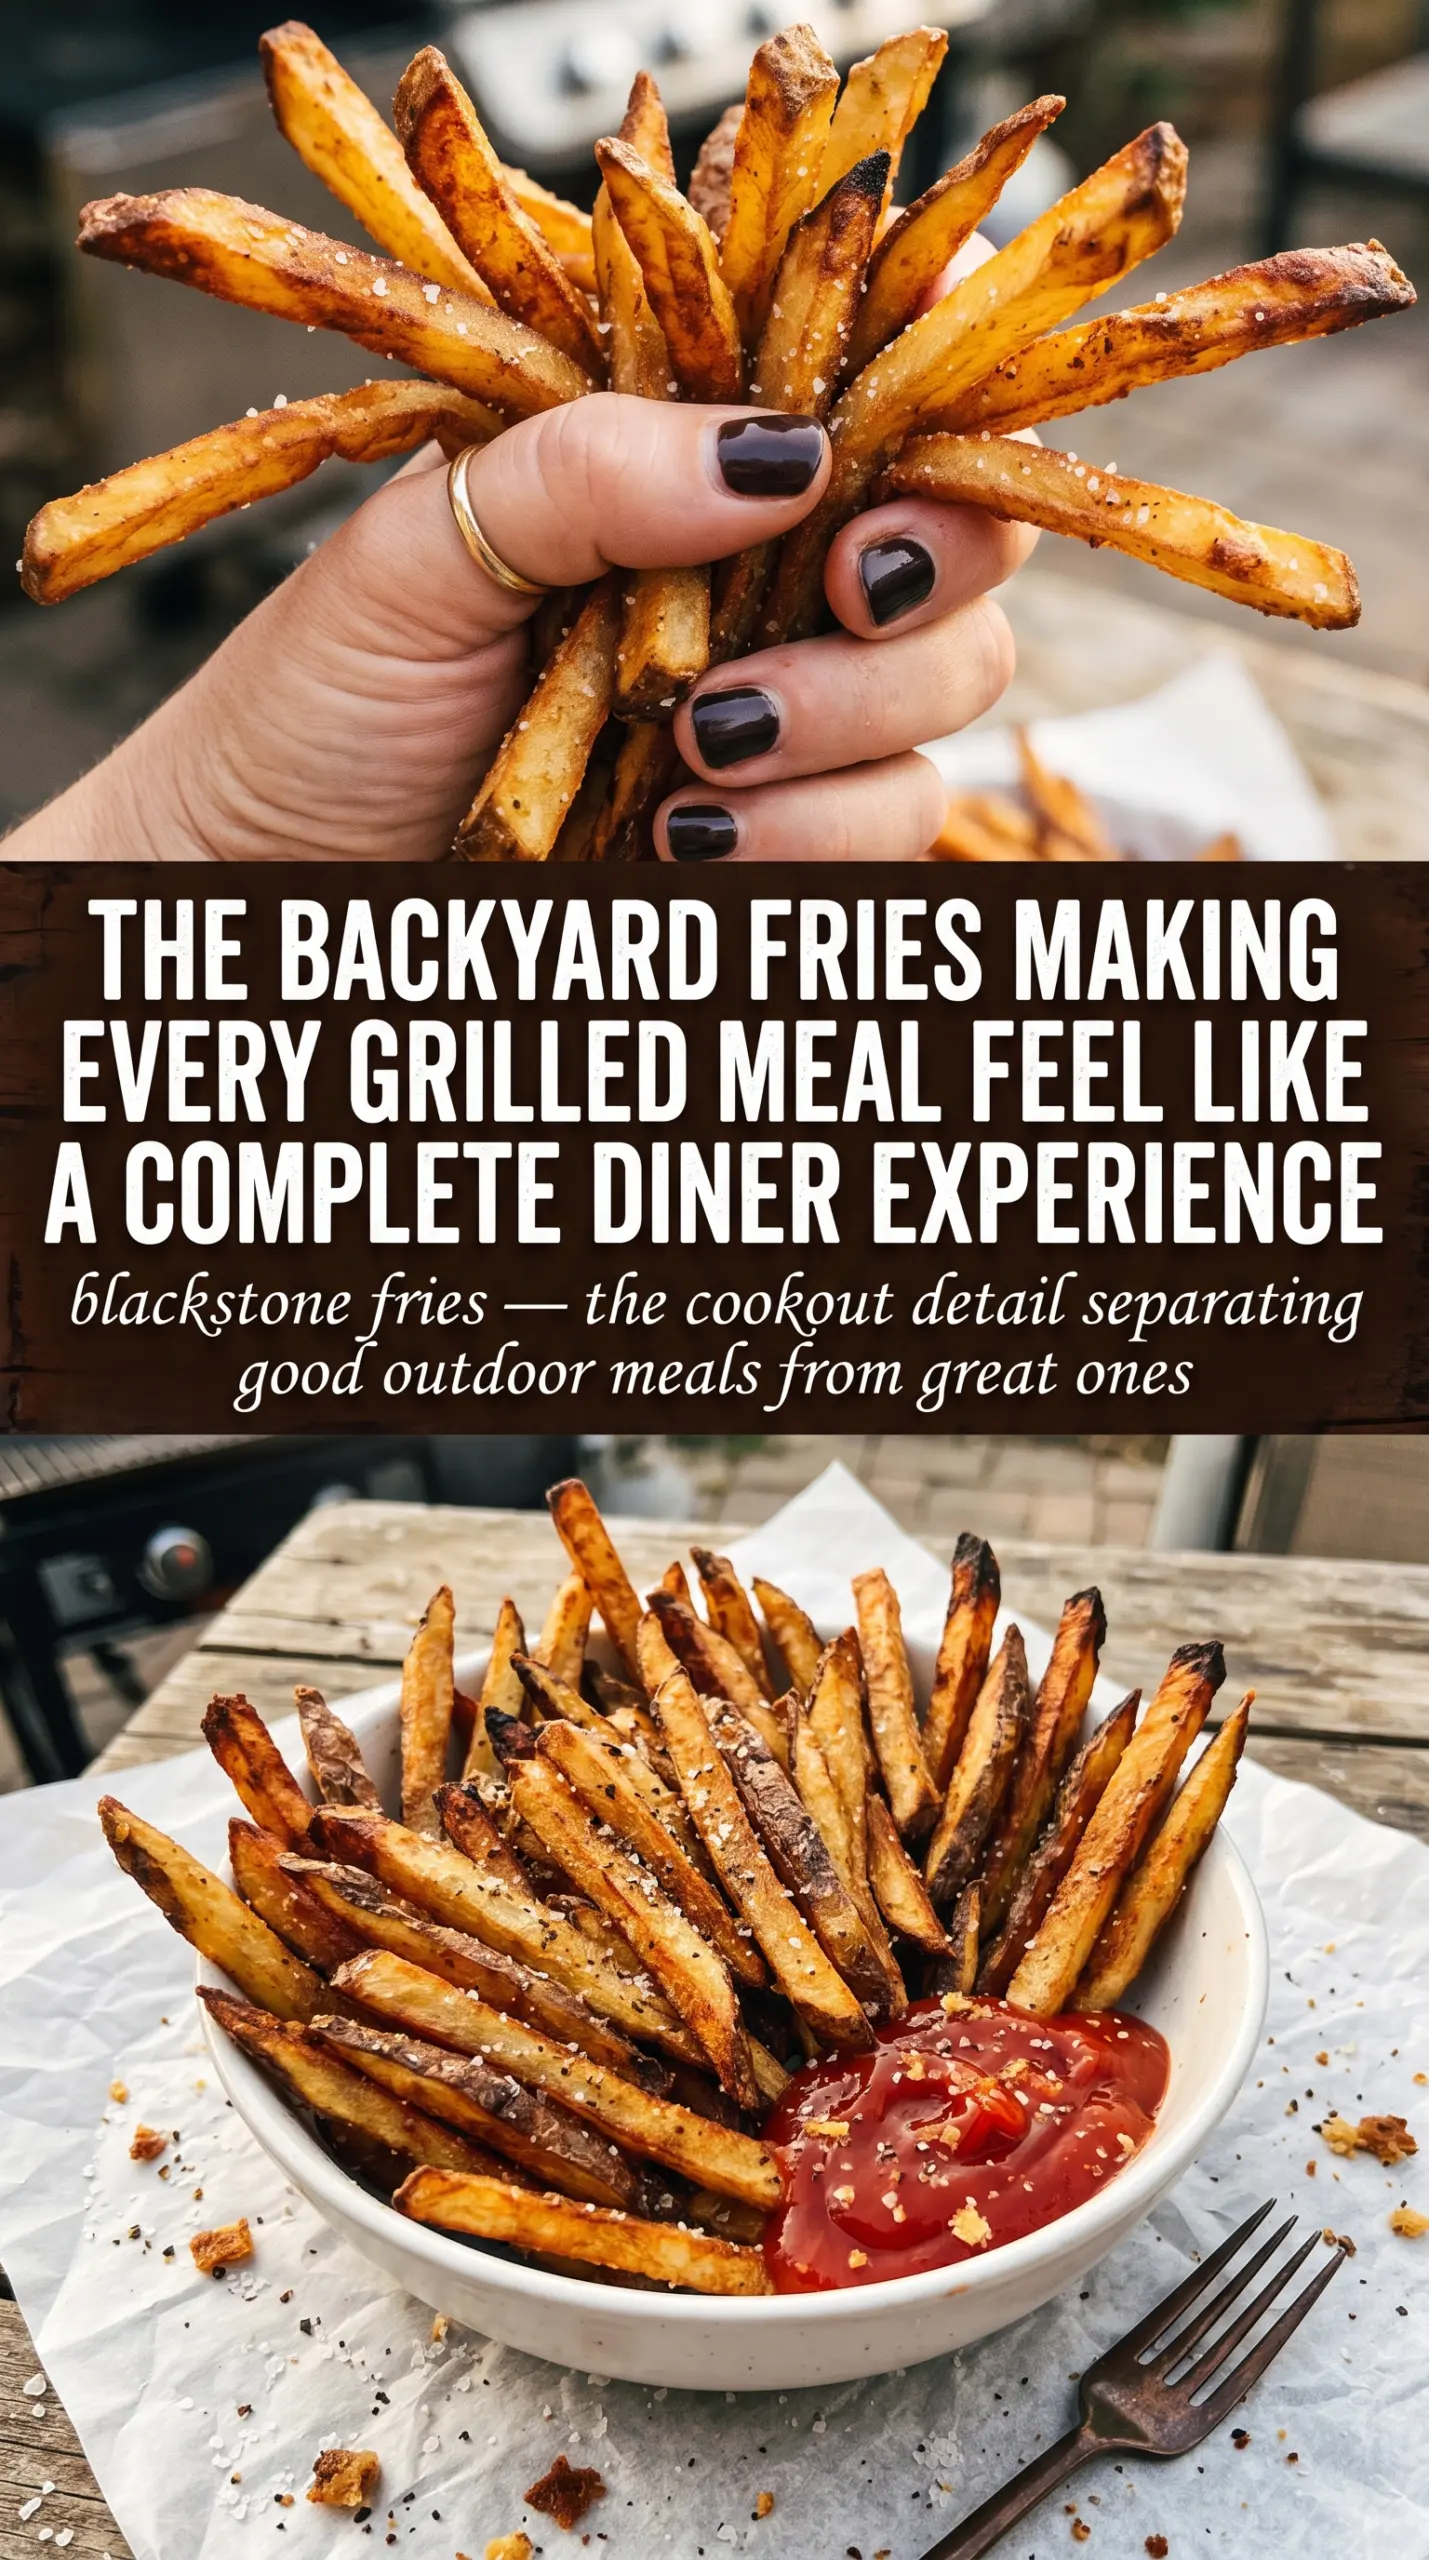
Blackstone fries land with the kind of crunch that makes people reach for the basket before the plate even hits the table. The outsides brown into thin, crackly edges while the centers stay soft and potato-y, and that contrast is exactly what separates a good griddle fry from an average one. The butter and oil combo gives you better browning than oil alone, while the seasoning clings to the hot surface instead of sliding off into the pan.
The biggest win here is control. Russet potatoes have the right starch content for crisp edges, but they need a quick soak and a full dry so they don’t steam on the griddle. Once they hit the hot surface, the trick is patience: let them sit long enough to build color before you turn them. Move them too early and you lose the crust that makes these worth making.
Below, I’m walking through the few details that matter most, including the step that keeps the fries from turning soggy and the seasoning move that gives them that diner-style finish.
I soaked and dried the potatoes like you said, and the fries came out crisp instead of floppy. The butter and paprika gave them that parked-near-the-fair flavor, and they disappeared faster than the burgers.
Save these Blackstone fries for the nights when you want crispy griddle potatoes with garlic, paprika, and a hot-off-the-pan finish.
The Step That Keeps Blackstone Fries Crispy Instead of Steaming
The biggest mistake with griddle fries is crowding them before the surface has a chance to work. If the potatoes touch too much or sit in extra moisture, they soften and go pale instead of building that browned crust. A single layer matters here. It gives the fries direct contact with the hot metal, which is where the crisping happens.
Soak the cut potatoes briefly, then dry them like you mean it. Water on the surface turns to steam the second the fries hit the griddle, and steam is the enemy of browning. The other place people go wrong is flipping too soon. Let the first side set up before you move them, or you’ll scrape off the crust before it has a chance to hold.
What the Oil, Butter, and Seasoning Are Doing Here
- Russet potatoes — These are the right choice because they’re starchy enough to get crisp at the edges without turning waxy. Yukon Golds will work in a pinch, but they stay a little denser and less shattery.
- Vegetable oil — This gives you the heat tolerance you need for a hot griddle. A neutral oil keeps the fries tasting like potatoes, not the oil you cooked them in.
- Butter — Butter adds color and a richer finish, but it can brown fast, so it works best paired with oil instead of used alone. That combo gives you flavor without burning the pan.
- Garlic powder, paprika, and onion powder — These seasonings cling well to hot fries and give them that savory, diner-style taste. Fresh garlic isn’t a good swap here because it burns before the fries are done.
- Fresh parsley — This is optional, but it brightens the final plate and cuts through the richness. Add it at the end so it stays fresh and doesn’t wilt in the heat.
The Griddle Timing That Gets You to Crisp on the First Try
Prepping the Potatoes
Cut the potatoes into evenly sized fries so they cook at the same pace. A 1/4-inch thickness gives you a good balance of crisp exterior and tender center. After the quick soak, dry them completely with towels; if they still feel damp, give them another minute. Wet potatoes don’t brown cleanly, and they can stick before the crust forms.
Getting the Surface Hot Enough
Heat the Blackstone to medium-high before the fries go on, then add the oil and butter. You want the fat hot and shimmering, not smoking hard. If the pan is too cool, the fries soak up fat instead of searing. If it’s too hot, the butter can scorch before the potatoes have time to color.
Letting the First Side Set
Spread the fries in a single layer and leave them alone for 8 to 10 minutes. That untouched time is what builds the crust. When you check them, lift one edge and look for deep golden color underneath; if the fries are still pale and sticking, give them another minute before flipping. Moving them early tears the surface and leaves you with soft edges.
Finishing With Seasoning
Flip the fries and cook until the second side is golden and crisp. Season them immediately while they’re hot so the powdery spices stick to the buttered surface. Taste one before serving and add salt at the end if needed, since the amount you want depends on how much moisture is still on the fries. Finish with parsley and serve right away for the best texture.
Three Ways to Make These Griddle Fries Fit the Meal
Dairy-Free Griddle Fries
Swap the butter for more vegetable oil or another neutral high-heat oil. You’ll lose a little of the round, buttery finish, but the fries will still crisp up nicely and stay fully dairy-free.
Spicy Fries With a Little More Bite
Add 1/4 to 1/2 teaspoon cayenne or chili powder with the paprika. That keeps the same savory base but adds heat without changing the texture or the cook time.
Cheese-Loaded Fries
Pile shredded cheese on top during the last minute and cover briefly if your griddle setup allows it. The fries will soften a little under the cheese, but you’ll get a gooey, crowd-pleasing finish that works well for game-day servings.
Storage and Reheating
- Refrigerator: Store leftovers in an airtight container for up to 3 days. The fries will soften, but they’ll still reheat well.
- Freezer: These freeze better after the first cook than after reheating, but the texture won’t be as crisp as fresh. Freeze in a single layer, then transfer to a bag once solid.
- Reheating: Reheat on the griddle or in a hot oven at 425°F until the edges crisp again. Don’t microwave them if you want any crunch left; it softens the outside and makes the fries leathery.
Questions I Get Asked About This Recipe

Blackstone Fries
Ingredients
Equipment
Method
- Cut russet potatoes into 1/4-inch thick fries and soak in cold water for 10 minutes.
- Pat the fries completely dry so they crisp on the griddle.
- Heat a Blackstone griddle to medium-high and add vegetable oil and butter until shimmering.
- Spread fries in a single layer and cook for 8-10 minutes without moving, until the undersides start to brown.
- Flip the fries and cook another 8-10 minutes until golden and crispy on all sides, with visible steam rising.
- Season the hot fries immediately with garlic powder, paprika, onion powder, salt, and pepper so the coating sticks.
- Garnish with chopped fresh parsley and serve with ketchup and other dipping sauces.