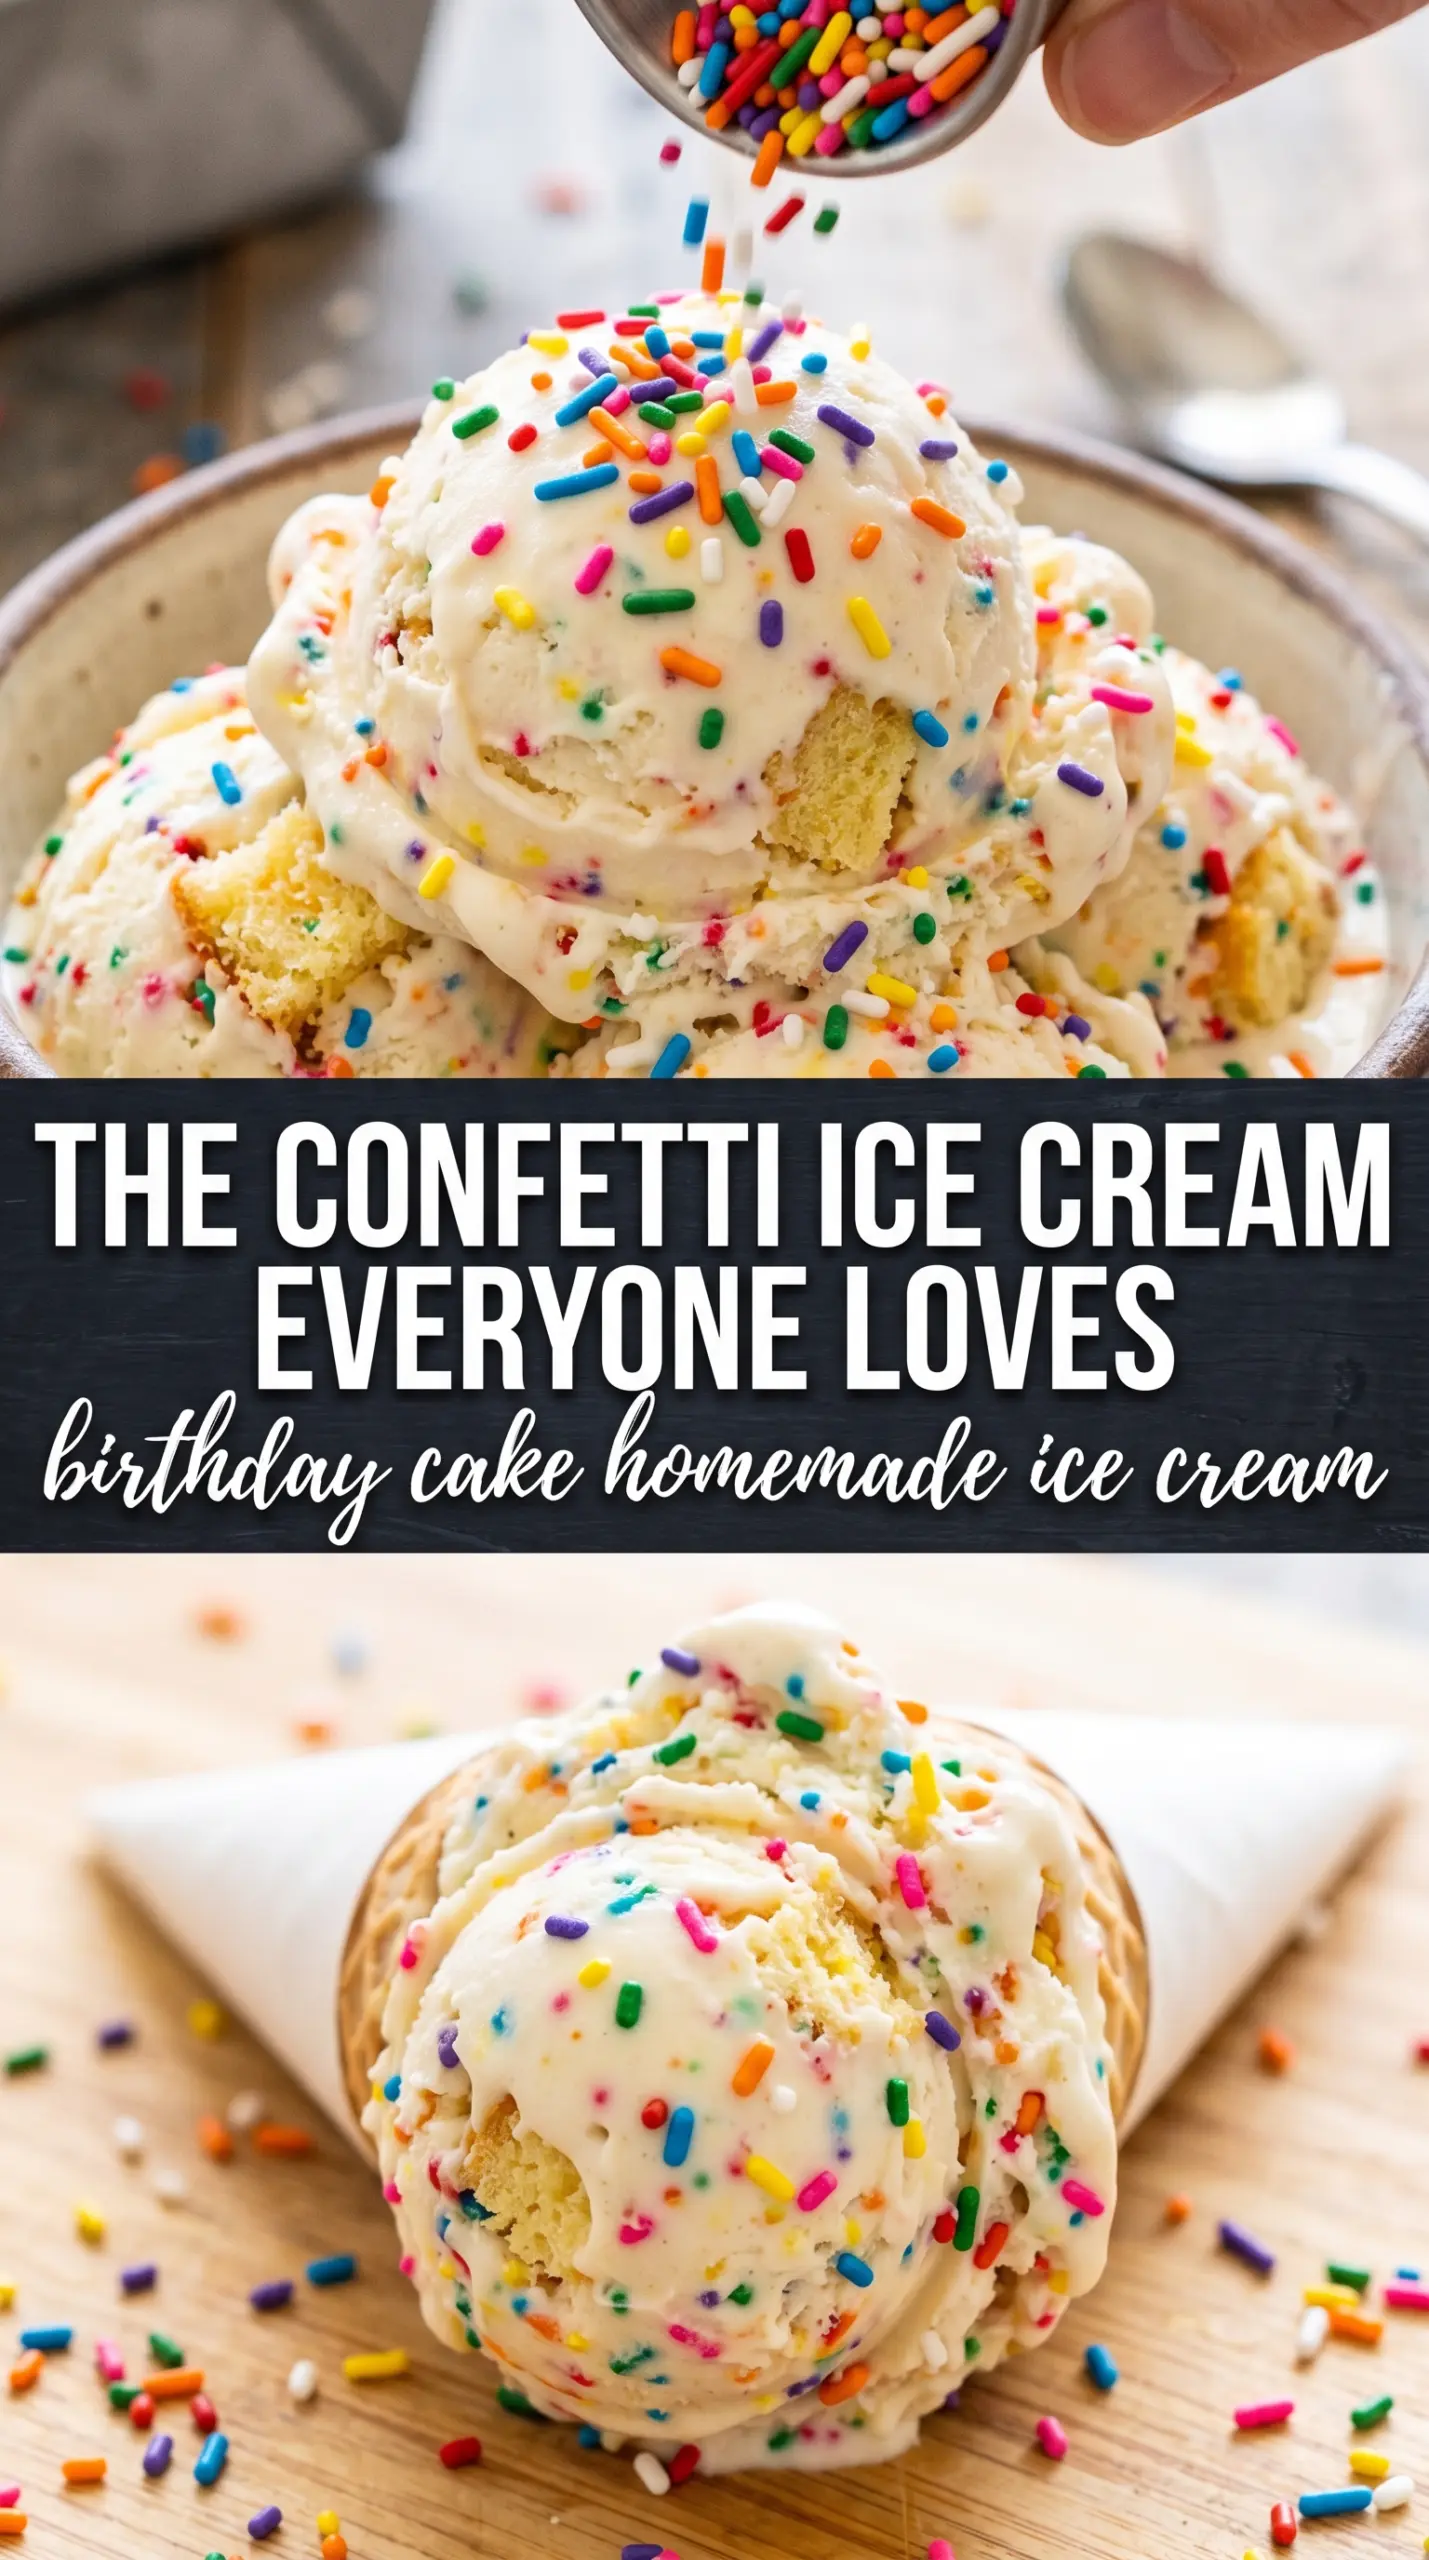
Creamy birthday cake ice cream delivers that unmistakable cake-batter nostalgia in scoop form, with a soft vanilla base, a hint of almond, and sprinkles suspended throughout every bite. The texture matters here as much as the flavor: it should churn up thick and silky, then freeze into a scoop that’s firm enough to hold its shape but still gives cleanly under a spoon.
The trick is building a proper custard base before anything goes near the freezer. Egg yolks give the ice cream body, while butter extract adds that boxed-cake note without tasting artificial or heavy-handed. The sprinkles go in at the very end so they keep their color and don’t bleed into the base, which is how you get those bright confetti flecks instead of a muddy swirl.
Below, I’ll show you the temperature to watch for, why the extracts matter, and how to keep the texture smooth from the stovetop all the way to the freezer. If you’ve ever wanted ice cream that tastes like a birthday party in a bowl, this is the one to make.
The custard turned out unbelievably smooth, and the sprinkles stayed bright instead of melting into the base. That little bit of almond extract made it taste exactly like birthday cake batter.
Save this birthday cake homemade ice cream for the days when you want creamy funfetti scoops with real cake batter flavor.
The Custard Base Needs Gentle Heat, Not Guesswork
Ice cream gets grainy or eggy when the yolks scramble on the stove, and that usually happens because the base is heated too fast. The goal is 175°F: hot enough to thicken, not so hot that the yolks tighten into curds. Stir constantly and keep the heat moderate. If you can drag a spoon across the back of the pan and the line holds for a second, you’re in the right zone.
Straining the custard matters here. Even a well-made base can pick up a few tiny bits of cooked egg around the edges, and straining gives you that smooth, plush texture you want in a birthday cake ice cream. Cooling it completely before churning matters just as much. Warm base equals slow churning and a softer final freeze.
What Each Ingredient Is Actually Doing In This Cake-Batter Ice Cream
- Heavy cream — This gives the ice cream its rich body and that smooth, scoopable finish. There isn’t a real substitute that performs the same way, because lower-fat dairy makes the texture icier.
- Whole milk — It keeps the base from tasting too heavy and helps balance the cream. You can use 2% in a pinch, but the ice cream will freeze a little harder and taste less plush.
- Egg yolks — Yolks are what turn this from sweet cream into custard ice cream. They thicken the base and help it freeze with a dense, velvety texture instead of a thin one.
- Butter extract — This is the ingredient that pushes the flavor toward cake batter. If you leave it out, the ice cream still tastes good, but it loses that unmistakable boxed birthday cake note.
- Almond extract — Use it lightly. It sharpens the vanilla and gives the flavor that old-school bakery edge, but too much will make the ice cream taste like marzipan instead of cake.
- Rainbow sprinkles — Add them at the end of churning so they stay bright and distinct. Nonpareils tend to bleed more than jimmies, so if you want clean confetti speckles, use the sturdier kind.
Churn It Cold, Fold In the Sprinkles Late, Then Freeze It Firm
Heating the Dairy
Warm the cream and milk just until steaming, not boiling. You want small bubbles around the edge of the pan and a hot surface, not a rolling simmer that can scorch the dairy. That gentle heat helps the egg mixture temper smoothly instead of curdling when the hot liquid hits it.
Tempering the Yolks
Whisk the yolks and sugar until they look slightly lighter, then drizzle in the hot dairy slowly while whisking the whole time. This step protects the eggs from scrambling. If you dump the liquid in all at once, the outside of the yolks cook too fast and you end up with bits of egg in the custard.
Cooking to the Right Thickness
Return the custard to the saucepan and cook it slowly, stirring constantly and scraping the bottom and corners. At 175°F, it should coat a spoon and feel a little thicker than heavy cream. If it starts to steam heavily or bubble, pull it off the heat right away.
Flavoring and Chilling
Strain the custard into a clean bowl, then stir in the butter extract, vanilla, almond extract, and salt. The extracts go in after cooking because heat can flatten their aroma. Chill the base for the full 4 hours; a cold base churns faster and traps air better, which is what gives the ice cream a lighter texture.
Churning and Finishing
Churn until the ice cream looks like soft serve and holds ridges on the dasher. Add the sprinkles in the last 2 minutes so they distribute without dissolving. Transfer the churned ice cream to a freezer-safe container and freeze until firm enough to scoop. If you serve it straight from the machine, it’ll be too soft to hold that clean birthday-cake scoop.
How to Adapt This for a Bigger Party or a Different Diet
Dairy-Free Birthday Cake Ice Cream
Use full-fat canned coconut milk in place of the cream and whole milk, then churn as usual. The texture will be a little firmer and the coconut flavor will peek through, but the butter extract and sprinkles still give it a birthday-cake feel.
No Butter Extract on Hand
You can replace the butter extract with an extra 1/2 teaspoon of vanilla, but the flavor will lean more toward vanilla ice cream than true cake batter. If you want the boxed-cake note, the butter extract is the one ingredient worth buying.
Extra-Sprinkle Party Version
Fold in a little extra rainbow sprinkles just before freezing, then scatter more over the top when serving. Keep the total amount modest or the ice cream can get waxy and the colors can bleed into the base as it sits.
Storage and Reheating
- Refrigerator: Not applicable once churned; keep the base chilled up to 24 hours before churning.
- Freezer: Store in an airtight container for up to 2 weeks. After that, the texture gets icier and the sprinkles can start to fade.
- Reheating: No reheating needed. For the best scoop, let the container sit at room temperature for 5 to 10 minutes before serving so it softens at the edges instead of cracking from the freezer.
Answers to the Questions Worth Asking
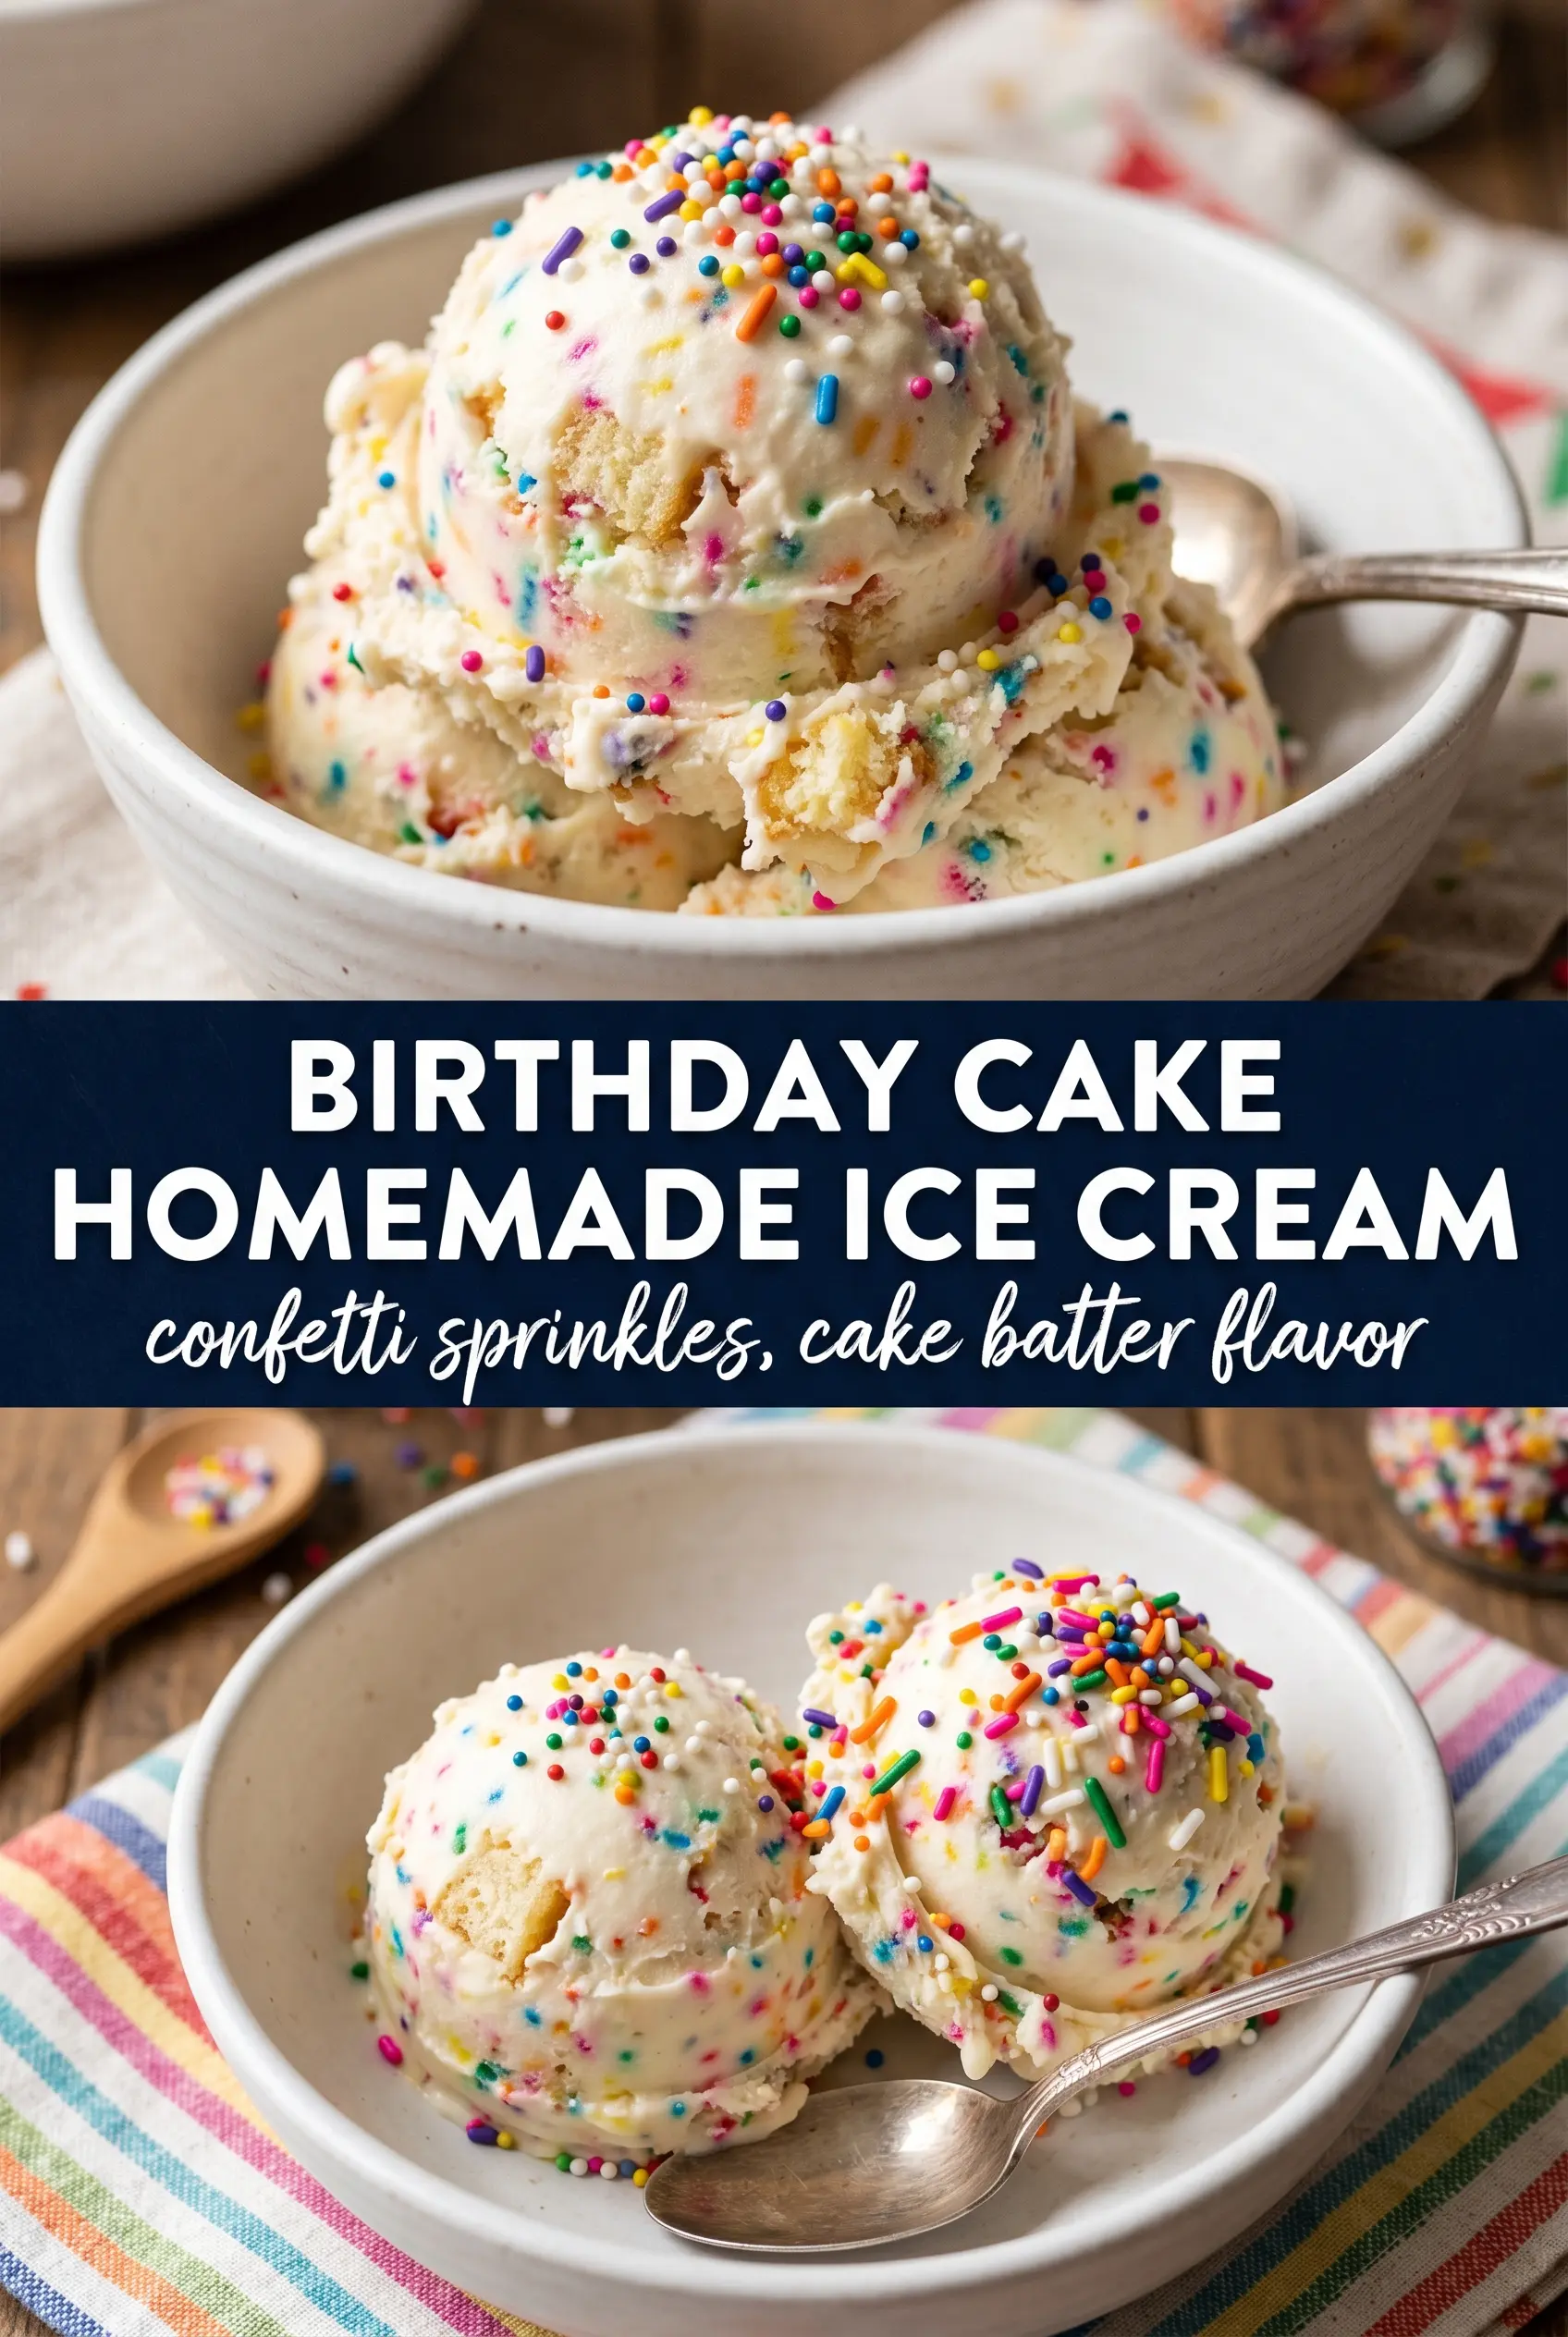
Birthday Cake Homemade Ice Cream
Ingredients
Equipment
Method
- Heat the heavy cream and whole milk in a saucepan over medium heat until steaming, with small bubbles around the edges. Slowly whisk the hot dairy into the egg yolks and granulated sugar until smooth.
- Return the mixture to the saucepan and cook to 175°F, stirring constantly until it thickens enough to coat a spoon. Keep the heat steady to avoid scrambling the yolks.
- Strain the custard into a clean container, then whisk in the butter extract, vanilla extract, almond extract, and salt until fully combined. Cool to room temperature, then cover and refrigerate for 4 hours.
- Churn the chilled custard in an ice cream maker until thick and the texture looks like soft-serve. Fold in the rainbow sprinkles during the last 2 minutes of churning.
- Transfer to a freezer-safe container and freeze until firm, so the scoop holds its shape. Serve with more sprinkles on top.