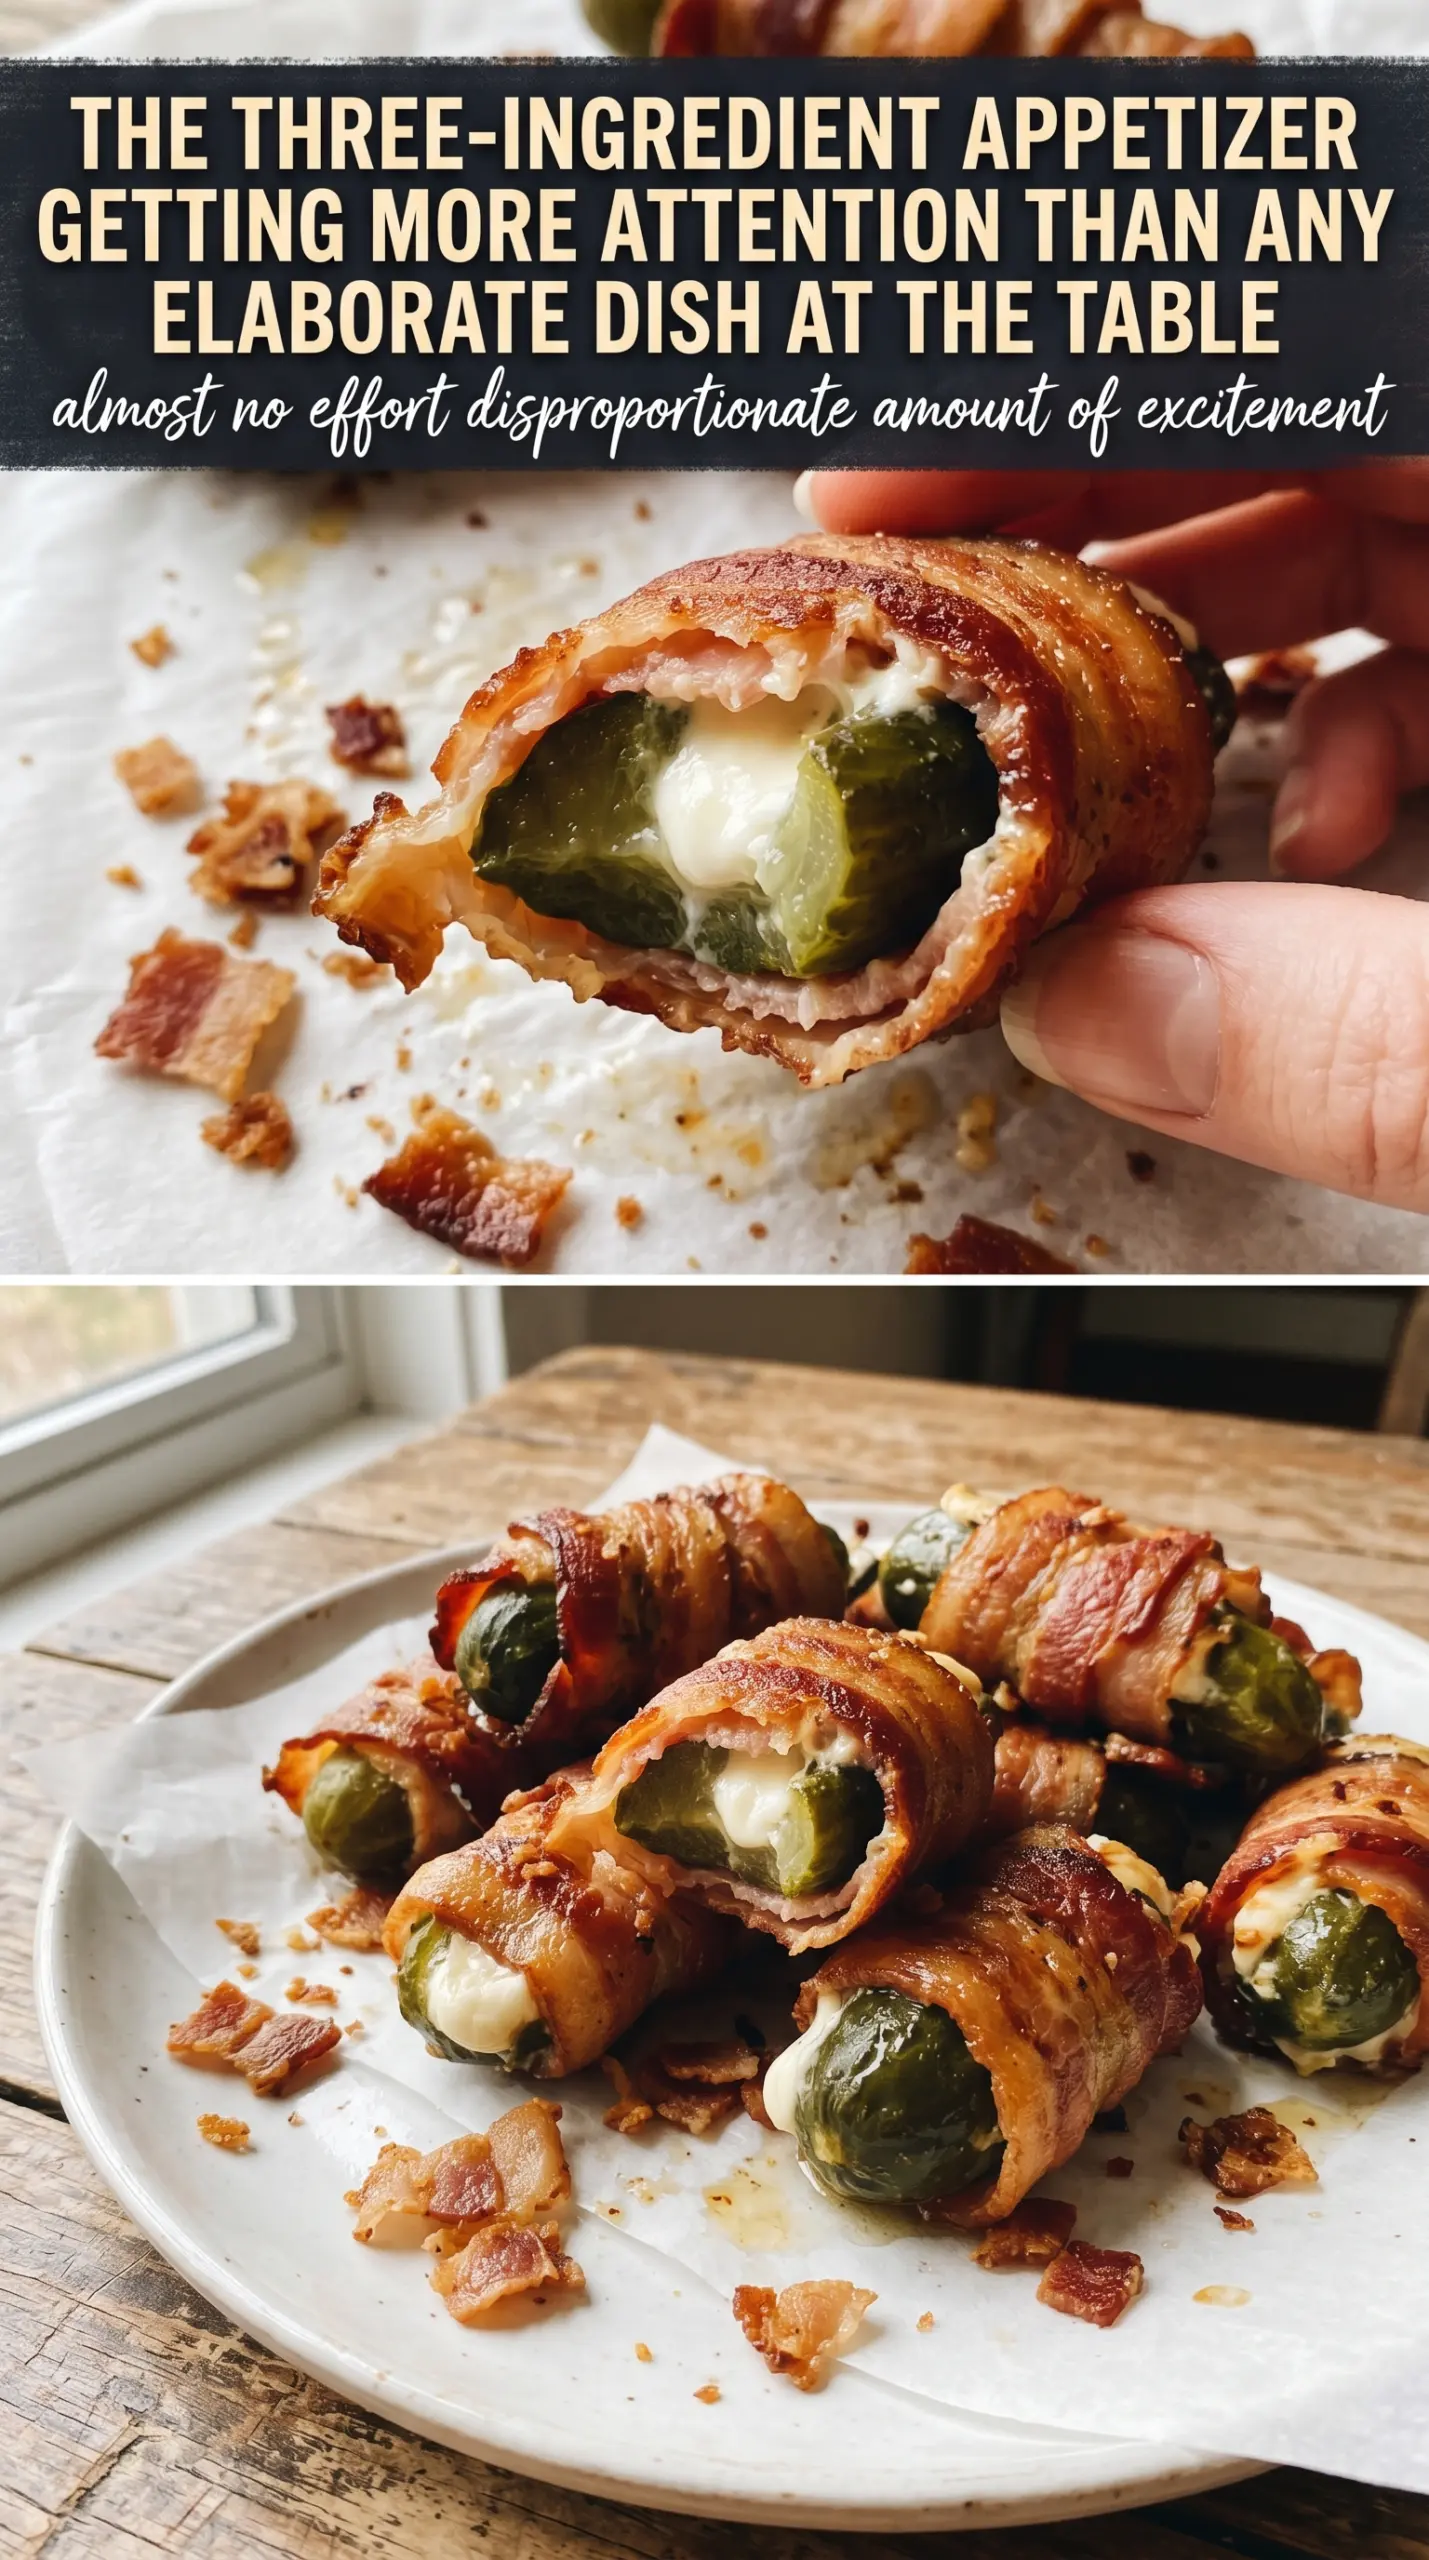
Crispy bacon, cold dill pickle, and a creamy center hit all at once in these bacon wrapped pickles stuffed with cream cheese. The contrast is the whole reason they disappear fast: salty, tangy, rich, and just a little smoky when they come off the grill with the bacon blistered and tight around the pickle.
The trick is drying the pickles well before stuffing them. Pickles carry a lot of surface brine, and if that moisture stays on the outside, the bacon steams instead of crisping. Softened cream cheese spreads cleanly into the slit without tearing the pickle open, and keeping the bacon wrapped snugly with toothpicks helps everything stay put while the fat renders.
Below, I’ve included the small details that matter most for getting crisp bacon and a filling that doesn’t leak out. If you’ve ever had bacon wrapped appetizers go soggy or slide apart on the grill, this version fixes both problems.
The bacon crisped up all the way and the cream cheese stayed inside the pickle instead of melting out. I made them on the grill for a party and the pan was empty before the burgers were done.
Save these bacon wrapped pickles stuffed with cream cheese for the next time you need a smoky, salty appetizer that crisps up fast on the grill.
The Reason the Bacon Stays Crispy Instead of Steaming
The biggest failure point in bacon wrapped pickles is moisture. Pickles are wet, cream cheese softens fast, and bacon won’t crisp if the outside of the bundle is slick or if the heat is too low. Patting the spears dry first gives the bacon a fighting chance, and grilling over medium heat lets the fat render before the pickle starts leaking brine into the pan.
Another detail that matters is the way the pickle is slit. A clean slit holds the filling without splitting the spear in half, which keeps the shape intact while the bacon tightens around it. If the pickle tears, the cream cheese will push out as soon as the bacon shrinks.
- Dill pickle spears — Use firm spears, not floppy ones. You want enough structure to hold the filling and survive the grill without collapsing.
- Cream cheese — Full-fat cream cheese gives the best body and melts into a thick filling instead of running. Let it soften at room temperature so it spreads easily into the slit.
- Bacon — Standard sliced bacon works best because it has enough fat to crisp without overcooking the pickle. Thick-cut bacon can take longer than the pickles need, which leaves you with limp filling or charred edges before the center is ready.
- Toothpicks — Don’t skip these. They keep the bacon seam pinned down while it renders and prevent the wrap from unraveling on the grill.
What Each Ingredient Is Actually Doing in Bacon Wrapped Pickles Stuffed With Cream Cheese
- Protein (quality, proper thickness) — Good quality protein tastes better. Even thickness ensures even cooking.
- Seasoning (bold, distributed throughout) — Don’t be shy with salt and pepper. Quality seasoning elevates everything.
- Oil or fat (protective and flavorful) — The fat helps develop crust and carries flavors. Use generously.
- Heat management (appropriate temperature for the protein) — Too high and the outside burns before the inside cooks. Too low and it steams.
- Technique (sear, then finish based on thickness) — Proper technique creates flavor. Sear for crust, then cook through gently.
- Aromatics and seasonings (garlic, herbs, spices) — These add complexity and depth. Distribute them throughout the cooking process.
- Resting time (let it rest before serving) — Resting allows juices to reabsorb. This keeps the protein moist and tender.
- Optional: finishing sauce or glaze — A light sauce adds richness without overwhelming. Apply at the very end.
Getting the Fill, Wrap, and Grill Time in the Right Order
Drying the Pickles First
Start by patting the pickle spears dry with paper towels until the surface feels tacky instead of wet. This step matters more than it looks like it should, because any extra brine on the outside turns into steam once the pickles hit the heat. If you rush this part, the bacon will slide around before it has a chance to set.
Stuffing Without Splitting the Spear
Cut a slit lengthwise down each spear, but stop before you cut through the bottom. Spoon or press the softened cream cheese into the opening, filling it firmly but not so much that it bulges out in every direction. A thin, even layer stays put better than a giant mound, and it makes the bacon wrap cleaner.
Wrapping and Securing the Bacon
Wrap one slice of bacon around each stuffed pickle and overlap the ends slightly so the seam stays closed. Use toothpicks to pin the bacon in place. If the bacon is loose, it will tighten unevenly as it cooks and expose the filling, which leads to drips and patchy browning.
Grilling Until the Fat Renders and the Edges Crisp
Place the wrapped pickles over medium heat and turn them often as the bacon cooks. You’re looking for the bacon to darken, tighten, and develop crisp spots while the pickle stays intact and the filling warms through. If the heat is too high, the outside will char before the bacon has time to crisp; too low, and everything turns soft instead of snappy.
Add a little heat to the filling
Stir a pinch of cayenne or a spoonful of chopped jalapeño into the cream cheese before stuffing. That gives the filling a sharper bite that stands up nicely to the salty bacon and tangy pickle.
Use turkey bacon for a lighter version
Turkey bacon works, but it won’t crisp and wrap the same way regular bacon does. It helps to pre-cook it slightly so it can hold on the grill, though the finished appetizer will be less smoky and less rich.
Make them dairy-free with a plant-based spread
A dairy-free cream cheese alternative can work here as long as it’s thick and chillable. The texture won’t be quite as rich, but it still gives you that creamy center without changing the rest of the method.
Skip the grill and use the oven
Bake them on a rack over a sheet pan at 400°F until the bacon is browned and crisp. The oven gives you more even heat and less flare-up risk, though you’ll lose a little of the smoky grilled edge.
Storage and Reheating
- Refrigerator: Store leftovers in an airtight container for up to 3 days. The bacon will soften a little as it sits.
- Freezer: I don’t recommend freezing these. The pickle changes texture and the cream cheese can turn grainy after thawing.
- Reheating: Reheat on a rack in a 375°F oven or air fryer until the bacon re-crisps. The mistake to avoid is microwaving, which makes the bacon rubbery and pushes more moisture out of the pickle.
Questions I Get Asked About This Recipe

Bacon Wrapped Pickles Stuffed With Cream Cheese
Ingredients
Equipment
Method
- Cut a slit lengthwise in each dill pickle spear, stopping short so you don’t cut all the way through, which creates a pocket.
- Stuff each pickle spear with softened cream cheese, filling the slit so the cream cheese stays packed inside.
- Wrap each stuffed pickle with one slice of bacon, then secure it with a toothpick so the bacon stays in place.
- Grill the bacon-wrapped pickles over medium heat for 15-20 minutes, turning frequently until the bacon is crispy and browned.
- Remove the toothpicks before serving so the bacon-wrapped pickles come out clean and ready to eat.