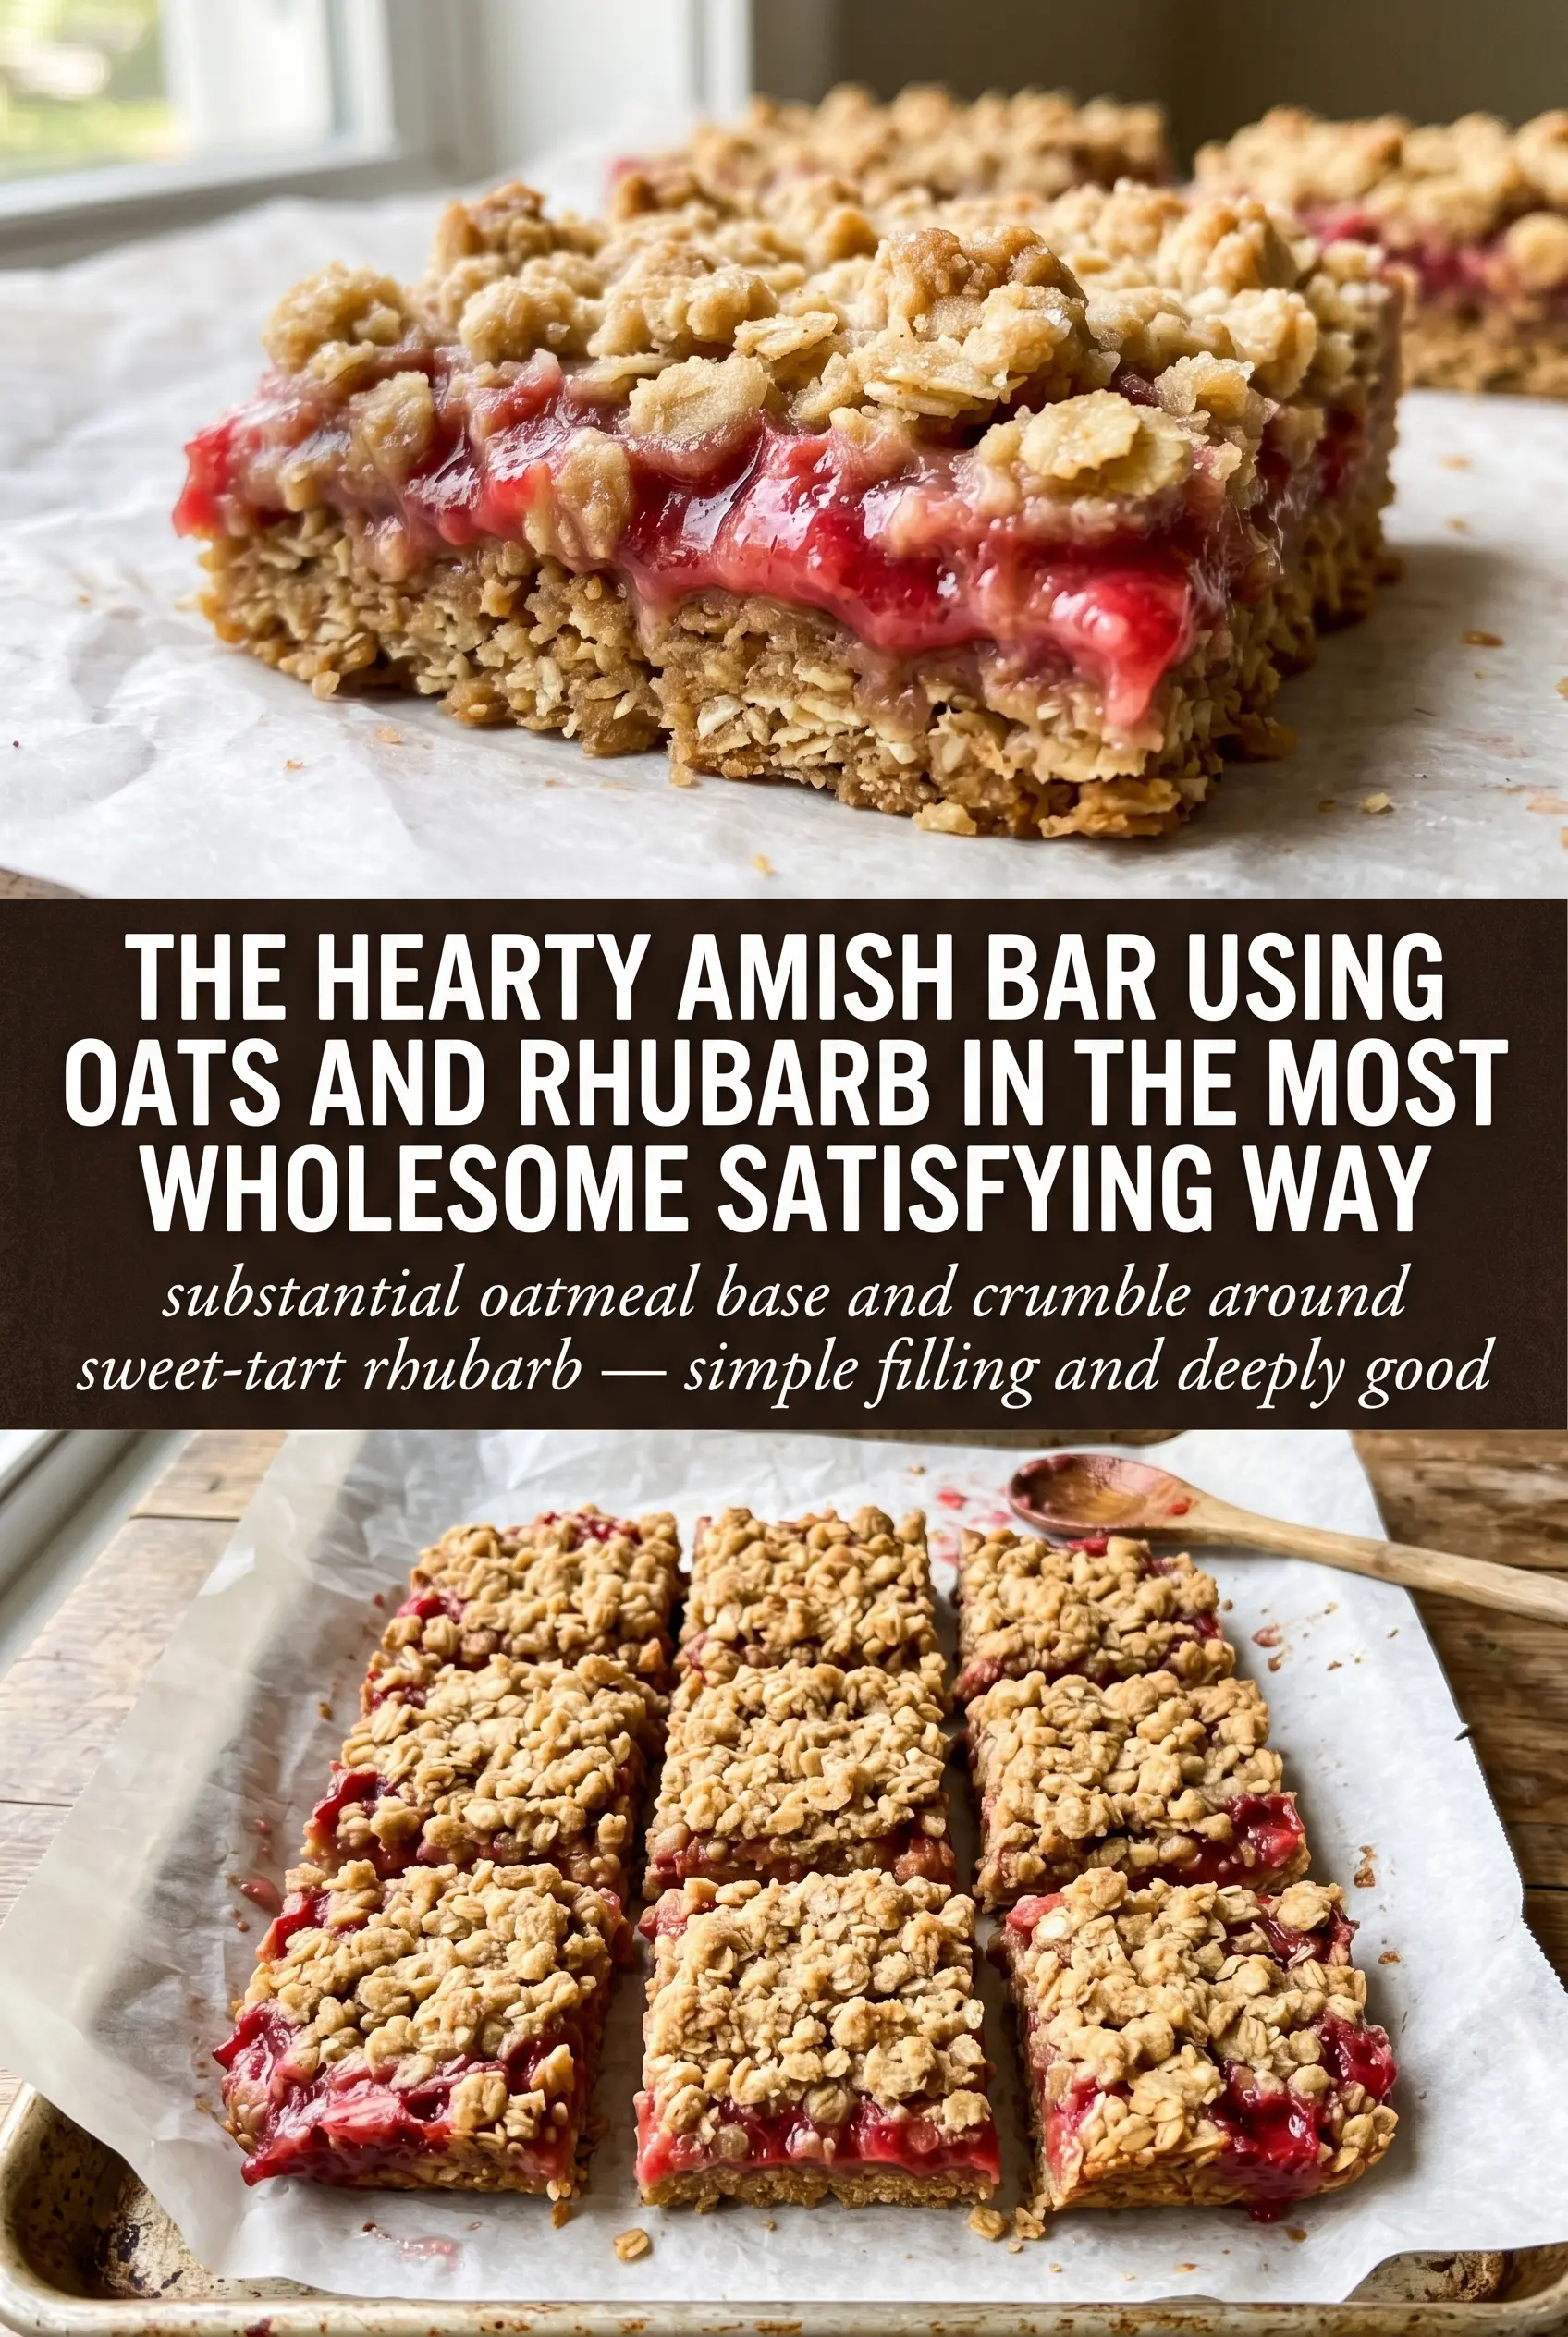
Thick rhubarb filling tucked between buttery oat layers is the kind of bar that disappears fast once it hits the counter. The bottom bakes up sturdy enough to hold the fruit, while the top stays crumbly and golden instead of turning sandy or dry. You get a clean slice, a tangy center, and that old-fashioned baked-oat texture that feels just right with coffee or a cold glass of milk.
What makes these bars work is the balance between a cooked rhubarb filling and a pressed oat crust. Raw rhubarb can leak too much juice and soften the base, so the filling is thickened on the stove with cornstarch before it ever goes into the pan. Melted butter also matters here because it coats the oats evenly and helps the topping clump into those chewy, crumbly pieces instead of staying powdery.
Below, I’ll walk through the part that keeps the bars neat when you cut them, plus a few swaps if your rhubarb is extra tart or you need to make them ahead. These are the kind of bars that reward a little patience while they cool.
The rhubarb layer thickened up beautifully on the stove, and the bars cut cleanly once they cooled. The oat topping stayed crisp around the edges and didn’t turn soggy the next day.
Save these Amish Oatmeal Rhubarb Bars for the next time you want a tangy rhubarb filling and a buttery oat crumble in one pan.
The Trick to Keeping the Bottom Layer from Going Soft
The biggest mistake with rhubarb bars is skipping the stovetop filling and letting raw fruit do all the work in the oven. Rhubarb gives off a lot of moisture as it bakes, and if that liquid hasn’t been thickened first, it seeps into the crust and leaves you with a damp, gummy base instead of a firm bar. Cooking the filling with cornstarch first gives you control over the texture and lets the bars bake up in distinct layers.
The other piece that matters is how you handle the oat mixture. You want it crumbly, not smooth like a dough, so the melted butter should be mixed in just until the dry ingredients look evenly moistened and sandy with small clumps. That’s what gives the top layer its rustic craggy finish and keeps the bars from baking into a flat sheet.
- Fresh rhubarb — Fresh stalks hold their shape better and give the filling that sharp, clean tang. If yours are thick and stringy, peel away any tough outer fibers before dicing so the filling eats tender instead of fibrous.
- Cornstarch — This is what turns the rhubarb mixture from runny fruit soup into a sliceable filling. Flour won’t thicken as cleanly here, and you’d need more of it, which can make the filling taste cloudy.
- Old-fashioned oats — Use the hearty rolled kind, not quick oats. Quick oats break down too much and lose that chewy, layered texture that makes the bars feel like a proper crumble bar.
- Butter, melted — Melted butter helps the oat mixture clump and press evenly into the pan. If you use softened butter, the texture can get patchy and the crust won’t pack down as neatly.
What Each Ingredient Is Actually Doing in Amish Oatmeal Rhubarb Bars

- Protein (quality, proper thickness) — Good quality protein tastes better. Even thickness ensures even cooking.
- Seasoning (bold, distributed throughout) — Don’t be shy with salt and pepper. Quality seasoning elevates everything.
- Oil or fat (protective and flavorful) — The fat helps develop crust and carries flavors. Use generously.
- Heat management (appropriate temperature for the protein) — Too high and the outside burns before the inside cooks. Too low and it steams.
- Technique (sear, then finish based on thickness) — Proper technique creates flavor. Sear for crust, then cook through gently.
- Aromatics and seasonings (garlic, herbs, spices) — These add complexity and depth. Distribute them throughout the cooking process.
- Resting time (let it rest before serving) — Resting allows juices to reabsorb. This keeps the protein moist and tender.
- Optional: finishing sauce or glaze — A light sauce adds richness without overwhelming. Apply at the very end.
How to Build the Layers So the Bars Slice Cleanly
Making the Oat Base
Stir the flour, oats, brown sugar, baking soda, and salt together first so the leavening and sugar are evenly distributed. Once the melted butter goes in, the mixture should look damp and crumbly, with no dry flour hiding at the bottom of the bowl. Press half of it firmly into the pan; if you leave it loose, the base will fall apart when you cut the bars later.
Cooking the Rhubarb Filling
Cook the rhubarb, sugar, cornstarch, water, and vanilla over medium heat until the mixture turns glossy and thick like a loose jam. It usually takes about 10 minutes, but the real clue is when the bubbles slow down and the fruit softens enough that the spoon leaves a brief trail behind it. If the filling still looks watery, it will keep leaking into the crust during baking.
Baking and Cooling Without Rushing It
Spread the hot filling over the crust, then scatter the remaining oat mixture on top in an even layer. Bake until the top is golden and the edges are set, then stop there and let the pan cool completely before slicing. If you cut them while warm, the filling will slide and the layers won’t hold; once cooled, the bars set into neat squares with a firm, tangy center.
How to Adapt These Bars When You Need a Different Pan or Sweetness Level
Use frozen rhubarb without losing the texture
Frozen rhubarb works well, but thaw it first and drain off the excess liquid before cooking the filling. If you skip that step, the filling takes longer to thicken and can end up looser than fresh rhubarb. The bars will still taste good, but the texture is cleaner when you start with drained fruit.
Make them gluten-free with a simple flour swap
A good 1:1 gluten-free baking blend can replace the all-purpose flour in the crust and topping. The bars will still hold together, though the crumble may be a little more delicate and less chewy than the original. Use certified gluten-free oats if cross-contamination matters.
Tone down tart rhubarb for a softer dessert
If your rhubarb is especially sharp, add a little more sugar to the filling, but don’t add so much that it turns syrupy. The goal is to round out the tartness, not hide it. A slightly sweeter filling also sets up a bit more firmly once it cools.
Storage and Reheating
- Refrigerator: Store covered for up to 5 days. The oat layers stay sturdy, and the filling actually slices a little cleaner after chilling.
- Freezer: These bars freeze well. Wrap individual bars tightly and freeze for up to 2 months, then thaw in the refrigerator so the topping doesn’t get soggy from condensation.
- Reheating: Serve them cold or let them come to room temperature. If you warm them, use a low oven for a few minutes instead of the microwave, which can soften the crust and make the filling weep.
Questions I Get Asked About This Recipe
Amish Oatmeal Rhubarb Bars
Ingredients
Equipment
Method
- Preheat the oven to 350°F and grease a 9x13-inch baking pan.
- In a large bowl, combine all-purpose flour, old-fashioned oats, brown sugar, baking soda, and salt, then stir until evenly mixed.
- Pour in the melted butter and stir until the mixture forms a crumbly texture.
- Press half of the oat mixture into the bottom of the prepared pan to form an even crust layer.
- In a saucepan, combine diced rhubarb, sugar, cornstarch, water, and vanilla extract.
- Cook over medium heat for about 10 minutes, stirring, until the mixture thickens into a filling consistency.
- Spread the rhubarb filling over the pressed crust layer.
- Sprinkle the remaining oat mixture evenly over the top to cover the filling.
- Bake at 350°F for 35-40 minutes, until the top is golden brown.
- Cool completely in the pan for 1 hour before cutting into bars, so the filling sets cleanly.