
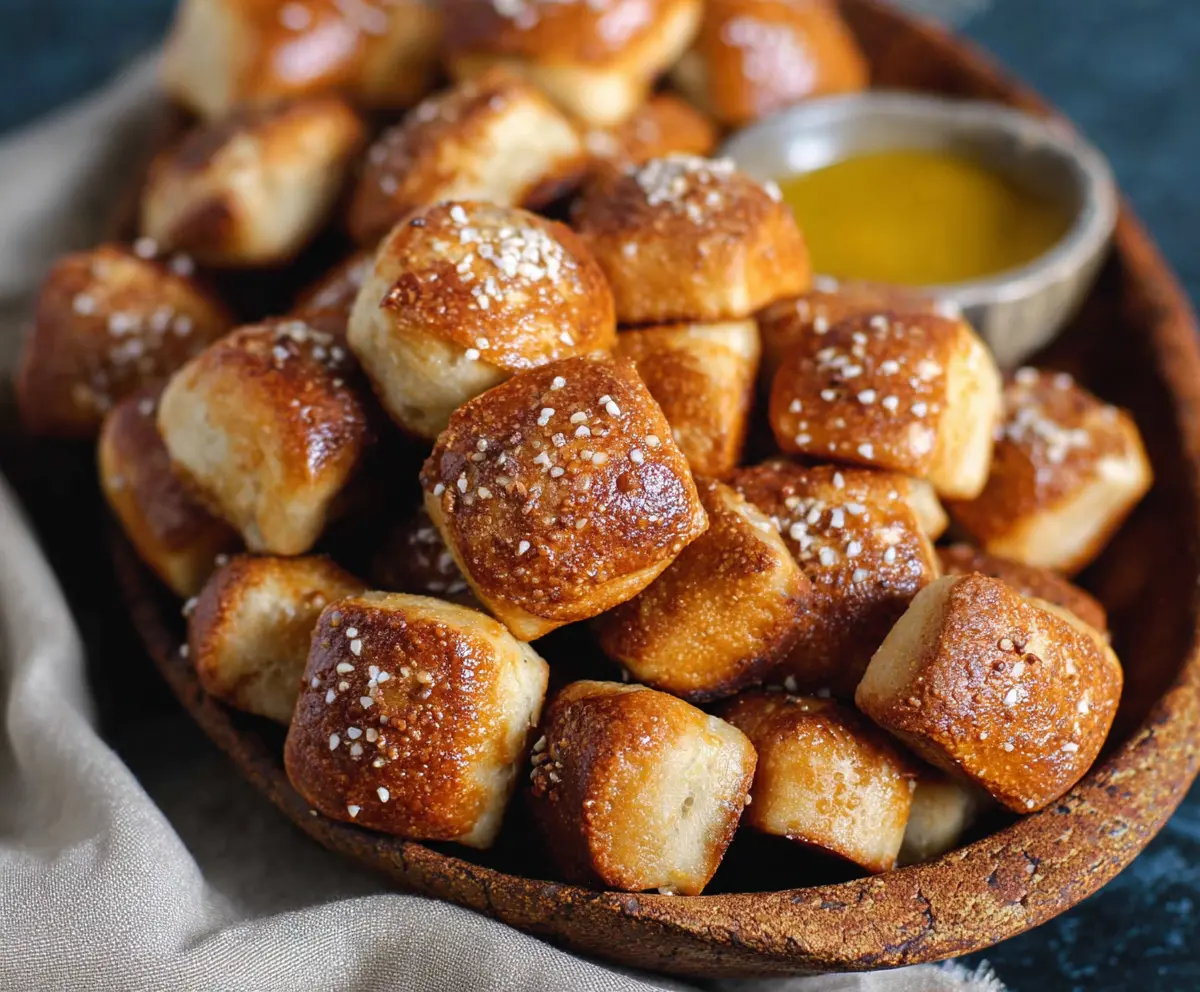
These Yeast-free Sourdough Discard Pretzel Bites are perfect for snack time! They are soft, chewy, and have that classic pretzel flavor you love, all without needing any extra yeast.
Making these bites is a fun way to use up sourdough discard. I like to pair them with mustard or cheese dip—who can say no to that combo? Perfect for sharing or just satisfying your snack cravings!
Key Ingredients & Substitutions
Sourdough Discard: This is the star of the recipe. Using unfed sourdough discard gives great flavor. If you don’t have discard, you can use plain yogurt or buttermilk as a tangy substitute, though it might change the flavor slightly.
All-Purpose Flour: I stick with all-purpose flour, as it gives the best texture for pretzel bites. If you’re looking for alternatives, whole wheat flour can work, but be aware it may make the bites denser. You could also try a gluten-free blend if needed!
Baking Soda: This ingredient helps to create that classic pretzel taste. Don’t swap it with baking powder, as it won’t yield the same results. It’s super important for that chewy crust!
Coarse Sea Salt: The salt is essential for flavor on top. If you don’t have coarse sea salt, you can use regular salt or flaky sea salt, just use it sparingly since it’s saltier.
How Do You Achieve the Perfect Pretzel Texture?
Boiling your dough bites is crucial for developing that chewy, pretzel-like texture. This step not only affects the bite’s density but also the rich, golden-brown color you’ll see after baking.
- Make sure your water is at a rolling boil before adding the bites.
- Boil them in small batches to avoid overcrowding, which could cause them to stick together.
- Boil for 1-2 minutes—this is enough time to get that special texture without cooking them too much.
After boiling, let the bites sit briefly to drain excess water, which prevents sogginess in the oven. These tips will help you achieve perfectly chewy bites every time! Enjoy your baking experience!
How to Make Yeast-free Sourdough Discard Pretzel Bites
Ingredients You’ll Need:
Base Ingredients:
- 1 cup sourdough discard (unfed, room temperature)
- 1 ½ cups all-purpose flour, plus extra for kneading
- 1 tsp baking soda
- ½ tsp salt
- 1 tbsp sugar or honey (optional, for slight sweetness)
For Boiling:
- 1 cup water (for boiling)
- Coarse sea salt for topping
- Fresh parsley, finely chopped (for garnish)
For Serving:
- Melted butter or mustard sauce, honey mustard, or cheese dip
How Much Time Will You Need?
This recipe takes about 30 minutes total—10 minutes for preparation and 15-20 minutes for baking. After some simple mixing, boiling, and baking, you’ll have warm and delicious pretzel bites ready to enjoy!
Step-by-Step Instructions:
1. Preheat the Oven:
Start by preheating your oven to 425°F (220°C). This ensures the oven is hot enough for the bites to bake quickly and develop a nice golden color. While the oven heats up, line a baking sheet with parchment paper to prevent sticking.
2. Make the Dough:
In a large mixing bowl, combine the sourdough discard, all-purpose flour, baking soda, salt, and sugar or honey if you’re using it. Mix everything together until a shaggy dough forms. It should look a bit messy—that’s perfect!
3. Knead the Dough:
Turn the dough out onto a floured surface and knead it gently for about 5-7 minutes. You want to work it until it’s smooth and elastic. If the dough feels too sticky, don’t hesitate to sprinkle in a little more flour as needed.
4. Shape the Bites:
Now, divide the dough into small pieces—about 1 to 1.5 inches in size. Roll each piece into a small ball or a bite-sized shape to make them fun and easy to eat!
5. Boil the Bites:
In a large pot, bring the water to a boil. When it’s bubbling, carefully add the dough bites in batches. Boil them for 1-2 minutes each. This boiling step is super important as it gives the bites their classic pretzel texture and color.
6. Drain and Prepare for Baking:
Using a slotted spoon, remove the bites from the boiling water and drain them briefly on a wire rack or paper towels. This helps get rid of any excess water, which is key for that crispy finish when baking.
7. Arrange and Season:
Now, place the boiled bites on your prepared baking sheet. If you like, lightly brush the tops with water or melted butter to help the toppings stick. Then, sprinkle coarse sea salt and finely chopped parsley over each bite for flavor and a pretty touch.
8. Bake the Pretzel Bites:
Place the baking sheet in the oven and bake for 15-20 minutes, or until the bites are golden brown and crispy outside. Keep an eye on them towards the end to avoid burning!
9. Serve and Enjoy:
Once they are nice and golden, remove the pretzel bites from the oven and let them cool slightly. These bites are best enjoyed warm, so serve them with melted butter or your favorite dipping sauce, like mustard or cheese dip. Enjoy your homemade chewy pretzel bites!
Can I Use Different Flours for This Recipe?
Yes! While all-purpose flour is ideal for texture, you can experiment with whole wheat flour for a nuttier flavor. Gluten-free flour blends can also work, but they may yield a different texture.
What Can I Use Instead of Sourdough Discard?
If you don’t have sourdough discard, plain yogurt or buttermilk make good substitutes. They will add a tangy flavor similar to sourdough, though the texture may vary a bit.
How Long Do Leftover Pretzel Bites Last?
Leftover pretzel bites can be stored in an airtight container in the fridge for up to 3 days. For best results, reheat them in the oven at 350°F (175°C) for a few minutes to regain their crispiness.
Can I Freeze These Pretzel Bites?
Absolutely! Once cooled, freeze the pretzel bites in a single layer on a baking sheet, then transfer them to a freezer bag. They can be stored for up to 3 months. To reheat, bake from frozen at 350°F (175°C) until heated through.