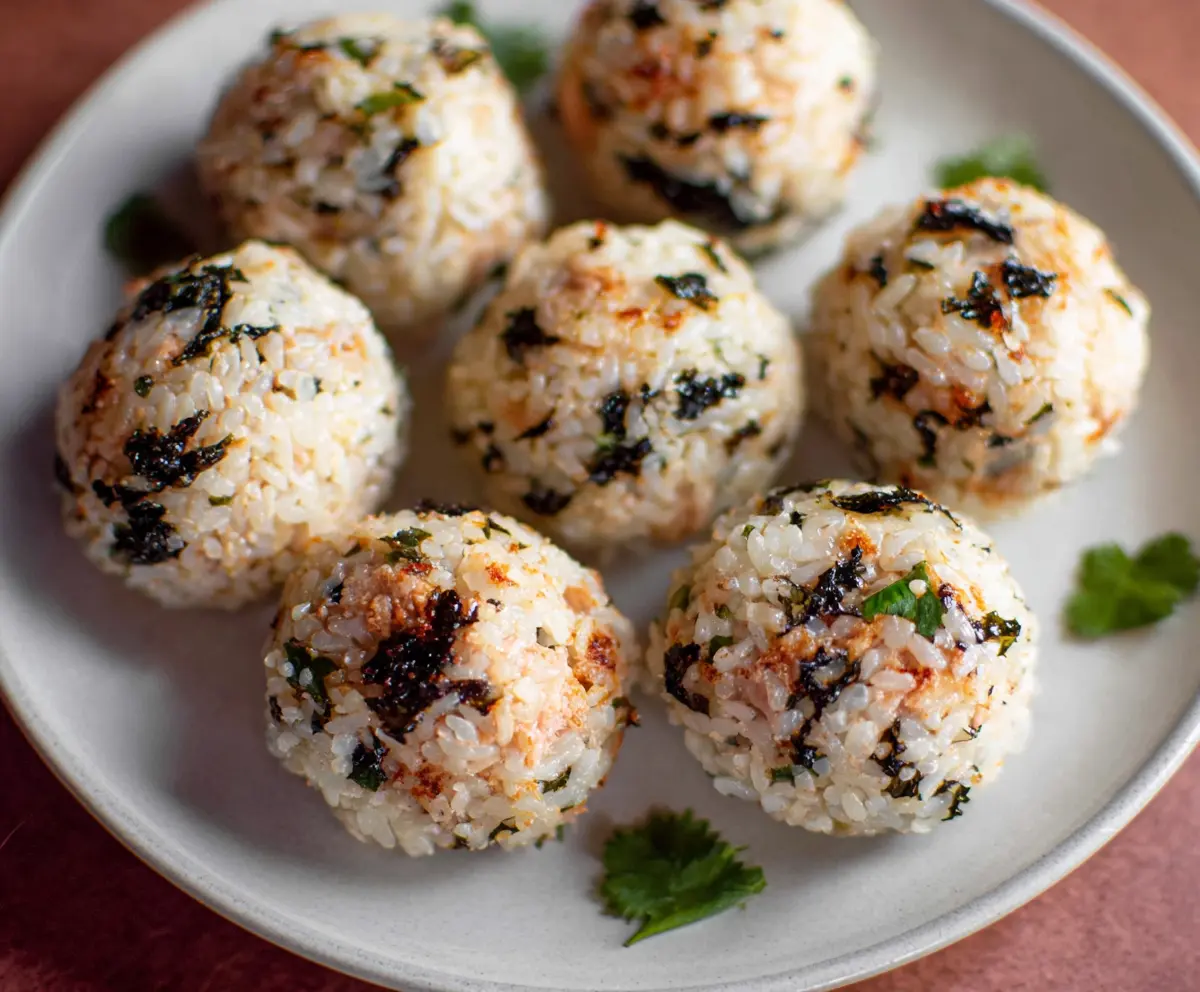
Tuna rice balls are a fun and tasty snack that’s super easy to make! They’re made with fluffy rice, delicious tuna, and a bit of seasoning. Perfect for lunch or a quick bite!
I love how I can make these ahead of time and store them for busy days. Plus, they’re great for sharing, if you’re feeling generous! Who are we kidding? I usually eat them all myself! 😄
Key Ingredients & Substitutions
Japanese short-grain rice: This rice is sticky and holds together well, perfect for shaping into balls. If you can’t find it, you can use Arborio rice or another short-grain variety. Just cook it a bit softer to mimic that sticky texture!
Tuna: Canned tuna works great, but if you want a fresher option, use cooked shredded tuna. You can also substitute with canned salmon or even chickpeas for a vegetarian option!
Nori (seaweed): Nori adds a nice flavor and visual appeal. You can skip it if you’re not a fan or use dried seaweed snacks as an alternative. Just crumble them finely!
Japanese mayonnaise: I love using Japanese mayonnaise for its creaminess, but regular mayonnaise is fine too. For a lighter version, try Greek yogurt! It adds a tangy flavor as well.
Green onions or cilantro: These add fresh flavor and texture. If you don’t have these, chives or parsley work well as substitutes. Use what you have on hand!
How Do You Shape the Perfect Rice Balls?
Shaping rice balls can be tricky, but here’s how to get it right. The key is to keep your hands wet to avoid sticking and to pack the rice mixture firmly without crushing it.
- First, wet your hands with water before scooping out a handful of the mixture.
- Take about 2-3 tablespoons of the mixture and gently press it together to form a ball. Don’t squish it too hard; a gentle hand works best!
- For an optional crispy touch, light pan-fry the formed rice balls in a bit of oil until they’re golden on the outside, enhancing flavor!
This method will help your rice balls hold their shape perfectly and taste amazing! Enjoy them as a quick snack or add them to your lunch box!
How to Make Tuna Rice Balls
Ingredients You’ll Need:
Base Ingredients:
- 2 cups cooked Japanese short-grain rice (preferably sushi rice), slightly cooled
- 1 can (about 5 oz) tuna in oil or water, drained
Seasonings & Mix-ins:
- 2 sheets nori (seaweed), finely chopped or crumbled
- 2 tablespoons Japanese mayonnaise (or regular mayonnaise)
- 1 teaspoon soy sauce
- 1 teaspoon toasted sesame seeds (optional)
- 1 tablespoon finely chopped green onions or fresh cilantro (optional)
- Salt to taste
For Cooking (Optional):
- Vegetable oil or sesame oil for lightly pan-frying
How Much Time Will You Need?
This recipe takes about 15 minutes to prepare and shape the rice balls. If you choose to pan-fry them, add another 5 minutes. So roughly, you’re looking at about 20-25 minutes from start to finish!
Step-by-Step Instructions:
1. Prepare the Filling:
In a medium bowl, take the drained tuna and combine it with the mayonnaise and soy sauce. If you’re using sesame seeds and green onions or cilantro, add those as well. Stir everything together until it’s well mixed and creamy.
2. Combine with Rice:
Next, gently add the cooled cooked rice to the tuna mixture. Use a spatula or a fork to fold the rice in carefully. The goal is to combine everything without breaking the rice grains too much. We want them to stay fluffy!
3. Add the Nori:
Now it’s time to add the nori! Sprinkle the finely chopped or crumbled nori over the rice and tuna mixture. Mix gently once more to make sure the seaweed is evenly distributed throughout the mixture.
4. Shape the Rice Balls:
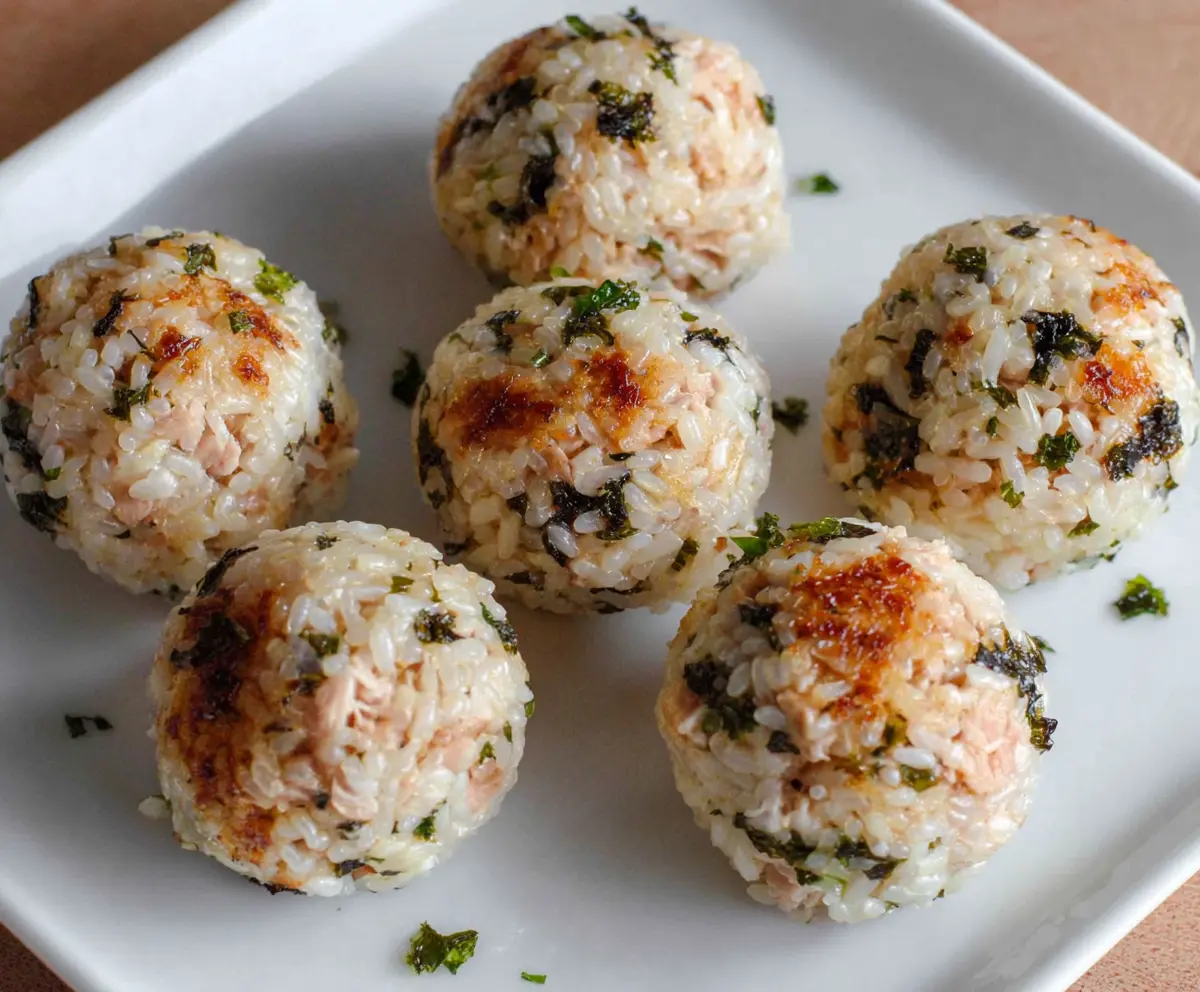
Wet your hands with a little water to keep the rice from sticking. Take a handful of the mixture—about 2-3 tablespoons—and shape it firmly into a ball. Do this for the entire mixture until you have about 6-8 rice balls, depending on how big you want them!
5. (Optional) Pan-Fry for Extra Crispiness:
If you want your rice balls to have a crispy exterior, heat a small amount of vegetable or sesame oil in a skillet over medium heat. Carefully place the rice balls in the skillet and cook for 1-2 minutes on each side until they’re golden and crispy. This step is delicious but optional!
6. Serve and Enjoy:
Once cooked, remove the rice balls from heat and let them cool slightly if you’ve pan-fried them. You can serve them warm or at room temperature, garnished with any extra herbs if you like.
Enjoy these tasty and portable tuna rice balls as a delicious snack or a fun part of your meal!
Can I Use Leftover Rice for This Recipe?
Absolutely! Leftover rice works great for tuna rice balls. Just make sure it’s slightly cooled and not overly sticky. If it’s a little dry, you can add a teaspoon of water to freshen it up before mixing.
What Can I Substitute for Tuna?
If you’re looking for alternatives, you can use canned salmon or shredded cooked chicken. For a vegetarian option, try chickpeas or mashed tofu mixed with your favorite seasonings!
How Do I Store Leftover Rice Balls?
Store any leftovers in an airtight container in the fridge for up to 2 days. To keep them fresh, add a piece of parchment paper between layers. Reheat gently in the microwave or enjoy cold!
Can I Make These Rice Balls Ahead of Time?
Yes! You can prepare the rice and tuna mixture in advance and form the balls just before serving. If you’re pan-frying, do it right before you eat for the best texture!