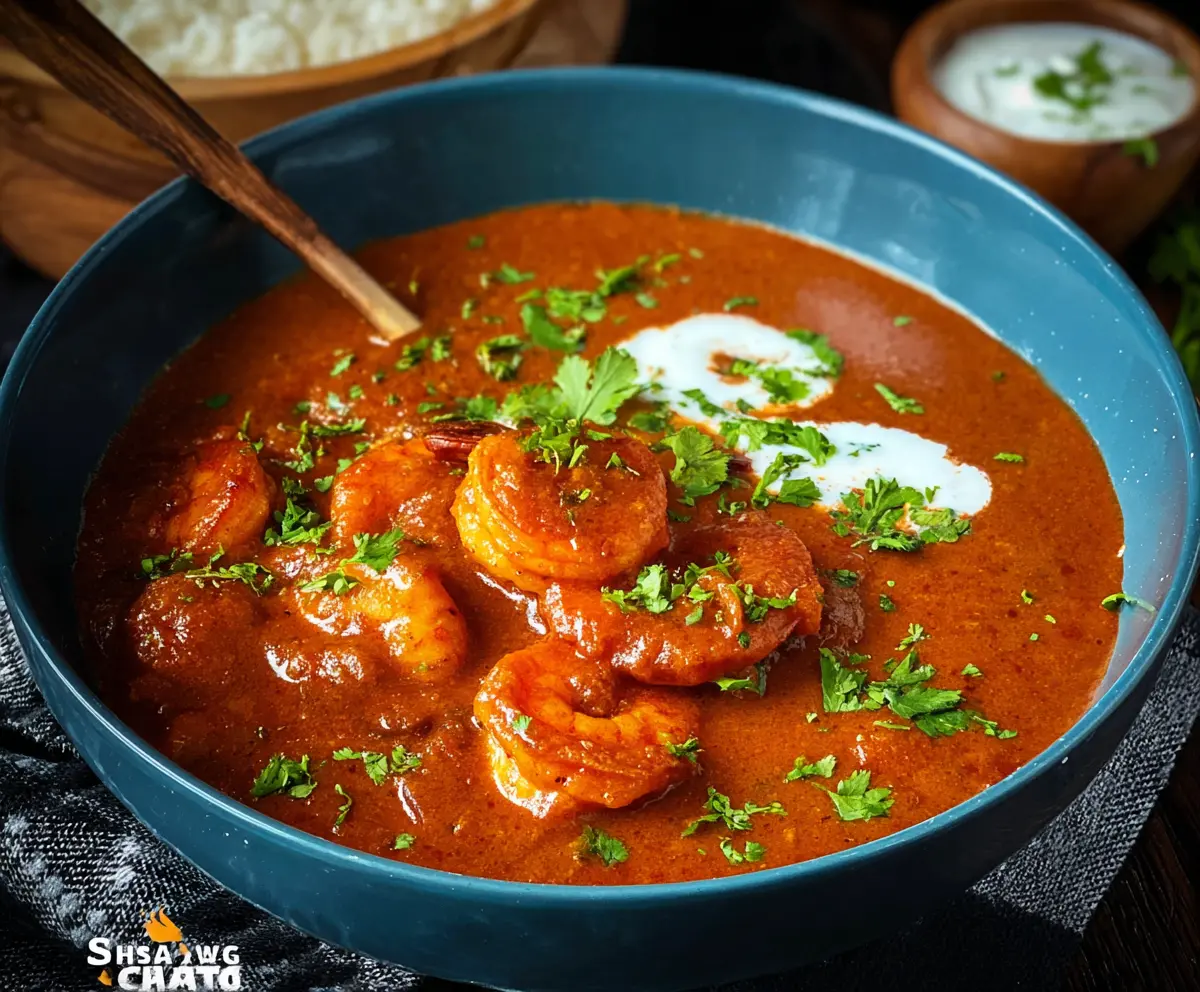
Shrimp Tikka Masala is a tasty dish where juicy shrimp meets a creamy, spicy sauce. It’s packed with flavor and perfect for rice or naan!
You won’t believe how quickly this dish comes together. I love having it on weeknights—it’s fancy enough for guests but easy enough for a cozy dinner at home!
Key Ingredients & Substitutions
Shrimp: Use large shrimp for the best texture. You can substitute with chicken, tofu, or chickpeas if you’re looking for alternatives or need a different protein source.
Heavy cream: I love the richness it adds, but you can swap it with coconut milk for a dairy-free version, which also brings its unique flavor. For a lighter option, use half-and-half or Greek yogurt.
Spices: Garam masala is essential for flavor. If you don’t have it, a mix of cinnamon, cumin, and coriander can work in a pinch. Adjust chili powder based on your spice preference—a little more or less can really change the dish!
Fresh herbs: Fresh cilantro makes a lovely garnish, but if you don’t have it, parsley can be a fine substitute, or simply omit it. I always love a sprinkle of lime on top too for added freshness!
How Do You Get the Shrimp Just Right?
Cooking shrimp is quick, so it’s important not to overdo it, or they’ll turn rubbery. Here’s how to do it perfectly:
- Start with a hot pan. Medium-high heat is ideal. A hot pan will sear the shrimp quickly.
- Cook shrimp for just 1-2 minutes on each side. They should be pink and slightly curled when done.
- Remove them as soon as they’re cooked. They will continue to cook a little after you take them off the heat.
This method keeps the shrimp juicy and adds a nice texture to the dish!
How to Make Shrimp Tikka Masala
Ingredients You’ll Need:
For the Shrimp:
- 1 lb (450g) large shrimp, peeled and deveined
- 1 tablespoon lemon juice
- 1 teaspoon salt (divided)
- 1/2 teaspoon turmeric powder
- 1 teaspoon garam masala
- 1 teaspoon chili powder (adjust to taste)
For the Sauce:
- 2 tablespoons vegetable oil or ghee
- 1 large onion, finely chopped
- 3 garlic cloves, minced
- 1 tablespoon fresh ginger, minced
- 1 green chili, finely chopped (optional)
- 1 1/2 teaspoons coriander powder
- 1 teaspoon cumin powder
- 1 teaspoon paprika
- 1 (14 oz) can crushed tomatoes or pureed fresh tomatoes
- 1/2 cup heavy cream or coconut milk
- 1/4 cup plain yogurt
For Garnish:
- Fresh cilantro (coriander) leaves, chopped
- 1/2 teaspoon dried fenugreek leaves (kasuri methi), crushed (optional)
For Serving:
- Cooked basmati rice or naan
How Much Time Will You Need?
This delightful dish takes about 30 minutes in total—15-20 minutes for marinating the shrimp, and about 10-15 minutes for cooking everything up. Perfect for a quick dinner packed with flavor!
Step-by-Step Instructions:
1. Marinate the Shrimp:
In a mixing bowl, combine the shrimp with lemon juice, 1/2 teaspoon of salt, turmeric, garam masala, and chili powder. Ensure all the shrimp are well coated. Cover the bowl and let it sit for 15-20 minutes to soak in the flavors.
2. Cook the Shrimp:
Heat 1 tablespoon of vegetable oil or ghee in a large pan over medium-high heat. Once hot, add the marinated shrimp and cook for 1-2 minutes on each side until they turn pink and opaque. Be careful not to overcook them! Remove the shrimp from the pan and set aside.
3. Prepare the Sauce:
In the same pan, add the remaining 1 tablespoon of oil. Add the chopped onion and sauté until it becomes golden brown, which should take about 7-8 minutes. Stir occasionally to prevent burning!
4. Add Aromatics:
Next, mix in the minced garlic, ginger, and green chili (if using) and sauté for another 2 minutes until fragrant. This step will elevate the flavors even more!
5. Spice It Up:
Stir in the coriander powder, cumin powder, paprika, and the remaining 1/2 teaspoon of salt. Cook for an additional 1-2 minutes to let the spices bloom and release their wonderful aromas.
6. Incorporate Tomatoes:
Pour in the crushed tomatoes and let the sauce simmer for about 10 minutes. Stir occasionally until you see the oil begin to separate from the sauce, making it rich and flavorful.
7. Creamy Goodness:
Lower the heat and stir in the yogurt and heavy cream (or coconut milk). Mix everything well and let it simmer gently for another 5 minutes. This will make the sauce creamy and delicious!
8. Combine and Heat Through:
Return the cooked shrimp back to the pan and simmer for another 2-3 minutes to heat everything through and allow the flavors to meld beautifully.
9. Finish with Flavor:
Optional: For an authentic touch, sprinkle the crushed dried fenugreek leaves (kasuri methi) over the dish before serving.
10. Garnish and Serve:
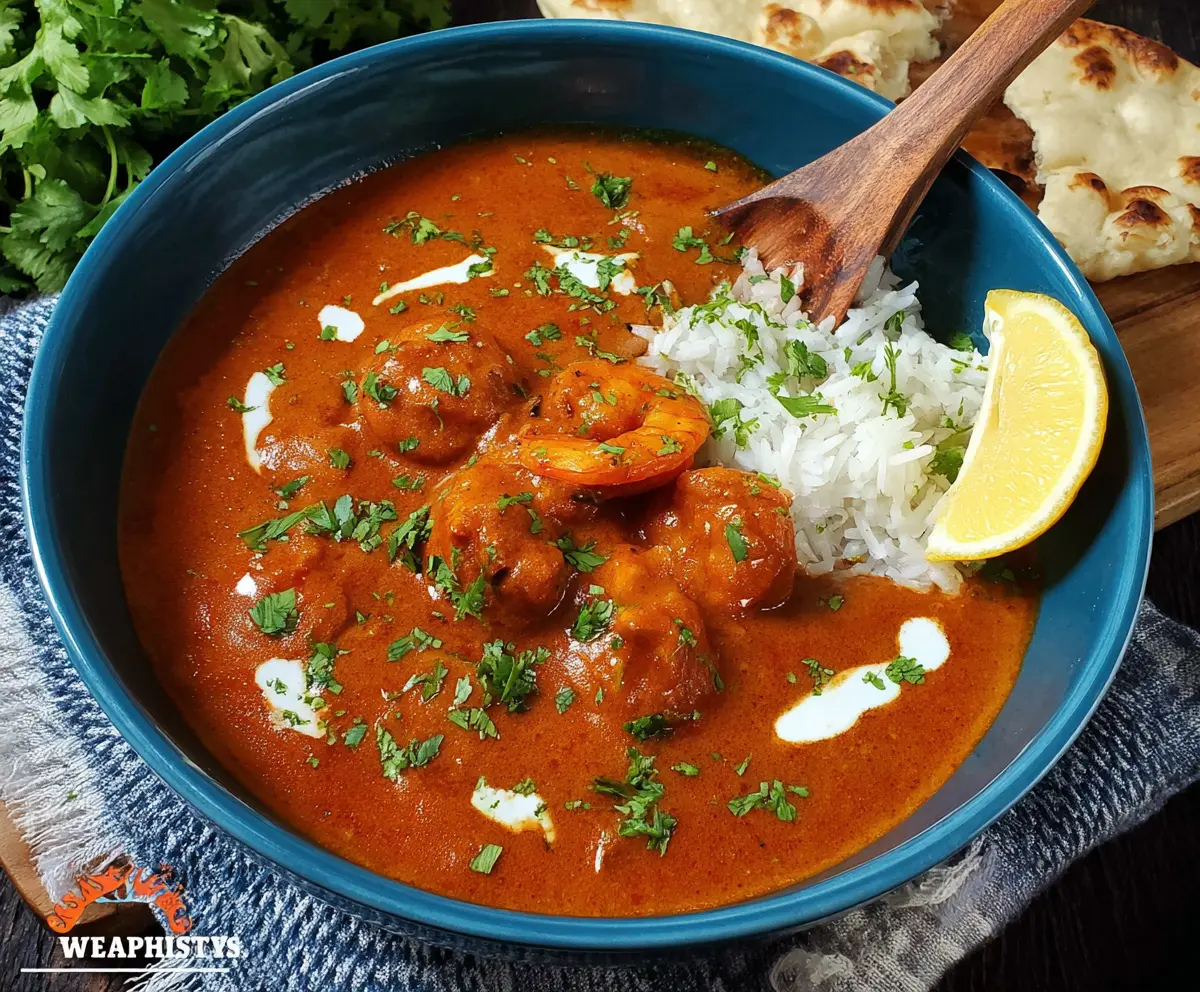
Garnish with freshly chopped cilantro and serve your Shrimp Tikka Masala hot, alongside basmati rice or naan bread. Enjoy your delicious meal!
Can I Use Frozen Shrimp for This Recipe?
Yes, you can use frozen shrimp! Just be sure to thoroughly thaw them first. The best way to do this is by placing them in the fridge overnight, or if you’re short on time, seal them in a plastic bag and submerge in cold water for about 15-20 minutes.
How to Make This Recipe Spicier?
If you like it hot, consider adding more chili powder, or include fresh sliced jalapeños or serrano peppers in the sauce. You can also increase the amount of green chili when sautéing the aromatics for an extra kick!
Can I Make This Dish Ahead of Time?
Definitely! You can make the sauce a day in advance and store it in the refrigerator. When ready to serve, simply reheat the sauce, then add the shrimp and cook until heated through. This allows all the flavors to deepen!
What Should I Serve with Shrimp Tikka Masala?
This dish pairs wonderfully with basmati rice or naan to soak up the tasty sauce. You can also serve it with a side of raita (yogurt sauce) to cool things down, or a simple salad for freshness!