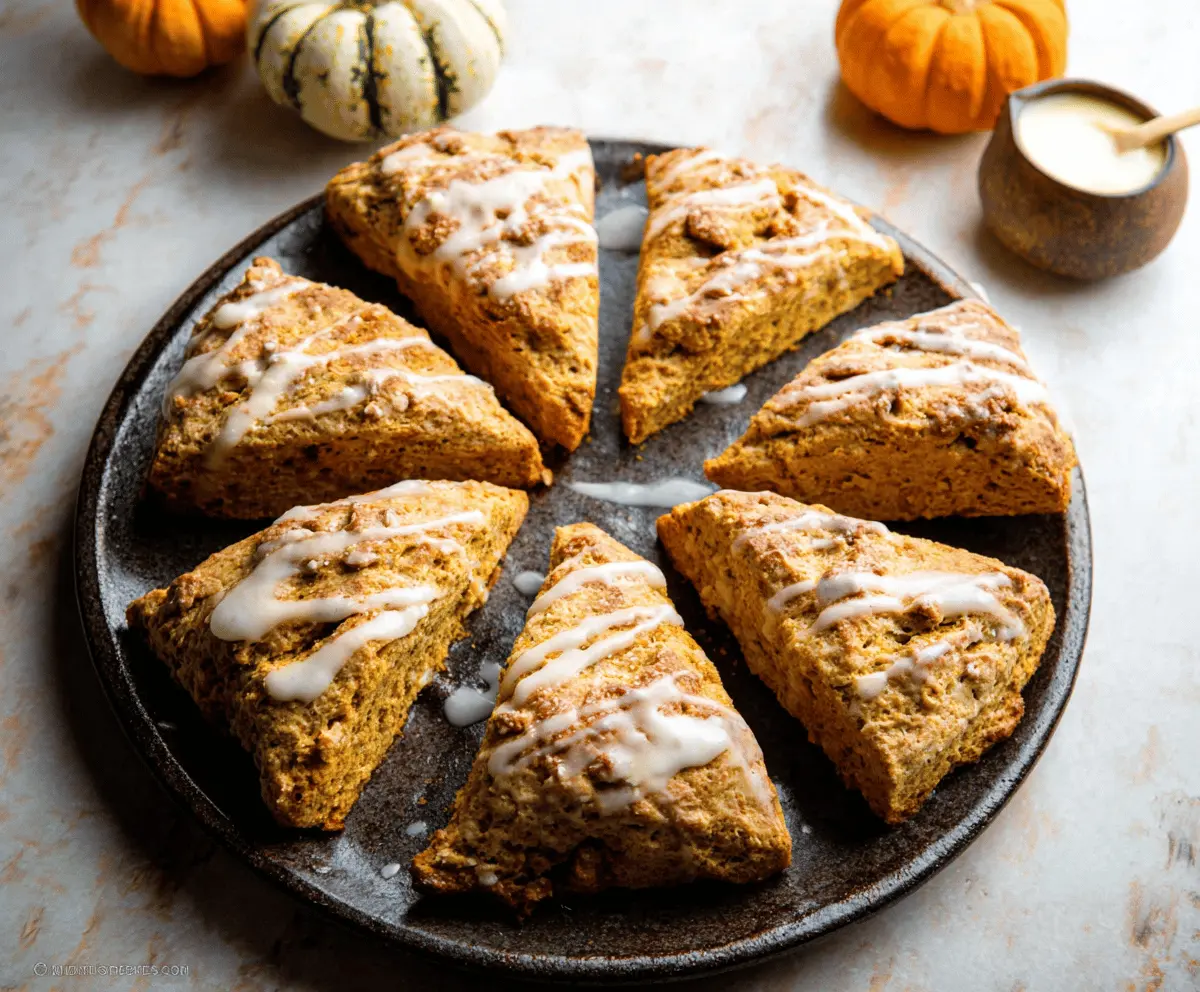
These pumpkin scones are soft, fluffy, and packed with warm spices! They’re perfect for charming autumn mornings with a nice cup of coffee or tea.
Don’t be surprised if they disappear quickly! I like to slather mine with a bit of butter for extra yum. Who can resist a treat that smells this good? 🍂
Key Ingredients & Substitutions
All-purpose flour: This gives the scones their structure. If you’re gluten-free, you can substitute with a gluten-free flour blend, but be aware it may slightly alter the texture.
Brown sugar: It adds a nice depth of flavor. If you’re out, regular granulated sugar works too. You might lose some of that rich taste, so a touch of molasses can help mimic the flavor.
Pumpkin puree: Make sure to use plain pumpkin puree, not pumpkin pie filling, which has added sugars and spices. You can swap it with mashed sweet potatoes for a different flavor or even applesauce in a pinch.
Spices: Cinnamon, nutmeg, ginger, and cloves give the lovely autumn taste. Feel free to adjust the amounts or use a pre-mixed pumpkin spice blend if it’s easier for you.
Nuts: Walnuts and pecans add crunch. If you’re nut-free, you can simply leave them out without affecting the scone texture too much.
How Do I Cut Butter into the Flour for Flaky Scones?
Cutting butter into the flour is essential for achieving that flaky texture. Here’s how to do it:
- Start with cold butter—this keeps it from melting too quickly into the flour.
- Use a pastry cutter or your fingers to break the butter into smaller pieces.
- You’re looking for a mixture that resembles coarse crumbs, with some pea-sized pieces of butter visible. This will create those lovely flaky layers!
Be careful not to overwork the dough once you add the liquid. Mixing too much can lead to tough scones instead of tender ones.
How to Make Pumpkin Scones
Ingredients You’ll Need:
For the Scones:
- 2 cups all-purpose flour
- 1/4 cup brown sugar, packed
- 1 tablespoon baking powder
- 1/2 teaspoon baking soda
- 1/2 teaspoon salt
- 1 teaspoon ground cinnamon
- 1/2 teaspoon ground nutmeg
- 1/4 teaspoon ground ginger
- 1/4 teaspoon ground cloves
- 6 tablespoons cold unsalted butter, cut into cubes
- 3/4 cup canned pumpkin puree (not pumpkin pie filling)
- 1 large egg
- 1 teaspoon vanilla extract
- 1/2 cup chopped nuts (walnuts or pecans), optional
For the Glaze:
- 1 cup powdered sugar
- 2-3 tablespoons milk or cream
- 1/2 teaspoon vanilla extract
How Much Time Will You Need?
This recipe takes about 10 minutes for prep and 18-22 minutes for baking, making a total of around 30 minutes. Plus time to cool and drizzle the glaze on top. In no time, you’ll have delicious pumpkin scones to share or enjoy all to yourself!
Step-by-Step Instructions:
1. Preheat Your Oven:
Start by preheating your oven to 400°F (200°C). This is essential to get the scones baked to a lovely golden brown. Don’t forget to line a baking sheet with parchment paper for easy cleanup!
2. Mix the Dry Ingredients:
In a large mixing bowl, whisk together the flour, brown sugar, baking powder, baking soda, salt, and all the spices — cinnamon, nutmeg, ginger, and cloves. This helps to ensure all the flavors are evenly distributed.
3. Cut in the Butter:
Add the cold butter cubes to your flour mixture. Using a pastry cutter or your fingers, work the butter into the dry ingredients until it resembles coarse crumbs, with some larger pea-sized pieces of butter still visible. This is key for flaky scones!
4. Combine Wet Ingredients:
In a separate bowl, whisk together the pumpkin puree, egg, and vanilla extract until it’s smooth. No lumps allowed!
5. Bring It All Together:
Pour the pumpkin mixture into the flour mixture. Gently fold it together until just combined; you want a soft dough. If you’re adding nuts, now is the time to fold them in too. Be careful not to overmix!
6. Shape the Dough:
Dust your work surface with a little flour and turn the dough onto it. Pat it into an 8-inch round disk, about 1-inch thick. It’s okay if it’s a bit messy; that’s part of the fun!
7. Cut the Scones:
Use a sharp knife to cut the disk into 6 or 8 equal wedges (triangles). Place them on the lined baking sheet, making sure they have a little space between them.
8. Bake Away:
Pop the baking sheet in the oven and bake for 18-22 minutes or until the scones are golden brown. A toothpick inserted in the center should come out clean!
9. Get Ready to Glaze:
While the scones are cooling, prepare the glaze. In a small bowl, mix together the powdered sugar, milk or cream, and vanilla extract. Whisk until smooth. You can adjust the thickness by adding more milk for a thinner glaze or more powdered sugar if you like it thicker.
10. Drizzle and Serve:
Once the scones are cooled, drizzle the glaze over the top. Allow it to set for a few minutes, then they’re ready to enjoy!
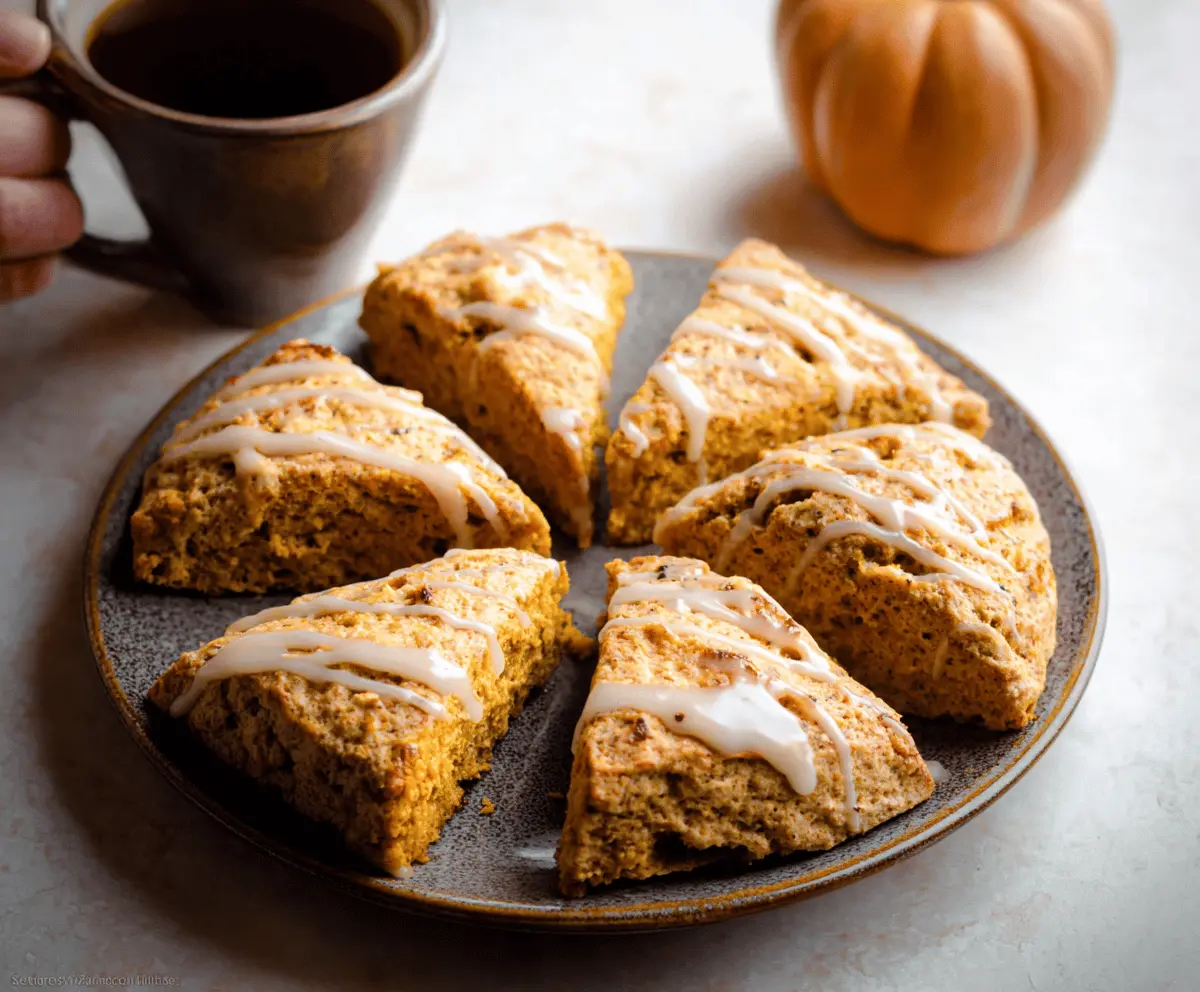
These moist, fluffy pumpkin scones are perfect with a cup of coffee or tea. Enjoy the cozy fall flavors!
Can I Use Fresh Pumpkin Instead of Canned?
Yes, you can! Just make sure to cook and puree the fresh pumpkin until smooth. You’ll need around 1 cup of cooked pumpkin to replace the 3/4 cup of canned pumpkin puree in the recipe. Drain any excess moisture to avoid a soggy dough.
How Should I Store Leftover Scones?
Store any leftover scones in an airtight container at room temperature for up to 2 days. If you need to keep them longer, you can refrigerate them for up to a week or freeze them for up to 3 months. Just make sure to wrap them tightly to prevent freezer burn!
Can I Make These Scones Dairy-Free?
Absolutely! Substitute the cold unsalted butter with an equal amount of coconut oil or vegan butter. For the milk in the glaze, you can use any plant-based milk, like almond or oat milk.
What Other Mix-Ins Can I Add?
Feel free to get creative! You can add dried cranberries, chocolate chips, or sunflower seeds for a tasty twist. Just keep the amount around half a cup to maintain the right scone consistency.